
Your kitchen rangehood is rattling, smoking, or just not pulling air like it used to. Learning how to replace a rangehood is a straightforward weekend project, but it comes with risks that most tutorials gloss over. Get it right and you will save hundreds in labor costs.
Get it wrong and you could be dealing with an electrical fire or a gas leak.
Per the National Electrical Code, any hardwired connection must be housed in an accessible junction box with properly rated wire nuts. As of 2026, most residential rangehoods in North America draw between 3 and 5 amps on a dedicated 15-amp circuit. Knowing whether your existing setup meets that standard is the first thing to check before you buy a replacement.
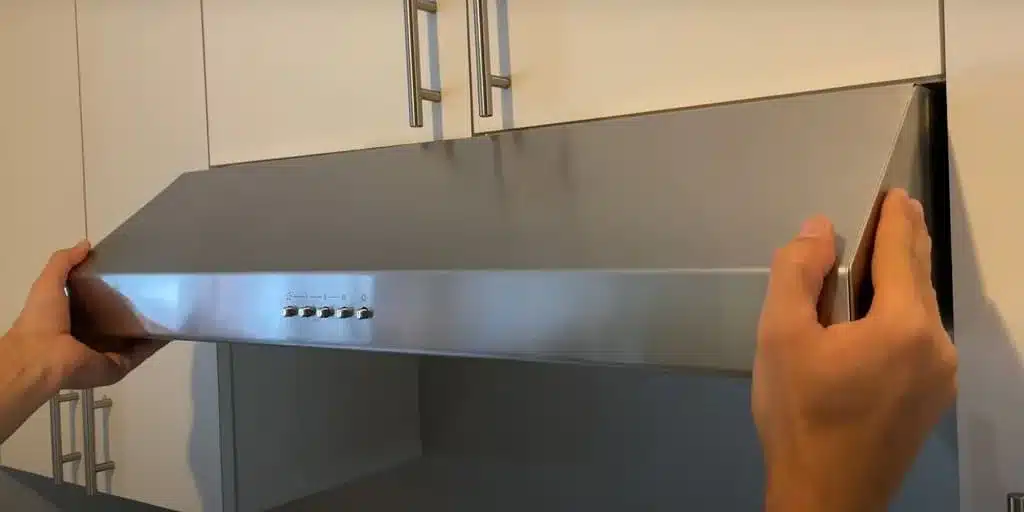
Image source: Bing (Web (fair-use with source credit))
Quick Answer
Yes, you can replace a rangehood yourself if you have basic wiring skills. Turn off the breaker first. Match the new hood's width to your cabinet opening.
Ducted units require compatible ductwork. Hardwired models need a junction box. Recirculating models are simpler to install.
Why This Isnt a Watch a YouTube Video Kind of Job
A ten-minute video makes this look easy. Cut power. Unscrew the old unit.
Lift the new one in. Reconnect the wires. Done.
But the comments on those videos tell a different story. People stripping screws. People wiring hot to neutral.
People discovering their ductwork is the wrong size after the new hood is already mounted.
The difference between a clean swap and a disaster comes down to preparation. You are working with live electrical circuits in a tight overhead space. If you have a gas cooktop below, you are also working near a gas line.
Moving the stove even a few inches risks kinking the supply line or damaging the flex connector.
Homeowner forum reports show the most common mistake is not verifying the duct size before buying a replacement. The second most common mistake is assuming the power is off at the wall switch. Switches fail.
Someone may have wired the switch incorrectly. The only way to be sure is to kill the power at the breaker panel and test the wires with a voltage tester.
This guide walks you through each decision point. You will learn what to check before you buy, what tools to have on hand, and exactly how to handle the wiring and ductwork. You will also learn when to call a pro.
Step 1: Know What Youre Working With
Before you buy anything, identify three things about your current setup. The venting type. The electrical connection type.
The mounting style. Each one affects what replacement you can buy and how much work the swap will require.
Ducted vs Recirculating
Look under the rangehood at the filters. If you see a metal mesh filter and nothing else, you likely have a ducted system. The air gets pulled through the filter, up a duct, and out of your house.
Check the cabinet above the hood. If you see a metal pipe or a rectangular duct running up into the wall or ceiling, that confirms it.
If you see a charcoal filter behind the metal mesh, or if the hood has a grille that blows air back into the room, you have a recirculating system. No ductwork. The air passes through a charcoal filter and gets dumped back into the kitchen.
This matters because the two types are not interchangeable without significant work. You cannot switch from recirculating to ducted without running new ductwork through your walls. That is a major project.
You can switch from ducted to recirculating, but you will need to cap the existing duct opening and buy a recirculating kit for the new hood.
Hardwired vs Plug In
Look at the back of the current rangehood or inside the cabinet above it. Do you see a plug going into a wall outlet? That is a plug-in model.
Replacement is simple. Unplug the old. Plug in the new.
If you see wires coming out of the hood and going into a metal or plastic box, you have a hardwired unit. The wires are connected inside that junction box with wire nuts. This is the more common setup in older homes and many modern builds.
Hardwired models require you to connect the new hood's wires to the same circuit. You will need to match the colors. Black to black.
White to white. Green or bare copper to ground. If you are not comfortable doing that safely, hire an electrician for the connection part.
The rest of the installation you can handle yourself.
If you are replacing a hardwired unit with a plug-in model, you will need to install a standard electrical outlet inside that junction box. That is a separate electrical task. Most homeowners hire an electrician for this step.
Step 2: What to Measure Before You Buy Anything
This is the step that trips up the most people. You cannot just buy a rangehood that looks like it will fit. Measure four things precisely.
Width. This is the most important measurement. Standard rangehood widths are 24, 30, and 36 inches. Measure the width of the current hood from left to right.
Now measure the width of the cabinet opening above it. They should match. If you buy a 30-inch hood and your cabinet opening is 36 inches, you will have gaps on both sides that let steam escape.
Depth. Measure from the back wall to the front edge of the current hood. Most under-cabinet models are 18 to 20 inches deep. The new hood should be roughly the same depth or slightly less.
If it is deeper, it will hang past your cabinets and look odd.
Height from cooktop. Measure from the bottom of the current hood to the top of your cooktop. For gas cooktops, the minimum clearance is usually 24 inches. The maximum is 30 inches.
For electric cooktops, it is typically 18 to 24 inches. Check the manufacturer's specifications for the new hood. If your current height is outside that range, you will need to adjust the mounting position.
Duct size and shape. This is the one most people forget. Look inside the cabinet above the hood. Measure the diameter of the duct if it is round.
Standard sizes are 6 inches and 7 inches. If it is rectangular, measure the width and height. The most common rectangular size is 3.25 by 10 inches.
Your new hood must have a matching outlet size, or you will need a transition adapter.
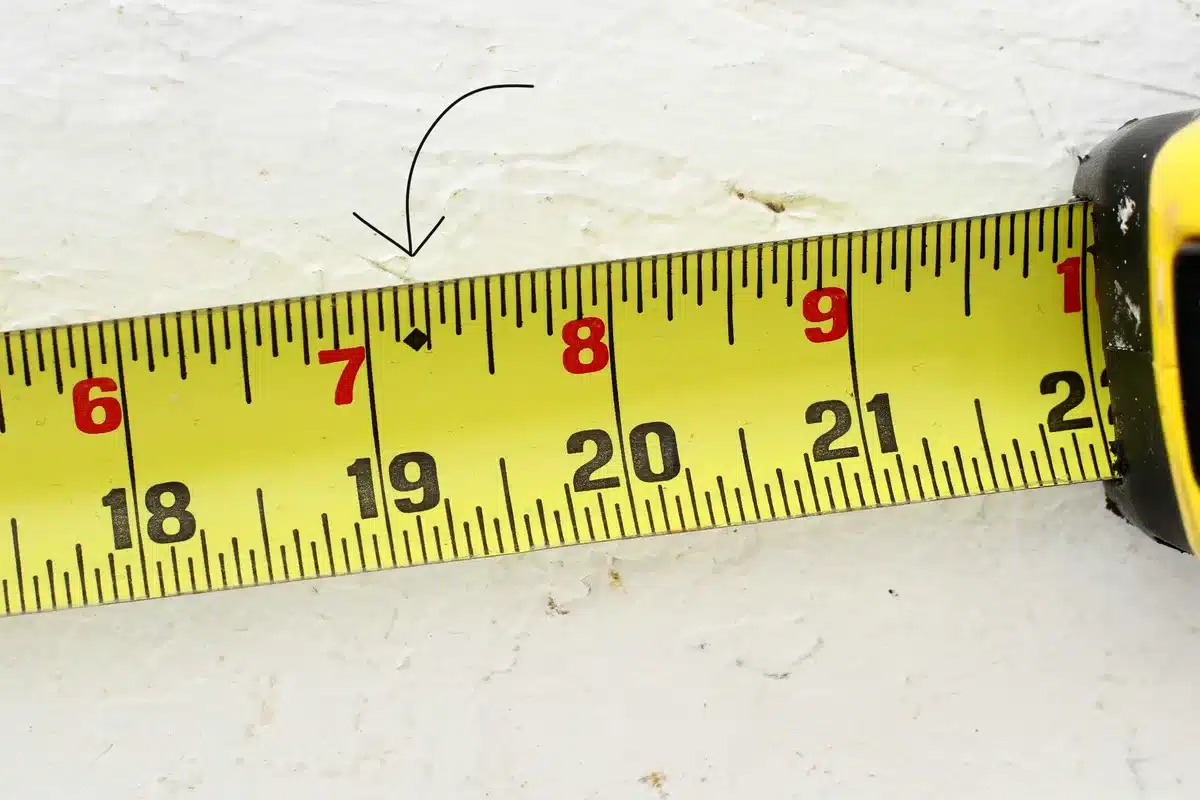
Image source: Web (Bing) / apartmenttherapy.com (Web image (fair-use with source credit))
Write down all four measurements on a piece of paper. Take that paper with you when you shop for the replacement. Match every number.
Step 3: Tools and Materials Youll Actually Need
You probably already own most of these tools. Do not skip the voltage tester. It costs less than twenty dollars and it is the only way to confirm the power is really off.
| Tool | What Youll Use It For |
|---|---|
| Voltage tester (non-contact) | Confirm power is dead at the wires |
| Screwdriver set (Phillips and flathead) | Remove mounting screws and junction box cover |
| Drill/driver with bits | Drive mounting screws, drill pilot holes |
| Stud finder | Locate cabinet framing for secure mounting |
| Level | Ensure the new hood is straight |
| Measuring tape | Check width, height, depth, and duct size |
| Safety glasses | Protect your eyes from debris and grease |
| Work gloves | Protect your hands from sharp metal edges |
| Material | Purpose |
|---|---|
| Wire nuts (same gauge as existing) | Connect electrical wires |
| Electrical tape | Secure wire nuts and wrap connections |
| Foil tape (not duct tape) | Seal duct joints |
| Mounting screws (included with hood or #8 wood screws) | Secure the hood to the cabinet |
| Toggle bolts | Mount into drywall if no stud is available |
| Charcoal filter (if recirculating) | Replace old filter in new hood |
Lay everything out on the counter before you start. The actual installation goes faster when you are not hunting for a screwdriver.
Step 4: How to Remove the Old Rangehood Safely
This is the highest-risk part of the job. Take it slow.
Turn Off the Power at the Breaker
Go to your breaker panel. Flip the breaker that controls the rangehood circuit. Do not rely on the wall switch.
Test the old hood by trying to turn on the fan and lights. If it is dead, you are good. If it is still on, you flipped the wrong breaker.
Try again.
Test the Wires
Open the junction box cover inside the hood. Use your voltage tester on each wire. Touch the tester to the black wire, the white wire, and the ground.
If the tester lights up or beeps, the power is still live. Do not proceed until it is dead.
Remove the Filters and Ductwork
Pull out the grease filters. They usually slide out or have a small latch. Set them aside.
If the hood is ducted, locate the section of duct connecting the hood to the main duct. It is usually held with a few screws or duct tape. Remove the screws.
Gently separate the duct sections.
Disconnect the Wires
Once power is confirmed off, unscrew the wire nuts connecting the hood wires to the house wires. Separate them. Note which wire is which.
Black is hot. White is neutral. Green or bare is ground.
If your setup is plug-in, just unplug it.
Lower the Hood
Find the mounting screws. Under-cabinet hoods are usually held by screws through the cabinet bottom into the hood's top flange. There may also be screws into the back wall.
Remove them all. Have your helper support the hood while you remove the last screws. Lower it down carefully.
Set it on a protected surface.
Step 5: How to Install the New Rangehood
This is where the prep work pays off. Follow the steps in order.
Prep the Electrical Connection
If you are replacing a hardwired hood with another hardwired hood, run the new hood's power cable into the junction box. Strip the wire ends if needed. Connect black to black, white to white, and ground to ground.
Use wire nuts. Twist them until they are tight. Wrap each connection with electrical tape.
Tuck the wires neatly into the box. Replace the cover.
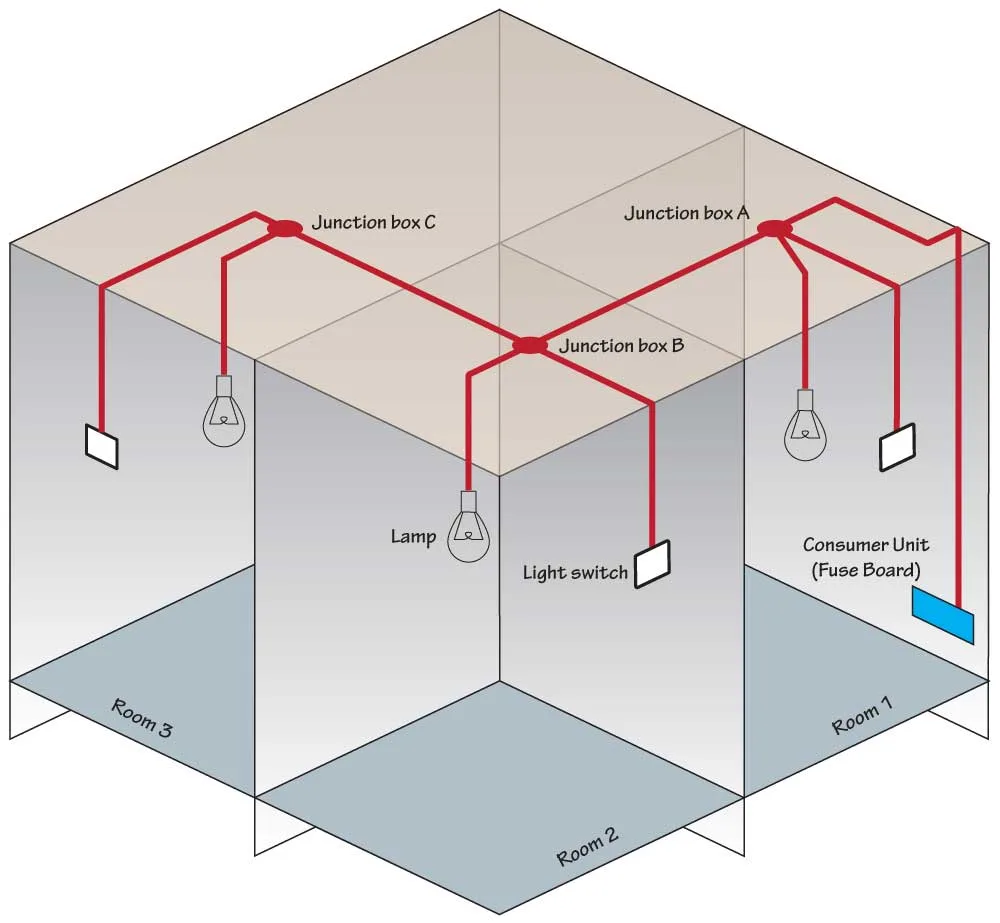
Image source: Web (Bing) / circuitdiagram.co (Web image (fair-use with source credit))
If you are switching from hardwired to plug-in, install a standard electrical outlet in the junction box. That is a separate task. If you are not comfortable with it, call an electrician.
Mount the Hood
Measure and mark the mounting hole locations on the cabinet bottom. Use a stud finder to locate cabinet framing. If you hit a stud, you can drive screws directly into it.
If you hit only drywall, use toggle bolts. Pre-drill pilot holes to avoid splitting the wood.
With your helper, lift the new hood into position. Align the duct connection and the wiring. Slide the hood up until it contacts the cabinet bottom.
Drive the mounting screws. Check with a level as you go. Do not overtighten.
You can warp the hood or crack the cabinet.
Connect the Ductwork
If ducted, connect the new hood's duct outlet to the existing duct. Use a short section of duct if needed. Secure every joint with foil tape.
Do not use standard duct tape. It dries out and fails. Foil tape is code-approved and stays sealed.
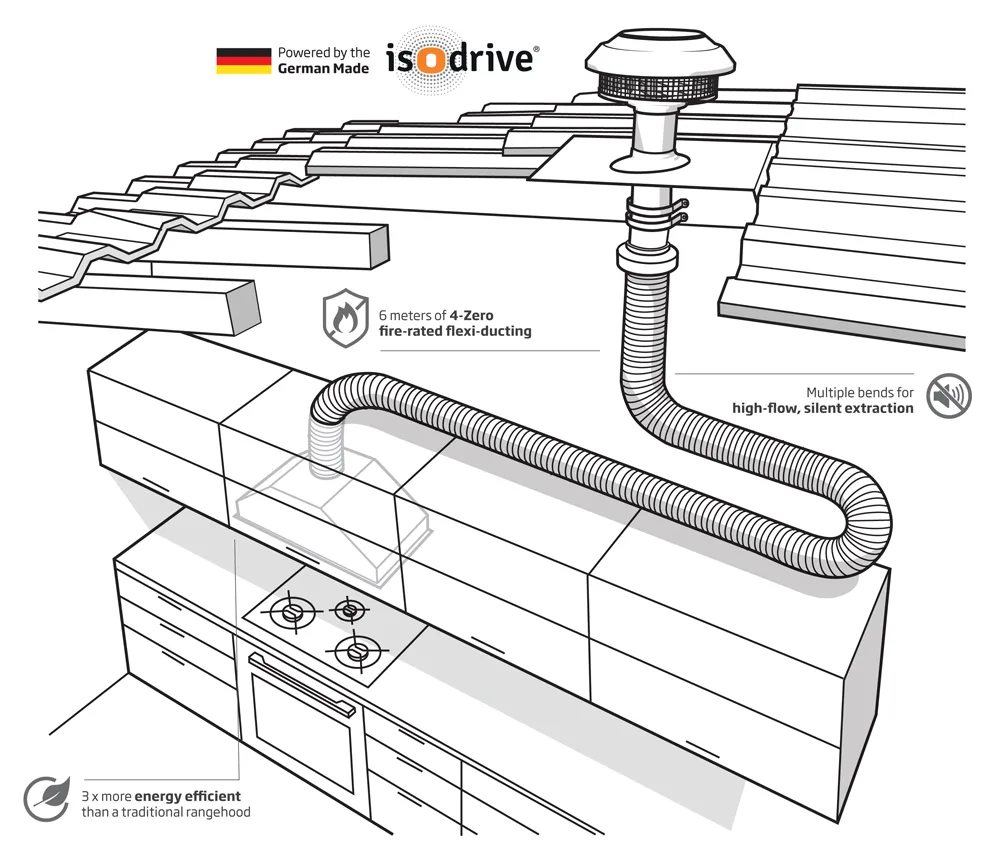
Image source: Bing (Web (fair-use with source credit))
If the duct sizes do not match, use a transition adapter. These are available at any hardware store. A 6-inch round to 3.25-by-10-inch rectangular adapter is the most common type.
Expect a slight reduction in airflow. It is usually acceptable for residential use.
If you are switching to recirculating, cap the duct opening with a metal cover. Install the charcoal filter as per the new hood's instructions.
Install the Filters and Test
Pop the grease filters back in. If recirculating, install the charcoal filter. Turn the breaker back on.
Test the fan on all speeds. Test the lights. Listen for rattles or unusual noises.
A gentle hum is normal. A grinding or scraping sound means something is loose or a blade is hitting something.
The 5 Most Common Mistakes and How to Avoid Them
1. Buying the wrong width. Measure twice. Order once.
A 30-inch hood will not fit a 36-inch opening.
2. Ignoring the duct size. Your new hood must match the existing duct. A transition adapter can help, but it is not a perfect solution.
It reduces airflow.
3. Forgetting to test the power. The wall switch is not reliable. Test the wires at the junction box with a voltage tester.
Every time.
4. Working alone. Rangehoods are bulky and top-heavy. One person holds.
One person screws. Trying to do it solo is a recipe for a dented hood and a smashed finger.
5. Overtightening the mounting screws. You can warp the metal body of the hood or crack the cabinet bottom. Snug is enough.
Do not crank.
When to Call a Pro
Some situations are not worth the risk. If you need to move the rangehood to a different location, that means running new ductwork and new electrical. That is a major project.
Call a contractor.
If you have a gas cooktop and you need to move it to access the ductwork, call a gas technician. Disconnecting and reconnecting gas lines is not a DIY job. A small leak can cause a fire or explosion.
If you open the junction box and find aluminum wiring, stop. Aluminum wiring requires special connectors and techniques. Call an electrician.
If your new hood is significantly heavier than the old one, you may need structural reinforcement in the cabinet or wall. A pro can assess that.
If you are not comfortable with any part of the electrical work, hire an electrician for that portion. It is cheaper than fixing a mistake.
Maintenance After Installation
A new rangehood performs better when you keep it clean. Wash the grease filters every month. Most are dishwasher-safe.
Spray them with degreaser and rinse. Let them dry completely before reinstalling.
If you have a recirculating model, replace the charcoal filter every three to six months. A clogged charcoal filter traps odors and reduces airflow. You can find the replacement filter by checking the model number on the hood.
Wipe down the exterior with a damp cloth and mild detergent. Avoid abrasive cleaners. They scratch stainless steel finishes.
Check the duct connection once a year. Make sure the foil tape is still sealed. If you feel warm air or smell cooking odors coming from the cabinet above the hood, the duct seal may have failed.
Reapply foil tape as needed.
Frequently Asked Questions
How long does it take to replace a rangehood?
A straightforward swap takes one to two hours. If you need to adjust the ductwork or install a new outlet, plan for three to four hours. The first time always takes longer than you expect.
Do I need an electrician to replace a rangehood?
Not if you are replacing a hardwired hood with another hardwired hood and you are comfortable connecting wires. If you are switching from hardwired to plug-in, or if you find aluminum wiring, call an electrician.
Can I replace a ducted rangehood with a recirculating one?
Yes. You will need to cap the existing duct opening and install a charcoal filter. The new hood must be designed for recirculating use.
Check the product specifications before you buy.
What happens if my duct sizes dont match?
You can use a transition adapter from a hardware store. It will connect the two different sizes. Expect a slight reduction in airflow.
It is usually acceptable for home kitchens.
How do I know if my rangehood is hardwired or plug-in?
Look at the back of the hood or inside the cabinet above it. If you see a plug going into a wall outlet, it is plug-in. If you see wires going into a metal or plastic box, it is hardwired.
Is it safe to replace a rangehood myself?
Yes, if you follow safety procedures. Turn off the breaker. Test the wires with a voltage tester.
Have a helper. If you are unsure about any step, call a pro.
