
If you're wondering how to remove hoover power scrub xl brushes, you're not alone. Many users find the brush removal process confusing the first time. The good news is that with the right approach, it takes less than a minute.
Hoover recommends replacing the brush rolls every 12 months under typical home use, or more often if you have pets. This regular maintenance keeps the machine running efficiently and prevents motor strain. Below, we'll walk through the quick answer and then dive into the details.
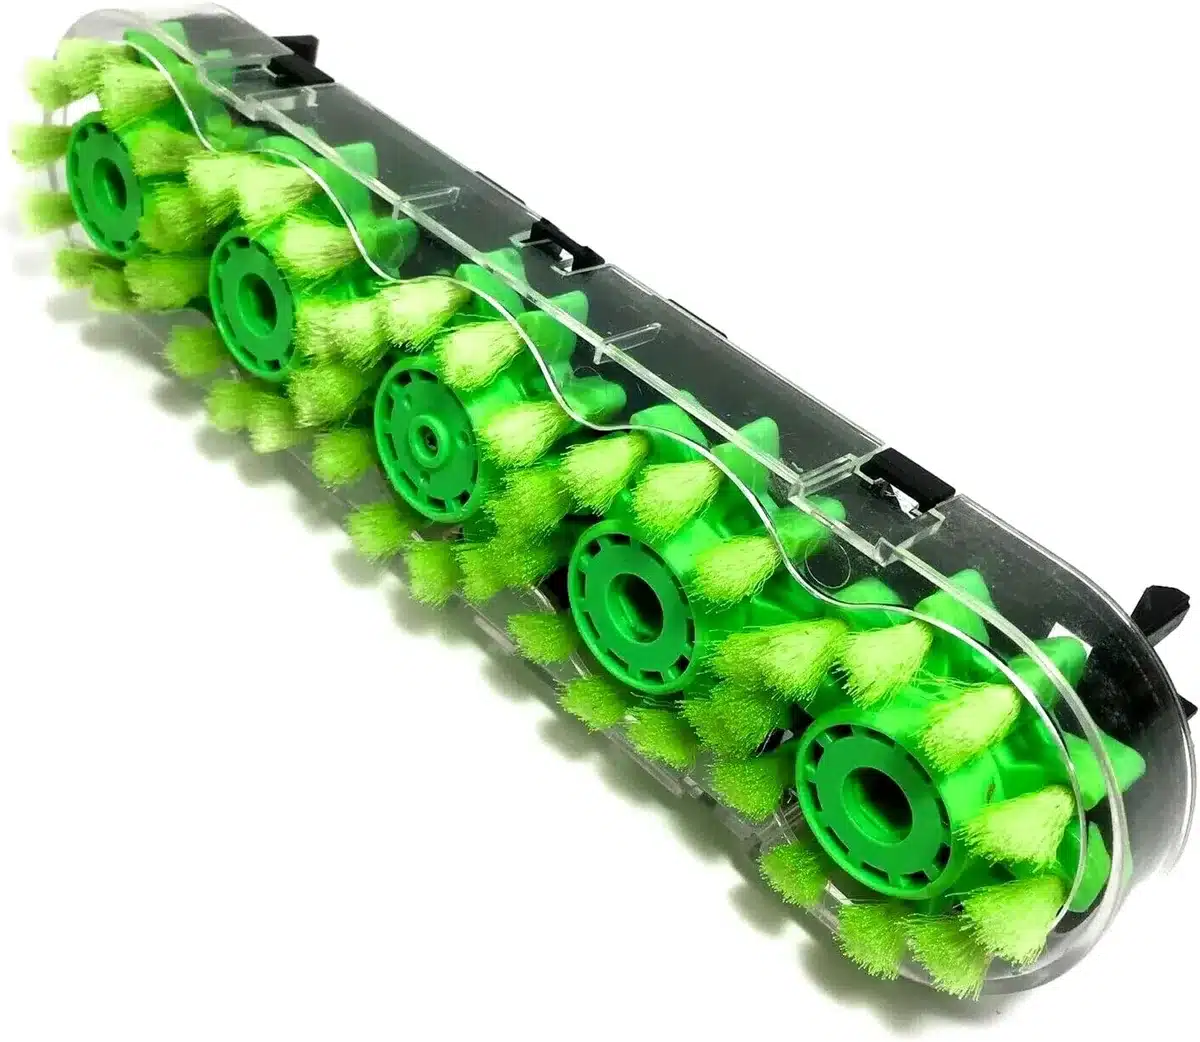
Image source: Web (Bing) / kitchenbucks.com (Web image (fair-use with source credit))
Quick Answer: How to Remove Hoover Power Scrub XL Brushes in 30 Seconds
Flip the machine over. Locate the two red caps. Press and twist a quarter turn toward the arrow.
Pull caps up. Slide the brush out. Done in under a minute.
Understanding the Brush System: Counter-Rotating Rolls and Retention Caps
The Hoover Power Scrub XL uses a dual-brush design with two counter-rotating rolls. This arrangement agitates carpet fibers from both directions, lifting dirt more effectively than a single-direction brush. Each roll is driven by a motor on one end and rests in a bearing on the other.
The brushes are held in place by red retention caps. These caps use a quarter-turn mechanism that locks them into the brush housing. A small embossed arrow on each cap indicates the release direction.
The system is designed for tool-free maintenance, but the caps can be tight if the machine has been stored for a long time.
Understanding this layout helps you locate the release points quickly. The counter-rotation also means the brushes are symmetrically mounted, so you can remove either one first without worrying about orientation.
Key Components: Red Caps, Drive Hub, and Bearing Housing Explained
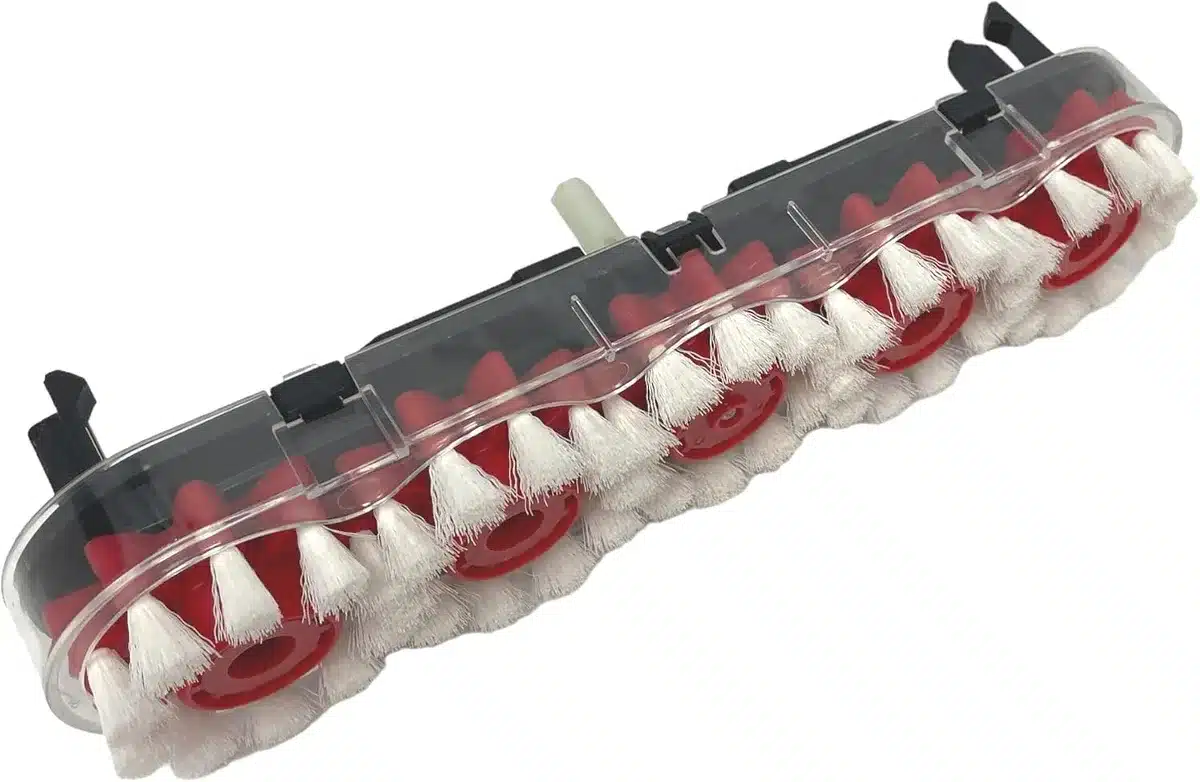
Image source: Web (Bing) / manuals.plus (Web image (fair-use with source credit))
The red retention caps are the most visible part of the brush assembly. They sit on the spindles at each end of the brush roll. One spindle connects to the drive hub, which is powered by the motor.
The other spindle sits in the bearing housing, which is a smooth, non-powered end.
The drive hub is the component that actually spins the brush. It has a hex or splined interface that mates with the brush roll. If you hear grinding or feel resistance when spinning the brush by hand, the drive hub may be worn and need attention from a service center.
The bearing housing is simpler. It's a smooth sleeve that allows the brush to rotate freely. Debris like hair and carpet fibers can pack into this area, causing friction and making the brush harder to remove.
Cleaning this area during maintenance is just as important as replacing the brushes.
Step-by-Step Guide: Removing the Brushes Without Tools
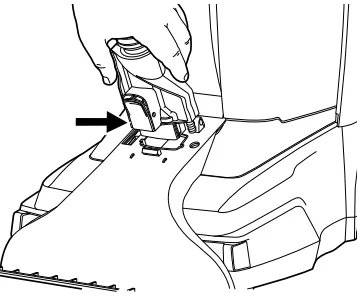
Image source: Bing (Web (fair-use with source credit))
Follow these steps to remove the brushes safely and efficiently.
- Unplug the machine or remove the battery if it's cordless.
- Flip the Power Scrub XL onto its handle so the base plate faces up. Set it on a non-slip mat for stability.
- Locate the two red caps near the front corners of the base plate.
- Press down firmly on the cap while twisting a quarter turn toward the embossed arrow. You'll hear a click when it releases.
- Pull the cap straight up off the spindle.
- Grip the exposed end of the brush roll and slide it out of the housing. Repeat for the second brush.
If the caps are stuck, try running a utility knife gently around the edge to break any paint seal. Avoid using excessive force, as the plastic caps can crack. For more on keeping your appliances running smoothly, check out our guide to routine upkeep.
Visual Cues: Identifying Release Arrows and Cap Positions
The embossed arrows on the red caps are your best visual cue. They point in the direction you need to twist for release. Most users instinctively twist the opposite way, so take a moment to look closely.
The caps are typically located near the front of the base plate, just inside the outer edges. They are about an inch in diameter and sit flush against the housing. If you're working in low light, a flashlight can help you see the arrow clearly.
When the cap is properly released, it will lift straight up with minimal resistance. If it still feels stuck, double-check that you've twisted the full quarter turn. Some caps require a bit more pressure the first time, especially on newer machines.
Common Mistakes: Twisting the Wrong Way or Forcing Stuck Caps
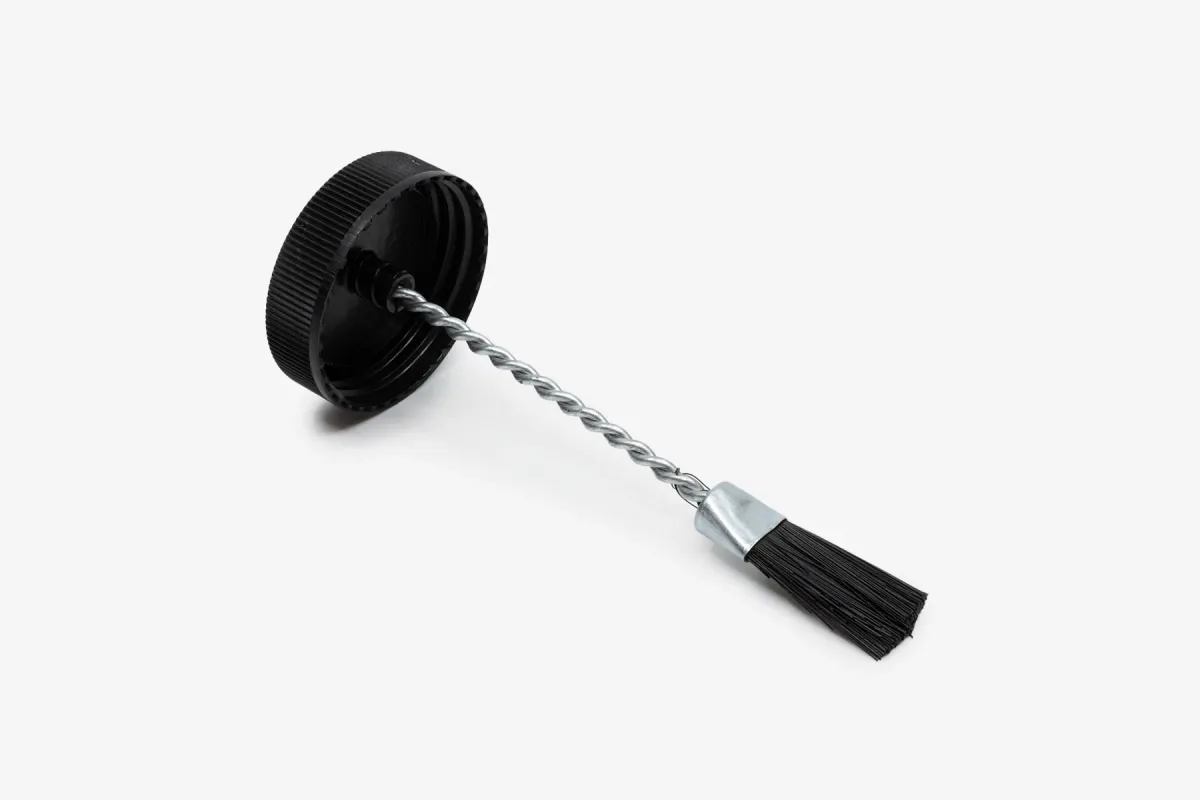
Image source: Bing (Web (fair-use with source credit))
The most common mistake is twisting the cap the wrong direction. Users often see the embossed arrow and assume it points toward the locked position. It does not.
The arrow shows the release direction, so twist toward it.
Forcing a stuck cap is the second biggest problem. If the cap resists, do not grip it with pliers and crank down. This cracks the plastic every time.
Instead, run a utility knife gently around the cap edge to break any paint seal. Then press firmly and twist. Patience works where force does not.
Another mistake is pulling the cap at an angle after twisting. This bends the spindle or damages the spring underneath. Always pull straight up once the quarter turn is complete.
If it resists, twist the cap again slightly and try the pull.
Safety First: Unplugging and Stabilizing the Machine Before Maintenance
Always disconnect the Power Scrub XL from its power source before touching the brush area. For corded models, pull the plug from the wall. For cordless models, remove the battery pack entirely.
This is not optional. The motor can activate if the trigger is bumped, and your fingers will be near the drive hub.
Stabilizing the machine matters more than most people realize. The Power Scrub XL has a top-heavy design, and flipping it onto its handle leaves the base plate elevated. On a smooth floor, this setup can tip over suddenly.
Set the machine on a non-slip mat or a folded towel to keep it steady while you work underneath.
Keep your non-dominant hand clear of the brush area during cap removal and brush extraction. The drive hub has no guard, and loose clothing or jewelry can catch on it. Work deliberately and keep your workspace clear.
For official safety guidance, consult the Hoover support page.
Costs and Replacement Parts: Budgeting for Genuine vs. Aftermarket Brushes
Replacement brush rolls for the Hoover Power Scrub XL typically cost between $15 and $25 per pair when buying genuine parts. Retention caps run $3 to $8 each if you have lost or cracked one. Aftermarket brushes can be found for $10 to $18, but size and fit vary.
If the brush rattles in the housing, it is the wrong part.
When budgeting for parts, factor in the cost of occasional cap replacement as well. A cracked cap can walk the brush out during use and damage the drive system over time.
Aggregate user reviews indicate that genuine brushes last longer under heavy use, especially in homes with pets. Aftermarket options work fine for light, occasional cleaning but tend to wear faster. Check verified buyer feedback before purchasing third-party brushes to avoid size mismatches.
Maintenance Beyond Removal: Cleaning Channels and Checking Drive Hubs
With the brushes out, take a few minutes to clean the brush channels. Hair, carpet fibers, and debris collect here over time. Use your fingers, tweezers, or an old toothbrush to pull out the buildup.
Wipe the channels with a dry cloth. Do not flood this area with water, as the motor housing sits directly beneath.
Inspect the drive hub while you are in there. Spin it by hand. It should rotate freely without grinding or roughness.
If you feel resistance, the hub bearing may be worn and the machine needs professional service. Running the machine with a damaged drive hub puts extra strain on the motor.
After reinstalling the brushes, test the machine on a small carpet area for about 30 seconds. Listen for unusual noises or vibration. If the brushes wobble or track off-center, remove them and check that both ends seated properly in the housings.
FAQs: Troubleshooting Seized Brushes, Lost Caps, and Replacement Timing
What if the brush cap is painted shut?
Run a utility knife gently around the cap edge to break the paint seal. Work slowly to avoid scratching the housing. Then press down firmly and twist toward the embossed arrow direction.
The brush will not slide out of the housing. What now?
Soak the brush end in warm water for five minutes to loosen debris. Wiggle it side to side while pulling. If that fails, use needle-nose pliers on the brush core and pull evenly.
I lost one of the red retention caps. Can I still use the machine?
Do not run the Power Scrub XL without both caps secured. Order replacements from Hoover service parts. The brush can walk out during operation and damage the drive hub.
How often should I replace the brush rolls?
Replace brush rolls every 12 months under typical home use. Homes with pets may need replacement every 3 to 6 months. Look for frayed bristles, visible wear, or wobble during the spin test.
Does the Power Scrub XL need any tools for brush removal?
No. The design uses a tool-free quarter-turn cap system. A utility knife is only needed if a cap is painted or fused shut.
Otherwise, your hands are all you need.
