Imagine waking up to the aroma of perfectly toasted bread—crispy on the outside, soft and warm on the inside. It’s the kind of breakfast experience that sets the tone for a great day.
But how do you achieve that perfect toast using your oven? You might have tried various methods, only to end up with burnt edges or a slice that’s still cold in the middle. You’re not alone in this quest for the ultimate toast.
You’ll discover the best way to toast bread in your oven, ensuring that each bite is a delight. Stick around, and you’ll learn the secrets to achieving golden-brown perfection every time.
Why Use An Oven For Toasting?
Toasting bread in an oven offers even heat distribution. This ensures the bread is crispy on the outside and soft inside. Unlike a toaster, an oven can handle multiple slices at once. This is perfect for serving a crowd or preparing a family breakfast.
The oven’s versatility allows for creative cooking. You can add toppings before toasting. Cheese melts perfectly, and veggies become tender. This creates an exciting twist on regular toast. It’s a practical choice for anyone seeking more control over the texture and flavor.
Consistent Results Every Time
An oven provides stable heat. This means each slice is toasted uniformly. No more uneven spots or burnt edges. The controlled environment helps achieve the desired golden color. This consistency makes the oven a reliable choice for perfect toast.
Flexibility In Toasting
An oven allows you to toast different types of bread. Whether it’s sourdough, baguette, or whole wheat, an oven handles them well. You can also toast thicker slices effortlessly. This flexibility caters to diverse preferences and occasions.
Ideal For Large Batches
An oven can toast many slices simultaneously. This is convenient for hosting guests or family brunches. You save time by not doing multiple rounds. Everyone gets their toast warm and ready at the same time.
Enhanced Flavor Options
An oven lets you add flavors before toasting. Brush slices with garlic butter, olive oil, or herb blends. The heat enhances these flavors, creating a delightful taste. This method elevates simple bread into a gourmet experience.
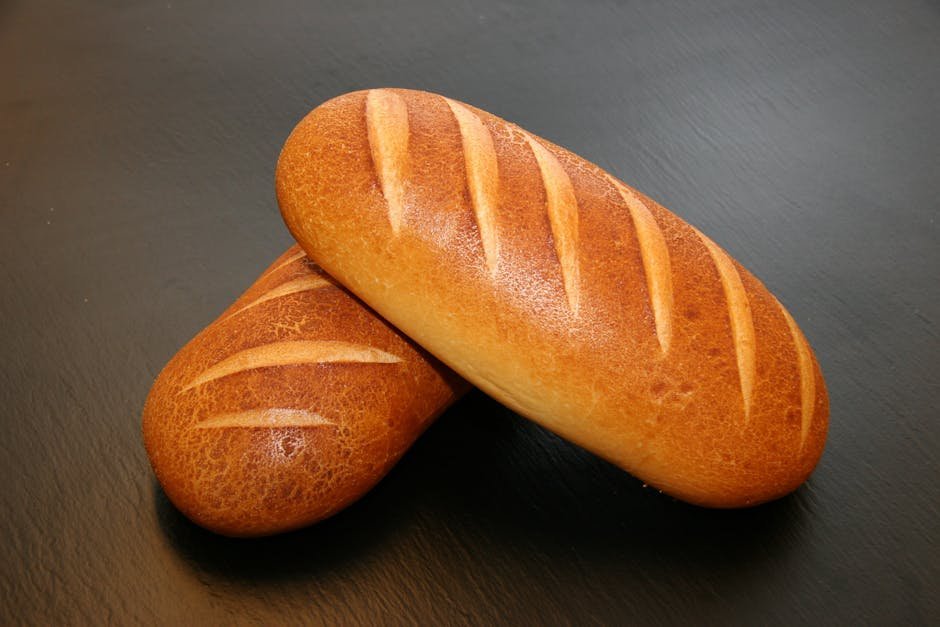
Choosing The Right Bread
Selecting the right bread is key to perfect oven-toasted slices. Opt for thicker cuts to achieve a crispy exterior and soft interior. Preheat the oven, place slices on a baking sheet, and toast evenly for golden perfection.
Choosing the right bread is crucial when it comes to toasting in the oven. Your choice can significantly impact the taste and texture of your final toast. Whether you’re aiming for a crispy crust or a chewy bite, the type of bread and its thickness are key elements to consider.Types Of Bread
Not all bread is created equal, especially when it comes to toasting. Sourdough is a favorite for those who love a robust flavor and a crunchy texture. Its dense structure holds up well in the oven, making it a great choice for open-faced sandwiches. Whole grain bread offers a nutty taste and is packed with nutrients. It’s perfect for a healthy morning toast and pairs well with savory toppings like avocado or poached eggs. If you prefer something soft and mild, white bread can be a good option. It crisps up easily and is versatile for both sweet and savory toppings. Consider trying rye bread if you’re in the mood for something different. Its unique flavor can add an interesting twist to your toast. Have you ever wondered how a simple change in bread choice could elevate your meal?Bread Thickness
The thickness of your bread slices plays a crucial role in achieving the perfect toast. Thicker slices, around 1 inch, tend to stay moist inside while getting crispy on the outside. This is ideal for hearty toppings like scrambled eggs or smoked salmon. On the other hand, thinner slices toast faster and are great for simple spreads like butter or jam. They become crunchy and are perfect for those who enjoy a light, crispy toast. If you’re using a baguette, try slicing it diagonally for a larger surface area that’s perfect for toppings. Experiment with different thicknesses to find your perfect balance. Have you found that the thickness of your bread influences your enjoyment of your toast? Choosing the right bread and thickness can transform your oven-toasted bread experience. Next time you’re about to toast, consider these aspects and see how it changes your meal.Preparing The Oven
Achieving the perfect toast begins with preparing your oven. The oven’s temperature and setup make a huge difference. A few simple steps can lead to golden, crispy bread. Let’s explore how to get your oven ready for toasting.
Preheating Tips
Start by setting your oven to 350°F. This temperature ensures even toasting. Allow the oven to preheat fully before placing the bread inside. Preheating takes about 10 minutes. A properly heated oven guarantees consistent results. Always use an oven thermometer for accuracy. This avoids undercooked or burnt toast.
Rack Position
The oven rack’s position affects the toasting process. Place the rack in the middle position. This allows heat to circulate evenly around the bread. If you desire a crispier texture, move the rack one level higher. For softer toast, keep it in the middle. Adjusting the rack is simple yet effective. It helps achieve the desired toast texture.
Credit: www.thekitchenmagpie.com
Perfect Toasting Techniques
Toasting bread in the oven is a simple yet rewarding task. Achieving the perfect toast means paying attention to technique. Whether you prefer a crispy exterior or a softer bite, the oven offers versatility. Let’s explore two effective methods: Single-Sided and Double-Sided Toasting.
Single-sided Toasting
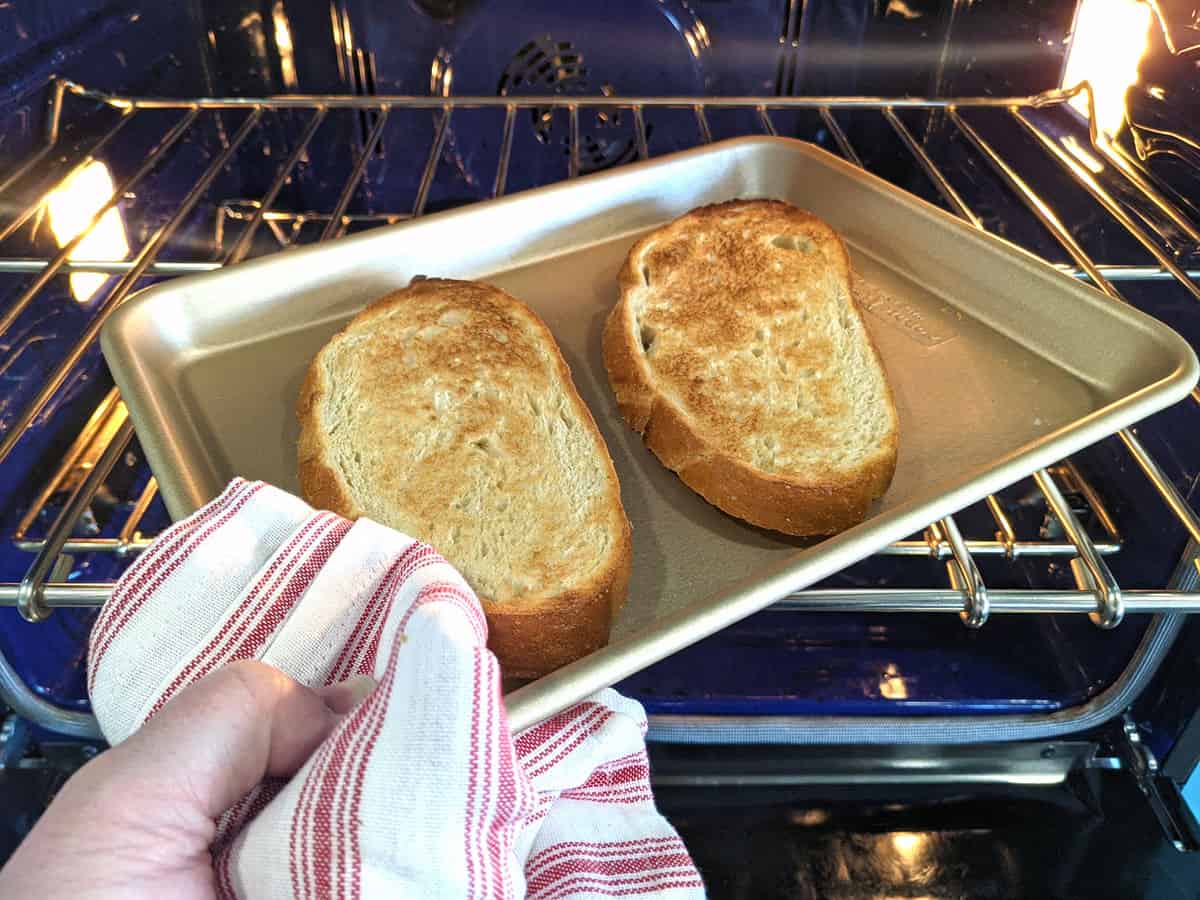
Single-sided toasting is ideal for a crunchy top. Place bread slices on a baking sheet. Set the oven to broil mode. Arrange the slices so the top faces the heat. Watch closely to avoid burning. The result is a crisp surface with a soft underside. Perfect for open-faced sandwiches.
Double-sided Toasting
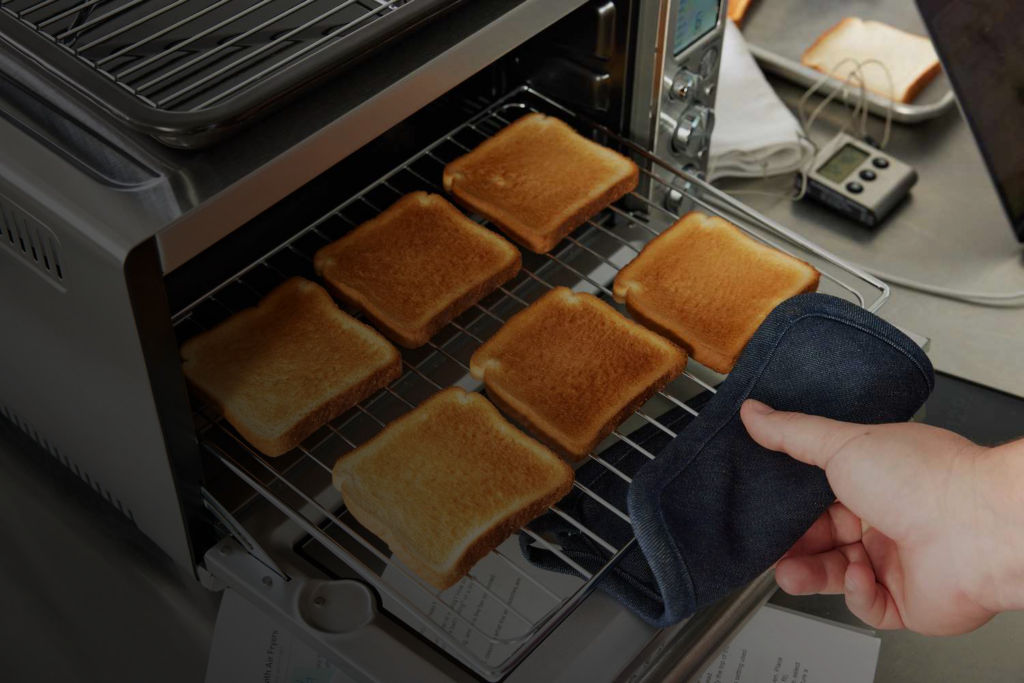
Double-sided toasting ensures even crunch on both sides. Preheat the oven to 375°F (190°C). Place the bread directly on the oven rack. Flip the slices halfway through. This technique creates a balanced texture. Ideal for buttered toast or jam lovers.
Enhancing Flavor
Toasting bread in the oven can elevate its flavor significantly. The oven provides an even heat, giving the bread a crispy texture. With the right ingredients, you can enhance the taste and make it more delightful.
Butter And Oil Options
Butter adds rich flavor to toasted bread. Use unsalted butter for a creamy taste. Spread a thin layer before placing the bread in the oven. Olive oil offers a healthier alternative. Choose extra virgin for a fruity note. Brush lightly on the slices for best results.
Seasoning Ideas
Seasonings can transform simple toast into a gourmet treat. Garlic powder adds a savory kick. Sprinkle evenly for balanced flavor. Cinnamon gives a sweet, aromatic twist. Pair it with butter for a comforting taste. Consider using herbs like thyme or rosemary. They infuse bread with earthy notes, making it more aromatic.
Credit: aeno.com
Monitoring The Toasting Process
Toasting bread in the oven requires careful monitoring for perfect results. Adjust temperature and time for desired crispness, keeping a close eye to avoid burning. Flip slices halfway through for even toasting on both sides.
Toasting bread in the oven can bring out a delightful crunch and flavor that a regular toaster might not achieve. However, achieving that perfect toast requires more than just setting a timer and walking away. Monitoring the toasting process is key to ensuring each slice reaches its crispy potential without burning. Here, we delve into two crucial aspects of monitoring: Time Management and Visual Cues.Time Management
Keeping track of time can be your best ally when toasting bread in the oven. Start by setting your oven to 350°F and placing the bread slices on a baking sheet. Begin with a timer set for 4 minutes. It’s essential to stay nearby because different bread types toast at different rates. Whole grain might need more time than white bread. Adjust the time based on your preference and the thickness of the slices. Don’t just rely on the timer. Consider checking halfway through the time you initially set. This simple act can prevent over-toasting and help you fine-tune your process for future toasting sessions.Visual Cues
Watching your bread is as important as timing it. Keep an eye on the bread’s color. You want a golden brown, not a dark brown or black. Check the edges first. They often brown faster than the center. If they darken too quickly, reduce the oven temperature slightly. Touch the bread lightly with a spatula to check for crispness. It should feel firm to the touch. If it still feels soft, give it another minute or two, but stay vigilant. Have you ever noticed how aroma can be a cue? If you smell a rich, toasty scent, it’s a sign that your bread is nearing perfection. Use this as a signal to take a quick peek. By focusing on time management and visual cues, you can master the art of oven-toasting bread. What’s your favorite way to ensure your toast comes out perfectly?Avoiding Common Mistakes
Toasting bread in the oven? Place slices on a baking sheet for even crispness. Keep an eye to prevent burning. Adjust time for your desired texture.
Toasting bread in the oven may seem simple, but there are common mistakes that can turn your breakfast delight into a disappointment. Ensuring your toast comes out just right requires a bit of attention to detail. Let’s dive into the art of avoiding these common pitfalls to achieve that perfect slice every time.Preventing Soggy Toast
Avoiding soggy toast starts with the right bread placement. If you lay slices directly on a baking sheet, they might trap moisture and become limp. Instead, place the bread directly on the oven rack. This allows air to circulate all around, giving you that crispy texture you crave. Consider preheating your oven to ensure even toasting from the start. A cold oven can lead to uneven cooking, leaving some parts of the bread softer than others. Have you ever tried using the broil setting? It can be a game-changer. Just keep a close eye on it, as broiling can quickly turn your toast from golden to burnt if you’re not careful.Avoiding Overcooking
Overcooking is another common issue that can ruin your toast. Setting a timer is your best friend here. It’s easy to get distracted, so a gentle reminder will help you avoid charred slices. Keep your oven temperature in check. If it’s too high, you risk scorching the edges while the center remains pale. A moderate temperature of around 350°F usually works well for most ovens. Have you ever noticed that different types of bread toast differently? Thinner slices cook faster than thicker ones. Adjust your timing based on the bread you’re using to prevent overcooking. By being mindful of these common mistakes, you can elevate your toast-making skills and enjoy perfectly crispy bread every time. Are you ready to give these tips a try and see the difference?Creative Toasting Variations
Toasting bread in the oven opens up endless possibilities. It’s not just about getting a crispy slice. You can create delightful variations that suit every taste. From savory to cheesy, there’s something for everyone.
Garlic Bread
Transform plain slices into fragrant garlic bread. Start by mixing butter with minced garlic. Spread the mixture generously on each slice. Sprinkle some parsley for added freshness. Place the bread in the oven at 350°F. Bake until golden brown and aromatic. This simple twist elevates any meal.
Cheese Toast
Cheese toast is a favorite for many. Choose your favorite cheese, like cheddar or mozzarella. Grate it over your bread slices. For extra flavor, add a pinch of paprika. Bake in the oven until the cheese melts. The result is a gooey, delicious treat. Perfect for snacking or pairing with soup.

Credit: aeno.com
Frequently Asked Questions
How Long To Toast Bread In The Oven?
To toast bread in the oven, preheat it to 350°F. Place the bread slices on a baking sheet. Toast for 10 minutes, flipping halfway for even browning. This method ensures crispness without burning. Monitor closely to achieve your desired level of toastiness.
Can I Toast Bread Without A Toaster?
Yes, you can toast bread without a toaster using an oven. Preheat the oven to 350°F. Arrange bread slices on a baking sheet. Toast for about 10 minutes, flipping once. This method delivers evenly toasted, crispy bread. It’s a simple and effective alternative to a toaster.
What Oven Setting Is Best For Toasting?
The best setting for toasting bread in the oven is “Bake” at 350°F. This ensures even heat distribution. It helps achieve a golden, crispy texture without burning. Avoid using “Broil” as it might brown too quickly. Always monitor to prevent over-toasting.
Is It Healthier To Toast Bread In The Oven?
Toasting bread in the oven can be healthier. It allows precise control over browning, preventing burning. No additional oils or fats are needed. The even heat distribution also ensures consistent texture. This method enhances flavor while maintaining the bread’s nutritional value.
Conclusion
Toasting bread in the oven is simple and effective. It gives a perfect crisp every time. You can easily control the browning level. Just set the right temperature. Use a baking sheet for even results. Flip halfway for both sides to toast evenly.
This method suits various bread types. It’s great for sandwiches or breakfast toast. Enjoy your perfectly toasted bread. Experiment with toppings for extra flavor. Oven-toasted bread enhances any meal. Try it today for delicious results.
