
Imagine waking up to the irresistible aroma of freshly baked donuts, all without having to step outside your kitchen. If you love the idea of homemade donuts but don’t have a donut pan, you’re not alone.
Instead of heading out to buy one, why not make your own? Creating a homemade donut pan is not only simple but also incredibly rewarding. You’ll discover the joy of crafting delicious treats with tools you made yourself. Ready to unleash your inner pastry chef and impress your family and friends with perfectly shaped donuts?
Dive into this guide and learn how to make your very own donut pan with items you likely already have at home. Your homemade donut adventure starts here!
Materials Needed
Creating a homemade donut pan requires simple materials. Gather an oven-safe tray and aluminum foil. Mold the foil into donut shapes.
Creating a homemade donut pan is a creative and rewarding project. It allows you to enjoy freshly baked donuts without the need for store-bought equipment. Not to mention, it’s a fun way to explore your DIY skills in the kitchen. Before diving into this culinary adventure, let’s gather the materials you’ll need. With the right tools at your disposal, you can start crafting those perfect donut shapes in no time.1. Aluminum Foil
Aluminum foil is the star of this DIY project. It’s flexible yet sturdy enough to hold the shape of a donut. You might already have some in your kitchen, saving you an extra trip to the store. When using aluminum foil, remember to handle it gently to avoid tearing. You’ll need to mold it into cylinders that will form the donut holes.2. Muffin Or Cupcake Pan
A standard muffin or cupcake pan serves as the base for your homemade donut pan. It helps maintain the structure of your aluminum foil molds. If you don’t have one, consider borrowing from a neighbor or friend. Using a muffin pan ensures that your donuts bake evenly. Each section acts as a mini oven, providing consistent heat for your treats.3. Cooking Spray
Cooking spray is essential to prevent sticking. It makes the removal of donuts from the makeshift pan a breeze. Even a light coating can make a big difference in the final outcome. You don’t want your hard work to be ruined by donuts that won’t budge. Make sure to spray the foil molds thoroughly.4. Scissors
A sharp pair of scissors will help you cut the aluminum foil into precise shapes. Accuracy is key to ensure that each donut is uniform. You’ll want your donuts to look as good as they taste. Cutting the foil into even strips will help you form consistent cylindrical shapes. It’s a small step that adds to the overall success of your project.5. Ruler Or Measuring Tape
A ruler or measuring tape ensures precision in your foil cutting. Exact measurements help in creating donuts that cook evenly. This step, though often overlooked, can significantly impact your baking results. Precision in crafting your molds can make or break your homemade donut experience. Aim for consistency in every step to achieve bakery-quality results. By gathering these materials, you set the stage for a successful homemade donut-making experience. Have you considered how much fun it will be to tell your friends you made the pan yourself? Get ready to impress not only with delicious donuts but also with your DIY prowess.
Credit: www.inthekitchenwithmatt.com
Choosing The Right Mold
Creating a donut pan at home requires selecting the right mold. Opt for a sturdy, oven-safe material like silicone or metal. Ensure the mold size fits your oven and can hold donut batter without spilling.
Choosing the right mold is a crucial step in making a homemade donut pan. The mold you choose will determine the shape and size of your donuts, which can impact both their taste and presentation. Whether you’re aiming for classic round donuts or experimenting with fun shapes, the right mold will make all the difference in your baking adventure.Understanding Your Options
When selecting a mold, consider what materials you have readily available. Common household items like muffin tins, cookie cutters, or even small bowls can be repurposed as molds. Keep in mind that creativity is your best friend here—look around your kitchen and imagine the possibilities.Material Matters
The material of your mold affects how the donuts cook. Aluminum and silicone are popular choices because they distribute heat evenly. If you don’t have these, a simple tin foil creation can work wonders.Size And Shape
Think about the size and shape of the donuts you want. Want mini donuts? Muffin tins are perfect. If you’re feeling adventurous, try using cookie cutters for unique shapes. Remember, the mold should be deep enough to give your donuts a nice rise.Ease Of Use
Consider how easy it will be to use and clean your chosen mold. A mold that releases donuts easily and cleans up quickly will save you time and frustration. Silicone molds, for example, are flexible and easy to clean, making them a favorite among DIY bakers.Testing Your Mold
Before baking a full batch, test your mold with a small amount of batter. This ensures your donuts will come out the way you envision. It’s a small step that can prevent disappointment later.Personal Experience
I once tried using a makeshift mold from a cookie cutter and a baking sheet. It was a fun experiment, but I learned that securing the cookie cutter with foil ensured the batter didn’t leak. Have you ever tried something unconventional in your baking? Choosing the right mold might require some trial and error, but it’s all part of the fun. Embrace the process, and you’ll soon be enjoying delicious homemade donuts that are uniquely yours.Crafting With Aluminum Foil
Have you ever found yourself craving homemade donuts but lacking the essential donut pan? You’re not alone. Many home bakers face the same dilemma, but there’s a clever solution right in your kitchen. Crafting with aluminum foil is an inventive and straightforward way to make your own donut pan, ensuring you’re never without your favorite treat. This method is both budget-friendly and surprisingly effective, allowing you to create perfectly shaped donuts without a special pan.
Shaping The Foil
Start with a piece of aluminum foil large enough to mold into a donut pan. It’s best to use heavy-duty foil for durability. Fold the foil over itself several times to create a thick, sturdy base.
Next, shape the foil into a rough donut shape. If you want uniform donuts, pay close attention to the size and thickness of the foil. Consider using a cup or glass as a template to guide your shaping.
Once you have your desired donut shape, press down the edges firmly. This will help the foil hold its shape during baking. Remember, precision in shaping will yield better results, so take your time with this step.
Creating The Donut Wells
Now, let’s focus on crafting the donut wells. You’ll need to form small circular wells in the foil to hold the batter. Use your fingers or the bottom of a small cup to press down gently in the center of each foil donut shape.
Ensure each well is deep enough to hold the batter without spilling over. If the foil feels flimsy, add another layer for extra support. This will prevent any accidents in the oven.
Test the wells by pouring a small amount of water into them. If they hold water without leaking, you’re ready to fill them with donut batter. If not, adjust the foil to create a tighter seal.
By crafting your own donut pan, you not only save money but also unleash creativity in your kitchen. Have you considered how this DIY approach might change your baking routine? There’s something satisfying about solving a problem with your hands and resourcefulness.
Embrace the challenge and enjoy the process. Who knows, your homemade donut pan might become a favorite tool in your baking arsenal.
Using A Muffin Pan
Who knew that your trusty muffin pan could step up to the plate and help you make homemade donuts? It’s true; with a bit of creativity and a few adjustments, you can transform a muffin pan into a donut-making machine. Imagine the delight of biting into a fresh, warm donut made right in your own kitchen without investing in a donut pan. Intrigued? Let’s dive into how you can use a muffin pan to whip up some delightful donuts.
Adjusting The Muffin Pan
The first step in turning your muffin pan into a donut pan is all about making space for the donut hole. Muffin pans are designed for round, fluffy muffins, but with a small tweak, they can accommodate a donut shape.
Start by ensuring your muffin pan is clean and dry. A little preparation goes a long way in making the whole process smoother. Now, take a look at the size of your muffin cups. They should ideally be the standard size, around 2.5 inches in diameter.
Does your muffin pan look ready? Perfect! Now, let’s create the donut shapes by adding a simple yet effective trick—foil cylinders.
Adding Foil Cylinders
Creating the signature donut hole is easy with foil cylinders. Think of them as the magic ingredient that turns muffin batter into donut batter. To make these cylinders, tear off a small piece of aluminum foil and roll it into a tiny cylinder, about the size of your pinky finger.
Place each foil cylinder in the center of each muffin cup. Make sure they’re securely in place. This will help the batter rise around the cylinder, forming that beloved donut hole.
Have you ever tried making these foil cylinders? It’s almost like crafting, but with a tasty reward at the end. Why not give it a try and see the transformation yourself?
With the muffin pan adjusted and foil cylinders in place, you’re ready to pour your donut batter and bake. Every step you take brings you closer to enjoying homemade donuts. Wouldn’t it be exciting to surprise your friends and family with homemade treats using just a muffin pan?
So, are you ready to unleash your inner baker and transform your kitchen into a donut haven? Grab that muffin pan and start baking!
Building With Cardboard
Building a homemade donut pan using cardboard might sound unconventional, but it’s a fun and creative way to bring your culinary dreams to life. Cardboard is easily accessible, affordable, and surprisingly sturdy when crafted correctly. Plus, it’s an eco-friendly option for those who want to reduce waste. Ready to dive into this crafty adventure? Let’s explore how you can transform simple cardboard into a functional donut pan, starting with cutting the cardboard circles.
Cutting The Cardboard Circles
Begin by gathering sturdy cardboard that can hold the weight of your donut batter. You might find that old delivery boxes or packaging material work best. Trace circles onto the cardboard using a plate or any round object that matches the size of your desired donuts. Ensure that each circle is uniform to avoid uneven cooking.
Once you have your circles traced, carefully cut them out using a sharp pair of scissors or a utility knife. This step requires patience and precision. Think about the satisfaction of getting that perfect circle. Remember, the smoother your cuts, the better your donuts will hold their shape.
Assembling The Pan
With your cardboard circles ready, it’s time to assemble your donut pan. Lay the circles flat and begin arranging them in rows, leaving enough space between each one for the batter to expand. Here, you can decide on the number of donuts you want to make at once.
Use additional strips of cardboard to create walls around each circle, forming a well for the batter. Secure these strips with strong tape or glue. The walls should be high enough to contain the batter but not too high, so they don’t interfere with cooking. This step is crucial for ensuring your donuts rise evenly.
Reflect on the excitement of seeing your homemade pan come together. Picture the joy of sharing your unique creation with friends and family. What other everyday items can you repurpose in your kitchen adventures?
Creating a homemade donut pan from cardboard is not just a crafty endeavor; it’s a testament to resourcefulness and creativity. Embrace the process, and enjoy the delicious fruits of your labor.
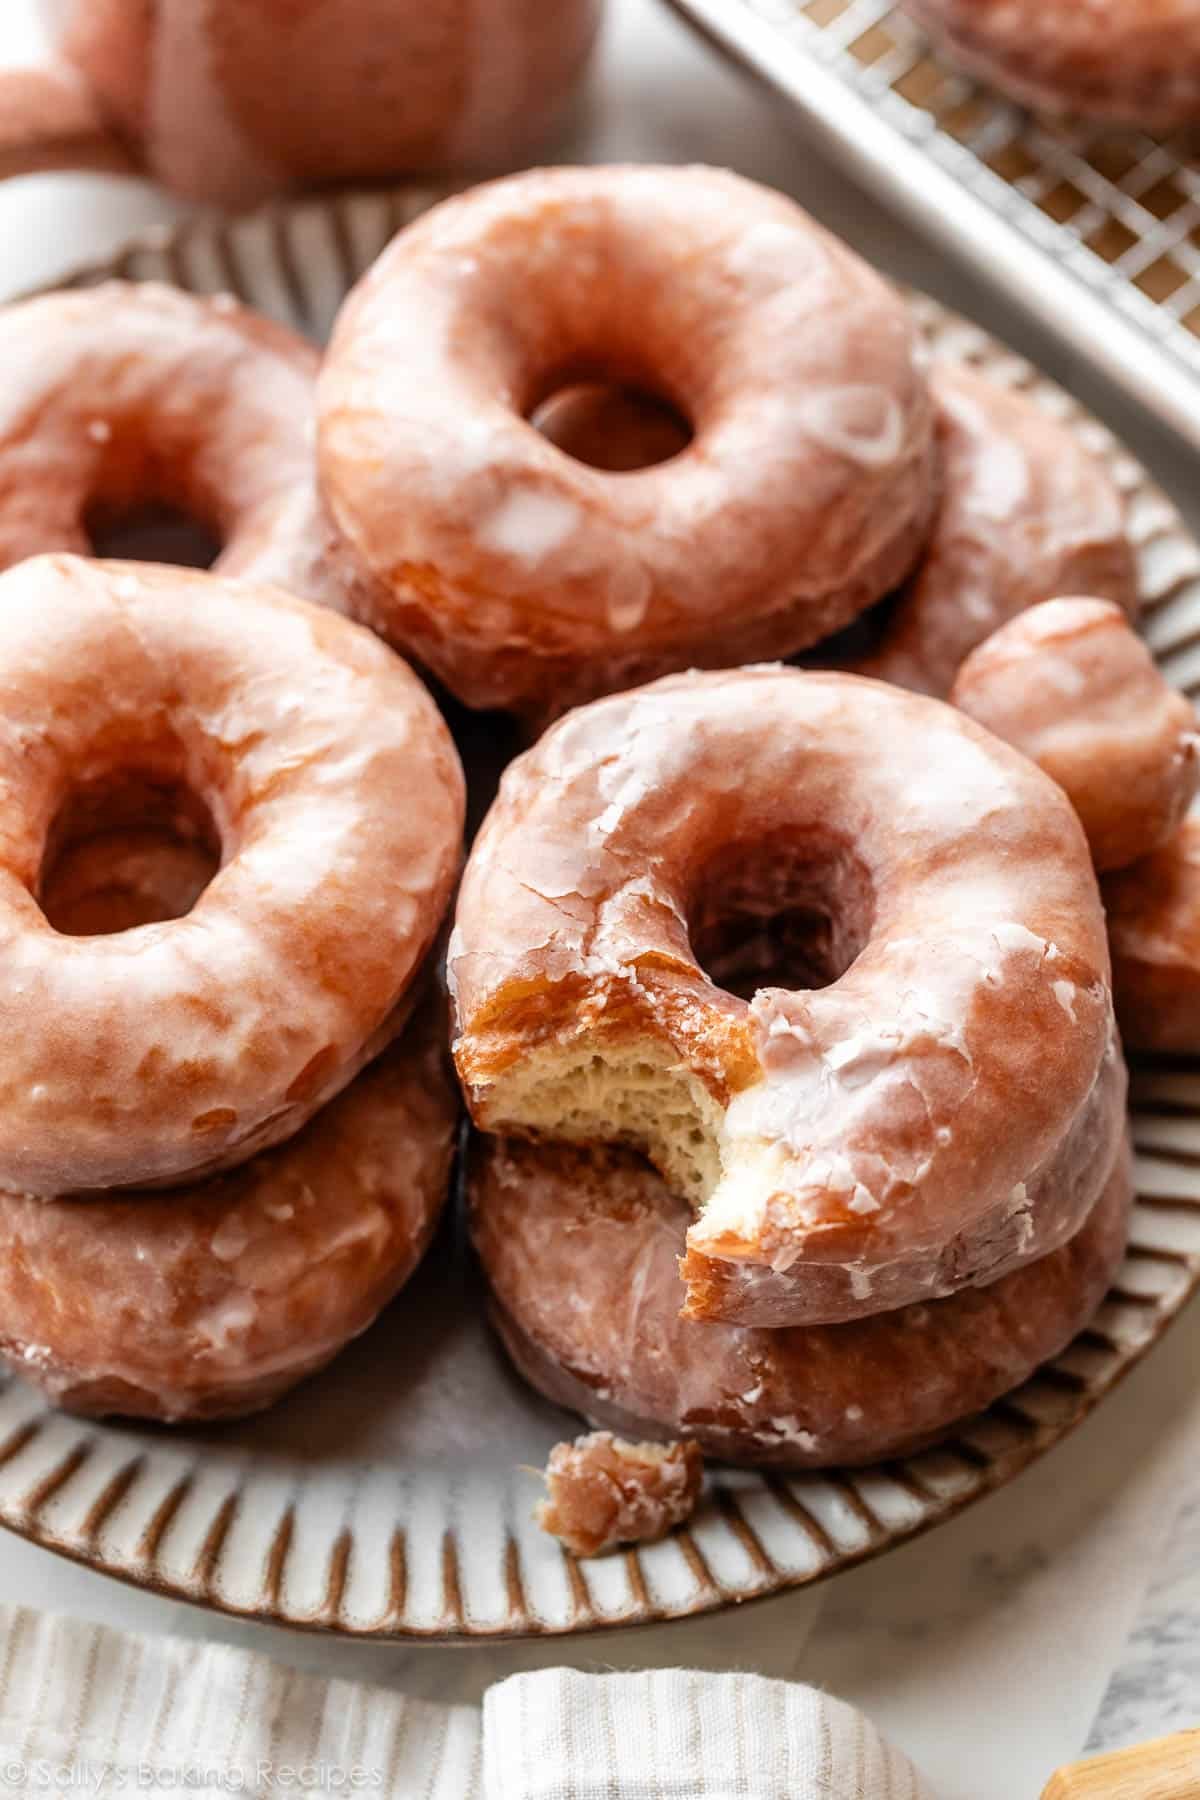
Credit: sallysbakingaddiction.com
Testing Your Homemade Pan
Crafting a homemade donut pan involves simple materials like foil and muffin tins. Shape the foil to form donut molds. Place them in a muffin tin for support. Pour batter and bake. Test your creation by checking the donuts for even cooking and shape.
Perfect for baking enthusiasts!
Testing your homemade donut pan is an exciting step that brings you closer to enjoying those delicious treats. After crafting your pan, it’s crucial to ensure it performs effectively and safely. You don’t want a batch of donuts ruined by a faulty pan, right? Here’s how you can test your creation to make sure it stands up to the task.Checking For Stability
Place your homemade donut pan on a flat surface. Gently press down on different sections. Is it wobbling? A stable pan is essential to avoid mishaps in the oven. If it tips or wobbles, consider reinforcing it with additional material or checking for uneven surfaces. Stability ensures your donuts cook evenly and retain their perfect shape.Ensuring Heat Resistance
Before testing with actual dough, pop your pan into the oven. Set the temperature to what your donut recipe calls for. Do you notice any warping or bending after a few minutes? That’s a red flag! Use materials known for their heat resistance when crafting your pan. Can your pan withstand the heat without compromising its integrity? Testing your pan is not just about functionality. It’s about ensuring safety and perfection in your baking process. Would you trust your pan to deliver flawless donuts every time? Your homemade creation should give you confidence, not doubts.Baking Tips
Creating homemade donuts can be a fun and rewarding experience. Without a donut pan, you can still achieve delicious results. Following baking tips ensures your donuts come out perfect every time. Consistency and attention to detail are key.
Preparing The Batter
Start with the right ingredients. Use fresh flour, sugar, and eggs. Mix dry ingredients first. Then add wet ingredients gradually. Stir until the batter is smooth. Avoid overmixing to keep donuts light and fluffy. Rest the batter for a few minutes before pouring.
Cooking Time Adjustments
Without a standard donut pan, cooking time may vary. Keep a close eye on your donuts. Check them after 10 minutes in the oven. Insert a toothpick to test doneness. It should come out clean. If not, bake for a few more minutes. Adjust times based on your equipment and preference.
Safety Considerations
Ensuring safety is crucial when crafting a homemade donut pan. Use heat-resistant materials to prevent accidents in the oven. Always handle sharp tools and hot surfaces with care to avoid injuries.
Creating a homemade donut pan can be a fun and rewarding project, but it’s crucial to keep safety in mind. Whether you’re using metal, silicone, or other materials, handling them safely ensures that your DIY adventures don’t end in mishaps. Safety isn’t just about avoiding burns or cuts—it’s also about ensuring your homemade pan is safe for food use. Let’s dive into some essential safety tips for your donut pan adventure.Handling Hot Materials
Working with metal or silicone often means dealing with heat. If you’re molding your pan using hot materials, remember to use protective gloves. A friend’s DIY project turned into a painful experience due to ignoring this simple step. Don’t let your creativity lead to burns; always prioritize protection. Think about where you’re working. Is your workspace heat-resistant? Ensure your counter or table can handle the heat to prevent damage.Ensuring Food Safety
Your homemade donut pan must be food-safe. This means using materials that won’t leach harmful chemicals into your delicious treats. Consider using food-grade silicone if you’re making a silicone pan. It’s readily available and safe for baking. Before using your pan, clean it thoroughly. Residual debris or chemicals can contaminate your donuts, affecting both flavor and safety. How confident are you that your materials won’t affect the food? Double-checking can save you from a bad baking experience. Safety considerations might seem tedious, but they ensure your homemade donut pan produces tasty and safe treats every time. Keep these tips in mind, and enjoy a safe and delightful baking journey!
Credit: www.youtube.com
Frequently Asked Questions
What Materials Can I Use For A Donut Pan?
You can use aluminum foil, muffin tins, or silicone molds to create a homemade donut pan. Aluminum foil is easy to shape and is readily available. Muffin tins can be adapted with foil inserts. Silicone molds are flexible and reusable, offering an eco-friendly option for baking donuts.
How Do I Shape A Donut Mold With Foil?
To shape a donut mold with foil, cut a square piece and fold it into a thick strip. Roll the strip into a ring shape, securing the ends. Place the ring in a muffin tin or baking tray. Repeat the process to create multiple molds for your donuts.
Can I Use Muffin Tins To Make Donuts?
Yes, you can use muffin tins to make donuts. Simply create a foil ring to place in the center of each muffin cup. This will shape the donut hole. Pour the batter around the ring and bake. It’s a simple and effective method for making homemade donuts without a specialized pan.
How To Ensure My Homemade Donut Pan Is Non-stick?
To ensure your homemade donut pan is non-stick, coat it with a generous layer of cooking spray or oil. You can also use parchment paper or a non-stick baking mat. This will prevent the donuts from sticking and help achieve a smooth release after baking.
Conclusion
Creating a homemade donut pan is simple and fun. With basic tools, you can craft a unique baking tool. This saves money and reduces clutter in your kitchen. You also get to enjoy fresh donuts anytime. Homemade pans give you creative control over your treats.
Experiment with different shapes and sizes. Making your own pan adds a personal touch. Plus, it’s an enjoyable DIY project. Remember, practice makes perfect. So try making one today. Enjoy your delicious homemade donuts!
