
Are you noticing spots on your dishes even after a full dishwasher cycle? The secret to sparkling clean dishes often lies in a well-maintained rinse aid dispenser.
But, when was the last time you cleaned yours? If your answer is “never” or “I don’t remember,” you’re not alone. Many people overlook this simple maintenance task, yet it’s crucial for optimal dishwasher performance. Imagine the satisfaction of pulling out a load of dishes that gleam with cleanliness every time.
In this guide, you’ll discover easy steps to clean your dishwasher rinse aid dispenser, ensuring every dish shines and your appliance runs smoothly. Keep reading to unlock the secret to spotless dishes and a more efficient dishwasher.

Credit: wilsonwholesalesupply.com
Importance Of Cleaning The Rinse Aid Dispenser
Cleaning the rinse aid dispenser is crucial for effective dishwasher performance. It prevents residue build-up, ensuring dishes come out sparkling clean. Regular maintenance avoids clogs and keeps the dishwasher running smoothly.
Cleaning the rinse aid dispenser in your dishwasher is a task that often slips under the radar. Yet, it plays a crucial role in ensuring your dishes come out sparkling clean. Neglecting this small component can lead to cloudy glasses and unsightly spots on your dinnerware. Let’s delve into why keeping this dispenser clean is so essential for maintaining the efficiency of your dishwasher.Why The Rinse Aid Dispenser Matters
The rinse aid dispenser ensures that your dishes dry without water spots. It helps water slide off surfaces, preventing streaks and residue. When it’s clogged or dirty, your dishwasher can’t perform at its best, leaving you with extra cleaning work.Enhancing Dishwasher Performance
A clean rinse aid dispenser leads to improved drying performance. Imagine pulling out a glass only to find it still wet and streaky. Regular cleaning of this dispenser prevents such scenarios, making your dishwasher more efficient.Preventing Build-up And Clogs
Over time, rinse aid can thicken and cause clogs. This can restrict the flow of the liquid, reducing its effectiveness. By cleaning the dispenser regularly, you prevent this build-up and ensure smooth operation.Ensuring Consistent Rinse Aid Flow
You want your dishwasher to dispense the right amount of rinse aid every cycle. A dirty dispenser can lead to uneven distribution. Consistent cleaning ensures the rinse aid flows correctly, giving your dishes the shine they deserve.Prolonging The Lifespan Of Your Dishwasher
Maintenance tasks, like cleaning the rinse aid dispenser, contribute to the longevity of your appliance. A well-maintained dishwasher doesn’t have to work as hard, reducing wear and tear. Consider this small task as a way to protect your investment.Practical Steps For Cleaning
Feeling overwhelmed by the idea of cleaning your rinse aid dispenser? Don’t worry, it’s simpler than you think. Grab a soft brush, some warm water, and a gentle detergent. Gently scrub the dispenser to remove any residue.Personal Experience: A Lesson Learned
I once ignored my rinse aid dispenser for months. The result? Cloudy dishes that needed rewashing. Once I cleaned it, the difference was night and day. It taught me the value of regular maintenance, a lesson I share with you today. Taking a few moments to clean your rinse aid dispenser can save you time and frustration. Is it time to give your dishwasher a little TLC?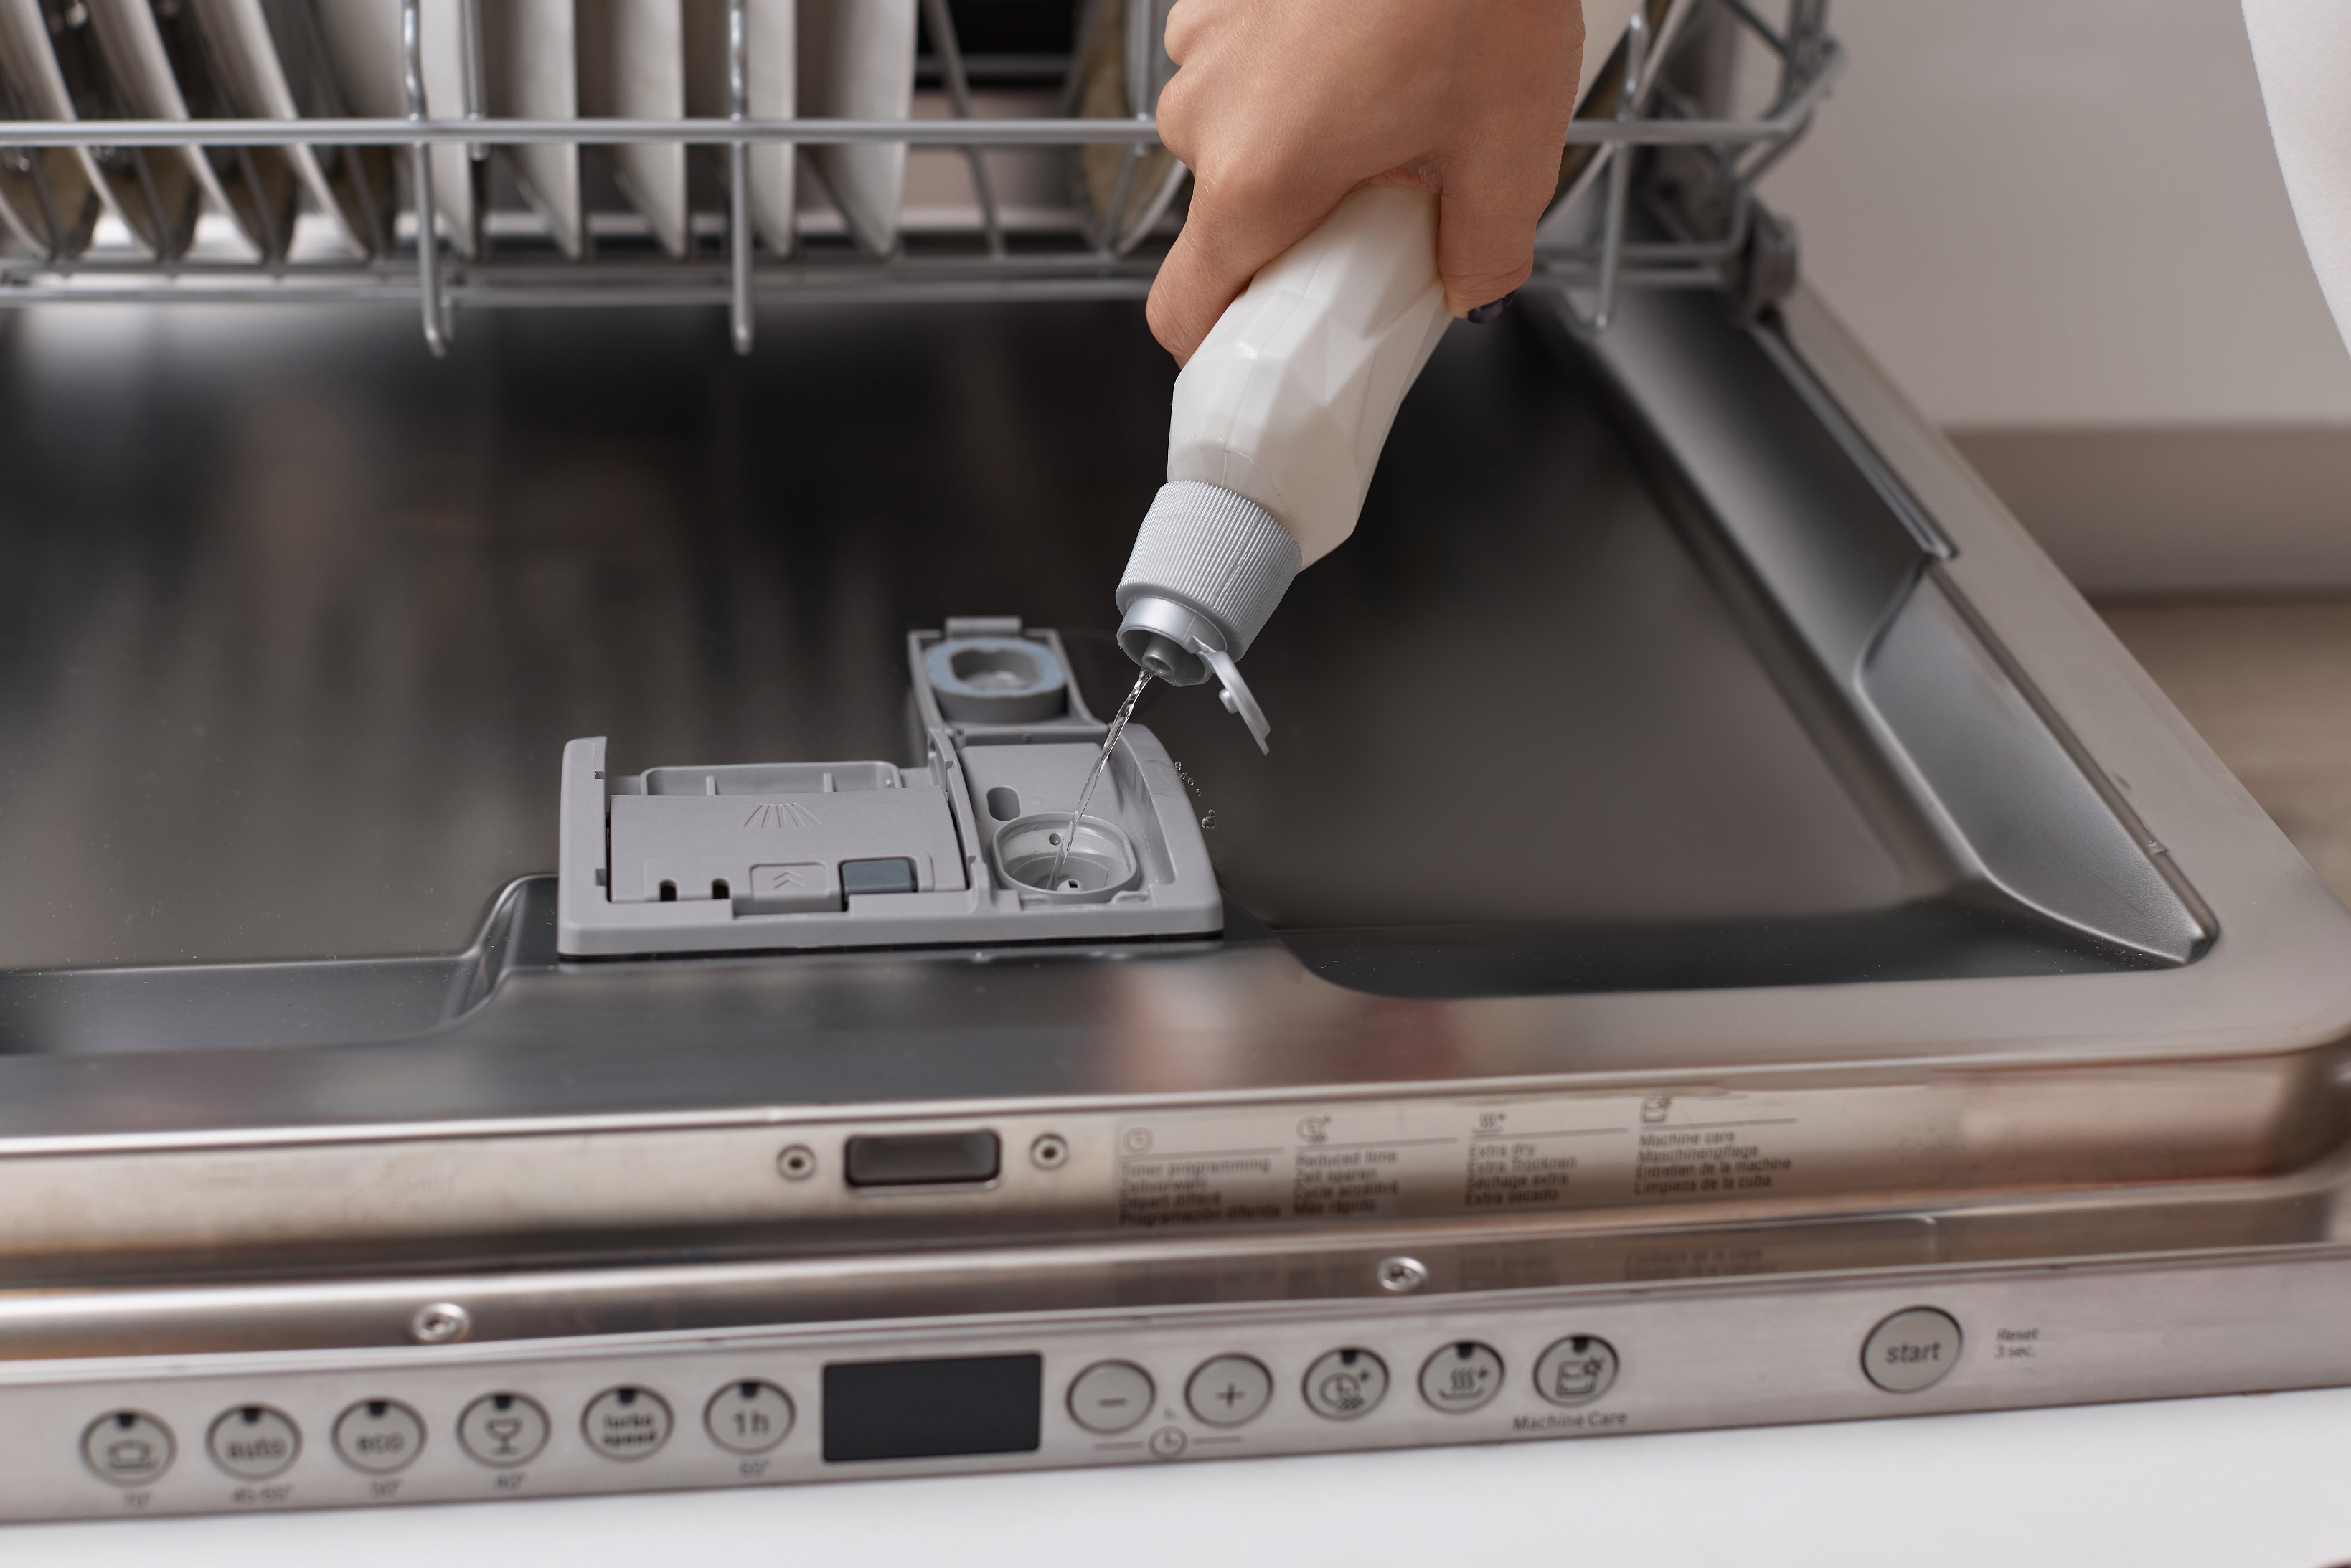
Credit: www.searshomeservices.com
Signs Of A Clogged Rinse Aid Dispenser
Spotting a clogged rinse aid dispenser can save your dishwasher’s performance. A well-functioning dispenser ensures dishes come out sparkling clean. When the dispenser is clogged, it disrupts this process. Knowing the signs helps maintain dishwasher efficiency.
1. Cloudy Glassware
Cloudy glasses are a common sign of a clogged dispenser. The rinse aid helps remove water spots. Without it, glasses may appear dull and cloudy.
2. Wet Dishes After Cycle
Dishes should be dry after a complete cycle. If they’re still wet, the rinse aid might not be dispensing. This often indicates a clog.
3. Residue On Dishes
Food particles or soap residue may remain on dishes. This suggests the rinse aid isn’t working. A clogged dispenser could be the culprit.
4. Inefficient Drying
Rinse aid aids in drying. A clogged dispenser leads to longer drying times. You may notice this issue immediately.
5. Unpleasant Odor
Stagnant water or old rinse aid causes odors. A clogged dispenser can trap these elements. The smell indicates a need for cleaning.
Essential Tools And Materials
Cleaning a dishwasher rinse aid dispenser requires specific tools and materials. A small brush, vinegar, and a cloth effectively remove residue. Regular maintenance ensures optimal dishwasher performance and cleanliness.
Cleaning your dishwasher’s rinse aid dispenser might seem like a mundane task, but it’s one of those small chores that can dramatically improve the efficiency of your appliance. Just like any other machine, your dishwasher needs a bit of attention to keep working at its best. Knowing the essential tools and materials can make this cleaning process a breeze.Tools You Need
To start, gather a few basic tools. A small toothbrush or a similar brush is ideal for scrubbing the dispenser’s nook and crannies. You might also need a small funnel to pour cleaning solutions easily. A soft cloth or sponge is handy for wiping down surfaces. These tools are often readily available in your home, making the task straightforward and convenient.Cleaning Solutions
Consider using white vinegar or baking soda, both excellent natural cleaners. Vinegar can dissolve mineral deposits and soap scum, while baking soda is great for deodorizing. If you prefer commercial products, look for dishwasher-safe cleaners. Choose those specifically designed to remove buildup and grime without damaging the dispenser.Safety Materials
Protecting your hands is crucial. You may want to use gloves, especially if you’re using chemical cleaners. Gloves prevent irritation and keep your hands clean. Also, ensure you have a small bucket or container to collect any excess water or solution. This helps maintain a tidy workspace.Organizational Supplies
A few small containers can help you keep parts organized if you need to disassemble anything. Label them to remember where each piece goes. Having a towel nearby is useful for drying parts and surfaces after cleaning. It keeps everything neat and ready for reassembly. Cleaning the rinse aid dispenser can be simple and rewarding with the right tools and materials. Have you ever thought about how much cleaner your dishes could be with a little extra care to your dishwasher? It’s these small efforts that often make the biggest difference.Preparing The Dishwasher For Cleaning
Cleaning your dishwasher rinse aid dispenser starts with preparation. Proper preparation ensures a smooth cleaning process. It helps maintain your dishwasher’s efficiency and prolongs its life. Follow these steps to get started.
Turning Off The Dishwasher
Begin by ensuring the dishwasher is turned off. This step is crucial for safety. Locate the power button on your dishwasher. Press it to switch off the machine. If your dishwasher is plugged in, unplug it from the outlet. This prevents any electrical accidents during cleaning. Double-check to confirm the machine is completely off.
Removing The Dishwasher Rack
Next, remove the dishwasher rack for easy access. Pull the rack out gently. Place it aside in a safe area. This step allows you to reach the rinse aid dispenser with ease. Check for any dishes or items left in the rack. Remove them before proceeding with the cleaning.
Step-by-step Cleaning Process
Keeping your dishwasher running efficiently is essential, and cleaning the rinse aid dispenser is a crucial part of that maintenance. If you’re not sure where to start, don’t worry! This step-by-step cleaning process will guide you through accessing, cleaning, and flushing your dishwasher’s rinse aid dispenser. Following these steps ensures that your dishes come out sparkling clean every time. Have you ever wondered why your dishwasher isn’t performing as well as it used to? The answer might lie in your rinse aid dispenser!
Accessing The Rinse Aid Dispenser
To begin, locate the rinse aid dispenser inside your dishwasher door. It’s usually near the detergent compartment. If you’ve never noticed it before, that’s okay. Now’s the perfect time to familiarize yourself with its location. Open the dishwasher door fully, providing yourself with ample space to work comfortably.
Check the dispenser for any visible residue or blockage. Sometimes, leftover rinse aid can harden over time, leading to clogs. If this is the case, you might need a small cloth or toothbrush to gently remove any buildup. Be patient and take your time; your dishwasher’s performance depends on it!
Cleaning The Dispenser Cap
Unscrew or unclip the dispenser cap carefully. It’s essential to handle it gently to avoid damaging any parts. Once removed, inspect the cap for any residue or grime. You’d be surprised at how much gunk can accumulate here. Use warm water and a mild detergent to clean the cap thoroughly. Rinse well to ensure no soap remains.
Dry the cap with a clean cloth before reattaching it. A clean cap ensures that the rinse aid dispenses properly, contributing to spotless dishes. Have you ever realized how a small component like this can significantly impact your dishwasher’s efficiency?
Flushing The Dispenser Compartment
With the cap off, it’s time to flush the dispenser compartment. Pour a small amount of warm water into the compartment to loosen any residue. You might need to repeat this step a couple of times for stubborn buildup. Using a soft brush can help dislodge any hardened gunk.
Once cleaned, dry the compartment using a clean cloth. Ensure no water remains, as this can dilute the rinse aid later. Reattach the cap securely. Do you feel the satisfaction of knowing your dishwasher is now primed for peak performance?
By giving your dishwasher’s rinse aid dispenser a little TLC, you’re investing in cleaner dishes and a more efficient appliance. Next time you run a cycle, pay attention to the difference in your dishware’s shine. Who knew a simple cleaning task could offer such rewarding results?

Credit: wilsonwholesalesupply.com
Natural Cleaning Alternatives
Cleaning a dishwasher rinse aid dispenser naturally is simple and safe. Mix equal parts vinegar and water. Pour into the dispenser. Run a short cycle to ensure cleanliness and remove residue.
Cleaning your dishwasher’s rinse aid dispenser can improve its performance. Many prefer natural cleaning methods. They’re safe and eco-friendly. Plus, you likely have the ingredients at home. Here are some natural cleaning alternatives to consider.Using Vinegar
White vinegar is a great cleaner. It breaks down residue effectively. To clean the dispenser, first, remove the cap. Then pour white vinegar into the compartment. Let it sit for a few minutes. This helps dissolve any buildup. Next, run a short, empty cycle. This ensures thorough cleaning. Vinegar also eliminates odors. It’s a simple, natural solution.Benefits Of Baking Soda
Baking soda is another effective cleaner. It’s gentle yet powerful. Sprinkle some baking soda into the rinse aid dispenser. It helps scrub away grime. Let it sit for a few minutes. Then run an empty cycle on the dishwasher. This removes any residue. Baking soda also neutralizes odors. It leaves your dishwasher smelling fresh.Preventive Maintenance Tips
Regular cleaning of the dishwasher rinse aid dispenser ensures optimal performance. Empty the dispenser and wipe it with a damp cloth. Rinse thoroughly to prevent residue build-up, maintaining efficient washing cycles.
Preventive maintenance can extend the life of your dishwasher and ensure it runs efficiently. A key aspect is keeping the rinse aid dispenser clean. Neglecting this small component can lead to cloudy dishes and poor drying performance. With a few simple habits, you can keep your dishwasher in top shape.Regular Cleaning Schedule
Creating a regular cleaning schedule for your dishwasher is essential. Aim to clean the rinse aid dispenser every month. This simple habit prevents buildup and ensures smooth operation. Make it a part of your routine. Perhaps set a reminder on your phone or mark it on your calendar. A little consistency goes a long way in maintaining your appliance. A friend once shared how her dishwasher’s performance improved dramatically after sticking to a cleaning schedule. Could that be your story next?Choosing The Right Rinse Aid
The type of rinse aid you use matters. Not all rinse aids are created equal. Choose one that matches your dishwasher’s needs. Read the labels and select a rinse aid compatible with your machine. Some even come with added benefits like reducing water spots or enhancing drying. I once switched to a premium rinse aid and noticed my dishes came out spotless. It’s worth experimenting to find what works best for you. Think about what you want from your rinse aid. Is it shine or drying performance? Your choice can make a difference. Incorporate these preventive tips into your routine. Your dishwasher will thank you with sparkling, dry dishes every time.Troubleshooting Common Issues
Cleaning your dishwasher rinse aid dispenser can sometimes seem like a straightforward task. Yet, many people encounter common issues that can complicate the process. Troubleshooting these problems is crucial to ensure your dishwasher operates efficiently. Let’s dive into some frequent issues you might face and how to resolve them.
Persistent Clogs
Clogs in the rinse aid dispenser can be a real headache. They often happen when the rinse aid becomes hardened or leaves residue over time. To tackle this, remove the dispenser cap and check for any visible blockages. Warm water can help dissolve stubborn residue. Consider using a thin brush or a toothpick to gently clear the passage.
Have you ever noticed your dishes aren’t coming out as clean as they should? This might be a sign of a clogged dispenser. Regular maintenance can prevent this. Make it a habit to inspect the dispenser monthly to avoid buildup. This small step can save you from bigger problems down the line.
Dispenser Leakage
Leaking rinse aid is another common issue. It can be caused by a damaged seal or improper closing of the dispenser cap. Check the seal first—any cracks or wear can lead to leakage. If the seal is intact, ensure the cap is securely closed after refilling.
Ever wondered why your dishwasher seems to use rinse aid too quickly? Leakage might be the culprit. Use a flashlight to inspect the dispenser for any signs of moisture or dripping. If you find leakage, replacing the seal or cap might be necessary.
Addressing these issues not only improves your dishwasher’s performance but also extends its lifespan. Have you encountered any other dishwasher woes that need attention? Share your thoughts and experiences below. Your insights might just help someone else struggling with similar problems.
Frequently Asked Questions
Can I Put Vinegar In My Dishwasher Rinse Aid Dispenser?
Yes, you can use vinegar in the dishwasher rinse aid dispenser. It helps remove water spots and leaves dishes sparkling. Use white vinegar for best results. Avoid using too much, as it can damage rubber seals over time. Always check your dishwasher manual for specific guidelines.
How To Open Dishwasher Rinse Aid Dispenser?
To open a dishwasher rinse aid dispenser, locate the dispenser cap on the door. Turn the cap counterclockwise to unlock. Gently lift or pull the cap to access the compartment. Refill with rinse aid, then close by turning the cap clockwise until secure.
How To Empty Rinse Aid Dispenser Lg Dishwasher?
To empty the rinse aid dispenser in an LG dishwasher, open the dispenser door. Carefully use a turkey baster to extract the remaining liquid. Rinse with warm water to ensure it’s fully emptied. Ensure the dispenser is dry before refilling to maintain optimal dishwasher performance.
How To Remove Rinse Aid Dispenser Whirlpool?
To remove the rinse aid dispenser in a Whirlpool dishwasher, gently unscrew the cap. Lift the dispenser out carefully. Refer to the user manual for specific instructions and diagrams. Ensure the dishwasher is off before starting. Avoid spilling rinse aid during removal.
Conclusion
Cleaning your dishwasher rinse aid dispenser is easy. Regular maintenance helps your dishwasher work better. No special tools are needed. Just follow the steps shared above. Start with removing the cap. Clean any residue with a damp cloth. Use a toothbrush for hard-to-reach spots.
Refill with rinse aid once clean. This ensures your dishes come out sparkling. Remember to check the dispenser monthly. Stay proactive to prevent build-up. A clean dispenser saves time and energy. Your dishwasher will thank you. Enjoy spotless dishes every time.
Happy cleaning!
