Are you tired of the stubborn grease and grime that seem to have taken up permanent residence in your oven? You’re not alone.
A dirty oven not only looks unpleasant but can also affect the taste and smell of your food. Imagine hosting a dinner party and opening your oven, only to be greeted by an unpleasant odor or a smoke cloud. Not exactly the impression you want to make, right?
Don’t worry; cleaning your oven doesn’t have to be a daunting task. In fact, it can be surprisingly satisfying and rewarding. By the end of this guide, you’ll know the secrets to restoring your oven to its sparkling glory. Plus, a clean oven means better-tasting meals and a safer cooking environment for you and your family. Are you ready to transform your oven and make it shine like new? Let’s dive in and discover how you can achieve a spotless and fresh-smelling oven effortlessly.
Preparation Steps
Cleaning your oven can seem daunting. But with the right steps, it’s manageable. Start with proper preparation to make the task smoother and safer. Getting ready will save you time and prevent mishaps.
Gathering Supplies
First, collect everything you need. This ensures a smooth cleaning process. You’ll need a few basic items:
- Oven cleaner or a homemade vinegar solution
- Rubber gloves to protect your hands
- Old newspapers or a drop cloth
- A sponge or scrub brush
- A spray bottle
- Paper towels or a clean cloth
Lay newspapers around the oven. This protects your floor from spills. Have everything within reach. It makes the process quicker and easier.
Safety Precautions
Safety is crucial. Wear rubber gloves to protect your skin. Some cleaners can irritate, so always check labels for warnings. Ensure the kitchen is well-ventilated. Open windows or turn on a fan. This helps disperse strong fumes.
Remove oven racks before you begin. Clean them separately to avoid accidents. Always read the cleaner’s instructions. Misuse can cause damage or be harmful. If using homemade solutions, ensure they are safe for your oven type.
Choosing The Right Cleaning Method
Cleaning your oven can be a daunting task. Choosing the right cleaning method makes it easier and more effective. There are different ways to tackle this chore, depending on your needs and preferences. Whether you prefer natural cleaners or commercial products, each has its benefits. Understanding these options helps you make the best choice.
Natural Cleaners
Many people opt for natural cleaners to avoid harsh chemicals. They are safe and eco-friendly. Common ingredients include baking soda, vinegar, and lemon juice. Create a paste with baking soda and water. Apply it inside your oven and let it sit overnight. In the morning, wipe it away with a damp cloth. This method is gentle yet effective. Vinegar can be sprayed to tackle tough spots. Lemon juice helps eliminate odors and adds freshness. These natural solutions are budget-friendly and easy to use.
Commercial Products
Commercial products are designed for quick and efficient cleaning. They often contain powerful chemicals to cut through grease. Read labels carefully to ensure safety. Follow instructions for best results. Oven cleaners come in sprays, gels, and foams. They require less scrubbing and save time. Ensure proper ventilation while using them. Wear gloves to protect your skin. Rinse surfaces thoroughly after cleaning. These products are ideal for those seeking convenience and speed.
Step-by-step Cleaning Process
Cleaning your oven might seem like a daunting task, but breaking it down into manageable steps can make the process straightforward and surprisingly satisfying. Imagine the gleaming interior of your oven, ready to bake your favorite dishes without any burnt-on residue. Let’s dive into the step-by-step cleaning process to achieve just that!
Removing Oven Racks
Start by removing the oven racks. Take them out carefully and soak them in a sink filled with warm water and dish soap. This softens any baked-on grime. While they soak, grab a scrubbing sponge or a brush to tackle any remaining spots. Rinsing them thoroughly ensures they’re ready to return to a sparkling clean oven.
Cleaning The Interior
Next, focus on the oven’s interior. Mix a paste using baking soda and water, creating a thick texture. Spread this paste evenly inside the oven, avoiding the heating elements. Let it sit overnight for maximum effect. The next day, wipe the interior with a damp cloth to remove the paste, revealing a clean surface.
Dealing With Stubborn Stains
Stubborn stains can be a challenge. For these, try using a vinegar spray. Spray vinegar onto the tough spots and let it fizz with the baking soda residue. This helps lift the stains away. Use a scraper gently if needed, but be careful not to damage the oven surface. Can you imagine the satisfaction of seeing those pesky stains finally disappear?
Now, your oven is not only clean but ready to tackle any recipe you throw its way. Are you ready to enjoy your next culinary adventure with confidence?
:max_bytes(150000):strip_icc()/GettyImages-1487722326-63405f0bbde641c6a336859519987964.jpg)
Credit: www.marthastewart.com
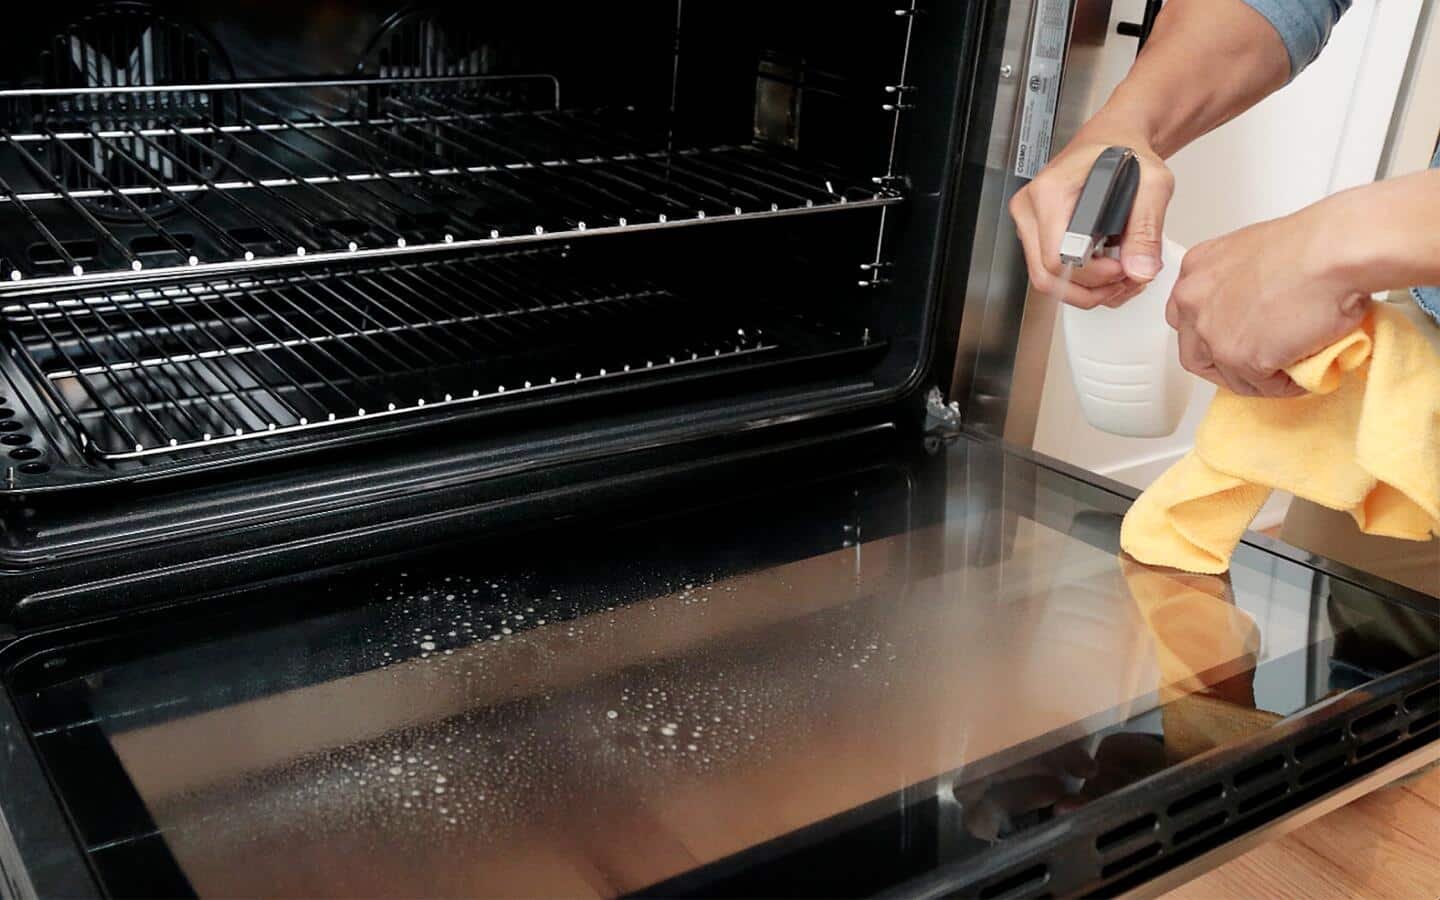
Cleaning The Oven Door
Cleaning the Oven Door Remove grime with a mixture of baking soda and water. Spread it on the door, then wipe clean. For stubborn stains, use white vinegar for extra shine.
Cleaning the oven door can make a remarkable difference in your kitchen’s overall appearance. It’s often the first thing you notice when you open your oven, and a sparkling door gives you a sense of accomplishment. Tackling this task might seem daunting, but with the right approach, you can restore the shine without breaking a sweat. Let’s dive into cleaning the oven door, focusing on removing grease and grime and polishing the glass.Removing Grease And Grime
Grease and grime are inevitable on oven doors, but they don’t have to be permanent residents. Begin by mixing a simple solution of baking soda and water to create a paste. This natural cleaner is tough on grime yet gentle on surfaces. Apply the paste generously on the greasy spots and let it sit for 15 minutes. This allows the baking soda to break down the stubborn grease. Use a damp cloth to wipe away the paste, revealing a cleaner surface. Repeat this process if necessary, as some areas might require a little extra attention.Polishing Glass
Once the grime is gone, it’s time to make that glass shine. Start with a vinegar and water solution—equal parts of each—sprayed directly onto the glass. Vinegar is excellent for cutting through any remaining residue and leaves the glass spotless. Grab a microfiber cloth and gently buff the glass in circular motions. This technique helps avoid streaks and ensures a uniform shine. Finally, stand back and admire the gleaming glass. You may find that a clean oven door inspires you to tackle other kitchen cleaning tasks with renewed energy. Ever noticed how a clean oven door can change the way you feel about your cooking space? It’s like seeing your kitchen through fresh eyes.Maintaining A Clean Oven
Cleaning your oven regularly ensures it works efficiently and safely. Use baking soda and vinegar to remove grime. A simple wipe-down after each use keeps it sparkling.
Maintaining a Clean Oven A clean oven not only enhances the taste of your dishes but also extends the life of your appliance. Regular maintenance prevents grime from becoming a stubborn mess. Have you ever noticed how a clean oven makes cooking feel more enjoyable?Regular Maintenance Tips
- Wipe down the oven after every use with a damp cloth to remove spills.
- Use a mixture of baking soda and water for tougher stains; apply, leave overnight, and then wipe off.
- Check the oven’s seals regularly for any food residue or grime.
Preventive Measures
- Place a baking sheet under dishes that might spill over to catch drips.
- Use oven liners that can be easily removed and cleaned.
- Cook at the right temperature to prevent food splatters and mess.
:max_bytes(150000):strip_icc()/ar-easiest-cheapest-oven-cleaning-adobe-ar-4x3-3c46ad9481fb4dea8d2b4f05b6a99670.jpg)
Credit: www.allrecipes.com
Common Mistakes To Avoid
Avoid using harsh chemicals that can damage oven surfaces. Ensure the oven is completely cool before cleaning to prevent burns. Use gentle scrubbing techniques to avoid scratching the glass and interior.
Cleaning your oven might seem straightforward, but it’s easy to make mistakes that could lead to ineffective cleaning or even damage. Have you ever wondered why, despite all your efforts, your oven doesn’t sparkle as you expected? It often boils down to common missteps that many overlook. By understanding and avoiding these pitfalls, you can ensure your oven stays in top-notch condition.Using Harsh Chemicals
One of the most frequent mistakes is reaching for strong chemical cleaners. These products can be harmful to your health and may damage your oven’s finish. Instead, opt for natural solutions like baking soda and vinegar which are both effective and safer.Neglecting Safety Precautions
Safety should always be your top priority. Many people forget to wear gloves or fail to ventilate the area properly. Always ensure you have protective gear and open windows or use an exhaust fan to avoid inhaling fumes.Skipping Regular Maintenance
It’s tempting to clean your oven only when it looks dirty. However, skipping regular maintenance can lead to stubborn stains and unpleasant odors. Try to wipe down your oven after each use to keep it cleaner for longer.Not Removing Oven Racks
Cleaning the oven with the racks still inside might seem convenient, but it’s not effective. Oven racks need separate cleaning to remove grease and grime buildup. Take them out and clean them individually for a thorough clean.Ignoring The Self-cleaning Feature
Many modern ovens come with a self-cleaning feature that’s often overlooked. This feature can save you time and effort. Just remember to follow the manufacturer’s instructions to prevent any issues.Using Abrasive Tools
Scrubbing with abrasive pads or steel wool can scratch the oven’s surface. These scratches not only mar the appearance but can also harbor dirt and grease. Use soft cloths or sponges to clean without damaging your appliance. Avoiding these common mistakes can make a world of difference in your cleaning routine. Have you been guilty of any of these errors? By making small changes, your oven can be as clean and efficient as the day you bought it.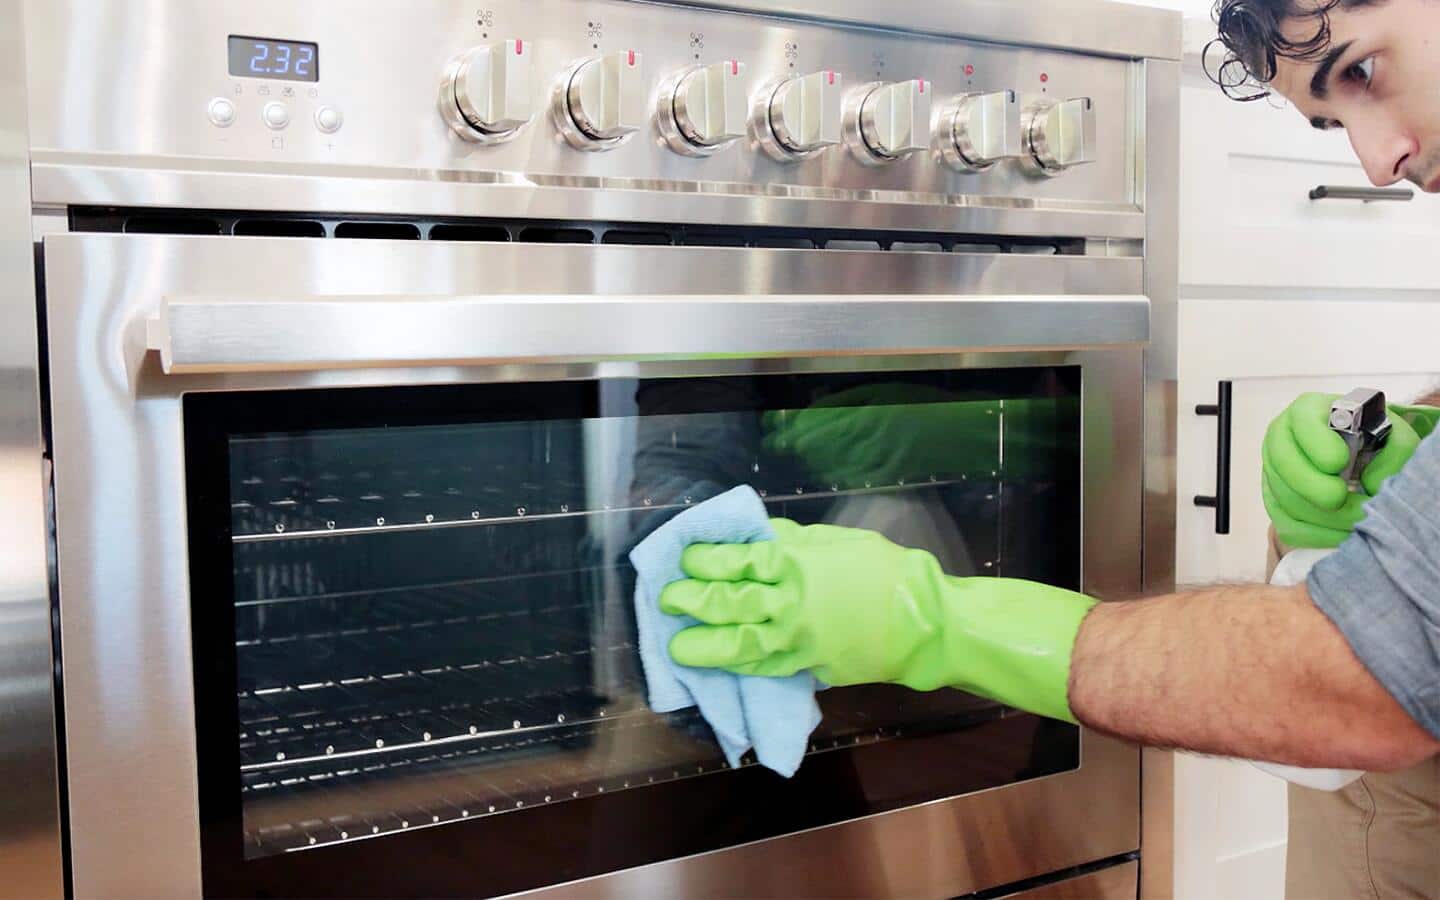
Credit: www.homedepot.com
Frequently Asked Questions
What Is The Best Way To Clean The Inside Of An Oven?
Use a baking soda paste and water to clean the oven interior. Apply, let sit overnight, and wipe. For tough spots, use vinegar spray. Avoid harsh chemicals for safety. Regular maintenance prevents buildup. Always ensure the oven is cool before cleaning.
Will Vinegar And Dawn Clean An Oven?
Yes, vinegar and Dawn can clean an oven effectively. Mix them to create a powerful cleaning solution. Spray on oven surfaces, let it sit for 15 minutes, then scrub and rinse. This method removes grease and grime, leaving your oven fresh and clean.
What Is The Best Thing To Clean A Very Dirty Oven With?
Use a baking soda and vinegar paste for cleaning a very dirty oven. Apply the paste, let it sit, then scrub with a sponge. For tough stains, consider a commercial oven cleaner. Always ensure proper ventilation when using chemical cleaners.
Regular cleaning prevents excessive buildup.
Do Baking Soda And Vinegar Really Clean Ovens?
Yes, baking soda and vinegar effectively clean ovens. They break down grease and grime naturally. Sprinkle baking soda, spray vinegar, and let it fizz. After that, scrub gently and wipe clean. This method is eco-friendly and safe, leaving your oven sparkling without harsh chemicals.
Conclusion
Cleaning your oven is simpler than it seems. Start with basic supplies: baking soda, vinegar, and gloves. Easy steps lead to a sparkling oven. Regular cleaning prevents smoke and odors. A clean oven cooks food evenly. Plus, your kitchen stays fresh.
Stick to a routine. Clean after spills or every few months. This keeps your appliance in top shape. No need for fancy cleaners. Natural solutions work well. Enjoy cooking without worrying about grime. Your oven deserves care. With these tips, cleaning becomes quick and easy.
Your kitchen stays welcoming and ready for delicious meals.
