Cleaning your oven might not be at the top of your favorite chores list, but you know it’s essential for keeping your kitchen running smoothly. If you have a self-cleaning oven, you might think it’s all taken care of with just the push of a button.
But is it really that simple? You might wonder how you can ensure your oven truly stays in top shape without any hiccups. Imagine the satisfaction of knowing your oven is sparkling clean, ready for your next culinary masterpiece, without any hassle or elbow grease.
In this guide, you’ll discover the straightforward steps to effectively clean a self-clean oven and learn a few handy tips to maintain it effortlessly. Dive in and uncover the secrets to keeping your oven pristine with minimal effort.
Credit: www.homedepot.com
Preparation Steps
Begin by removing all oven racks. Wipe loose debris with a damp cloth. Ensure the oven door is closed tightly.
Cleaning a self-clean oven requires careful preparation. Before starting, gather supplies and follow safety precautions. These steps ensure a smooth cleaning process and protect your oven and yourself.Gathering Supplies
Collect all necessary cleaning materials. You’ll need a soft cloth or sponge. A small brush is useful for corners. Have a mild dish soap or oven cleaner. Avoid harsh chemicals. Keep a bucket of warm water nearby. Don’t forget gloves to protect your hands. A vacuum cleaner can help with loose debris.Safety Precautions
Ensure the oven is off and cool. This prevents burns or injuries. Open windows for proper ventilation. Self-cleaning cycles release heat and fumes. Remove any pets or children from the area. Wear gloves to protect your skin. Read the oven manual for specific instructions. Disconnect the power to be extra safe.Understanding Self-cleaning Ovens
Understanding self-cleaning ovens can be a bit of a puzzle, especially if you’ve never owned one before. These ovens are designed to make your life easier by reducing the effort needed to maintain a clean cooking environment. Yet, how do they actually work? And what types of self-cleaning ovens are there? Let’s dive into these questions.
Types Of Self-cleaning Ovens
Not all self-cleaning ovens are created equal. You typically encounter two types: pyrolytic and steam clean. Pyrolytic ovens use high temperatures to burn off food residue, effectively turning it to ash that can be easily wiped away. Steam clean ovens, on the other hand, use water and heat to soften grime, making it simpler to remove.
Have you ever wondered which one might be right for your kitchen? Consider how often you cook and the types of dishes you make. If you frequently roast or bake, a pyrolytic oven might be your best bet for handling stubborn grease.
How Self-cleaning Works
The magic behind self-cleaning ovens lies in their ability to reach extreme temperatures or use steam effectively. Pyrolytic ovens heat to about 900°F (482°C), incinerating food particles. This cycle can last anywhere from one to four hours, depending on the level of dirt.
Steam clean ovens, however, require you to pour water into a reservoir. As the oven heats, steam fills the cavity, loosening dirt. This method is quicker, usually completed in under an hour, but might not tackle heavy-duty messes as effectively as pyrolytic cleaning.
Consider your cleaning habits. Do you prefer a quick clean-up or a thorough deep clean? Your choice in self-cleaning oven should reflect your lifestyle and cooking habits.
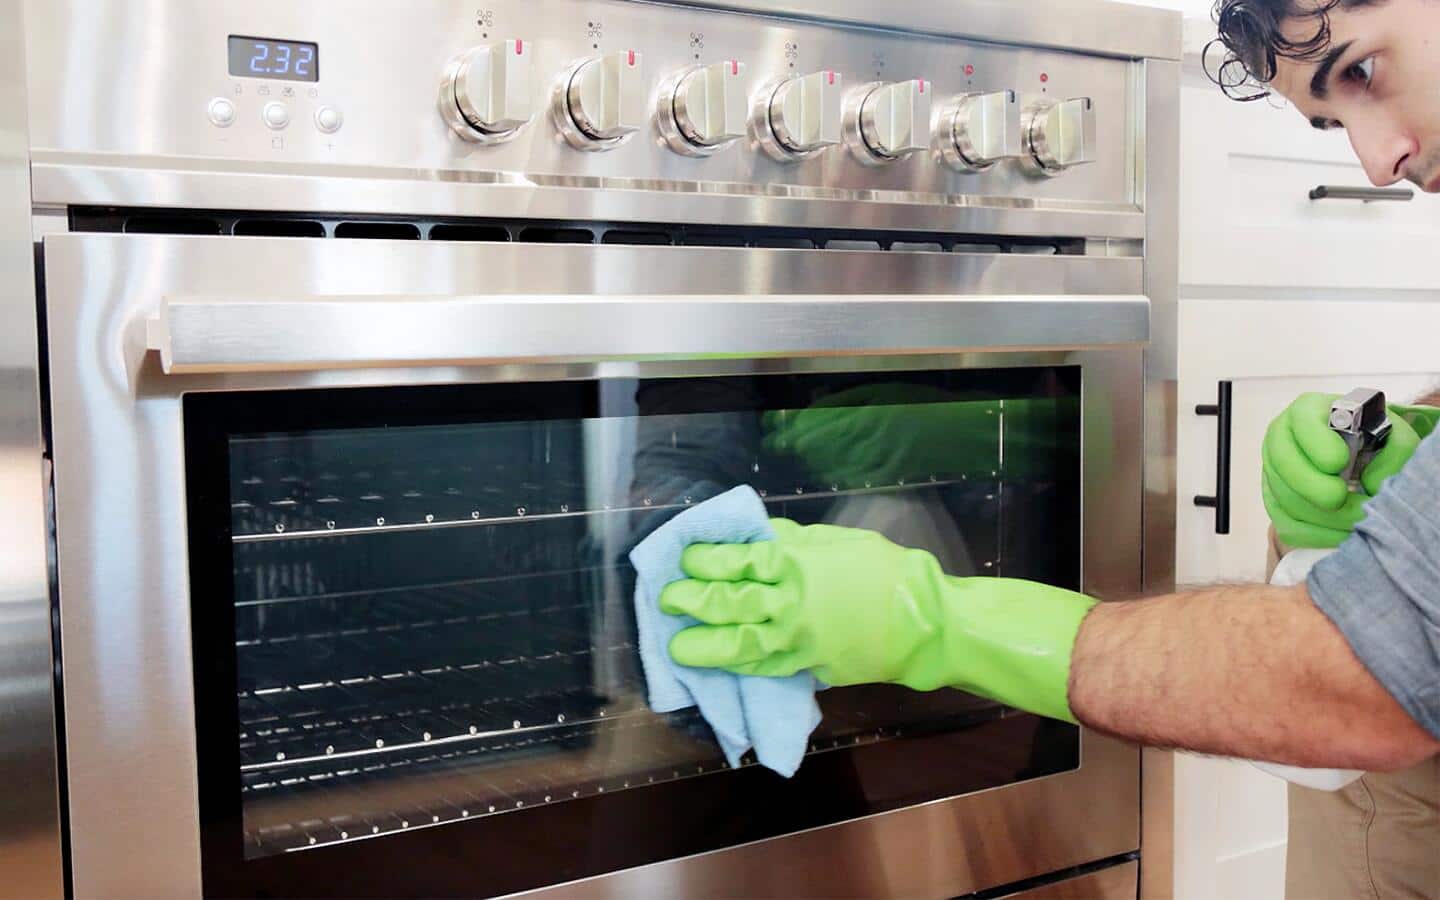
Manual Cleaning Essentials
Cleaning a self-cleaning oven manually requires some basic tools and techniques. While the oven’s self-cleaning feature is handy, manual cleaning helps tackle stubborn grime. A regular cleaning routine keeps your oven in top shape. This section guides you through essential manual cleaning techniques.
Tools For Manual Cleaning
Gather the right tools to make cleaning efficient and easy. Here’s a list of essentials:
- Soft cloths or sponges
- Non-abrasive scrubber
- Mild dish soap
- White vinegar
- Baking soda
- Spray bottle
- Rubber gloves
These tools help clean without scratching the oven surfaces.
Areas To Focus On
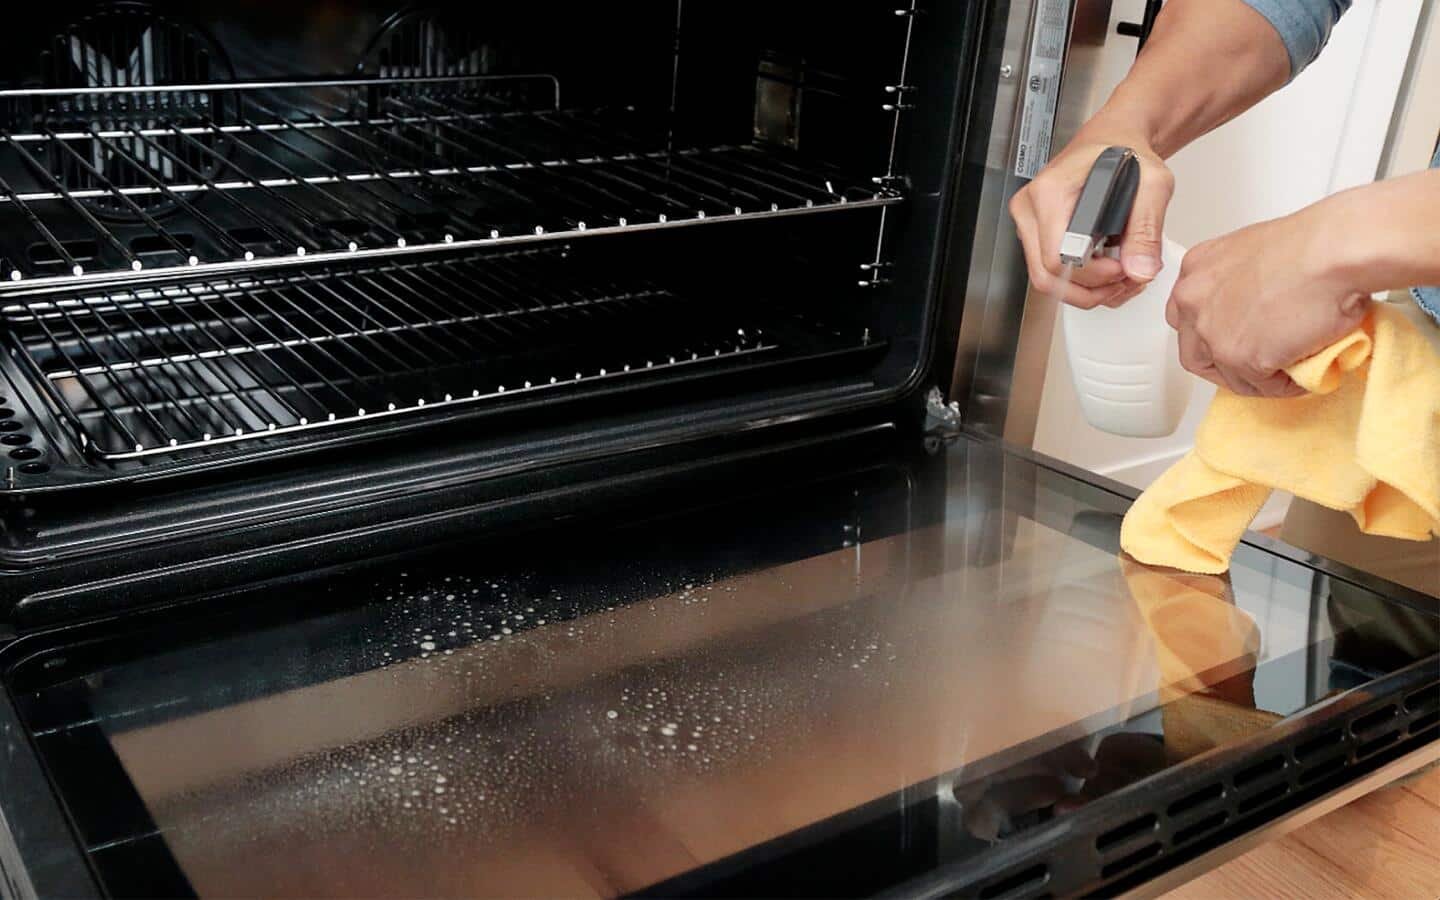
Focus on key areas to ensure a thorough cleaning. Start with the oven door. Remove any baked-on residue using a mixture of vinegar and baking soda. Wipe gently with a soft cloth.
Next, clean the interior walls and floor. Apply a paste of baking soda and water. Let it sit for a few hours, then scrub with a non-abrasive scrubber.
Don’t forget the racks. Remove them and soak in warm soapy water. Scrub gently to remove grease and grime.
Pay attention to the corners and edges. Use a toothbrush for tight spots. Rinse with water and dry with a clean cloth.
Credit: www.homedepot.com
Self-cleaning Cycle Process
The self-cleaning cycle process is a convenient feature in modern ovens. It simplifies oven cleaning by using high temperatures to burn off residues. Understanding this process can help maintain your oven’s efficiency and longevity.
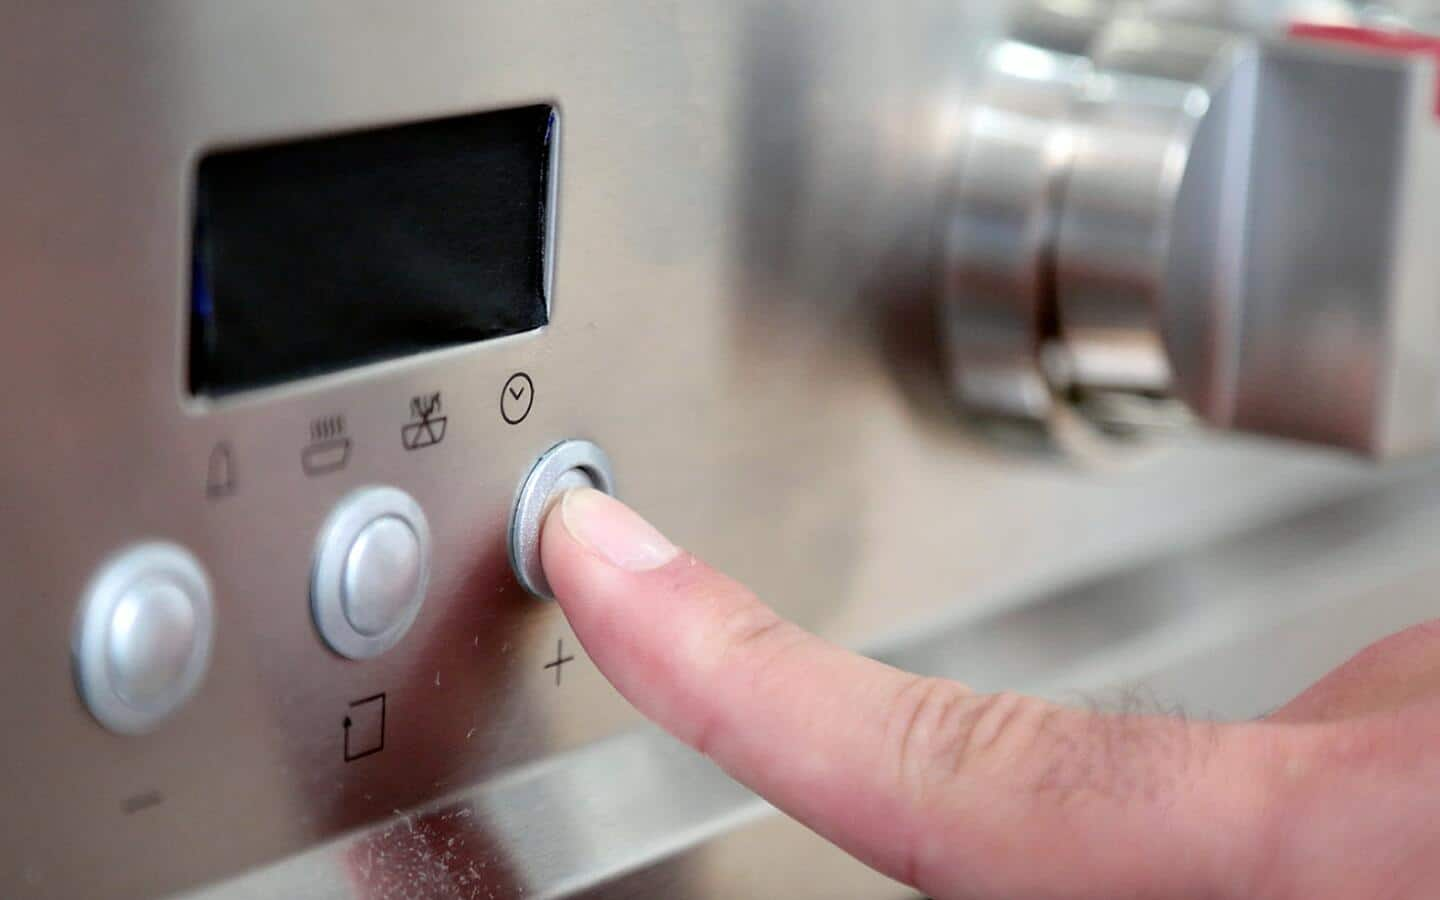
Activating The Self-cleaning Mode
Find the self-clean button on your oven’s control panel. Press it to start the cycle. Ensure the oven door is firmly closed. This prevents heat from escaping. Some models may lock the door automatically. Always check your oven’s manual for specifics.
Duration And Settings
Most self-clean cycles last between two to four hours. The duration depends on the oven model and the level of dirt. Select the appropriate setting based on your cleaning needs. Some ovens offer light, medium, or heavy clean cycles. Choose the right one to avoid unnecessary energy use.
Post-cleaning Maintenance
After using the self-cleaning feature, some post-cleaning maintenance is necessary. It ensures your oven remains efficient and safe to use. Regular maintenance also extends the lifespan of your appliance.
Cooling Down The Oven
Let the oven cool completely. This can take a couple of hours. Open the oven door slightly to speed up the process. Ensure the oven is at room temperature before proceeding.
Final Inspection
Check for any residue or ash inside the oven. Use a damp cloth to wipe away any remaining debris. Inspect the oven door and gasket for cleanliness. Make sure the door closes properly without any obstructions.
Troubleshooting Common Issues
Self-clean ovens simplify the cleaning process by using high heat to burn off food residues. To maintain efficiency, regularly wipe the oven door and edges with a damp cloth. Avoid harsh chemicals; instead, use baking soda and water for stubborn spots after a self-clean cycle.
Cleaning a self-clean oven is usually simple. Yet, some issues can arise. Knowing how to troubleshoot these problems is helpful. This section will address common issues. It offers solutions to ensure your oven stays in top shape.Odor Management
During the cleaning process, unpleasant odors might occur. This is often due to burnt food residues. To reduce odor, remove large food debris before starting. You can also place a small dish of vinegar inside the oven. This helps neutralize smells. Keeping the kitchen well-ventilated is crucial. Open windows or use fans to circulate air.Handling Residue
After cleaning, white ash or residue may appear. This is normal and easy to manage. Use a damp cloth to wipe away the residue. For stubborn spots, a mild soap solution works well. Avoid using harsh chemicals. They can damage the oven’s interior. Regular maintenance helps minimize residue buildup. Always follow the manufacturer’s guidelines for best results.Pro Tips For Efficient Cleaning
Cleaning a self-clean oven starts by removing all racks and debris. Activate the self-cleaning cycle, allowing the oven to heat up and burn off residues. After cooling, wipe away remaining ash with a damp cloth, ensuring a spotless finish.
Cleaning a self-clean oven might seem like a breeze, but knowing a few pro tips can make the process even smoother. Though the oven does most of the work, understanding the nuances of frequency and common pitfalls will help you maintain its efficiency. Let’s dive into these insights to ensure your oven stays in top shape.Frequency Of Self-cleaning
How often should you use the self-clean function? The answer depends on how frequently you use your oven. If you bake or roast regularly, consider running the self-clean every three months. For those who cook less often, a semi-annual clean should suffice. Always keep an eye on the buildup inside. If you notice excessive grime, it might be time for a clean even if it’s ahead of schedule.Avoiding Common Mistakes
Avoid making these common mistakes to prevent any issues with your self-clean oven. – Leaving Racks Inside: Always remove oven racks before starting the self-clean cycle. The intense heat can warp or damage them. Trust me, discovering warped racks after cleaning is not fun. – Ignoring Manual Cleaning: Even though the oven cleans itself, you should manually wipe down the door and gasket. These areas are not covered by the self-clean cycle. A simple wipe with a damp cloth will do. – Skipping Ventilation: Ensure your kitchen is well-ventilated during the cycle. Open a window or turn on the exhaust fan. This prevents smoke from setting off alarms and keeps the air fresh. By following these tips, you can keep your self-clean oven running efficiently and extend its lifespan. Remember, a little attention goes a long way in maintaining your kitchen appliances.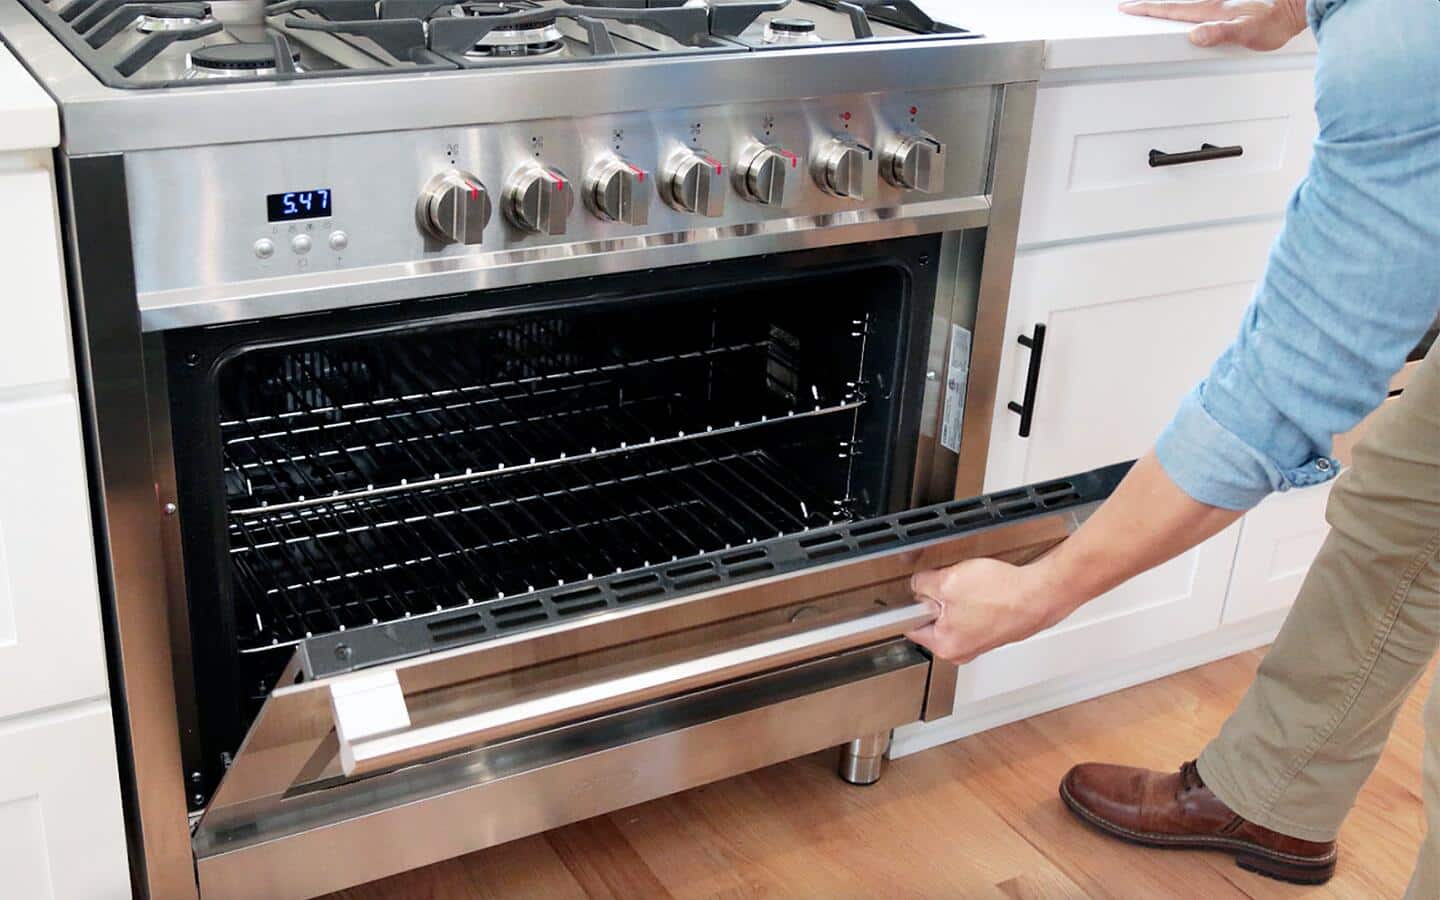
Credit: www.homedepot.com
Frequently Asked Questions
How Long Does It Take For A Self-cleaning Oven To Clean?
A self-cleaning oven typically takes between 2 to 4 hours to complete its cleaning cycle. Duration varies based on the oven model and the level of dirt. Always follow the manufacturer’s instructions for best results. Ensure proper ventilation to minimize smoke and odor during the cleaning process.
Do You Have To Do Anything To The Oven After Self-clean?
After self-cleaning, ensure the oven is completely cool. Wipe away any ash or residue with a damp cloth. Check the door gasket for damage and ensure the oven light works. Inspect the racks for any residue before placing them back.
How To Clean A Glass Door In A Self-cleaning Oven?
Clean the glass door manually using a non-abrasive cleaner. Avoid using the self-cleaning feature for glass. Gently scrub with a soft cloth or sponge. Rinse with water and dry thoroughly. Regular cleaning prevents stubborn stains and keeps the door clear.
Can You Be In The House When Your Self-cleaning Oven Is On?
Yes, you can stay in the house while your self-cleaning oven is on. Ensure proper ventilation by opening windows. Avoid prolonged exposure to fumes by staying in another room. Keep children and pets away from the kitchen for safety. Always follow the manufacturer’s instructions for optimal use.
Conclusion
Cleaning a self-clean oven is simple. First, remove any loose debris. Then, start the self-clean cycle. It does the hard work for you. Be sure to ventilate your kitchen. This prevents smoke buildup. After the cycle, wipe away any ash.
Your oven should now sparkle. Regular maintenance keeps it efficient. Helps extend its lifespan. Always follow your oven’s manual. It contains important safety tips. Keep your oven clean. Enjoy cooking with ease. A clean oven makes a happy kitchen. It’s worth the effort.
Your meals will thank you!
