
Are you tired of peering through a greasy oven door, unable to see your culinary masterpiece cooking inside? Or perhaps you’re dodging the burnt crumbs each time you slide a dish in or out?
You’re not alone. A clean GE oven not only looks appealing but also enhances the flavor of your dishes and ensures even cooking. But let’s face it, cleaning your oven can seem like a daunting chore. Imagine the satisfaction of seeing your oven sparkle like new, without spending hours scrubbing away stubborn stains.
This guide will reveal simple, effective steps to transform your oven from grimy to gleaming. You’ll discover not only how to clean every nook and cranny of your GE oven but also how to maintain its pristine condition effortlessly. Stick around, because by the end of this article, you’ll have all the tools and tips you need to keep your oven—and your kitchen—looking and performing its best.
Credit: www.homedepot.com
Preparation
Cleaning your GE oven starts with proper preparation. This step ensures efficiency and safety. Having the right supplies and knowledge is crucial. Let’s dive into the preparation process.
Gathering Supplies
Gather all necessary cleaning tools before you start. These include:
- Soft cloths or sponges
- Non-abrasive cleaner
- Baking soda and vinegar
- Rubber gloves
- Warm water
Having these items on hand makes cleaning easier. It helps you avoid interruptions.
Safety Precautions
Safety is important when cleaning your oven. Follow these precautions:
- Ensure the oven is off and cool before cleaning.
- Wear rubber gloves to protect your hands.
- Ventilate the area to prevent inhaling fumes.
- Keep children and pets away from the cleaning area.
These steps help prevent accidents. They also make the cleaning process smoother.

Credit: www.instagram.com
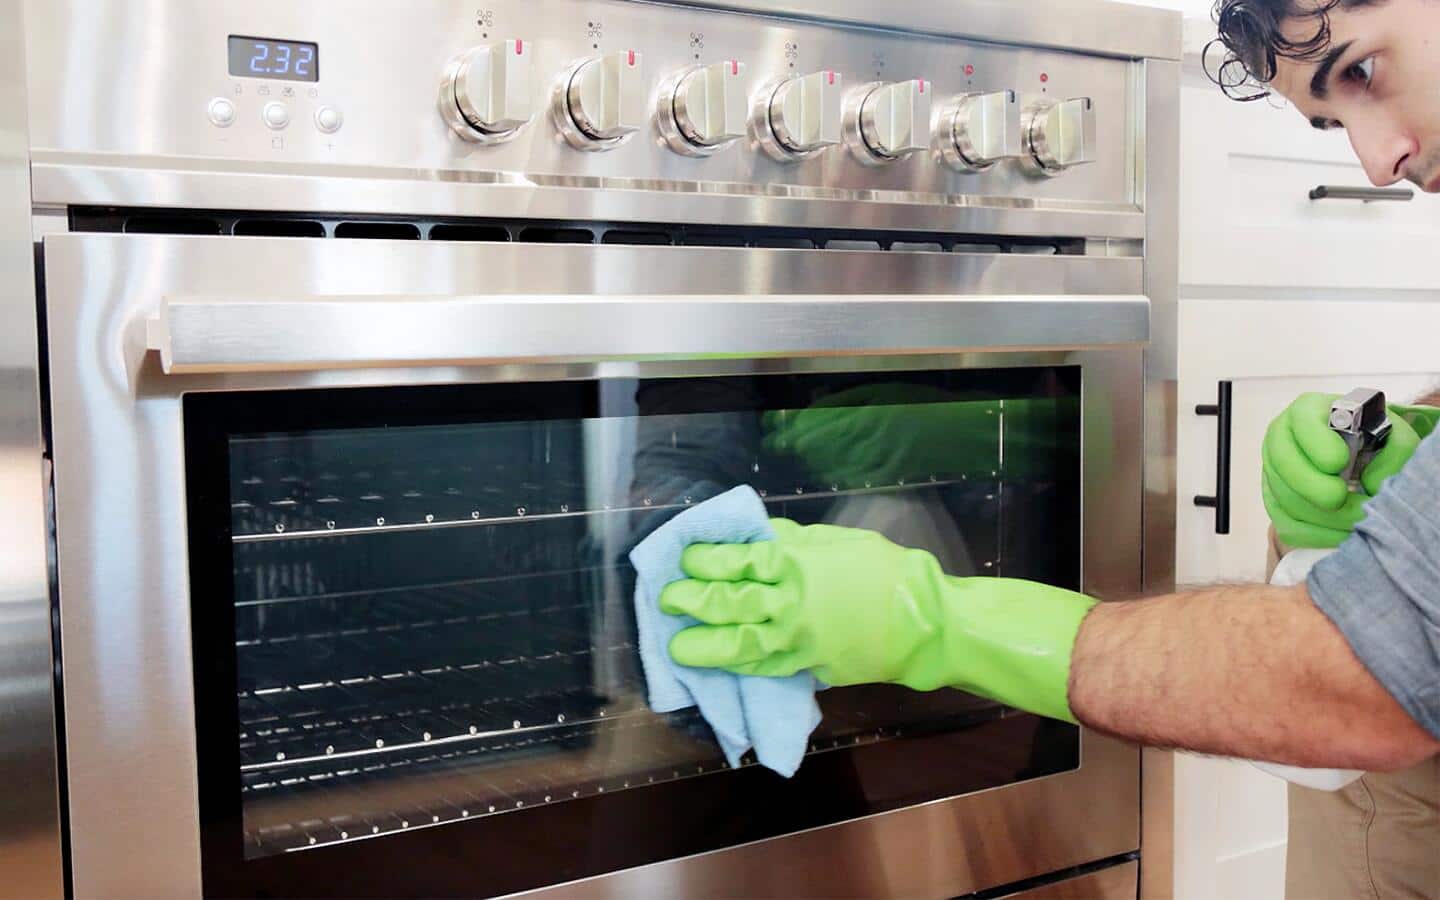
Cleaning The Interior
Cleaning the interior of a GE oven involves removing racks and wiping surfaces with a damp cloth. Use a non-abrasive cleaner for stubborn spots. For a deeper clean, apply baking soda paste, let it sit, then scrub gently.
Cleaning the interior of a GE oven can seem daunting. But with the right steps, it’s straightforward. A clean oven works better and looks inviting. Let’s explore how to tackle the interior cleaning effectively.Removing Racks And Trays
Start by taking out all racks and trays. This gives you space to clean. Soak them in warm, soapy water. Let them sit for a while. Scrub gently with a non-abrasive sponge. Rinse them thoroughly and dry with a clean towel.Using Oven Cleaners
Choose a suitable oven cleaner for your GE oven. Spray the cleaner evenly inside the oven. Avoid the heating elements. Let it sit for the recommended time on the label. Wipe away with a damp cloth. Ensure no residue remains. Wear gloves to protect your hands.Natural Cleaning Methods
Mix baking soda and water to make a paste. Spread it over the oven’s interior. Focus on stubborn spots. Let it sit overnight for better results. Wipe away the paste using a damp cloth. For extra freshness, spray vinegar after wiping. It reacts with baking soda, loosening grime. Use a final wipe to ensure cleanliness.Cleaning The Exterior
Use a soft cloth and mild soap to clean the GE oven’s exterior. Gently wipe down the surface, avoiding harsh scrubbers. Dry with a clean towel for a streak-free finish.
Cleaning the exterior of your GE oven keeps it looking fresh. Regular maintenance helps prevent buildup and stains. It’s simple and quick. Let’s explore some easy steps.Wiping Down The Door
Start with a soft, damp cloth. Gently wipe the oven door’s surface. Remove any grease or fingerprints. Use a mild detergent for stubborn spots. Avoid abrasive cleaners. They can scratch the surface. Dry the door with a clean towel. This prevents water spots. A clean door enhances your kitchen’s appearance.Polishing Control Panels
Control panels need gentle care. Use a microfiber cloth. It’s soft and non-abrasive. Dampen it slightly with water. Carefully clean the buttons and knobs. Avoid excess water near electronics. A mild soap solution can help. Rinse the cloth and wipe again. Ensure all soap is removed. Dry thoroughly with another cloth. Clean control panels ensure efficient operation.Maintaining The Oven
Regularly clean your GE oven to keep it efficient and safe. Use mild soap and water for routine cleaning. For stubborn stains, apply a baking soda paste and let it sit before wiping.
Maintaining the Oven Keeping your GE oven in prime condition not only extends its lifespan but also ensures it performs efficiently every time you cook. Regular maintenance minimizes the risk of unexpected breakdowns and keeps your appliance looking as good as new. By investing a little time in care and attention, you can avoid costly repairs and enjoy a seamless cooking experience.Regular Cleaning Schedule
Creating a regular cleaning schedule is essential for your GE oven’s longevity. Aim to give your oven a thorough clean every three months. This doesn’t mean scrubbing every day but setting aside time to address grime and baked-on food that can accumulate over time. Use gentle, non-abrasive cleaners to avoid damaging the interior surfaces. A mixture of baking soda and water can work wonders. Apply the paste, let it sit for a few hours, and then wipe clean with a damp cloth.Addressing Common Issues
Addressing common issues promptly can prevent larger problems down the line. Have you noticed uneven cooking or longer preheat times? It might be time to check the heating elements for any signs of wear and tear. Is your oven door not sealing properly? Inspect the gasket for any cracks or tears. A faulty seal can lead to heat loss and inefficient cooking. Regularly inspect the oven’s racks and remove any debris that could affect their operation. A simple habit like this can go a long way in maintaining smooth functionality. By keeping an eye out for these common issues, you can ensure your oven continues to serve you well. What other tips do you find helpful in maintaining your oven?Troubleshooting
Cleaning a GE oven can sometimes be challenging. Troubleshooting common issues helps maintain its performance. This section covers handling stubborn stains and repairing minor damages.
Handling Stubborn Stains
Stubborn stains can be frustrating. Start by using a mild detergent mixed with water. Apply the mixture using a sponge or cloth.
For tougher stains, baking soda is effective. Mix it with water to form a paste. Apply the paste to the stain, let it sit for 15 minutes. Wipe it away with a damp cloth. Repeat if necessary.
Avoid using harsh chemicals. They can damage the oven’s surface. Instead, opt for eco-friendly cleaners. These are safer and often work well.
Regular cleaning prevents stains from becoming stubborn. Set a schedule to clean your oven monthly. This ensures it stays in good condition.
Repairing Minor Damages
Minor damages are common in GE ovens. Loose handles or knobs can occur. Tighten them using a screwdriver. This simple fix can prevent further issues.
Cracks in the interior surface need attention. Use high-temperature appliance epoxy. Apply it to the crack following the product instructions. Allow it to dry completely before use.
Replacing damaged seals is crucial for efficiency. Inspect the door seals regularly. If they are worn out, replace them promptly.
Minor electrical issues may arise. Check the connections for loose wires. Secure them to ensure proper functioning.
Regular inspections help identify damages early. Addressing them quickly can extend the life of your oven.
Expert Advice
Maintaining a clean GE oven ensures optimal performance. Start by removing racks and wiping the interior with a damp cloth. Use a mixture of baking soda and water to tackle stubborn stains, applying it with a gentle scrub. Regular cleaning keeps your oven efficient and looking great.
Cleaning your GE oven might seem like a daunting task, but with expert advice, it becomes a manageable, even satisfying, routine. Professionals in the appliance care industry have mastered the art of keeping ovens spotless. Let’s dive into their top tips and common pitfalls to avoid, ensuring your oven remains in pristine condition.Top Tips From Professionals
Professionals recommend starting with a cool oven to prevent burns and allow cleaning solutions to work effectively. Remove all racks and trays, as cleaning them separately can yield better results. Use a mixture of baking soda and water to create a paste that can be spread over the oven’s interior for an eco-friendly clean. Allow the baking soda paste to sit overnight. This gives it time to break down stubborn residues, making it easier to wipe away. In the morning, use a damp cloth to remove the paste, followed by a vinegar spray to eliminate any remaining baking soda and add shine.Avoiding Common Mistakes
One mistake to avoid is using harsh chemicals that can damage your oven’s finish. These might seem effective at first, but they can cause long-term harm to the appliance. Opt for gentle, natural cleaners that are equally effective without the risk. Rushing the cleaning process is another pitfall. Skipping steps or not allowing cleaning agents to work for the recommended time can lead to incomplete cleaning. Be patient; allowing time for cleaning solutions to work can save you effort in the long run. Are you guilty of neglecting your oven’s seals and gaskets? These areas are often overlooked but are crucial for maintaining efficiency. Gently clean them with a damp cloth to ensure they remain in good condition, preventing heat loss and ensuring even cooking. By incorporating these expert tips into your routine, you can maintain a clean and efficient GE oven. What other cleaning secrets have you discovered that keep your kitchen appliances in top shape?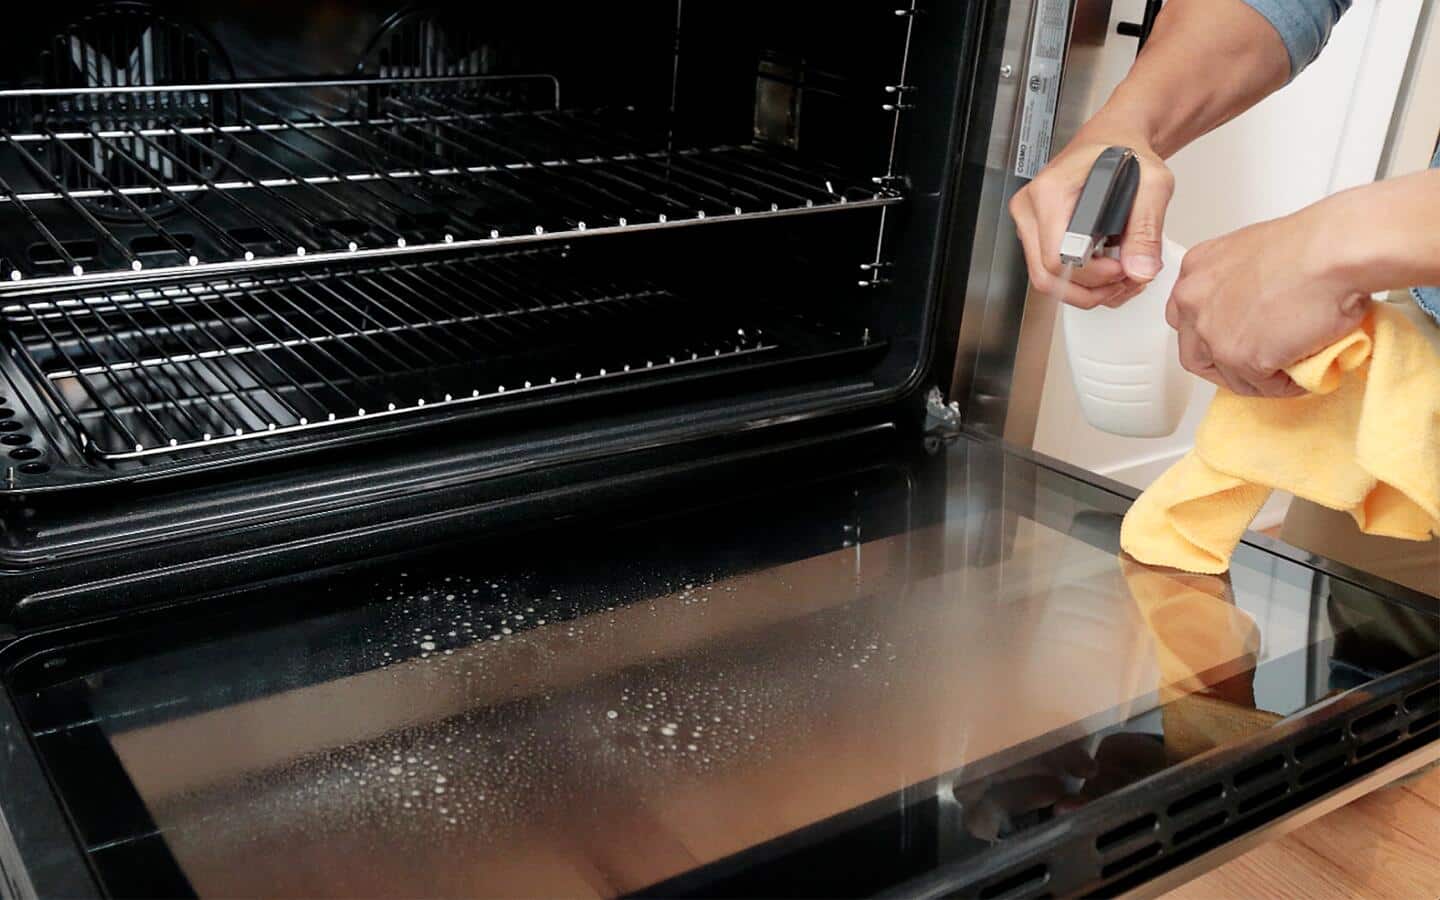
Credit: www.homedepot.com
Frequently Asked Questions
What Is The Best Way To Clean A Ge Oven?
Clean a GE oven by using the self-cleaning function. Remove racks first and wipe with warm, soapy water. For manual cleaning, apply baking soda paste on stains, let sit, then scrub gently. Avoid harsh chemicals and abrasive materials to prevent damage.
Regular maintenance keeps your oven efficient and spotless.
Can You Leave The Racks In A Ge Self-cleaning Oven?
It’s best to remove the racks before using the self-cleaning feature in a GE oven. Leaving them in can cause discoloration and damage. For optimal results, clean racks separately.
How Long Does It Take For A Ge Oven To Self-clean?
A GE oven typically takes 2 to 4 hours to complete a self-clean cycle. Duration may vary based on the oven model. Always check your oven’s manual for specific instructions and safety guidelines. Ensure proper ventilation to reduce smoke and odor during the cleaning process.
How Do You Use Self-cleaning On Your Oven?
To use self-cleaning on your oven, remove racks and debris. Select the self-cleaning option. Close the door securely. Set the timer as needed. The oven will heat up and clean itself.
Conclusion
Cleaning your GE oven regularly ensures it works efficiently. A clean oven prevents smoke and odors. It also enhances cooking results. Use simple cleaning tools and solutions. Follow safety measures while cleaning. Avoid harsh chemicals to protect the oven surface.
Regular maintenance extends oven lifespan. Sparkling clean ovens make cooking enjoyable. You spend less time cleaning when done often. Enjoy your fresh, clean kitchen space. Now, your GE oven is ready for delicious meals. Keep it clean and enjoy better cooking experiences.
Happy cooking!
