Imagine opening your oven door and being greeted by a pristine, sparkling interior instead of the usual grease and grime. Sounds appealing, doesn’t it?
A deep-cleaned oven isn’t just about aesthetics; it can also enhance the flavor of your meals and improve energy efficiency. If the thought of scrubbing away stubborn stains feels overwhelming, don’t worry. You can transform your oven with just a few simple steps, and we’re here to guide you through the process.
Prepare to discover the secrets of oven cleaning that will leave your appliance looking brand new and your kitchen smelling fresh. Ready to roll up your sleeves and take the first step towards a cleaner kitchen? Let’s dive in!
Preparation Steps
Cleaning an oven might seem daunting, but it’s manageable with proper preparation. Preparing ensures a thorough clean and minimizes potential damage. Here’s how to set the stage for a spotless oven.
Gathering Supplies
Start by collecting necessary cleaning tools. You’ll need baking soda and white vinegar. A sponge, a scrub brush, and a microfiber cloth are essential. Grab a spray bottle and gloves for protection. An old toothbrush can help with tight spots.
Safety Measures
Ensure safety while cleaning. Turn off the oven and unplug it. This prevents accidents. Open windows for ventilation. Wear gloves to protect your hands. If using a commercial cleaner, follow the instructions carefully.
Removing Oven Racks
Take out the oven racks. This makes cleaning easier. Soak them in warm soapy water. Let them sit for a while. This loosens grime and grease. Use a scrub brush to remove stubborn dirt.
Credit: www.housework.com
Natural Cleaning Methods
Cleaning your oven naturally not only protects the environment, but also ensures your kitchen remains free from harmful chemicals. You can achieve a sparkling clean oven using ingredients you probably already have at home. These methods are effective, eco-friendly, and safe for your family and pets. Dive into these simple, yet powerful natural cleaning solutions that will transform your oven from grimy to gleaming.
Baking Soda Paste
Baking soda is a miracle worker when it comes to tackling stubborn grime. Mix half a cup of baking soda with a few tablespoons of water to create a thick paste. Spread this paste generously inside your oven, focusing on the toughest spots.
Let it sit overnight. The next day, wipe away the dried paste with a damp cloth. You’ll be amazed at how easily grease and stains lift off. Have you ever used baking soda for cleaning before?
Vinegar Spray
Vinegar is another kitchen staple that packs a punch against oven dirt. Fill a spray bottle with equal parts vinegar and water. Spritz it over the surfaces you’ve covered with baking soda paste. The fizzing action helps lift any remaining residue.
This method is perfect for tackling those hard-to-reach corners. Wipe away with a cloth, and enjoy the fresh, non-toxic shine. Why spend money on expensive cleaners when vinegar does the trick?
Lemon And Salt Scrub
Lemon and salt make a dynamic duo in cutting through grease. Cut a lemon in half and sprinkle salt on the cut side. Use it like a scrubber directly on oven surfaces. The acidity of lemon breaks down grime, while the salt acts as an abrasive.
This method leaves your oven smelling fresh and citrusy. It’s a great way to clean up while keeping your kitchen smelling delightful. Have you ever tried using lemon as a cleaner before?
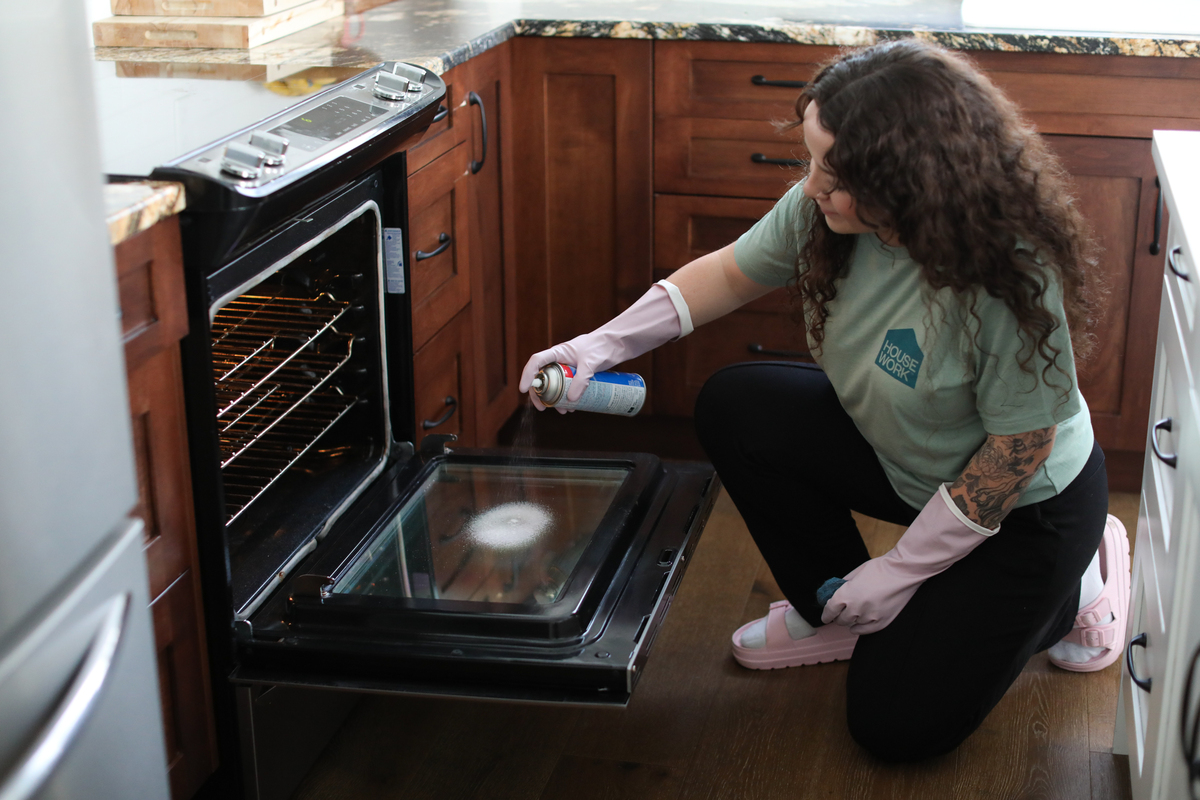
Commercial Cleaners
Deep cleaning an oven requires specialized commercial cleaners to tackle stubborn grease and grime effectively. Begin by removing racks and soaking them in warm, soapy water. Apply the cleaner inside the oven, let it sit, then wipe clean for a sparkling finish.
Cleaning an oven is no small feat, and sometimes everyday solutions fall short. This is where commercial cleaners step in, offering powerful formulations designed to tackle even the most stubborn grease and grime. But with so many options on the market, how do you choose the right one? And once you’ve got your product, what’s the best way to use it for optimal results? Let’s explore the world of commercial cleaners.Choosing The Right Product
The first step in deep cleaning your oven with commercial cleaners is selecting the right product. Not all cleaners are created equal, and some might be too harsh for your appliance’s surface. Consider reading labels carefully. Look for products specifically designed for oven cleaning. Brands often provide information on the type of surfaces they are safe for. Think about your specific needs. Are you dealing with burnt-on food or layers of grease? Products vary in strength, so choose one that matches your cleaning challenge.Application Techniques
Once you’ve got your chosen cleaner, applying it correctly is crucial. Application techniques can make or break your cleaning efforts. Start by removing oven racks. This ensures you can reach every corner. Lay down newspaper or towels to catch any drips and protect your floor. Apply the cleaner generously but evenly. Avoid spraying too close to avoid streaks or drips. Let it sit for the recommended time to break down the grime effectively. Finally, always ventilate the area. Open windows or use fans to dissipate any fumes. This ensures your safety and prevents any chemical buildup in your kitchen. Are you ready to see your oven sparkle?Cleaning The Oven Interior
Deep cleaning an oven interior ensures a sparkling, fresh cooking space. Use a mixture of baking soda and water. Spread the paste inside, let it sit overnight, then wipe away grime with a damp cloth.
Cleaning the oven interior can seem daunting, but it doesn’t have to be a dreaded chore. A clean oven not only looks better but also functions more efficiently. By breaking down the process into manageable steps, you can tackle this task with confidence.Scrubbing Techniques
Before you start scrubbing, make sure your oven is turned off and cool. Use a mixture of baking soda and water to create a paste. Spread this paste on the interior surfaces, avoiding the heating elements. Let the paste sit for at least 20 minutes. This allows it to break down grease and grime. Use a non-abrasive scrubber or a soft cloth to scrub away the residue.Dealing With Stubborn Stains
Stubborn stains may require a bit more effort. If certain spots resist your initial scrubbing, try spraying a bit of vinegar on them. The reaction between vinegar and baking soda can help lift tough stains. For extremely stubborn stains, consider using a specialized oven cleaner. Always read the instructions to ensure safe use. Remember, a little patience goes a long way.Rinse And Dry
After scrubbing and tackling tough stains, it’s time to rinse. Use a damp cloth to wipe away any remaining paste and cleaner residue. It’s crucial to remove all cleaning agents to avoid unpleasant smells during future cooking. Once rinsed, use a dry towel to wipe down the interior. This prevents any lingering moisture, which could cause rust over time. Now, take a step back and admire your sparkling clean oven!Maintaining The Oven Door
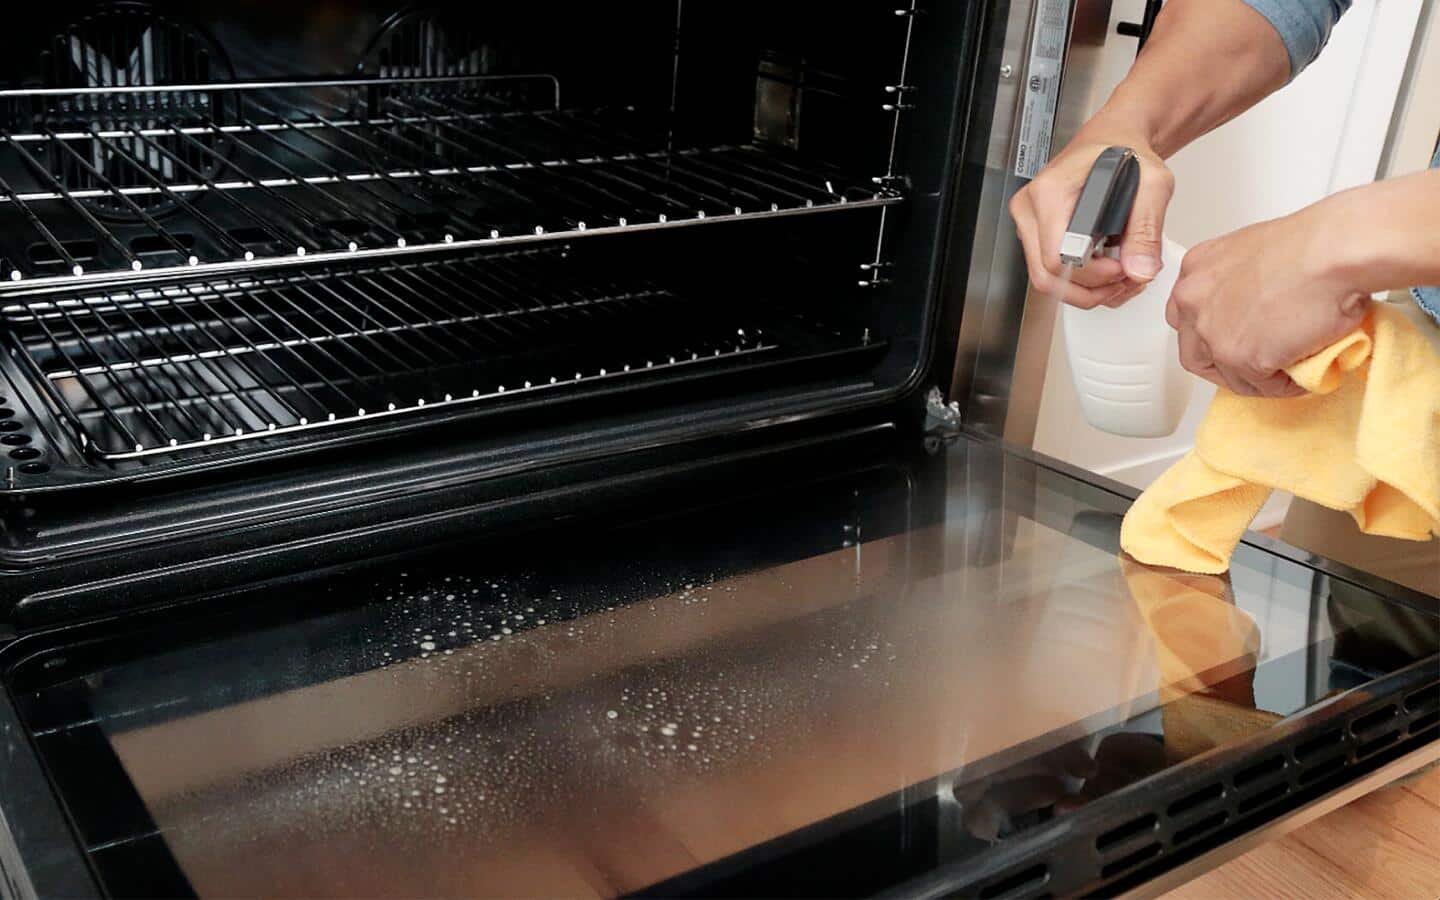
Cleaning the oven door is crucial for a spotless kitchen. Use warm water and mild detergent to remove grease stains. A soft cloth helps avoid scratches, keeping the glass clear and shiny. Regular cleaning prevents buildup, ensuring the oven functions efficiently.
Keeping your oven door clean is essential for both aesthetics and efficiency. A grimy door can obscure your view of what’s cooking inside, leaving you guessing. It also contributes to the overall cleanliness of your kitchen. But how do you ensure that your oven door stays spotless? Let’s dive into some practical tips.Glass Cleaning Tips
The glass on your oven door can be a magnet for grease and grime. Start by using a mixture of baking soda and water to form a paste. Apply it generously onto the glass and let it sit for about 15 minutes. This allows the paste to break down any stubborn stains. Once the time is up, gently scrub with a non-abrasive sponge. Wipe away the residue with a damp cloth, ensuring no baking soda remains. For a streak-free finish, use a glass cleaner or a mixture of vinegar and water.Handling Door Seals
The door seals are crucial for maintaining the oven’s temperature and efficiency. They are often neglected during cleaning, yet they play a vital role. Carefully inspect the seals for any visible dirt or grime. To clean, gently wipe the seals with a damp cloth soaked in mild soapy water. Avoid pulling or stretching them, as this can lead to damage. Ensure the seals are thoroughly dried to prevent moisture build-up that could lead to mold. Have you ever thought about how often you check your oven door seals? A quick monthly check can extend their lifespan and keep your oven functioning at its best. A small effort now can save you from costly repairs later.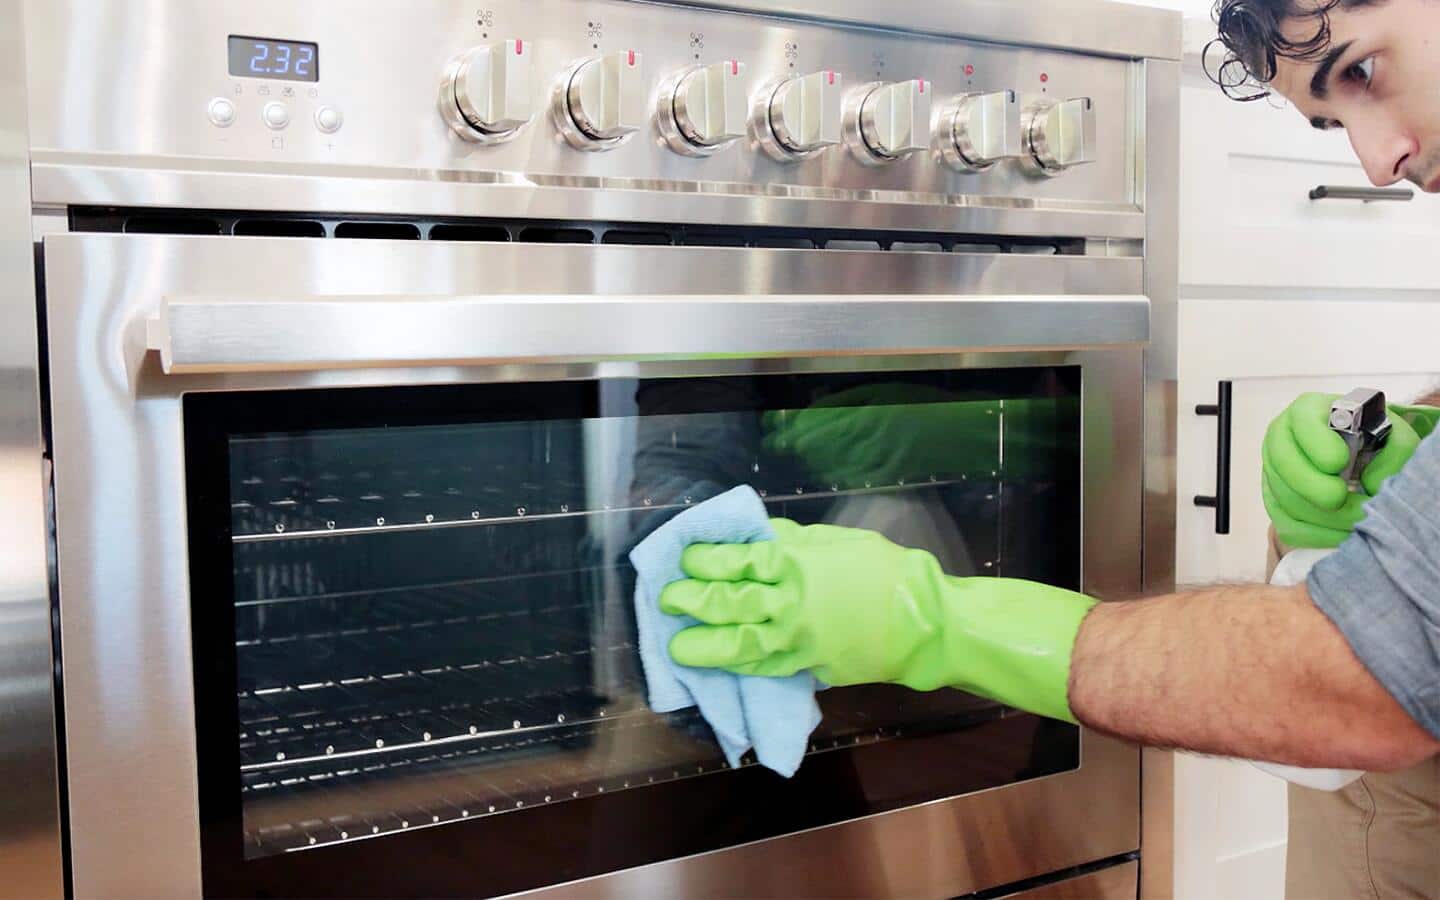
Credit: www.homedepot.com
Cleaning Oven Racks
Cleaning oven racks can feel daunting. Grease and burnt food often stick, making them tough to clean. Yet, with the right approach, you can make them sparkle again. Let’s explore effective ways to deep clean those racks.
Soaking Methods
Soaking racks loosens stubborn grime. Fill a bathtub or large basin with warm water. Add a few drops of dish soap or a cup of vinegar. Submerge the racks and let them sit overnight. Baking soda is another option. Sprinkle it over the racks before soaking. These methods break down grease effectively.
Rinsing And Drying
After soaking, use a scrub brush or sponge. Gently scrub each rack to remove loosened debris. Rinse thoroughly with clean water. Make sure all soap or vinegar residue is gone. Lay the racks on a towel to air dry. Ensure they are completely dry before placing them back in the oven. This prevents rust and keeps your oven fresh.
Final Steps
After scrubbing and soaking, your oven is almost as good as new. The final steps ensure it’s ready for baking brilliance. These last tasks help maintain its pristine condition and performance. Let’s wrap up the cleaning process efficiently.
Reinstalling Racks
Ensure oven racks are dry before placing them back. Align each rack carefully on its respective slot. Slide them in gently to prevent scratches. Proper rack placement ensures even cooking in future uses.
Post-cleaning Inspection
Check for any remaining grime or residue inside the oven. Use a damp cloth to remove any stubborn spots. Inspect the oven door and seals for cleanliness. A clean seal ensures the oven retains heat effectively.

Credit: www.tiktok.com
Tips For Regular Maintenance
Regular oven maintenance keeps it efficient and extends its lifespan. Consistent care prevents stubborn grime and reduces the need for deep cleaning. Follow these simple tips to maintain a clean oven effortlessly.
Weekly Wipe Down
Each week, give your oven a quick wipe down. Use a damp cloth to clean the oven door and interior surfaces. Remove any crumbs or spills before they harden. This prevents the buildup of tough stains and sticky spots.
Don’t forget the oven racks. Take them out and wipe them with warm, soapy water. Dry them thoroughly before placing them back in. This quick routine keeps your oven looking fresh.
Preventive Measures
Avoid messes by using baking sheets and oven liners. They catch spills and make cleanup easier. Always cover dishes with lids or foil to reduce splatters.
Keep an eye on the oven temperature. Use an oven thermometer for accuracy. This prevents food from burning and leaving stubborn stains.
Ventilate your kitchen well during cooking. It reduces smoke and odors that can stick to the oven interior.
Frequently Asked Questions
How Do You Clean A Badly Dirty Oven?
Start by removing oven racks and soaking them in soapy water. Apply a baking soda paste inside the oven. Let it sit overnight. Scrub with a damp cloth, focusing on stubborn spots. Use vinegar to rinse. Wipe clean and replace racks.
Your oven will be sparkling clean!
How To Deep Clean The Inside Of The Oven?
To deep clean your oven, remove racks and soak them in warm soapy water. Apply a baking soda paste inside the oven, let it sit overnight, then scrub and wipe clean. Use vinegar for stubborn stains. Regular cleaning keeps your oven efficient and hygienic.
How To Get Burnt Gunk Off The Bottom Of An Oven?
Use baking soda and vinegar paste to scrub the burnt area. Let it sit for 20 minutes. Wipe clean with a damp cloth. For stubborn stains, use a commercial oven cleaner, following the instructions. Rinse thoroughly to remove any residue.
Regular cleaning prevents build-up.
How Long Does It Take To Deep Clean An Oven?
Deep cleaning an oven typically takes 2 to 4 hours. Time varies based on size and dirt level. Proper cleaning ensures efficient performance. Regular maintenance helps avoid stubborn grime buildup, making future cleanings quicker. Use appropriate cleaning products for best results.
Allocate sufficient time for thorough cleaning and drying.
Conclusion
Cleaning your oven can feel overwhelming. It doesn’t have to be. Simple steps make the process easier. First, gather your cleaning supplies. Next, remove oven racks and clean them. Use a paste of baking soda and water inside the oven.
Scrub gently. Rinse with vinegar for extra shine. Don’t forget the oven door. Wipe it down with soap and water. Repeat every few months for best results. A clean oven means healthier meals and a fresher kitchen. Enjoy cooking again with your spotless oven.
Feel proud of your tidy kitchen space.
