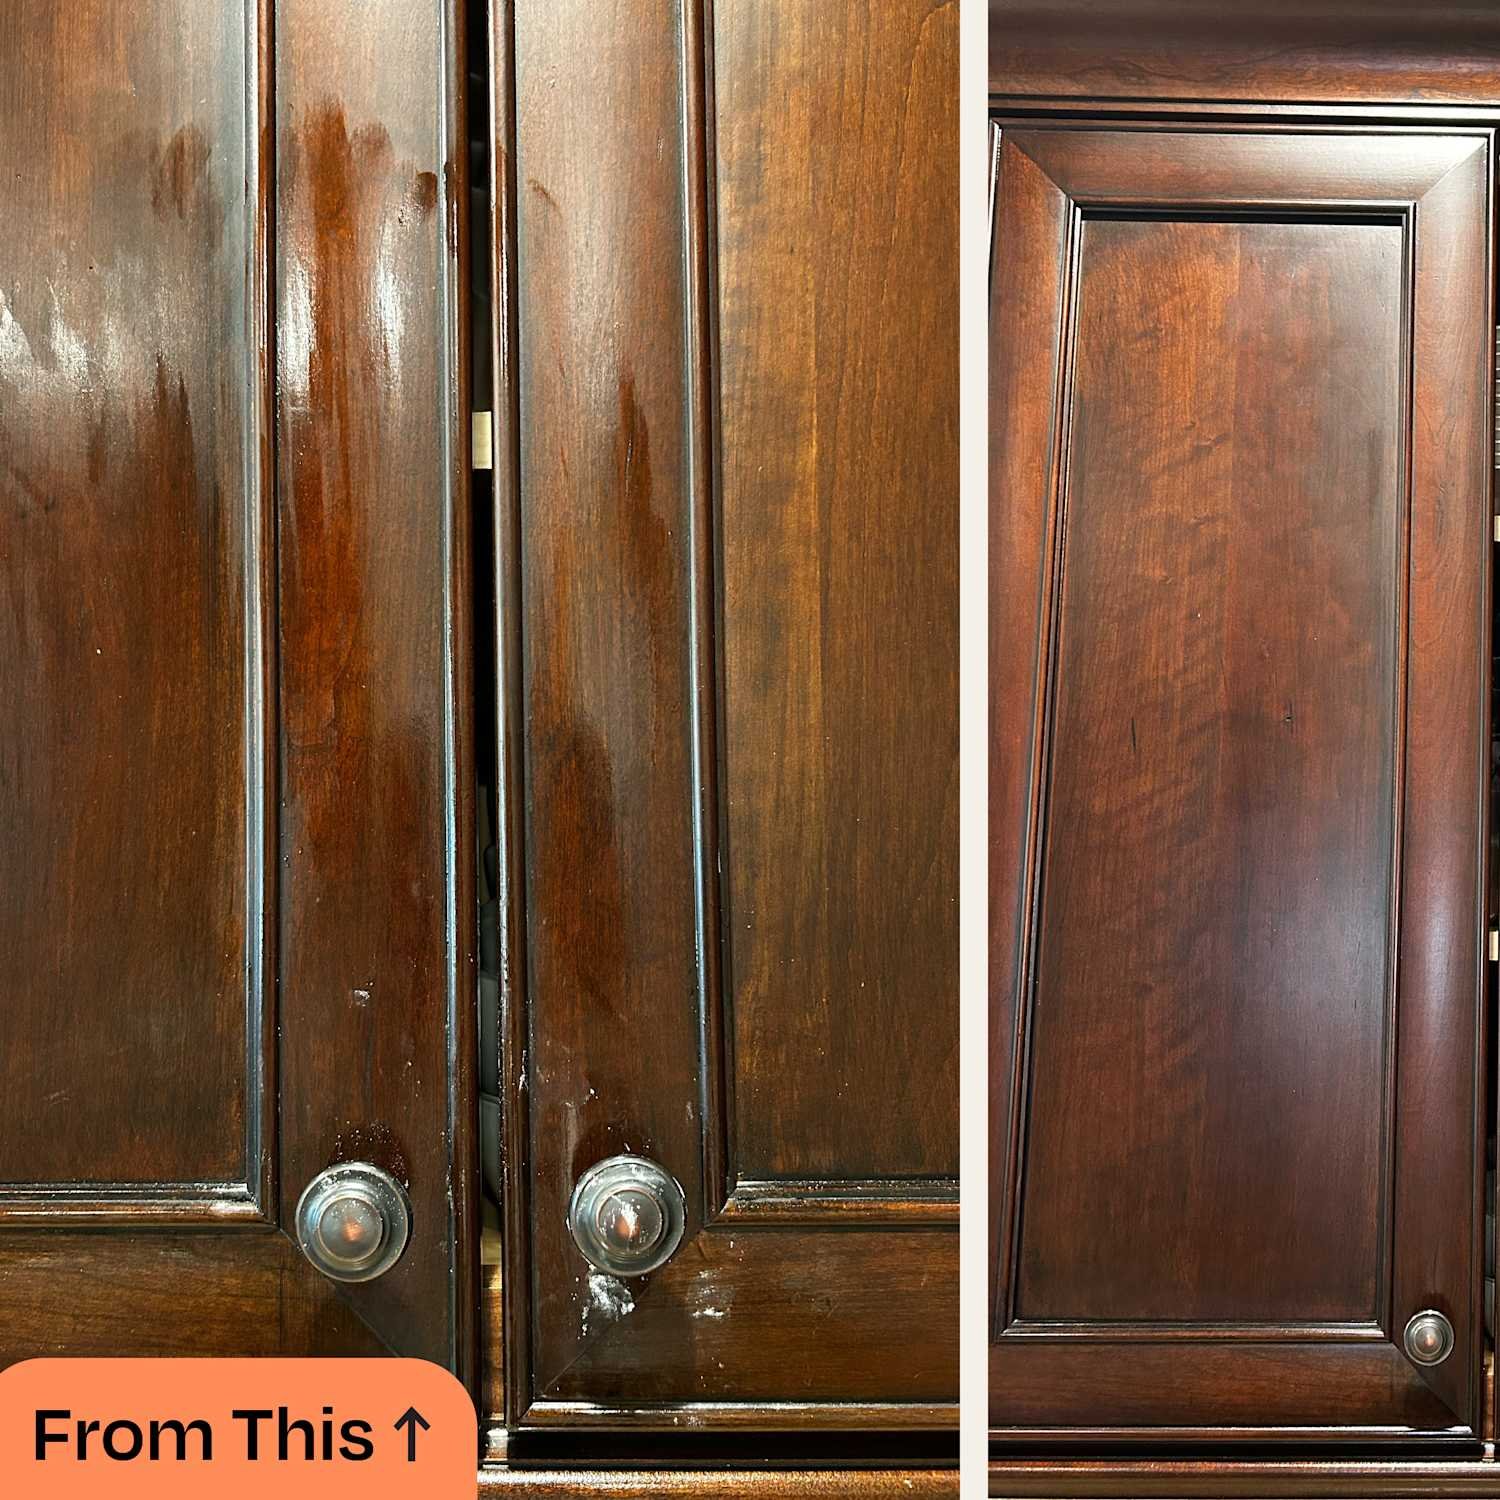
Are your kitchen cabinets looking dull and sticky because of built-up grease? You’re not alone.
Grease can be stubborn, making your cabinets hard to clean and leaving your kitchen feeling less fresh. But what if you could restore that clean, polished look without spending hours scrubbing or using harsh chemicals? You’ll discover the best way to degrease your kitchen cabinets quickly and effectively.
Keep reading, and you’ll learn simple tips that save you time, protect your cabinets, and make your kitchen shine like new.
Credit: houseoutlook.com
Causes Of Grease Buildup
Grease buildup on kitchen cabinets can be frustrating and tough to clean. Understanding what causes this buildup helps you prevent it and keep your kitchen looking fresh. Let’s look at the main sources and types of grease that settle on your cabinets over time.
Common Kitchen Sources
Grease in the kitchen usually comes from cooking activities. When you fry or sauté foods, tiny oil droplets float in the air and land on nearby surfaces, including your cabinets.
Other common sources include:
- Steam from boiling or simmering oily dishes
- Spatters from frying pans and grills
- Residue from hands when touching cabinets after handling oily foods
- Greasy smoke from burnt food or high-heat cooking
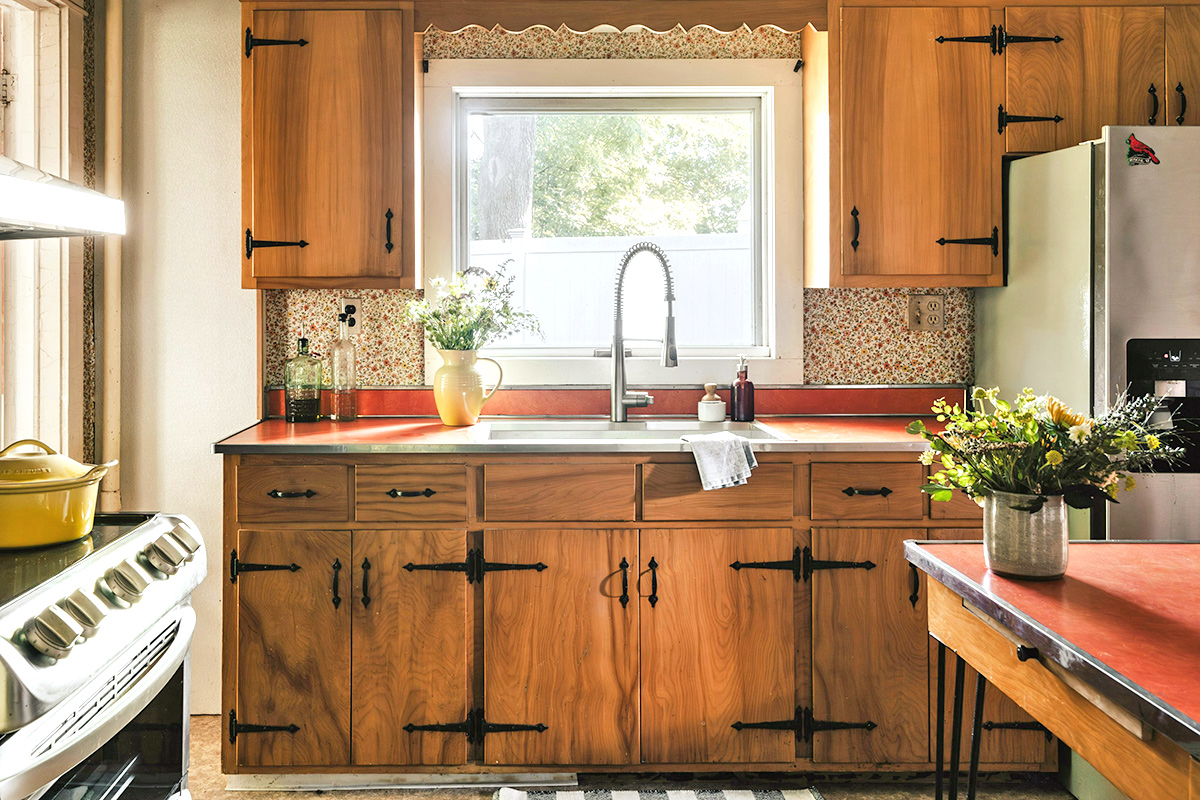
Have you ever noticed how quickly your cabinets near the stove get sticky? This shows how close proximity to cooking spots increases grease buildup.
Types Of Grease And Residue
Not all grease is the same. Some types are easier to clean, while others stick stubbornly to surfaces.
| Type of Grease | Description | Cleaning Challenge |
|---|---|---|
| Animal Fats | From cooking meat, butter, or lard | Becomes sticky and hardens when cool |
| Vegetable Oils | From frying with oils like olive or canola | Leaves a thin, slippery film that attracts dust |
| Smoke Residue | From burnt food or smoke particles | Forms a dark, sticky layer that’s tough to remove |
| Fingerprints and Hand Oils | Transferred when touching cabinets with oily hands | Builds up over time, especially around handles |
Knowing what kind of grease you’re dealing with makes it easier to choose the right cleaning method. What type of buildup do you see most on your cabinets?
Preparing Cabinets For Cleaning
Preparing your kitchen cabinets before cleaning is key to effective degreasing. Proper preparation ensures better results and protects your kitchen surfaces. It helps avoid damage and keeps the cleaning process smooth.
Gathering Necessary Supplies
Collect all cleaning materials before starting. This saves time and keeps you organized. You will need:
- Mild dish soap or degreaser
- Warm water
- Soft sponges or microfiber cloths
- Old toothbrush for tight spots
- Spray bottles for easy application
- Gloves to protect your hands
- Dry towels for wiping
Using the right supplies makes cleaning easier and prevents damage.
Protecting Surrounding Areas
Cover nearby surfaces to avoid spills and stains. Use old towels or plastic sheets on countertops and floors. Remove any fragile or valuable items from the area.
Ensure good ventilation by opening windows or turning on fans. This helps reduce strong odors and speeds up drying time.
Effective Degreasing Solutions
Grease buildup on kitchen cabinets can be stubborn and frustrating. Choosing the right degreasing solution can make all the difference in restoring your cabinets’ shine without damaging the surface. You want something effective yet safe, easy to use, and ideally, something you can trust in your home environment.
Homemade Cleaners
Simple ingredients from your kitchen can create powerful degreasers. A mix of warm water, white vinegar, and a few drops of dish soap cuts through grease without harsh chemicals. Vinegar’s acidity breaks down oily residues, while dish soap lifts away grime.
Another option is baking soda paste—just add water until it forms a spreadable paste. Apply it to greasy spots, let it sit for a few minutes, then scrub gently. This method is especially good for cabinets with stubborn, baked-on grease.
Have you tried lemon juice? Its natural acidity also helps dissolve grease and leaves a fresh scent behind. Just mix it with water and use a soft cloth for wiping.
Commercial Products
If you prefer ready-made solutions, there are many commercial degreasers designed specifically for kitchen cabinets. Look for products labeled safe for wood or laminate to avoid damage. Many contain enzymes or solvents that efficiently break down grease without excessive scrubbing.
Spray bottles with trigger nozzles are convenient for quick application and control. You can spray directly onto greasy spots, wait a short time, then wipe away with a microfiber cloth. Some brands even offer antibacterial properties, adding extra cleaning power.
Before using any product, test it on a small hidden area to ensure it doesn’t discolor or harm your cabinet finish. What’s your experience with commercial cleaners? Have you found one that works without leaving residue or streaks?

Credit: www.youtube.com
Step-by-step Degreasing Process
Grease buildup on kitchen cabinets can make your entire cooking space look dull and unclean. Tackling this problem requires a clear process that breaks down the task into manageable actions. This step-by-step degreasing process helps you remove grease effectively without damaging your cabinets.
Initial Wiping Techniques
Start by removing loose dust and dirt with a dry microfiber cloth. This step prevents scratching the cabinet surface when you apply cleaners later. Focus on corners and edges where grease tends to gather.
Next, use a warm, damp cloth to gently wipe the cabinet surfaces. Avoid soaking the wood; just enough moisture to loosen the grease works best. Have you noticed how small amounts of water can make a big difference in loosening grime?
Applying Cleaners Correctly
Choose a degreasing cleaner suitable for your cabinet material—whether it’s wood, laminate, or painted surfaces. Spray the cleaner evenly or apply it with a soft sponge. Be sure not to oversaturate the surface, as too much liquid can cause damage.
Let the cleaner sit for a few minutes to break down the grease. This waiting time allows the product to work without harsh scrubbing. If your cabinets are extra greasy, consider mixing a solution of warm water, dish soap, and a bit of vinegar for a natural alternative.
Rinsing And Drying
After the cleaner has done its job, wipe the cabinets with a clean, damp cloth to remove any residue. Leaving cleaner on the surface can attract more dirt and dull the finish. Make sure to rinse thoroughly, especially in grooves or decorative trims.
Finally, dry the cabinets with a soft, dry towel or cloth. This step prevents water spots and helps preserve the cabinet’s appearance. Have you ever skipped drying only to find streaks or water damage later? Taking this extra moment protects your investment.
Handling Different Cabinet Materials
Cleaning kitchen cabinets effectively depends a lot on the material they’re made of. Each surface reacts differently to cleaning agents and techniques. Handling these differences carefully prevents damage and keeps your cabinets looking fresh longer.
Wood Cabinets
Wood cabinets need gentle care because harsh chemicals can strip their finish or cause discoloration. Use a mixture of warm water and a mild dish soap to wipe down the surfaces. Avoid soaking the wood; instead, use a damp cloth and dry immediately to prevent water damage.
If grease is stubborn, try a solution of vinegar and water in equal parts. This natural cleaner cuts through grime without harming the wood’s protective coating. Have you noticed that sometimes wood cabinets can look dull after cleaning? Adding a small amount of olive oil to a soft cloth and buffing the surface can restore shine.
Laminate And Painted Surfaces
Laminate and painted cabinets handle moisture better but can still be sensitive to abrasive cleaners. Use a non-abrasive sponge with warm soapy water for regular cleaning. Avoid scrubbing too hard to keep the paint or laminate finish intact.
For greasy spots, a baking soda paste made with water works wonders. Apply it gently and rinse well to avoid residue. Ever tried using a magic eraser? It can remove tough stains on painted cabinets but test a small area first to avoid dulling the finish.
Metal And Glass Options
Metal cabinets are durable but prone to fingerprints and streaks. Use a soft cloth with a mild detergent or a vinegar-water mix to wipe them down. Dry immediately to prevent water spots and corrosion.
Glass cabinet doors need careful cleaning to avoid streaks. Use a glass cleaner or a solution of water and vinegar. Wipe with a microfiber cloth for a clear, streak-free shine. Do you find it tricky to keep glass spotless? Cleaning in circular motions and drying quickly can make a big difference.
Preventing Future Grease Buildup
Preventing future grease buildup on kitchen cabinets saves time and effort. It keeps your kitchen looking fresh and clean. Simple habits and regular care help avoid thick layers of grease. This section shares easy ways to protect your cabinets from grease.
Regular Maintenance Tips
Clean cabinets often using mild soap and warm water. Wipe spills immediately to stop grease from sticking. Use a soft cloth to avoid scratching surfaces. Try a mix of vinegar and water for gentle deep cleaning. Avoid harsh chemicals that can damage cabinet finishes. Set a weekly cleaning routine to keep cabinets grease-free.
Ventilation And Kitchen Habits
Good airflow reduces grease buildup in the kitchen. Always use an exhaust fan or range hood while cooking. Open windows to let fresh air in and smoke out. Cover pans when frying to limit grease splatter. Avoid cooking on high heat for long times. Clean cooking appliances regularly to prevent grease from spreading.
Common Mistakes To Avoid
Cleaning kitchen cabinets requires care to avoid damage. Many people make simple mistakes that harm surfaces or reduce cleaning effectiveness. Avoiding these errors keeps cabinets looking fresh and lasting longer.
Using Harsh Chemicals
Strong chemicals can strip cabinet finishes. This leaves surfaces dull and vulnerable to damage. Some cleaners also cause discoloration or stains. Choose mild, gentle cleaners made for wood or laminate. Test any product on a small spot first. This prevents unwanted reactions and preserves cabinet beauty.
Over-saturating Surfaces
Applying too much liquid can cause wood to swell or warp. Excess moisture seeps into cracks and joints, leading to peeling or mold. Use a damp cloth rather than soaking wet. Wipe surfaces with care and dry quickly. Proper moisture control protects cabinets and speeds up cleaning.

Credit: www.facebook.com
Frequently Asked Questions
What Is The Best Homemade Solution To Degrease Cabinets?
A mixture of warm water, vinegar, and dish soap effectively removes grease. Use a spray bottle for easy application and wipe with a microfiber cloth.
How Often Should Kitchen Cabinets Be Degreased?
Degrease kitchen cabinets every 1-2 months to prevent buildup. Frequent cleaning keeps cabinets looking fresh and extends their lifespan.
Can Degreasing Damage Cabinet Finishes?
Using gentle, non-abrasive cleaners prevents damage. Avoid harsh chemicals and scrubbing pads to protect cabinet surfaces and finishes.
Is Vinegar Effective For Removing Kitchen Grease?
Yes, vinegar cuts through grease naturally and safely. It also deodorizes and disinfects without harsh chemicals.
Conclusion
Grease on kitchen cabinets can be tough to remove. Using the right cleaner makes the job easier. Regular cleaning stops grease buildup over time. Soft cloths help protect your cabinet surfaces. Try natural solutions like vinegar or baking soda. Avoid harsh chemicals that may damage finishes.
Keep your kitchen fresh and tidy with simple steps. Clean cabinets brighten your cooking space instantly. A little effort goes a long way in maintenance. Now, enjoy a cleaner, more inviting kitchen every day.
