
Are your kitchen floors looking dull or sticky no matter how much you clean? You’re not alone.
Keeping kitchen floors spotless can feel like a never-ending chore. But what if there was a simple, effective way to get them sparkling clean without wasting time or effort? You’ll discover the best way to clean kitchen floors that saves you energy and leaves your space fresh and inviting.
Ready to make your kitchen shine like new? Let’s dive in.
Choosing The Right Cleaning Products
Choosing the right cleaning products is crucial for maintaining your kitchen floors’ appearance and longevity. The products you select affect not only cleanliness but also the safety of your household and the environment. Understanding the differences between natural and chemical cleaners, as well as exploring eco-friendly options, can help you make smarter choices.
Natural Vs. Chemical Cleaners
Natural cleaners often use ingredients like vinegar, baking soda, and lemon juice. These are gentle on most floor types and safe for homes with children or pets. Have you noticed how a simple mix of vinegar and water can cut through grease effectively?
Chemical cleaners, on the other hand, are designed for heavy-duty cleaning. They can remove tough stains and disinfect surfaces quickly. However, some chemicals may damage certain floor finishes or leave harmful residues.
Consider testing a small area before applying any cleaner broadly. This can save you from costly damage and keep your floors looking fresh.
Eco-friendly Options
Eco-friendly products reduce your impact on the environment while keeping your floors clean. Many brands now offer biodegradable, non-toxic solutions that work well on tile, hardwood, and laminate.
Look for labels like “phosphate-free,” “biodegradable,” or “certified organic” to find safer options. These products often use plant-based ingredients, which break down naturally and avoid polluting waterways.
Would you choose a product that protects your floor and the planet? Finding that balance is easier than you might think, and your kitchen will thank you for it.

Credit: www.abt.com
Preparation Before Cleaning
Preparing your kitchen floor before cleaning is essential to achieve the best results. Skipping this step can leave dirt trapped under your mop or cloth, making your efforts less effective. Taking a few minutes to prepare the area ensures a smoother and more efficient cleaning process.
Clearing The Area
Remove all movable items from the floor, such as chairs, mats, and small appliances. This gives you full access to the surface and prevents any obstacles from getting in the way. Clearing the area also helps avoid accidentally knocking things over while cleaning.
Have you noticed how cleaning around clutter takes longer and feels more frustrating? Clearing the space first saves time and effort in the long run.
Sweeping Or Vacuuming Debris
After clearing the area, sweep or vacuum the floor thoroughly to remove loose dirt, crumbs, and dust. This step prevents dirt from spreading when you mop and keeps your cleaning water cleaner for longer. Use a vacuum with a hard floor setting or a broom with fine bristles for the best results.
Pay special attention to corners and under cabinets where dirt tends to gather unnoticed. A quick sweep here can make a big difference in the overall cleanliness of your kitchen floor.
Effective Cleaning Techniques
Effective cleaning techniques make kitchen floors shine and stay clean longer. They remove dirt, stains, and sticky spots efficiently. Using the right method saves time and keeps floors safe from damage. Simple habits and tools help maintain a fresh kitchen floor every day.
Mopping Strategies
Use a mop with a microfiber head for better dirt pickup. Wet the mop lightly to avoid soaking the floor. Move the mop in small, circular motions to lift dirt well. Change water often to prevent spreading grime. Use warm water mixed with a mild floor cleaner. For tough stains, let the mop sit on the spot briefly. Rinse the mop head regularly to keep it clean. Dry the floor with a clean cloth after mopping to stop streaks and slips.
Spot Cleaning Tips
Act fast on spills to stop stains from setting. Blot liquid spills with a paper towel or cloth. Avoid rubbing spills, as it spreads the mess. Use a small brush or sponge with soapy water for sticky spots. Test cleaning solutions on a small floor area first. For grease spots, try a mixture of vinegar and water. Wipe the spot gently and rinse with clean water. Dry the area well to avoid slippery patches. Keep a small cleaning kit near the kitchen for quick spot checks.
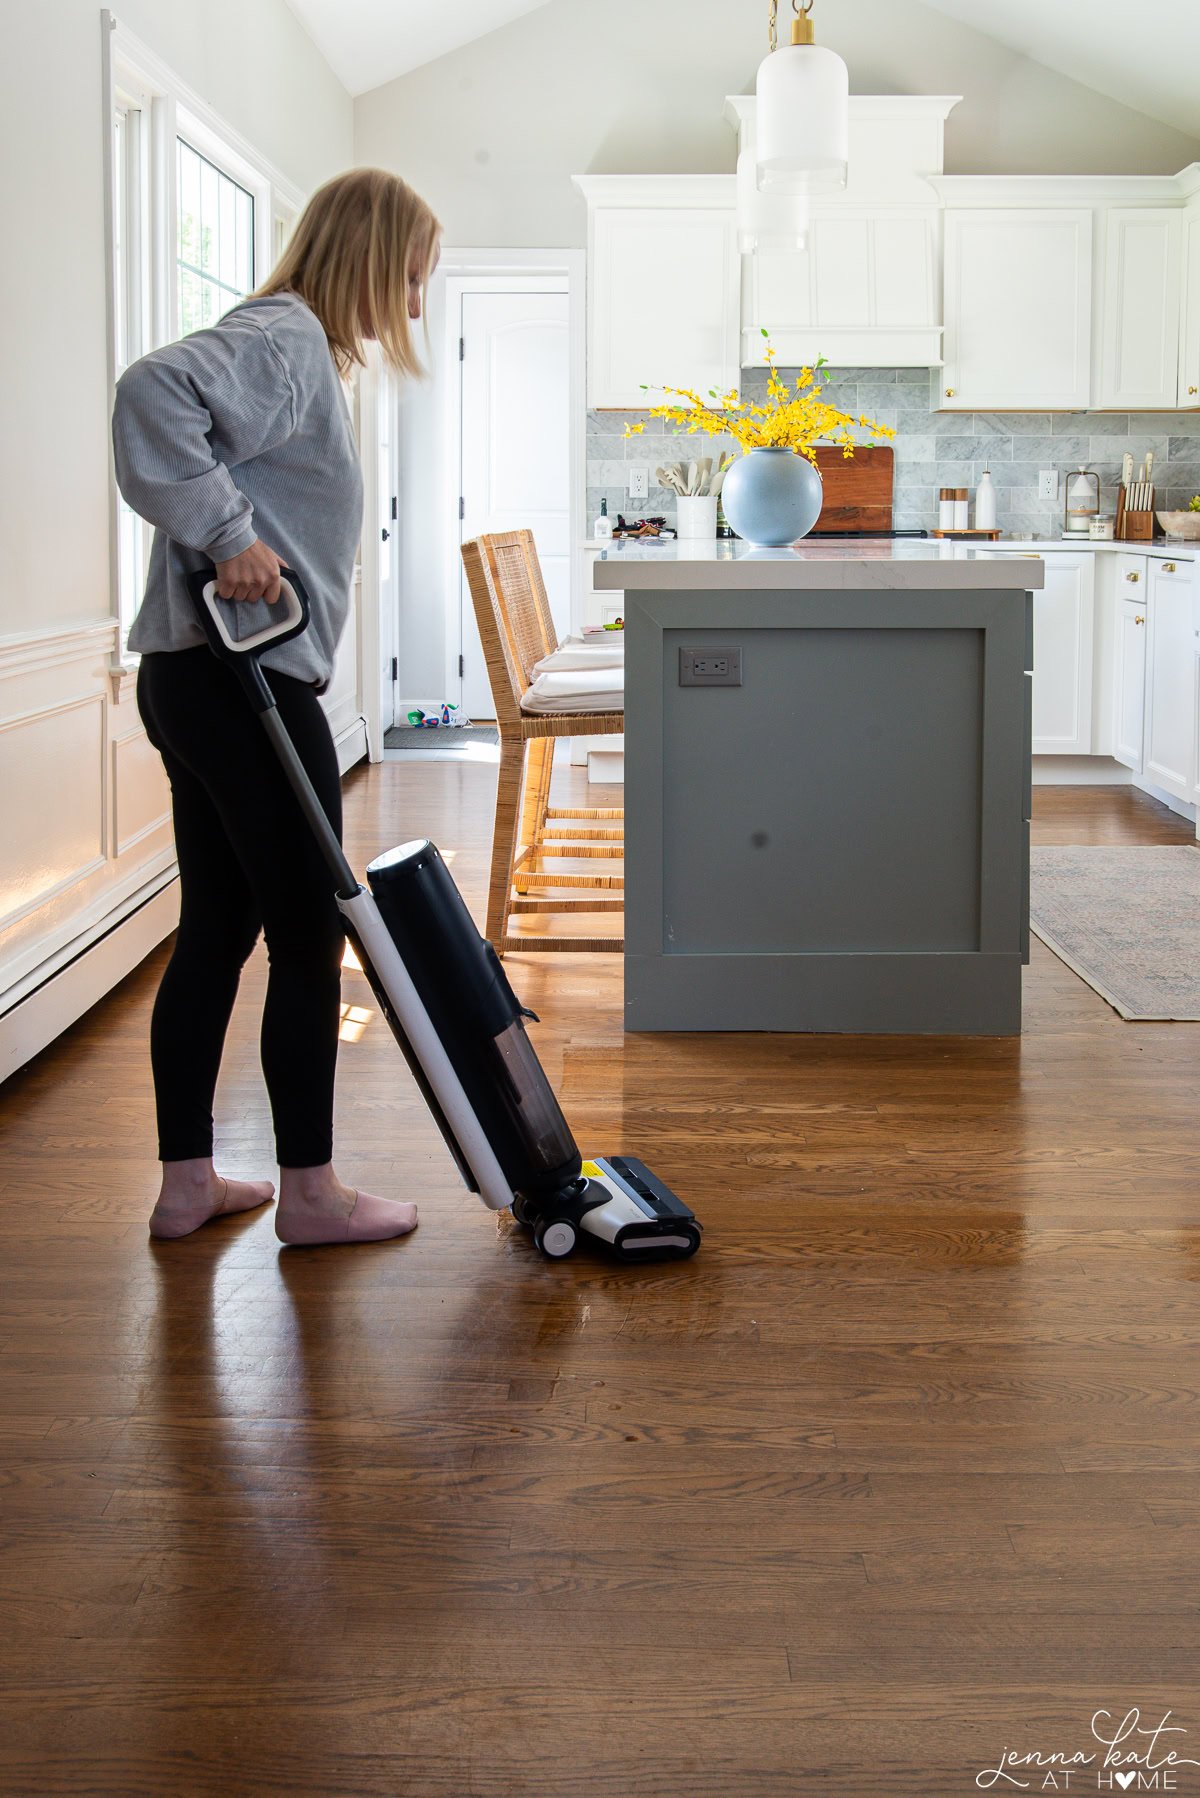
Credit: jennakateathome.com
Drying The Floor
Drying the floor after cleaning is a crucial step that often gets overlooked. Leaving the floor wet can lead to streaks, water spots, or even slippery surfaces that pose safety risks. Taking a moment to dry your kitchen floor properly not only enhances its shine but also keeps your space safe and clean.
Air Drying
Allowing your kitchen floor to air dry is the simplest approach. Open windows or turn on fans to improve air circulation. Fresh air speeds up drying and helps prevent moisture buildup in corners.
Have you noticed how some spots take longer to dry? Check those areas and gently wipe if needed to avoid water pooling. This method works best when you’re not in a rush and the weather cooperates.
Using A Dry Mop
A dry mop is a powerful tool to speed up drying without adding more moisture. After mopping with a wet solution, run the dry mop over the surface to absorb excess water.
This technique prevents slippery floors and reduces the chance of streaks. I’ve found that using a microfiber dry mop works best because it grabs tiny droplets that are invisible to the eye.
Do you want your kitchen floor to look spotless and safe? Try combining air drying with a quick pass of a dry mop—it’s a small effort that makes a noticeable difference.
Maintaining Clean Kitchen Floors
Keeping your kitchen floors spotless isn’t just about appearances—it affects hygiene, safety, and the overall feel of your home. Regular care helps avoid stubborn stains and sticky residues that can build up quickly in busy kitchens. Understanding how to maintain clean floors can save you time and effort in the long run.
Regular Cleaning Schedule
Set a cleaning routine that fits your lifestyle. Sweeping or vacuuming daily removes crumbs and dirt before they turn into grime. Mopping once or twice a week keeps floors shiny and fresh.
Don’t ignore spills. Wiping them immediately prevents stains and sticky patches that attract pests. If you have pets or kids, you might need to clean more often to keep up with extra messes.
Try using a mild cleaner suited for your floor type. Harsh chemicals can damage finishes or leave residues that dull the surface. Have you noticed how your favorite cleaner affects your floor over time?
Preventive Measures
Place mats at entrances to catch dirt and moisture before it reaches your kitchen floors. This simple step cuts down on how much cleaning you need to do.
Use protective pads under furniture legs to avoid scratches. Moving chairs and tables without protection can wear down your floor faster than you expect.
Consider establishing a “no shoes” policy in your kitchen. Shoes track in dirt, grease, and germs from outside. It might sound strict, but your floors will thank you.
Think about the types of spills or messes that happen most in your kitchen. Can rearranging your space or changing habits reduce these incidents? Small changes often make a big difference in floor cleanliness.
Dealing With Stubborn Stains
Stubborn stains on kitchen floors can feel impossible to remove, especially after spills have had time to set. These marks often resist regular mopping and can dull the shine of your floor. Tackling them requires a bit more effort and the right approach to restore your kitchen’s cleanliness and appeal.
Home Remedies
Sometimes, the best solutions are already in your kitchen. Baking soda is a powerful stain remover—sprinkle it over the stain, add a little water to make a paste, and scrub gently with a soft brush. The mild abrasive action lifts the stain without damaging the floor.
White vinegar is another versatile option. Mix equal parts vinegar and warm water in a spray bottle, spray the stain, and wipe with a microfiber cloth. This combination breaks down grease and grime effectively.
Have you tried using lemon juice? It naturally bleaches and freshens. Apply lemon juice directly to the stain, let it sit for a few minutes, then scrub and rinse. It’s especially useful on tile and linoleum floors.
Professional Solutions
If home remedies don’t cut it, professional cleaning products designed for your floor type might be necessary. Look for commercial stain removers labeled safe for your floor material—wood, tile, or vinyl.
These products often contain enzymes or solvents that target tough stains like oil, wine, or food dyes. Always test a small area first to avoid discoloration or damage.
Have you considered hiring a professional cleaning service? They use industrial-grade tools and solutions, which can save you time and effort, especially for persistent or widespread staining.
Safety Tips While Cleaning
Cleaning kitchen floors involves strong chemicals and wet surfaces. Safety matters most to avoid accidents and injuries. Follow simple safety tips to protect yourself while keeping floors clean and shiny.
Handling Cleaning Chemicals
Use gloves to protect your skin from harsh chemicals. Always read the label for proper use and warnings. Avoid mixing different cleaners as this can cause harmful fumes. Work in a well-ventilated area to breathe fresh air. Store chemicals out of reach of children and pets.
Preventing Slips And Falls
Wet floors are slippery and dangerous. Place warning signs or towels to alert others of wet areas. Wear shoes with good grip to avoid slipping. Clean spills immediately to prevent accidents. Use mops that do not leave too much water behind.

Credit: limestone.tilecleaning.co.uk
Choosing The Right Tools
Choosing the right tools for cleaning your kitchen floors can make a huge difference in both efficiency and results. Using improper equipment might leave your floors sticky or damaged, wasting your time and effort. Focus on tools that suit your floor type and cleaning style to achieve a spotless finish with less hassle.
Mops And Brushes
Mops come in various types, but not all are ideal for every kitchen floor. Microfiber mops are excellent for trapping dirt and require less water, making them great for wood or laminate floors. If your floors are heavily soiled, a scrub brush with stiff bristles can help remove stubborn grime, especially in grout lines or textured surfaces.
Consider the handle length and mop head size; they affect comfort and reach. Flat mops are easier to maneuver around cabinets, while sponge mops hold more cleaning solution for larger areas. Have you tried using a combination—starting with a brush for rough spots and finishing with a mop for a smooth shine?
Vacuum Types For Floors
Vacuum cleaners designed for hard floors can save you time before mopping. Look for models without beater bars, as these can scratch delicate surfaces like hardwood. Stick vacuums are lightweight and easy to handle, perfect for quick cleanups, while canister vacuums often offer stronger suction for deeper dirt removal.
Some vacuums come with special attachments for corners and edges, which are usually the trickiest spots to clean. Have you noticed how much dirt hides under your kitchen cabinets? A vacuum with a slim nozzle can reach those tight spaces better than a broom. Choosing the right vacuum can reduce the need for repeated mopping and improve overall cleanliness.
Frequently Asked Questions
What Is The Best Cleaning Solution For Kitchen Floors?
The best cleaning solution depends on your floor type. For tiles, use a mild detergent and warm water. Hardwood floors require a pH-neutral cleaner. Avoid harsh chemicals to protect finishes and maintain a clean, shiny surface.
How Often Should I Clean My Kitchen Floors?
Clean kitchen floors daily with a broom or vacuum to remove debris. Mop floors at least once a week to eliminate stains and germs. Regular cleaning prevents buildup and keeps floors hygienic and looking fresh.
Can I Use Vinegar To Clean Kitchen Floors?
Yes, diluted vinegar is effective for tile and vinyl floors. Mix one cup of vinegar with a gallon of warm water. Avoid vinegar on hardwood floors as it may damage the finish and cause discoloration over time.
What Tools Are Best For Cleaning Kitchen Floors?
Use a soft-bristle broom or vacuum for debris removal. A microfiber mop or sponge mop works best for wet cleaning. Avoid abrasive scrubbers that can scratch delicate floor surfaces and reduce their lifespan.
Conclusion
Cleaning kitchen floors does not have to be hard or take long. Use the right tools and a good cleaner for best results. Regular cleaning stops dirt and stains from building up. Dry the floor well to avoid slips and damage.
Small efforts each day keep your kitchen fresh and safe. Keep these tips in mind to enjoy a clean, bright floor. Simple steps make a big difference in your kitchen’s look and feel.
