
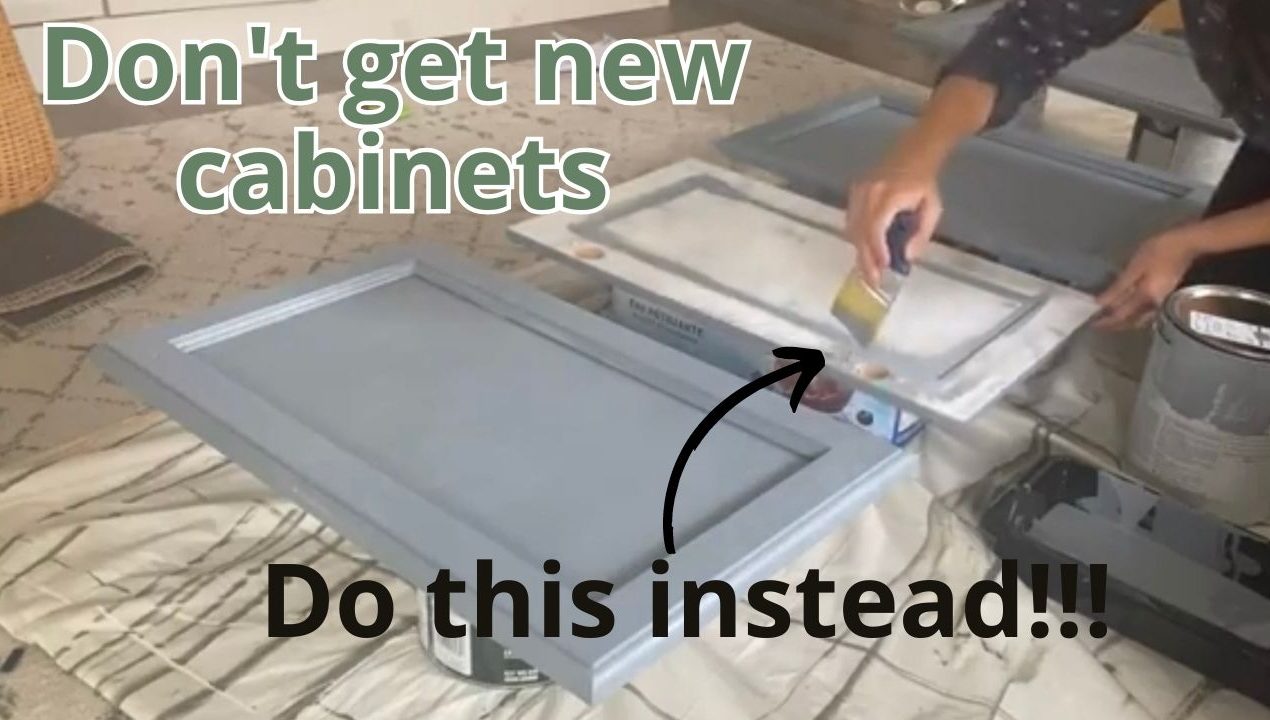
Are you ready to give your kitchen or bathroom a fresh new look? Painting your cabinets can be an affordable and transformative option.
But there’s a crucial step you can’t overlook—cleaning those cabinets before you pick up a paintbrush. You might be wondering, “Why is cleaning so important? ” Well, imagine investing time and effort into painting only to have your hard work undone by peeling or uneven surfaces.
It’s frustrating, right? Here’s where it gets interesting: the way you clean your cabinets can make or break the final result. You want that paint to stick like glue, don’t you? Well, proper cleaning ensures just that. It removes grease, grime, and residues that could ruin your masterpiece. In this guide, we’ll dive into the best methods to clean your cabinets, setting you up for painting success. Get ready to learn the secrets that will save you time, money, and ensure a flawless finish. Keep reading to discover how a simple cleaning process can make all the difference in your DIY project!
Credit: hanashappyhome.com
Preparing For Cleaning
Thoroughly clean cabinets with a gentle soap solution to remove grease and dirt. Rinse with a damp cloth and allow them to dry completely before painting.
Preparing your cabinets for a fresh coat of paint is crucial for achieving that smooth, professional finish. Before you even think about picking up a paintbrush, you need to ensure your cabinets are spotless. A clean surface is essential for paint to adhere properly, ensuring durability and a flawless look. Let’s dive into the steps to get your cabinets ready for cleaning.Gathering Supplies
First, gather all the necessary supplies. You’ll need a good quality degreaser to tackle any grime or grease build-up, a soft sponge or cloth, and a bucket of warm water. Don’t forget a pair of rubber gloves to protect your hands from harsh chemicals. Consider using a mild dish soap if you’re dealing with light dirt. For tougher stains, a mixture of vinegar and baking soda works wonders. Having all your materials ready saves you time and keeps the process smooth.Safety Precautions
Safety should be your priority. Ensure the area is well-ventilated to avoid inhaling any fumes from cleaning agents. Open windows or use a fan to circulate air. Wear gloves and possibly a mask, especially if you’re using strong cleaning solutions. Check product labels for safety instructions. Ensuring your safety means you can focus on getting the job done without worry. Preparing your cabinets properly ensures the paint goes on smoothly and stays looking great for years. Are your cabinets ready for their transformation?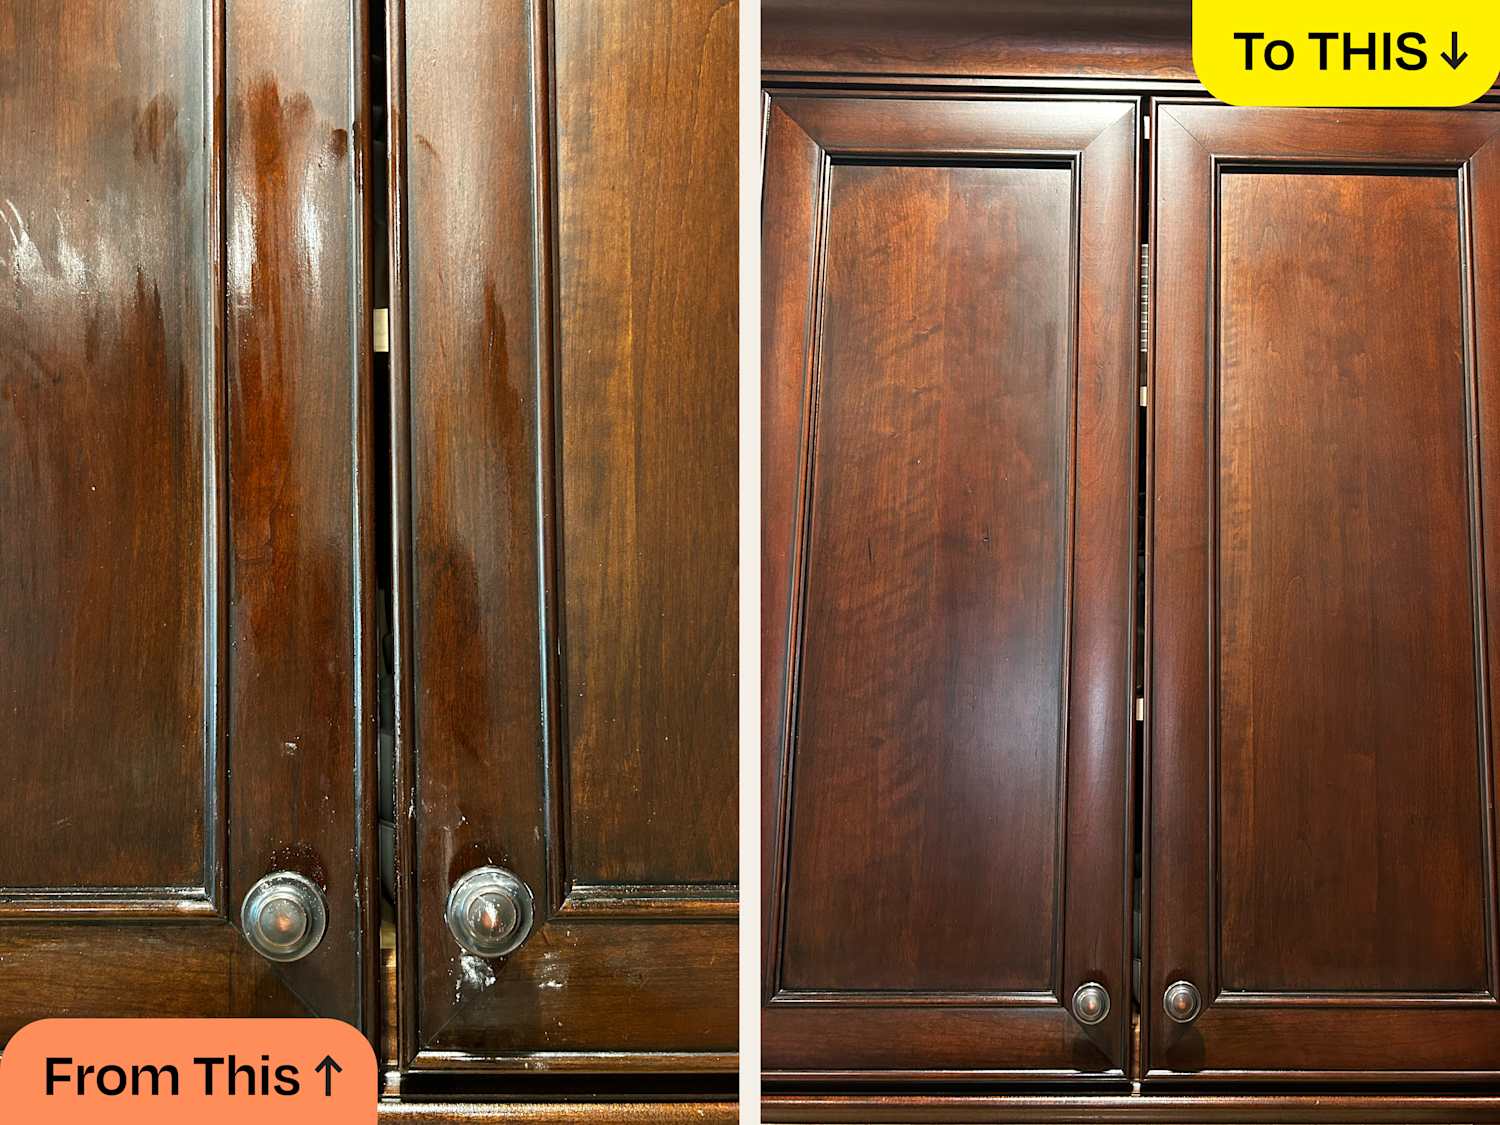
Credit: www.thekitchn.com
Removing Cabinet Hardware
Remove cabinet hardware to ensure a smooth surface for cleaning. Use mild soap and warm water to wipe cabinets. Dry thoroughly before painting to prevent moisture issues.
Removing Cabinet Hardware Before you dive into painting your cabinets, it’s crucial to remove all cabinet hardware. This step sets the foundation for a smooth and professional-looking finish. Taking the time to carefully handle each piece will save you headaches later. When I tackled my own kitchen makeover, I realized how much easier it was to paint without knobs and handles in the way. You can achieve a flawless result too, with a little patience and organization. By following these simple steps, you’ll not only protect your hardware but also ensure that your freshly painted cabinets look pristine.Unscrewing Handles And Knobs
Begin by gathering the necessary tools. A screwdriver is your best friend here. Choose one that fits the screws on your handles and knobs perfectly. Place a small container nearby to catch all the screws as you remove them. This prevents them from getting lost in the shuffle. Work methodically, unscrewing each piece and placing them in the container. You’ll thank yourself later when everything is right where you need it.Labeling For Reassembly
Labeling is a step you might be tempted to skip, but it makes reassembly a breeze. Use small pieces of masking tape to label each piece of hardware. Write a quick note on the tape indicating where the hardware belongs. For example, “top left drawer” or “bottom right cabinet.” This simple trick saves time and frustration when it’s time to put everything back together. You’ll be able to quickly match each piece to its rightful place. Have you ever faced the frustration of mismatched handles after a project? By labeling now, you avoid this common pitfall and keep your kitchen looking cohesive.Dust And Debris Removal
Cleaning cabinets thoroughly before painting is crucial for achieving a smooth finish. Dust and debris can ruin your efforts if not removed properly. This section will guide you through the best practices for eliminating dust and debris, ensuring your cabinets are ready for that perfect coat of paint.
Vacuuming Interiors
Start by vacuuming the interiors of your cabinets. A handheld vacuum is ideal for reaching tight corners and crevices. Attach a brush nozzle to gently lift dust without scratching surfaces. This step not only clears visible debris but also sucks out hidden particles that could interfere with paint adhesion.
Have you ever wondered why some paint jobs peel off prematurely? It’s often due to leftover dust that wasn’t removed initially. By vacuuming, you safeguard against this common issue. You’ll find the process surprisingly quick, and your cabinets will be cleaner than you might expect.
Wiping Surfaces
After vacuuming, it’s time to wipe the surfaces. Use a damp microfiber cloth to pick up any lingering dust. Microfiber is excellent at trapping tiny particles and won’t leave streaks. Lightly mist the cloth with water if needed, but avoid soaking it to prevent damage to the cabinet material.
Consider the satisfaction of running your hand over a smooth, clean surface. Wiping down the cabinets delivers that tactile pleasure. If you’re tackling a kitchen where grease might be present, mix a bit of dish soap with water for added cleaning power. You’ll notice a significant difference in cleanliness, preparing your cabinets perfectly for painting.

Credit: www.youtube.com
Degreasing Cabinets
Before you start painting your cabinets, one crucial step is degreasing. Over time, cabinets accumulate layers of grease, especially in the kitchen. Removing this grease is essential to ensure your paint adheres properly and lasts longer. Let’s dive into the specifics of choosing the right cleaner and the techniques for applying it effectively.
Choosing The Right Cleaner
Selecting the best cleaner for degreasing your cabinets is vital. Not all cleaners are created equal, and using the wrong one can leave residues that affect paint adhesion. Opt for a cleaner specifically designed for cutting through grease. Look for products labeled as degreasers or heavy-duty cleaners.
Think about environmentally friendly options. There are plant-based cleaners that are effective yet gentle on the planet. Always check the label for any harsh chemicals, especially if you have sensitivities. What cleaner have you found most effective in your home?
Application Techniques
Applying your chosen cleaner requires some finesse. Start by removing all cabinet hardware and emptying the cabinets. This gives you a clear surface to work on and prevents damaging any items inside. Use a soft cloth or sponge to apply the cleaner evenly across the surfaces.
Work in small sections to ensure thorough cleaning. Pay extra attention to corners and edges, where grease tends to accumulate. After applying the cleaner, rinse with warm water to remove any remaining residue. How do you ensure you’ve cleaned all the tricky spots?
Consider using a toothbrush for stubborn areas. Its bristles can reach into grooves and crevices where larger tools might miss. Let the cabinets dry completely before moving to the next step of your painting project. Are you ready to see your cabinets transform with a fresh coat of paint?
Sanding For Smoothness
Sanding ensures cabinets are smooth and ready for painting. It removes old finish and imperfections, creating a perfect surface. After sanding, wipe with a damp cloth to eliminate dust.
Sanding for smoothness is a crucial step when preparing cabinets for a fresh coat of paint. It ensures an even and professional finish by removing imperfections and creating a surface that paint can adhere to effectively. A smooth surface can make all the difference between a paint job that looks amateur and one that resembles a professional’s touch. Are you ready to transform your cabinets into a work of art?Selecting Sandpaper Grit
The right sandpaper grit is vital for achieving the perfect finish. Start with a coarser grit, like 80 or 100, to remove old paint or varnish. This grit level is ideal for tackling any rough spots or imperfections. Once the surface is relatively even, move on to a finer grit such as 150 or 220. This helps smooth out any scratches left by the coarser grit and prepares the surface for painting. Always ensure your sandpaper is in good condition to avoid unwanted scratches.Proper Sanding Methods
Effective sanding is about technique as much as it is about tools. Use a sanding block to maintain even pressure across the surface. This prevents gouging and keeps the surface level. Always sand in the direction of the wood grain. This minimizes scratches and ensures a smoother finish. Remember to frequently wipe away dust to avoid clogging your sandpaper and to keep a clear view of your progress. Take your time with this step. Rushing can lead to uneven surfaces that will show through the paint. A patient, methodical approach will yield the best results.Final Wipe Down
The final wipe down is a crucial step before painting cabinets. It ensures that your cabinets are free of dust and debris. This step is vital for a smooth paint finish.
Using Tack Cloth
A tack cloth is perfect for picking up fine dust particles. It is sticky, which helps to catch even the smallest bits. Gently wipe the cabinet surfaces with the tack cloth. Make sure to reach corners and edges. This ensures no dust is left behind.
Ensuring Cleanliness
After using the tack cloth, inspect the cabinets for any missed spots. Check under handles and in grooves. These areas often hide dust and dirt. Use a flashlight to spot any remaining particles. A clean surface is key for paint adhesion.
Frequently Asked Questions
What Is The Best Thing To Clean Cabinets Before Painting?
Use a mixture of warm water and mild dish soap to clean cabinets before painting. This removes grease and grime effectively. For stubborn stains, apply a vinegar solution or a gentle degreaser. Rinse thoroughly with clean water and dry completely before starting to paint.
Can I Use Dawn To Clean Cabinets Before Painting?
Yes, Dawn dish soap is effective for cleaning cabinets before painting. It removes grease and dirt efficiently. Mix Dawn with warm water, scrub cabinets, and rinse thoroughly. Ensure cabinets dry completely to avoid paint adhesion issues. Dawn is gentle and safe for most surfaces, preparing them well for painting.
How Do I Prepare My Cabinets For Painting?
Clean cabinets with a degreaser. Remove doors, hardware, and shelves. Sand surfaces lightly for better paint adhesion. Apply a primer to ensure even coverage. Fill any holes or imperfections with wood filler.
What Do Professionals Use To Clean Kitchen Cabinets?
Professionals use a mixture of mild dish soap and warm water to clean kitchen cabinets. They scrub gently with a soft cloth or sponge, then dry with a clean towel. For stubborn stains, they might use a vinegar solution or specialized cabinet cleaner.
Regular maintenance ensures longevity and shine.
Conclusion
Cleaning cabinets before painting makes a big difference. It ensures smooth surfaces. Dirt and grease can ruin paint jobs. Use mild soap and water. Don’t forget corners and edges. Dry thoroughly with a clean cloth. This prevents moisture damage. Prepping well saves time and effort later.
A clean surface leads to better paint adhesion. Your cabinets will look fresh and new. Follow these steps for great results. Happy painting!

Hi, I’m Daniel Harper, a senior editor here at KitchenBucks.com. For over 10 years, I’ve been exploring kitchen gadgets and appliances to help people find tools that truly add value without breaking the bank. I love simplifying product choices so you can focus more on cooking and less on worrying about what to buy. When I’m not reviewing the latest gadgets, you’ll usually find me experimenting with coffee brewing or firing up the grill for a weekend barbecue.