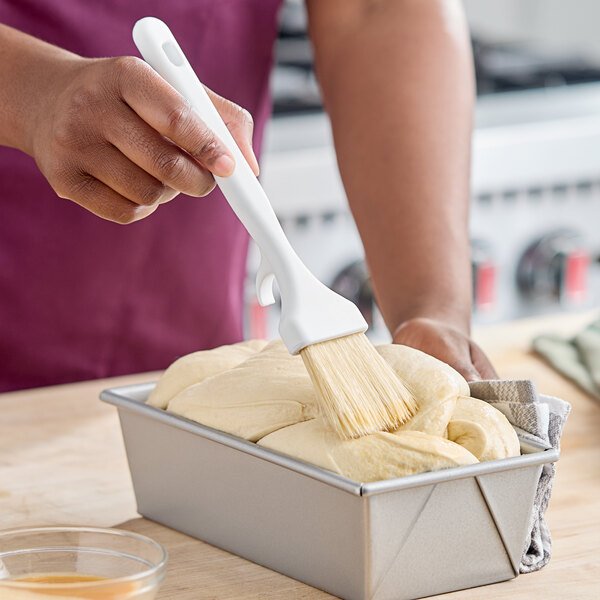
If you love baking, you know how important a clean pastry brush is for perfect results. But do you ever wonder if you’re cleaning your pastry brushes the right way?
Using the wrong method can damage the bristles or leave behind germs, affecting your next bake. You want your brushes to last longer and work better every time. You’ll discover the best way to clean your pastry brushes quickly and how to store them so they stay fresh and ready for your next kitchen adventure.
Keep reading to unlock simple tips that will save you time and improve your baking experience!
Choosing The Right Pastry Brush
Choosing the right pastry brush makes baking easier and more enjoyable. It affects how you apply glazes, butter, and sauces. A good brush spreads ingredients smoothly and cleans up quickly. The right brush also lasts longer and stays in good shape.
Types Of Pastry Brushes
- Bristle Brushes:Traditional brushes with natural or synthetic bristles. They hold liquids well and give good control.
- Silicone Brushes:Flexible with heat resistance. They do not absorb flavors and are easy to clean.
- Electric Pastry Brushes:Battery-operated for even spreading. Mostly used for special recipes or large baking tasks.
- Disposable Brushes:Single-use brushes for quick jobs. Good for avoiding cross-contamination but less eco-friendly.
Materials And Their Benefits
| Material | Benefits |
|---|---|
| Natural Bristles | Soft texture, holds liquid well, traditional feel |
| Synthetic Bristles | Durable, easy to clean, resists odors |
| Silicone | Heat-resistant, flexible, hygienic, no shedding |
| Wooden Handle | Comfortable grip, classic look, sturdy |
| Plastic Handle | Lightweight, often dishwasher safe, affordable |
Credit: www.nordicware.com
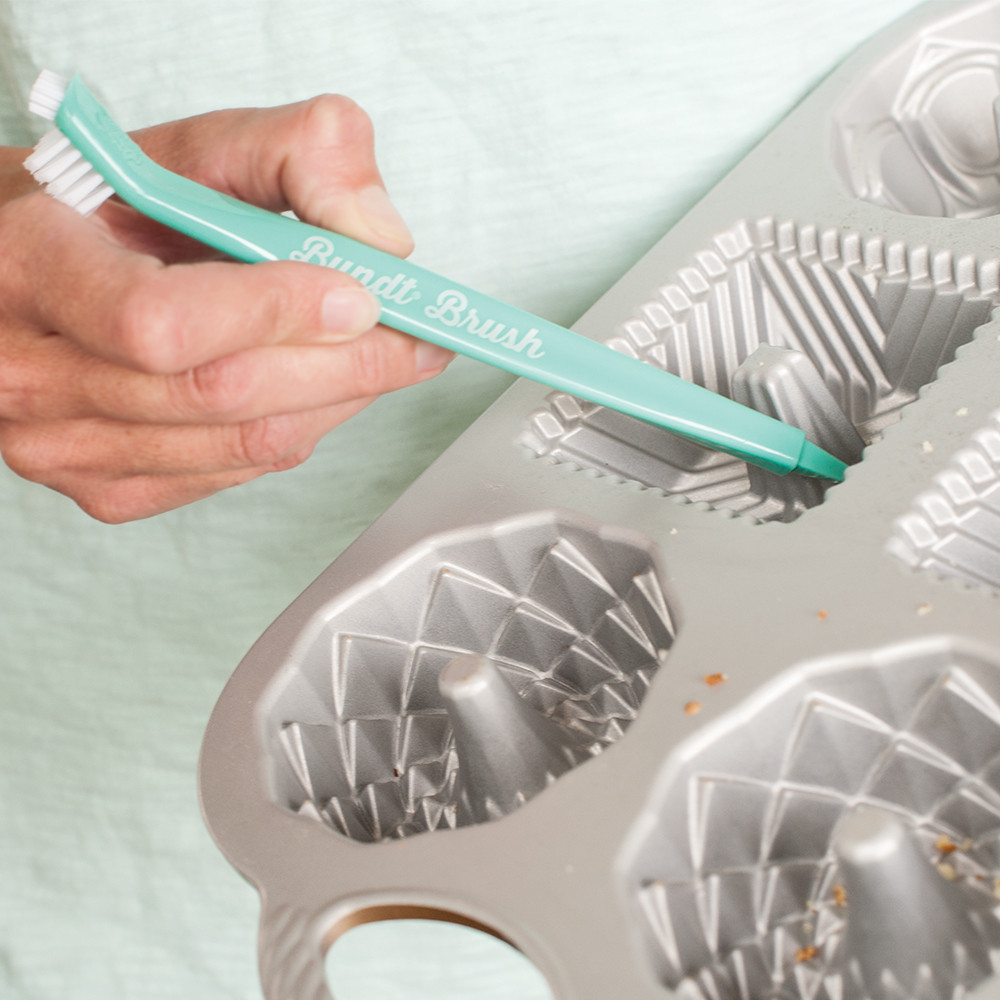
Cleaning Techniques For Pastry Brushes
Keeping pastry brushes clean is essential for baking success and food safety. Proper cleaning removes oils, dough, and residue that can build up on the bristles. Using the right cleaning techniques extends the life of your brushes and keeps them ready for your next recipe.
Immediate Rinse After Use
Rinse pastry brushes immediately after use to prevent food from hardening. Use warm water to wash away oils and dough gently. Hold the brush under running water and use your fingers to remove stuck particles. Quick rinsing stops residue from drying and makes cleaning easier later.
Deep Cleaning Methods
For thorough cleaning, soak brushes in warm soapy water for 10 to 15 minutes. Use mild dish soap to break down grease and food particles. After soaking, use a soft brush or your fingers to scrub the bristles gently. Rinse well to remove all soap. Let brushes air dry completely before storing to avoid mold growth.
Using Natural Cleaning Agents
Natural cleaners like vinegar and baking soda are safe and effective for pastry brushes. Mix equal parts vinegar and water to soak brushes for 10 minutes. Baking soda paste can help scrub stubborn stains. These agents remove odors and disinfect without harsh chemicals. Rinse thoroughly to keep brushes fresh and clean.
Drying Pastry Brushes Properly
Drying pastry brushes properly is key to keeping them clean and lasting longer. Moisture left in the bristles can cause mold and bad smells. Proper drying stops this and keeps your brush ready for the next bake. Follow simple steps to dry your brushes safely and well.
Air Drying Tips
Air drying is the best way to dry pastry brushes. Shake off extra water gently after washing. Lay the brush flat on a clean towel or hang it with bristles facing down. This helps water drip away and prevents moisture buildup inside the handle.
- Place brush in a well-ventilated area
- Keep bristles spread out to dry faster
- Do not dry near direct heat or sunlight
- Allow at least a few hours for full drying
Avoiding Brush Damage
Handling brushes carefully protects their shape and life. Avoid pressing bristles hard against surfaces when drying. Do not store brushes while still wet; this can deform bristles and cause bacteria growth. Use gentle cleaning methods to keep bristles soft and intact.
- Do not use a hairdryer or heater to dry brushes
- Never twist or pull bristles roughly
- Store brushes in a dry place with bristles up or hanging
- Replace old or damaged brushes to keep baking safe

Credit: food52.com
Storing Pastry Brushes Safely
Storing pastry brushes properly is just as important as cleaning them thoroughly. If you don’t store your brushes safely, you risk damaging the bristles or contaminating them with leftover food particles. Taking a little extra care in how you store these tools can extend their lifespan and keep your kitchen hygienic.
Best Storage Containers
Choose containers that allow air circulation to prevent moisture buildup, which can lead to mold or unpleasant odors. A simple glass jar or a ceramic cup works well for keeping brushes upright and dry.
Plastic containers with ventilation holes are another good option. Avoid airtight containers unless the brushes are completely dry, as trapped moisture can harm the bristles.
Maintaining Brush Shape
Keeping the bristles in their original shape is key to effective pastry brushing. Store brushes with the bristles facing up to avoid bending or crushing them against hard surfaces.
You can also wrap the bristles loosely in parchment paper or use a brush guard designed specifically for this purpose. Have you noticed how a bent bristle can ruin your glaze application? Protecting the shape saves you from that frustration.
Avoiding Contamination
Store brushes away from raw meats, strong spices, or anything that could transfer odors or bacteria. Designate a separate spot in your kitchen just for clean pastry tools.
Labeling your storage containers or using color-coded brushes can help prevent cross-contamination. Have you ever grabbed the wrong brush and ended up with unexpected flavors in your pastry? Keeping brushes separate stops that problem before it starts.
Extending The Life Of Pastry Brushes
Keeping your pastry brushes in top shape means you get the best results every time you bake. Extending the life of your brushes not only saves money but also ensures your pastries come out perfectly glazed and crumb-free. Simple habits can make a big difference in how long your brushes last.
Regular Maintenance
After each use, rinse your pastry brush immediately under warm water to remove any leftover batter or glaze. Use mild dish soap and gently work it through the bristles to avoid damage. Avoid soaking the brush for long periods, as this can weaken the bristles and loosen the handle.
Once cleaned, shake off excess water and let your brush air dry completely by hanging it bristle-side down or laying it flat. This helps prevent bacteria buildup and keeps the bristles in shape. Have you noticed how skipping this step makes your brush smell or shed bristles faster?
When To Replace Your Brush
Even with great care, pastry brushes won’t last forever. Watch for signs like bent, frayed, or missing bristles that reduce its effectiveness. If your brush starts leaving streaks or you notice a persistent odor despite cleaning, it’s time for a new one.
Replacing your brush before it completely breaks saves you from ruining a batch of pastries. Think about how much better your baking feels when tools work like new. Isn’t it worth investing in a fresh brush to keep your kitchen running smoothly?

Credit: www.brewers.co.uk
Frequently Asked Questions
How To Clean Pastry Brushes Effectively?
To clean pastry brushes, rinse them under warm water to remove residues. Use mild soap to gently wash the bristles. Rinse thoroughly to ensure no soap remains. Dry the brush by hanging it or laying it flat. Avoid soaking the brush to prevent damage to the bristles.
Can Pastry Brushes Go In The Dishwasher?
Generally, it’s best to avoid putting pastry brushes in the dishwasher. The heat and detergents can damage bristles and handles. Hand washing preserves the brush’s integrity. If you must, ensure the brush is labeled dishwasher-safe. Regular hand washing helps maintain its lifespan and effectiveness.
What Is The Best Way To Store Pastry Brushes?
Store pastry brushes in a dry, clean space, away from direct sunlight. Hanging them or placing them flat prevents bristle deformation. Ensure they are completely dry before storing to avoid mold. Avoid storing near heat sources to maintain the brush’s shape and effectiveness.
How Often Should You Replace Pastry Brushes?
Replace pastry brushes when they show signs of wear or damage. Regular inspection helps identify frayed bristles or broken handles. Depending on use, brushes may last several months to a year. Consistent maintenance prolongs their lifespan and ensures effective use in baking tasks.
Conclusion
Keeping pastry brushes clean helps them last longer and work better. Wash them gently with warm water and soap right after use. Let them dry fully before storing to avoid mold. Store brushes in a dry, open space to keep their shape.
Regular care saves money and keeps your kitchen hygienic. Clean brushes make baking easier and more fun. Simple steps create better results every time. Take a few minutes to care for your tools. Your pastries will taste better with clean brushes.
