Have you ever felt frustrated by stubborn grease stains that just won’t budge? You’re not alone.
Grease can be one of the toughest things to clean, whether it’s on your kitchen stove, your bike chain, or even your favorite tools. But what if I told you that you could tackle those stubborn stains with a simple solution you can make at home?
That’s right, with a do-it-yourself degreaser, you can save money, avoid harsh chemicals, and still achieve sparkling clean results. Imagine the satisfaction of wiping away grease with ease, knowing you crafted the cleaner yourself. Ready to uncover the secret? Keep reading, and you’ll discover how to make an effective DIY degreaser that’s both budget-friendly and eco-friendly.

Credit: www.instagram.com
Why Choose Diy Degreasers
Opting for DIY degreasers offers cost savings and reduces chemical exposure. These homemade solutions are eco-friendly and customizable, using common household ingredients.
Choosing to create your own degreaser is more than just an interesting project; it’s a smart decision with several benefits. DIY degreasers allow you to take control over what you use in your home, ensuring safety and efficiency. Plus, they’re a cost-effective and environmentally friendly alternative to store-bought options.Cost Efficiency
Creating your own degreaser can save you money. Store-bought degreasers often come with a hefty price tag. With DIY, you can use ingredients you already have at home, like vinegar and baking soda, drastically cutting costs. Think about the number of times you’ve thrown away half-used bottles because they didn’t work. With DIY, you create only what you need, reducing waste and saving money in the long run.Environmental Benefits
DIY degreasers are kinder to the environment. Commercial products often contain harsh chemicals that can harm the planet when disposed of. By making your own, you can choose biodegradable ingredients that are less harmful to the earth. It’s empowering to know that a simple switch can make a significant impact. When you opt for DIY, you’re contributing to a healthier planet, one bottle at a time.Personalization
With DIY, you have the power to personalize. Do you prefer a lemon scent or a lavender aroma? You can customize your degreaser to suit your preferences, adding essential oils for fragrance or more baking soda for extra strength. Everyone’s cleaning needs are different. By creating your own, you ensure the perfect formula for your unique household challenges. Have you ever struggled with a stubborn stain that your usual cleaner couldn’t tackle? With DIY, you can adjust your mixture to take on even the toughest grime.
Credit: kateable.com
Essential Ingredients
Creating a DIY degreaser can be both effective and eco-friendly. The essential ingredients used in homemade degreasers are simple yet powerful. They help in cutting through grime and grease without harmful chemicals. Let’s explore some key components that make these cleaning solutions work.
Natural Cleaning Agents
Natural cleaning agents are the backbone of any DIY degreaser. Lemon juice is popular for its acidic properties. It breaks down grease effectively. Borax is another great option. It’s a mineral that cleans and deodorizes. These ingredients are safe for your home and environment.
Essential Oils
Essential oils add cleaning power and pleasant fragrance. Tea tree oil is a strong disinfectant. It helps eliminate bacteria and germs. Lemon oil boosts the degreasing action. It leaves surfaces fresh and clean. Using essential oils ensures your degreaser is both effective and aromatic.
Vinegar And Baking Soda
Vinegar and baking soda are classic household staples. Vinegar is acidic, cutting through tough grease. Baking soda is abrasive. It scrubs away stubborn stains without scratching surfaces. Combining these two creates a powerful cleaning duo. They are affordable and widely available.
Step-by-step Guide
Crafting a DIY degreaser is simple and effective. Combine household ingredients for a powerful cleaning solution. Tackle grease and grime effortlessly with this natural mixture.
Creating your own degreaser at home can be an incredibly rewarding and cost-effective experience. Not only do you get to tailor the solution to your specific needs, but you also avoid the harsh chemicals often found in commercial products. The process is straightforward, and with a little guidance, you’ll have a powerful cleaning solution ready in no time. Let’s dive into the step-by-step guide to crafting your very own DIY degreaser.Gathering Materials
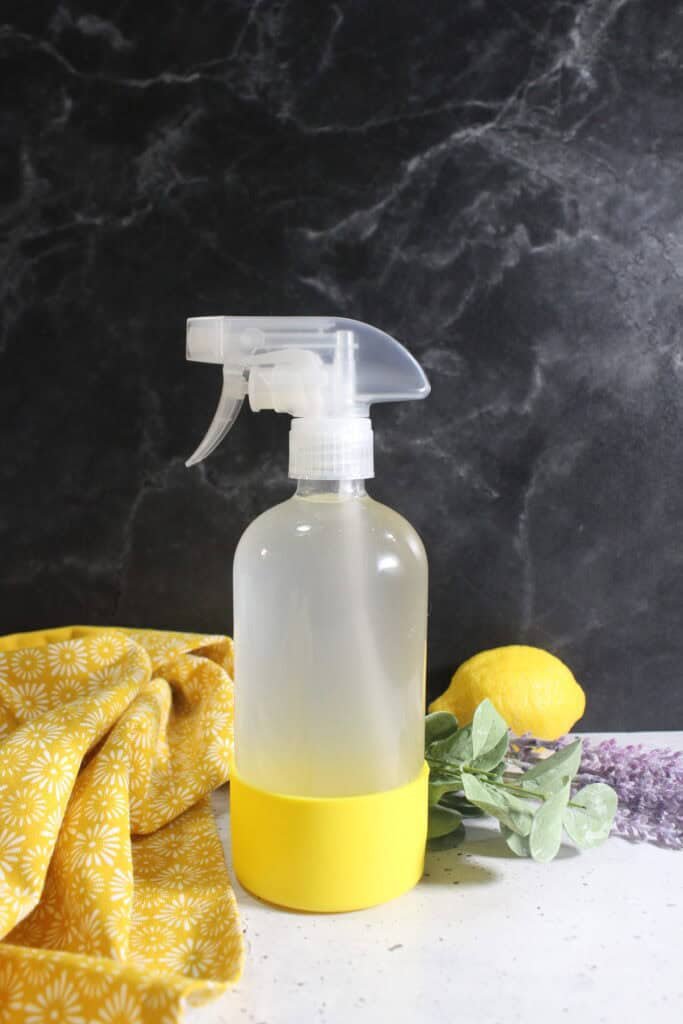
Before you start mixing, it’s essential to gather all the necessary materials. You’ll need common household items like baking soda, white vinegar, and dish soap. These are the core ingredients that make up most effective DIY degreasers. You’ll also need a spray bottle or a glass jar for storing the mixture. A measuring cup and spoon will help ensure accuracy in your preparation. Make sure all materials are within reach to streamline the process.Mixing Process
Once you have all your materials, it’s time to mix. Start by adding two tablespoons of baking soda into a bowl. Follow it up with half a cup of white vinegar, and watch the fizzing reaction—it’s normal and part of the magic. Next, add a quarter cup of dish soap to the mixture. Stir everything until it’s well combined. This combination tackles grease effectively by breaking it down, making it easier to wipe away.Storage Tips
Proper storage ensures your DIY degreaser remains effective over time. If you’re using a spray bottle, ensure it’s clean and dry before adding the mixture. This prevents any unwanted reactions or contamination. Store your degreaser in a cool, dry place, away from direct sunlight. If using a glass jar, ensure it’s tightly sealed. This simple step keeps your solution fresh and ready for when you need it. Creating your own cleaning solutions can transform your approach to household chores. Have you ever thought about what other household products you could replace with DIY versions?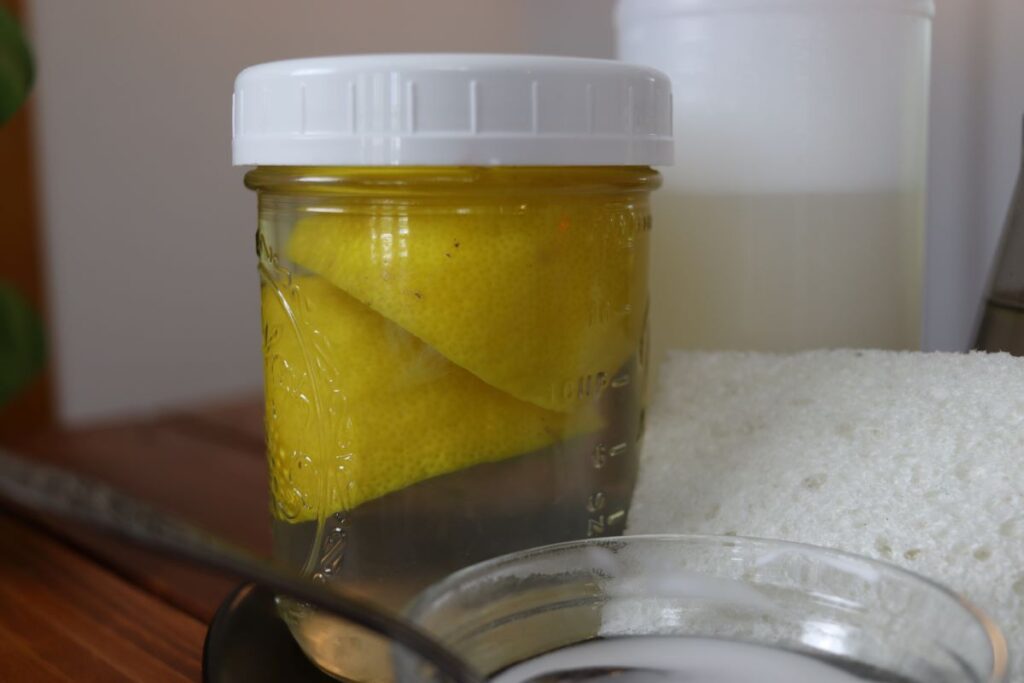
Credit: sustainableslowliving.com
Applications In Home Cleaning
Do it yourself degreaser solutions are versatile and effective for home cleaning. They tackle grease and grime in various areas with ease. Using natural ingredients, these homemade cleaners offer a safe and eco-friendly alternative. Learn how to apply them in different spaces around your home.
Kitchen Surfaces
The kitchen often gets greasy from cooking. DIY degreasers work wonders on countertops and stovetops. Mix vinegar and baking soda for a powerful cleaner. Spray on surfaces and wipe with a cloth. This removes stubborn grease stains easily.
For oven interiors, use lemon juice and salt. The mixture breaks down grease and leaves a fresh scent. Apply with a sponge and rinse with water. Your kitchen surfaces will shine without harmful chemicals.
Bathroom Fixtures
Bathroom fixtures can gather soap scum and residue. A DIY degreaser helps keep them spotless. Combine dish soap and vinegar for a gentle cleaner. Scrub taps, shower heads, and tiles with a brush.
Baking soda and water work well for stubborn spots. Create a paste and apply to the area. Let it sit before scrubbing. Rinse thoroughly for a sparkling finish.
Outdoor Equipment
Outdoor gear, like grills and patio furniture, gets dirty quickly. A homemade degreaser makes cleaning them easy. Use a mixture of vinegar and water. Spray generously and wipe with a cloth.
For tougher grime, add a few drops of dish soap. Scrub surfaces with a brush for deep cleaning. Rinse with a hose for a fresh look. Keep your outdoor equipment clean with minimal effort.
Safety Precautions
Using a DIY degreaser requires caution. Wear gloves and goggles to protect skin and eyes from harsh chemicals. Ventilate the area well to avoid inhaling fumes.
Creating a DIY degreaser can be a rewarding and effective way to tackle tough grime, but it’s crucial to prioritize safety. Without proper precautions, you could end up with unwanted accidents or injuries. By taking a few simple steps, you can ensure a safe and successful cleaning experience.Handling Ingredients
When mixing your DIY degreaser, it’s important to handle each ingredient with care. Some common degreaser ingredients, like vinegar or baking soda, might seem harmless but can cause irritation if mishandled. Always read labels and measure carefully to avoid overuse or accidental spills.Proper Ventilation
Good ventilation is key when making and using your degreaser. If you’re working in a small space, open a window or use a fan to keep the air circulating. This helps prevent the buildup of fumes, which can be harmful if inhaled over time.Skin Protection
To protect your skin, consider wearing gloves when handling your DIY concoction. Even natural ingredients can cause irritation or dryness if they come into contact with your skin for too long. If you do get some on your skin, wash it off immediately with soap and water to avoid any reaction. By taking these simple precautions, you can enjoy the process of creating your own cleaning solutions while keeping yourself safe. Remember, safety doesn’t have to be complicated; it’s about being mindful and prepared. Are you ready to tackle the grime with confidence and caution?Troubleshooting Tips
Create an effective DIY degreaser with common household items. Mix vinegar, baking soda, and lemon juice for a powerful cleaning solution. Apply to surfaces and scrub gently to remove grease.
When making a DIY degreaser, issues can arise. It’s helpful to know some troubleshooting tips. These tips can save time and effort, ensuring better results. Below, discover solutions for common mistakes, recipe adjustments, and ways to boost effectiveness.Common Mistakes
Some mistakes happen often with DIY degreasers. One is using too much water. This dilutes the mixture, reducing its power. Using incorrect ingredients also affects performance. Check your materials twice. Ensure you have everything you need. Storing the degreaser incorrectly can spoil it. Always use airtight containers. Keep them away from sunlight and heat.Adjusting Recipes
Adjusting recipes can improve your degreaser. Sometimes, you need a stronger mix. Add more vinegar or lemon juice for better results. For a milder version, increase water content. Testing small batches helps find the right balance. Note down changes for future use. This helps in creating a consistent recipe.Enhancing Effectiveness
Enhance your degreaser’s effectiveness with simple steps. Soak greasy items before applying the degreaser. This loosens stubborn grime. Use a scrub brush for tough spots. Circular motions work best. Let the solution sit for a few minutes. It allows the ingredients to work properly. Rinse thoroughly and dry after cleaning. This prevents residue build-up.Benefits Over Commercial Products
Creating your own degreaser offers many benefits over commercial products. DIY solutions allow for customization and a personal touch. They often use ingredients found in your kitchen. This makes them more accessible and convenient. Many people find that homemade degreasers work just as well. Plus, they can be safer for you and the environment.
Avoiding Harsh Chemicals
Many commercial degreasers contain strong chemicals. These can be harmful to your skin and lungs. DIY degreasers often use natural ingredients. Common choices include vinegar, baking soda, and lemon. These are gentle yet effective. Using them reduces your exposure to dangerous substances. It also makes your home safer for children and pets.
Cost Comparison
Homemade degreasers are usually cheaper. Commercial products can be expensive. They often come in small quantities. DIY solutions use affordable household items. You can make them in larger batches. This means more savings in the long run. Plus, you spend less time shopping for cleaning supplies.
User Testimonials
Many people praise DIY degreasers. They enjoy the simplicity of making their own. One user shared, “My kitchen has never been cleaner!” Another commented, “I love knowing exactly what’s in my cleaner.” These testimonials highlight satisfaction with DIY approaches. People appreciate the control and effectiveness they provide.
Frequently Asked Questions
What Is The Best Homemade Degreaser Cleaner?
A mixture of vinegar, baking soda, and lemon juice makes an effective homemade degreaser. Combine equal parts vinegar and water, add a tablespoon of baking soda, and a few drops of lemon juice. This natural cleaner removes grease effectively and safely from kitchen surfaces.
How To Make A Heavy Duty Degreaser At Home?
Mix equal parts vinegar and baking soda to form a paste. Add a few drops of dish soap. Apply the mixture to greasy surfaces and scrub with a brush. Rinse thoroughly with warm water for a clean finish. This homemade degreaser is eco-friendly and effective for tough grease stains.
Is Vinegar And Baking Soda A Degreaser?
Vinegar and baking soda can clean surfaces but aren’t the most effective degreasers. Vinegar breaks down grease, while baking soda acts as a mild abrasive. For tougher grease, consider using a commercial degreaser. Always test on a small area first to ensure no damage occurs.
What Is An All Natural Degreaser?
An all natural degreaser is a cleaning solution made from plant-based ingredients. It effectively removes grease without harmful chemicals. Suitable for kitchens, garages, and more, it provides a safer, eco-friendly alternative to traditional degreasers. Ideal for those seeking non-toxic cleaning options.
Conclusion
Creating your own degreaser saves money and protects the environment. It’s simple. You mix a few basic ingredients. These ingredients clean effectively. They break down grease. You avoid harsh chemicals. Your home stays fresh and clean. DIY degreasers are versatile.
Use them in kitchens and garages. They’re perfect for stubborn stains. Share your homemade recipe with friends. Inspire others to try it. Experiment with different formulas. Find what works best. Enjoy a cleaner space. Feel proud of your eco-friendly choice.
Keep exploring more DIY solutions. Your efforts make a difference.

Hi, I’m Daniel Harper, a senior editor here at KitchenBucks.com. For over 10 years, I’ve been exploring kitchen gadgets and appliances to help people find tools that truly add value without breaking the bank. I love simplifying product choices so you can focus more on cooking and less on worrying about what to buy. When I’m not reviewing the latest gadgets, you’ll usually find me experimenting with coffee brewing or firing up the grill for a weekend barbecue.