Imagine the smell of freshly baked bread wafting through your kitchen, inviting everyone to gather around for a taste. Baking bread isn’t just about mixing flour, water, and yeast; it’s about creating something that brings comfort and joy to your home.
You might think it’s complicated, but with a few simple steps, you can master the art of bread-making. Whether you’re a seasoned baker or a complete beginner, this guide will show you how easy and satisfying it can be to bake your own bread.
Why settle for store-bought when you can have homemade? Dive in, and let’s get started on your bread-baking journey. Your taste buds will thank you.
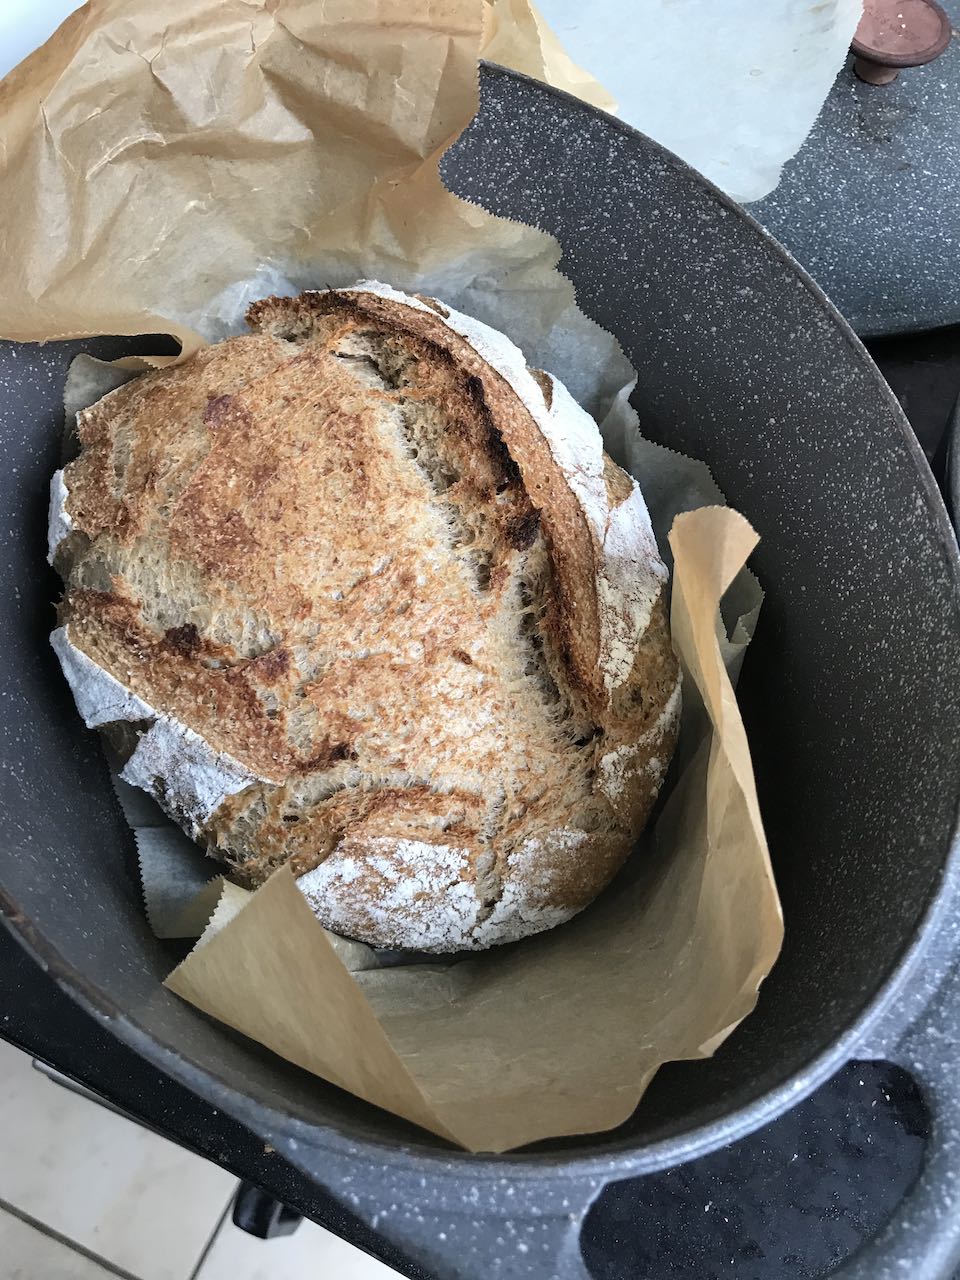
Credit: severnbites.com
Choosing Ingredients
Baking bread is an art that begins with choosing the right ingredients. Each component plays a vital role in the texture, taste, and quality of your bread. Understanding each ingredient’s significance can transform your homemade bread into a delightful masterpiece.
Selecting The Right Flour
Flour is the foundation of bread. Its type affects the bread’s texture and flavor. Whole wheat flour offers a dense and hearty bread. All-purpose flour provides a lighter texture. For a chewy crust, use bread flour. Its higher protein content creates more gluten.
Yeast Types And Uses
Yeast is a living organism that makes bread rise. Instant yeast is fast-acting. It is suitable for quick recipes. Active dry yeast requires proofing. It offers a subtle flavor. Fresh yeast is less common. It provides a richer taste. Each type affects the dough differently.
Importance Of Water Quality
Water binds the ingredients and activates the yeast. Its quality can alter the taste. Use filtered or bottled water for the best results. Tap water may contain minerals that affect yeast. Lukewarm water is ideal for activating yeast. Cold water slows down yeast growth.
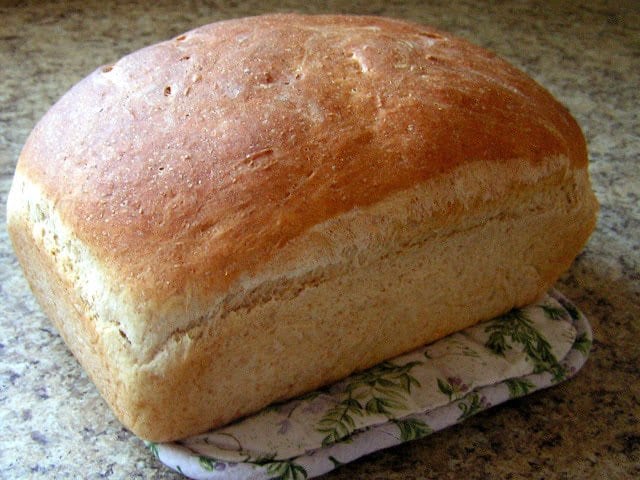
Credit: butterwithasideofbread.com
Essential Equipment
Baking bread at home is a rewarding experience. The right equipment makes it easier. Essential tools improve your baking results and efficiency. This section covers what you need to bake bread successfully.
Must-have Baking Tools
Start with a good mixing bowl. It should be large enough for your dough. A sturdy wooden spoon helps with mixing. Measuring cups and spoons ensure accuracy. A kitchen scale can be useful for precise measurements. A dough scraper helps with handling sticky dough.
A rolling pin is helpful for shaping. Use a sharp knife or lame for scoring. A thermometer checks the dough’s temperature. Cooling racks are needed for fresh-baked bread. These tools are basic but vital for bread baking.
Using A Bread Machine
Bread machines simplify the process. They mix, knead, and bake the dough. Perfect for beginners or those short on time. Follow the machine’s instructions for best results. Add ingredients in the right order. Machines vary, so consult the manual. Bread machines save time and effort. They produce consistent results.
Investing In Quality Pans
Quality pans impact your bread’s outcome. Choose a pan with even heat distribution. Non-stick pans make removal easy. They prevent sticking and offer easy cleanup. Heavy-duty pans last longer and resist warping. Loaf pans come in different sizes. Pick a pan based on your recipe. Quality pans are worth the investment.
Mastering The Dough
Crafting bread starts with understanding dough. Flour, water, yeast, and salt blend into a perfect mix. Kneading develops gluten and structure, essential for airy loaves. Resting allows flavors to deepen. Bake to golden perfection. Enjoy the comforting aroma of freshly baked bread in every bite.
Mastering the dough is where your bread baking journey truly begins. This is the stage that transforms simple ingredients into a living, breathing entity. Understanding how to work with dough is crucial, and it can make the difference between a loaf that’s dense and one that’s beautifully airy and light. Each step, from mixing to kneading, requires attention and care. Are you ready to get your hands floury?Mixing Techniques
Mixing is the first step in creating your dough. It’s about bringing together flour, water, yeast, and salt in a harmonious blend. Start by ensuring all ingredients are at room temperature. This helps the yeast activate effectively. Use a large bowl and mix with a spoon or your hands until the dough starts to form. You’ll notice it’s sticky at first, but that’s perfectly normal. Don’t rush this step. Take your time to ensure that no dry flour remains. Once everything is combined, you’re ready to move onto the next phase. Mixing thoroughly sets the foundation for the rest of the process. How does your dough feel at this point?Kneading For Success
Kneading is where you infuse your dough with strength and elasticity. It’s almost like giving your dough a workout. You’ll need a clean, floured surface and a bit of patience. Start by folding the dough over itself and pressing it down with the heel of your hand. Rotate and repeat. Aim for about 10 minutes of kneading. You’ll know you’re doing it right when the dough becomes smooth and elastic. Try the windowpane test: stretch a small piece of dough between your fingers. If it stretches thin without breaking, you’ve got it. Kneading is therapeutic and rewarding. Can you feel the change in texture?Achieving Proper Consistency
Consistency is key in achieving the perfect loaf. Your dough should be soft, pliable, and slightly tacky but not sticky. This balance allows the dough to rise well and develop flavor. If the dough is too sticky, sprinkle a little more flour. If it’s too dry, add a bit of water, a teaspoon at a time. Observe and adjust as needed. The dough should spring back when poked lightly. This indicates that gluten has developed properly, giving your bread structure. Consistency might vary with humidity and temperature, so be mindful of your environment. How does your dough respond to your touch? Mastering the dough is a skill that improves with each bake. Embrace the process, and your bread will thank you with every delicious slice.The Art Of Proofing
Baking bread is a cherished culinary tradition. At the heart of this process lies proofing. Proofing is a crucial step that transforms dough into airy bread. Understanding its nuances elevates your baking skills. Mastery of proofing ensures your bread has perfect texture and flavor.
Understanding Proofing Stages
Proofing involves two main stages: first and final. During the first stage, yeast activates and dough rises. It often takes around one to two hours. The dough doubles in size. In the final stage, shaping occurs. Dough rests for another rise. This stage adds structure to the bread.
Creating The Ideal Environment
Temperature and humidity are key to proofing. Dough needs warmth, around 75°F (24°C). A moist cloth can maintain humidity. Too cold or dry environments slow yeast activity. A warm kitchen counter or oven with light on works well. Avoid direct sunlight, it can dry the dough.
Signs Of Properly Proofed Dough
Properly proofed dough shows clear signs. It should be soft and springy. Gently pressing leaves a slight indentation. This indicates readiness. Over-proofed dough collapses under pressure. Under-proofed dough remains dense. Look for doubled size and elastic feel.
Shaping And Scoring
Bread making is an art. Shaping and scoring are crucial steps. They help define the bread’s final look and texture. These steps influence how the bread rises and bakes. They create unique patterns and enhance crust formation. Mastering them can elevate your homemade bread.
Different Bread Shapes
Bread comes in many shapes. Each shape serves a purpose. Round loaves, known as boules, are common. They bake evenly and have a soft crumb. Baguettes are long and narrow. They offer a crispy crust and airy inside. Batards are oval-shaped. They fit nicely on a baking sheet. Consider pan loaves for sandwiches. Their rectangular shape slices well.
Techniques For Scoring
Scoring is cutting the dough’s surface. It allows steam to escape. It controls the bread’s expansion. Use a sharp knife or a bread lame. Make deep cuts for dramatic effects. Shallow cuts are subtle. Score at a 45-degree angle. This helps form a nice ear on the crust. Patterns can be simple lines or intricate designs.
Preventing Dough Deflation
Deflation ruins your dough. Handle the dough gently. Avoid pressing too hard. Use swift, clean motions when shaping. Let the dough rest before scoring. This relaxes the gluten. Ensure your oven is preheated. A hot oven gives the dough a quick rise. Don’t open the oven door frequently. It can cause temperature drops.
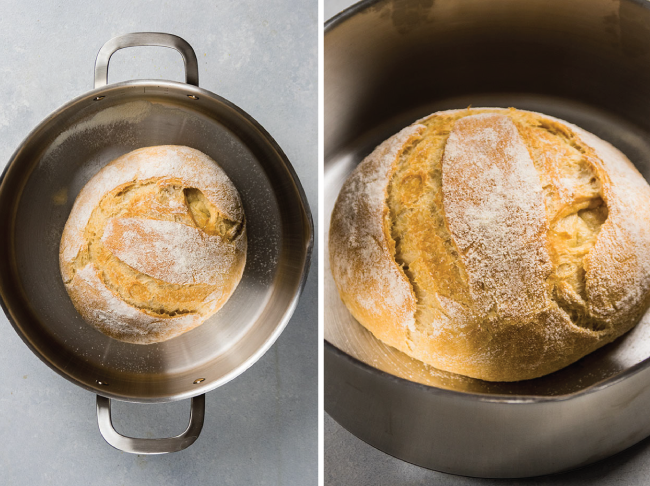
Credit: www.lifeasastrawberry.com
Baking Techniques
Baking bread is an art. It requires patience and practice. With the right techniques, anyone can bake delicious bread. These techniques affect texture, taste, and appearance. Understanding them enhances your baking skills.
Temperature And Timing
Temperature impacts the dough’s rise. The right heat makes the bread fluffy. Preheat your oven to the recommended temperature. This ensures even cooking. Timing is crucial too. Overbaking makes bread dry. Underbaking leaves it doughy. Use a timer for precision. Check the bread’s color. Golden brown is ideal.
Steam For A Crispy Crust
Steam creates a crusty exterior. Place a pan of water in the oven. This helps form steam. Spray water inside the oven. Do this in the first few minutes. The steam keeps the crust soft initially. As it bakes, it hardens. This technique is used in many bakeries. It gives bread a professional touch.
Troubleshooting Common Issues
Sometimes bread doesn’t rise. Check yeast freshness. Old yeast loses power. Ensure water isn’t too hot. It kills yeast. Bread may be dense. Avoid overmixing the dough. This develops gluten excessively. If the crust is too hard, reduce baking time. Experiment and adjust recipes. Baking improves with experience.
Cooling And Storing
Bread needs proper cooling after baking. Place it on a wire rack to prevent sogginess. Once cooled, store it in a bread box or airtight container to maintain freshness.
Cooling and storing are crucial steps in baking bread. Proper cooling ensures your bread has the right texture and flavor. Storing it correctly keeps it fresh for longer. These steps can make all the difference in enjoying your homemade bread. Let’s explore each aspect to help you savor your bread at its best.Proper Cooling Methods
Allow your bread to cool on a wire rack. This prevents the bottom from becoming soggy. Air circulation is important here. It helps maintain the crust’s crispiness. Wait until the bread reaches room temperature. Cutting too soon can make the inside gummy. Patience is key for perfect bread texture.Storing To Maintain Freshness
Store your bread in a bread box or a paper bag. This keeps it from drying out. Avoid plastic bags as they trap moisture. Moisture can lead to mold growth. For short-term storage, keep bread at room temperature. Use within two to three days for the best taste. A cloth bag can also work well.Freezing For Later Use
Slice bread before freezing for easy use later. Wrap in aluminum foil or freezer bags. This prevents freezer burn. Label with the date for tracking freshness. Bread can stay frozen for up to three months. Thaw at room temperature for best results. Or toast directly from frozen for convenience.Frequently Asked Questions
What Ingredients Do I Need To Bake Bread?
To bake bread, you’ll need flour, water, yeast, and salt. These basic ingredients form the foundation. Optionally, you can add sugar, butter, or milk for flavor and texture. Ensure your yeast is fresh for the best rise.
How Long Does Bread Take To Bake?
Baking bread typically takes 25 to 30 minutes at 350°F (175°C). However, preparation and rising can take several hours. Always check the bread’s internal temperature; it should reach 190°F (88°C) when done.
Why Is My Bread Not Rising?
Your bread might not rise due to inactive yeast or incorrect water temperature. Ensure the water is lukewarm, around 110°F (43°C). Also, check the expiration date on your yeast. Kneading too little or too much can also affect rise.
Can I Bake Bread Without Yeast?
Yes, you can bake bread without yeast using baking soda or baking powder. These leavening agents create a different texture. Irish soda bread is a popular yeast-free option. Remember, the flavor and rise will differ from traditional yeast bread.
Conclusion
Baking bread at home is simple and rewarding. Start with basic ingredients. Mix, knead, and let the dough rise. Patience is key. The aroma of fresh bread fills your home. Serve warm slices to loved ones. Experiment with different recipes.
Try adding herbs or cheese. Share your creations with friends. Baking brings joy and relaxation. Enjoy the process and the delicious results. Remember, practice makes perfect. Keep baking and exploring new flavors. Soon, you’ll bake bread like a pro. Happy baking!
