
Imagine the satisfaction of loading a dishwasher after a big family meal and simply pressing a button to start the cleaning magic. It’s a small luxury, but a significant one, saving you time and effort every day.
Yet, the thought of connecting a new dishwasher might feel intimidating. If you’re like most, the concern of tackling plumbing and electrical connections might make you hesitate. But what if the process was simpler than you think? In this guide, you’ll discover just how straightforward connecting a dishwasher can be.
With just a few steps, you can have your dishwasher up and running, ready to take on those stacks of dirty dishes. Let’s clear away the confusion and make the task as easy as a push of a button. Dive in, and transform a daunting task into a simple, rewarding project you can handle with confidence.

Credit: www.facebook.com
Tools And Materials Needed
Connecting a dishwasher may seem daunting, but with the right tools and materials, it can be a straightforward task. Having everything ready before starting ensures a smooth installation process. This section will guide you through the essential tools and materials needed to successfully connect a dishwasher.
Tools Needed
A few basic tools are required to connect a dishwasher. These tools make the job easier and safer. A screwdriver is essential. It helps in loosening and tightening screws. A wrench is another necessary tool. It tightens and loosens bolts and nuts. A level is crucial. It ensures the dishwasher is even. This prevents leaks and ensures proper operation. Pliers are handy. They grip and turn small parts. A measuring tape is useful. It helps measure spaces accurately. This ensures the dishwasher fits perfectly. Finally, safety goggles protect your eyes from debris.
Materials Required
Apart from tools, certain materials are crucial for connecting a dishwasher. A dishwasher installation kit is essential. It includes necessary hoses and fittings. Teflon tape is important. It seals pipe threads and prevents leaks. An electrical cord is needed. It connects the dishwasher to power. A water supply line is crucial. It connects the dishwasher to the water source. A drain hose is necessary. It allows water to exit the dishwasher. You may need a bucket. It catches any excess water during installation.
Preparation Tips
Before starting, ensure you have all tools and materials ready. Read the dishwasher manual carefully. It provides specific instructions and safety tips. Turn off the water supply and power. This prevents accidents during installation. Check the space where the dishwasher will sit. Ensure it’s clean and free of obstacles. This preparation makes the installation process smoother and quicker.
Preparing The Installation Area
Preparing the installation area for your dishwasher is crucial. It ensures a smooth setup process. A well-prepared space minimizes potential issues. You need to focus on clearing the area. Also, check both electrical and plumbing connections.
Clearing The Space
Start by removing any obstacles. Ensure the space is clean and dry. Measure the dimensions of the area. Confirm it fits the dishwasher size. Keep surrounding cabinets and counters clear. This prevents scratches and damage. Good clearance allows for easy access.
Checking Electrical And Plumbing Connections
Verify the electrical outlet is nearby. Ensure it meets the power requirements. Check the voltage compatibility. Inspect the wiring for wear. For plumbing, locate the water supply. Check for leaks or blockages. Ensure the pipes are in good condition. Make sure the drain connection is accessible. Proper checks prevent installation hiccups.
Positioning The Dishwasher
Positioning the dishwasher correctly is crucial for its efficient functioning. A well-placed dishwasher integrates seamlessly into your kitchen layout. Proper alignment ensures ease of use and aesthetic appeal. Before installation, take time to plan its position.
Adjusting The Height
Set the dishwasher’s height to match your countertop. Use adjustable legs to raise or lower the machine. Ensure the top is level with adjacent surfaces. This prevents gaps and maintains a clean look.
Aligning With Cabinets
Align the dishwasher with surrounding cabinets for a uniform appearance. Measure the width of the space to ensure a snug fit. Avoid leaving gaps between the dishwasher and cabinets. This enhances the kitchen’s overall design.
Connecting The Water Supply
Connecting a dishwasher to the water supply involves attaching the inlet hose to a nearby water source. Ensure the hose is tightly sealed to prevent leaks. Check all connections and turn on the water supply to test.
Connecting the water supply to your dishwasher is a crucial step in the installation process. It might seem daunting at first, but with a bit of guidance, you can handle it like a pro. Imagine the satisfaction of hearing the gentle hum of your new dishwasher, knowing you connected everything yourself. That’s the goal here—empowering you to make this connection confidently and efficiently.Attaching The Hose
Start by locating the water supply valve under your sink. This is where you’ll attach the dishwasher’s water supply hose. Make sure the valve is turned off to prevent water from flowing while you work. Next, connect one end of the hose to the valve. Secure it tightly with a wrench, but be careful not to overtighten—this can damage the fitting. Finally, attach the other end of the hose to the inlet valve on your dishwasher. Confirm it’s snug and secure, ensuring a firm connection.Ensuring Leak-free Connection
Before turning the water back on, it’s crucial to check your connections. This is where many DIYers make mistakes—don’t skip this step. Wrap a paper towel around each connection point. This will help you easily spot any leaks when you turn on the water. Turn on the water supply and watch closely for any signs of moisture. If you notice any leaks, tighten the connections slightly. Once everything is dry and secure, pat yourself on the back. You’ve successfully connected your dishwasher’s water supply! Have you ever tackled a home project like this before? Remember, every small victory builds your confidence.Setting Up The Drain Hose
Connecting a dishwasher involves securing the drain hose properly. Attach the hose to the dishwasher’s outlet and the sink’s drain pipe. Ensure a tight fit to prevent leaks and maintain efficient water flow.
Setting up the drain hose is a crucial step in connecting your dishwasher. A proper setup ensures smooth water flow and prevents leaks. This guide will walk you through the process, making it easy and hassle-free.Routing The Hose
Begin by identifying the path for your drain hose. Make sure it’s not twisted or kinked. A straight route guarantees efficient drainage. Consider the space under your sink and behind your dishwasher. The hose should be long enough to reach the sink drain. Avoid tight bends to prevent blockages. Check for existing plumbing connections and plan the route accordingly.Securing To The Sink
Secure the hose to the sink drain. Use a hose clamp to hold it firmly. The connection should be tight to prevent leaks. Ensure the hose end is above the water level in the sink. This setup avoids backflow into your dishwasher. Double-check the connection before finishing. A secure setup ensures your dishwasher works efficiently.Electrical Connection
Connecting a dishwasher involves turning off the power, accessing the junction box, and attaching wires to color-matched terminals. Ensure a firm connection to prevent electrical hazards. Always follow the manufacturer’s instructions for safe installation.
Connecting your dishwasher to an electrical source might seem like a daunting task, but with the right guidance, it’s quite straightforward. Ensuring a proper electrical connection is crucial for the safe operation of your appliance. This section will guide you through checking voltage compatibility and wiring the plug, making the process seamless and safe.Checking Voltage Compatibility
Before anything else, verify that your dishwasher’s voltage requirements match your home’s electrical supply. Most dishwashers in the U.S. require a 120-volt supply. You can find this information in your dishwasher’s manual or on a label inside the appliance door. Using a multimeter, check the voltage of the outlet you plan to use. It’s a simple tool that gives you a precise reading. Have you considered the potential hazards of mismatched voltage? Ensuring compatibility prevents electrical hazards and keeps your dishwasher running smoothly.Wiring The Plug
Once you’ve confirmed the voltage compatibility, it’s time to wire the plug. Start by turning off the power at the circuit breaker to avoid any electrical shock. Safety should always be your top priority. Locate the junction box on your dishwasher, typically found at the bottom rear of the appliance. Open it using a screwdriver and identify the wires: black (live), white (neutral), and green or bare (ground). Connect these wires to their corresponding colors in the power cord or outlet. Use wire connectors to secure the connections, ensuring they are tight and safe. Have you ever noticed how loose connections can lead to problems like flickering lights? In dishwashers, it could mean interrupted cycles or even damage. Once everything is connected, replace the junction box cover and turn the power back on. Test your dishwasher to ensure it powers up correctly. There’s a certain satisfaction in knowing you’ve done it yourself, don’t you think? Plus, it’s a handy skill to have in your DIY toolkit.Testing The Dishwasher
Testing a newly connected dishwasher ensures proper installation. It helps catch potential issues early. This step is crucial for long-term performance. Before celebrating your new appliance, a test run is essential.
Running A Test Cycle
Begin by loading the dishwasher with a few dishes. This simulates a real wash. Select a normal wash cycle from the control panel. Press start and let the machine do its job. Listen for unusual sounds during the wash. This might indicate a problem.
Checking For Leaks And Functionality
While the dishwasher runs, check for leaks around the base. Feel around the connections for moisture. A dry floor means a good seal. Also, observe water drainage. It should flow smoothly without backup.
Check the dishes after the cycle. They should be clean and dry. If not, adjustments may be needed. Ensure the detergent dispenser opened during the cycle.
:max_bytes(150000):strip_icc()/how-to-install-a-dishwasher-2718667-03-6f43d4b9c9e74ee9add9140ee97f5ff5.jpg)
Credit: www.thespruce.com
Final Adjustments
Connecting a dishwasher involves careful final adjustments for optimal performance. Ensure the water supply hose is tightly connected to prevent leaks. Verify the drain hose positioning, ensuring it flows smoothly into the sink drain or disposal unit.
Connecting a dishwasher is a task that many homeowners face, but the final adjustments are crucial to ensure it runs smoothly and efficiently. These tweaks not only enhance the performance but also increase the lifespan of your appliance. Let’s delve into the specifics of leveling and securing your dishwasher, two essential steps that can prevent common issues like leaks or noise.Leveling The Dishwasher
Ensuring your dishwasher is level is key to preventing water from pooling inside. A tilted dishwasher can lead to uneven cleaning and even damage over time. To level your dishwasher, use a carpenter’s level and check both side-to-side and front-to-back. Adjust the legs by twisting them to raise or lower the unit as needed. If you’ve ever noticed a dishwasher that rattles or leaves dishes wet, improper leveling might be the culprit. Take the time now to make sure yours sits perfectly flat.Securing The Unit
Securing your dishwasher helps prevent it from moving during use, which can lead to damage or leaks. Once your unit is level, securing it is the next step. Attach the dishwasher to the underside of the countertop using brackets or screws. This keeps it stable and prevents it from shifting when opening and closing the door. Have you ever had a dishwasher door that seemed to spring back when opened? Securing the unit properly can prevent such frustrations and ensure smooth operation. As you make these final adjustments, consider how these small actions can save you from future headaches. Have you ever skipped a step only to face issues later? Taking a few extra minutes now can make all the difference in maintaining your dishwasher’s performance.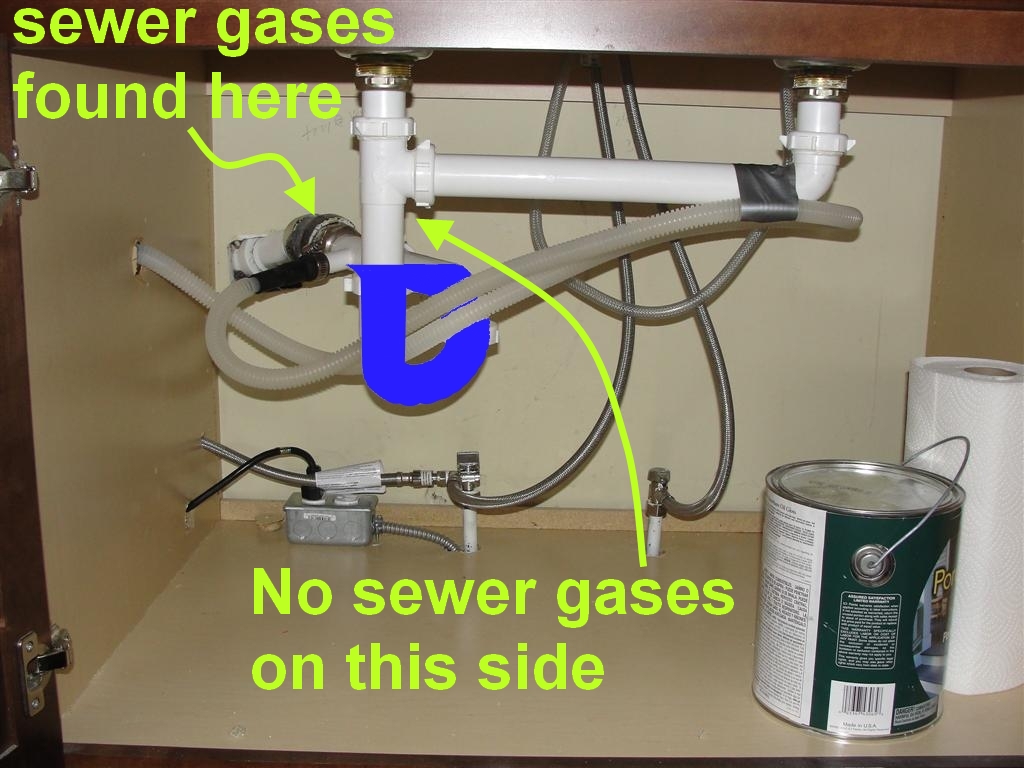
Credit: structuretech.com
Frequently Asked Questions
Can I Hook Up A Dishwasher Myself?
Yes, you can install a dishwasher yourself. Ensure you follow the manufacturer’s instructions carefully. Connect water, drain, and electrical lines securely. Use proper tools and safety precautions. If unsure, consult a professional to avoid potential issues. Successful DIY installation can save money and enhance kitchen functionality.
How Does A Dishwasher Get Connected?
Connect the dishwasher by attaching the water supply line to the inlet valve. Secure the drain hose to the sink or garbage disposal. Plug the power cord into an electrical outlet. Ensure all connections are tight and secure. Test the dishwasher for leaks and proper operation.
What Do I Need To Connect A Dishwasher?
To connect a dishwasher, you need a power outlet, water supply line, and a drain hose. Ensure proper plumbing and electrical connections for efficient operation. Use a manual for guidance and consider professional installation for safety.
Do I Need A Plumber To Hook Up A Dishwasher?
Hiring a plumber is recommended for dishwasher installation. They ensure proper connections and prevent leaks. DIY installation risks damage and voiding warranties. Professional help guarantees safety and efficiency.
Conclusion
Connecting a dishwasher is easier than it seems. Follow the steps for a smooth installation. Check connections carefully. Ensure water and power sources are secure. Tighten fittings to prevent leaks. Test the dishwasher before use. Listen for unusual sounds. Make adjustments if needed.
Regular maintenance keeps it running well. A dishwasher saves time in the kitchen. Enjoy clean dishes with less effort. Feel confident in your setup. A well-connected dishwasher makes life easier. Share your success with friends. Help others with their installations.
