Are you tired of the stubborn stains and grime in your gas oven? A clean oven not only looks good but also functions better.
Imagine the satisfaction of opening the oven door to a spotless interior every time you cook. In this guide, you’ll discover simple, effective steps to clean your gas oven without any hassle. Whether it’s baked-on grease or mysterious odors, we’ve got solutions that really work.
By the end of this article, you’ll know the secrets to keep your oven in top shape, making your cooking experience more enjoyable and your kitchen healthier. Curious to find out how? Let’s dive into the details and transform your oven into a gleaming masterpiece.
Credit: www.homedepot.com
Preparation Steps
Gather cleaning supplies, including a non-abrasive cleaner and soft cloth. Remove oven racks and clean them separately.
Preparing to clean your gas oven might not be the most exciting task on your to-do list, but it’s an essential one. Without proper preparation, you might find yourself halfway through the process, missing a crucial cleaning tool or realizing you skipped a safety step. Getting everything ready beforehand saves you time and frustration, allowing the cleaning process to go smoothly. So, let’s dive into those crucial preparation steps to ensure your gas oven is spotless and safe!
Gathering Cleaning Supplies
Before you begin, make sure you have all the necessary supplies. This might seem obvious, but it’s easy to underestimate what you need until you’re elbow-deep in grime. – Cleaning Solution: Choose a commercial oven cleaner or a homemade mixture of baking soda and vinegar. – Scrubbing Tools: A sturdy sponge or brush can tackle tough spots. – Soft Cloths or Paper Towels: These are essential for wiping down surfaces after scrubbing. – Protective Gloves: These will protect your hands from harsh chemicals. – Trash Bags: Handy for disposing of debris and used paper towels. Do you have a favorite cleaning hack or product? Gathering the right supplies can make all the difference in efficiency and effectiveness.
Safety Precautions
Safety should always be your priority. Cleaning a gas oven involves not just grime but also potentially harmful chemicals. – Turn Off the Gas Supply: Before you start, ensure the gas supply to the oven is turned off. This prevents any accidental leaks. – Ventilation: Open windows or turn on a fan to keep the area well-ventilated. This helps disperse any fumes from cleaning products. – Read Labels: Always check the instructions on cleaning products to know how to use them safely. Have you ever felt light-headed while cleaning? Proper ventilation can prevent this, keeping you safe and focused on the task at hand. By preparing effectively, you set yourself up for a successful and stress-free cleaning session. What’s your biggest challenge when cleaning your oven? Addressing it during the preparation phase can ease the entire process.
Initial Cleaning
Start by removing the oven racks and soaking them in warm, soapy water. Spray the oven interior with a homemade cleaning solution of vinegar and baking soda. Let it sit for a few minutes, then wipe it clean with a damp cloth.
Cleaning your gas oven can seem like a daunting task, but breaking it down into manageable steps makes it much easier. The initial cleaning phase lays the foundation for a thorough clean. This is where you tackle the obvious messes and prepare the oven for a deeper cleanse. With a little patience and elbow grease, your oven will be sparkling in no time.
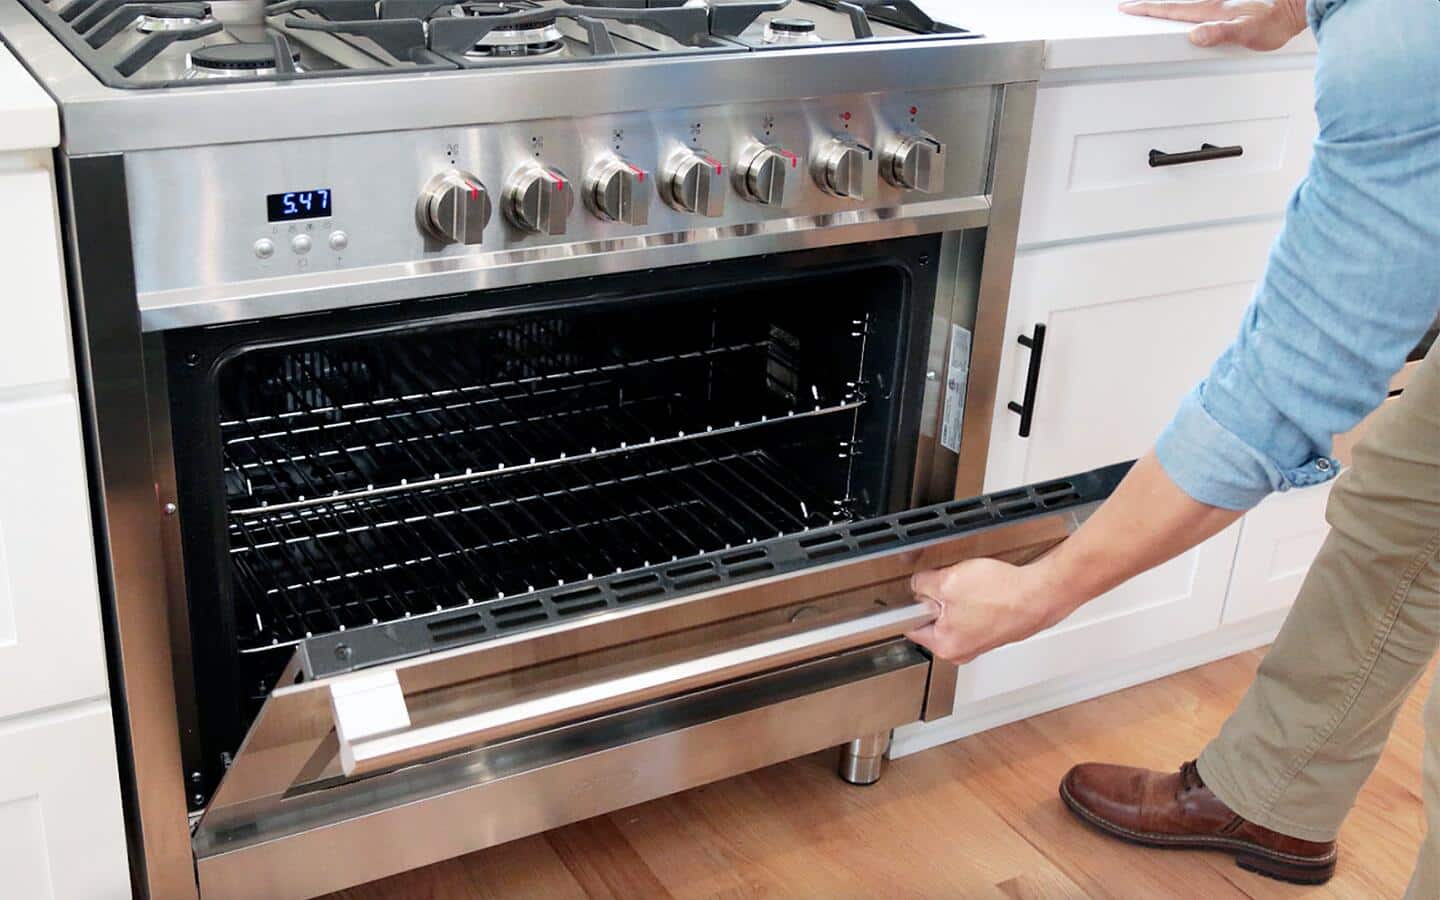
Removing Oven Racks
Start by taking out the oven racks. It might be surprising how much grime and food bits get stuck to them. Removing these racks gives you space to work and allows you to clean them separately. Place them in a sink filled with warm, soapy water. Letting them soak while you focus on the oven interior will make scrubbing them later much easier.
Vacuuming Loose Debris
Once the racks are out, your next step is to vacuum any loose debris. Crumbs and burnt food often accumulate at the bottom. A handheld vacuum can make quick work of this mess. If you don’t have one, a brush and dustpan will do the trick. This step ensures that you’re not scrubbing at hardened crumbs later, making the cleaning process smoother. Have you ever thought about how much easier life would be if we tackled kitchen messes right away? This might be a good time to consider it. Taking a few minutes now can save a lot of effort down the line.
Deep Cleaning Process
Begin with removing oven racks for separate cleaning. Mix baking soda and water into a paste. Apply this mixture inside the oven, avoiding heating elements. Let it sit overnight, then wipe clean with a damp cloth. For stubborn grime, use vinegar spray for extra shine.
Cleaning a gas oven is not just about wiping down surfaces; it’s a meticulous process that can make cooking more enjoyable and safe. The deep cleaning process involves removing stubborn grease and grime that can affect the efficiency of your oven. When you tackle this task, you’ll be surprised at how a clean oven can transform your culinary experiences. As you delve into the deep cleaning process, consider this: What hidden benefits might you discover by maintaining a spotless oven?
Choosing The Right Cleaners
Selecting the proper cleaner is crucial for effectively removing baked-on residue and grease. Opt for cleaners specifically designed for ovens, as they contain ingredients that break down stubborn grime without damaging surfaces. Natural cleaners, such as a vinegar and baking soda mixture, offer a safe alternative with impressive results. Always check labels for any special instructions or safety precautions.
Scrubbing Interior Surfaces
The interior surfaces of your gas oven, including the racks and walls, often harbor the most stubborn stains. Begin by removing the racks and soaking them in warm, soapy water. This loosens debris and makes scrubbing easier. Use a soft-bristled brush to gently scrub the walls and floor of the oven. Pay special attention to corners and crevices where grime collects. Rinse with a damp cloth to remove any residue from the cleaner. By following these steps, you’re not just cleaning an appliance but creating a space for culinary creativity to flourish.
Credit: www.homedepot.com
Cleaning Oven Racks
Cleaning oven racks can be simple with warm water and baking soda. Soak racks in the mixture for a few hours. Scrub gently with a soft brush to remove residue.
Cleaning oven racks might seem like a tedious task, but it’s essential for maintaining a spotless and efficient gas oven. Over time, grease and food particles accumulate on the racks, impacting not just their appearance but also the oven’s performance. With the right techniques, you can restore your oven racks to their gleaming best with minimal effort.
Soaking Techniques
Start by removing the racks from your oven. Choose a spot that can accommodate the full length of the racks, like your bathtub or a large kitchen sink. Fill it with hot water and add a few drops of dish soap or a cup of white vinegar. Let the racks soak for at least two hours. This softens baked-on grime, making it easier to remove. For those particularly stubborn spots, leaving them overnight can work wonders.
Scrubbing And Rinsing
Once soaked, use a non-abrasive scrubber or a sponge to tackle any remaining grime. Pay special attention to corners and crevices where dirt tends to hide. Rinse the racks thoroughly with warm water to ensure no soap or residue remains. A final wipe with a clean cloth ensures they’re completely dry before placing them back in the oven. Have you ever considered how much cleaner your meals could taste with sparkling oven racks? A little extra effort in cleaning can make a world of difference in your culinary adventures.
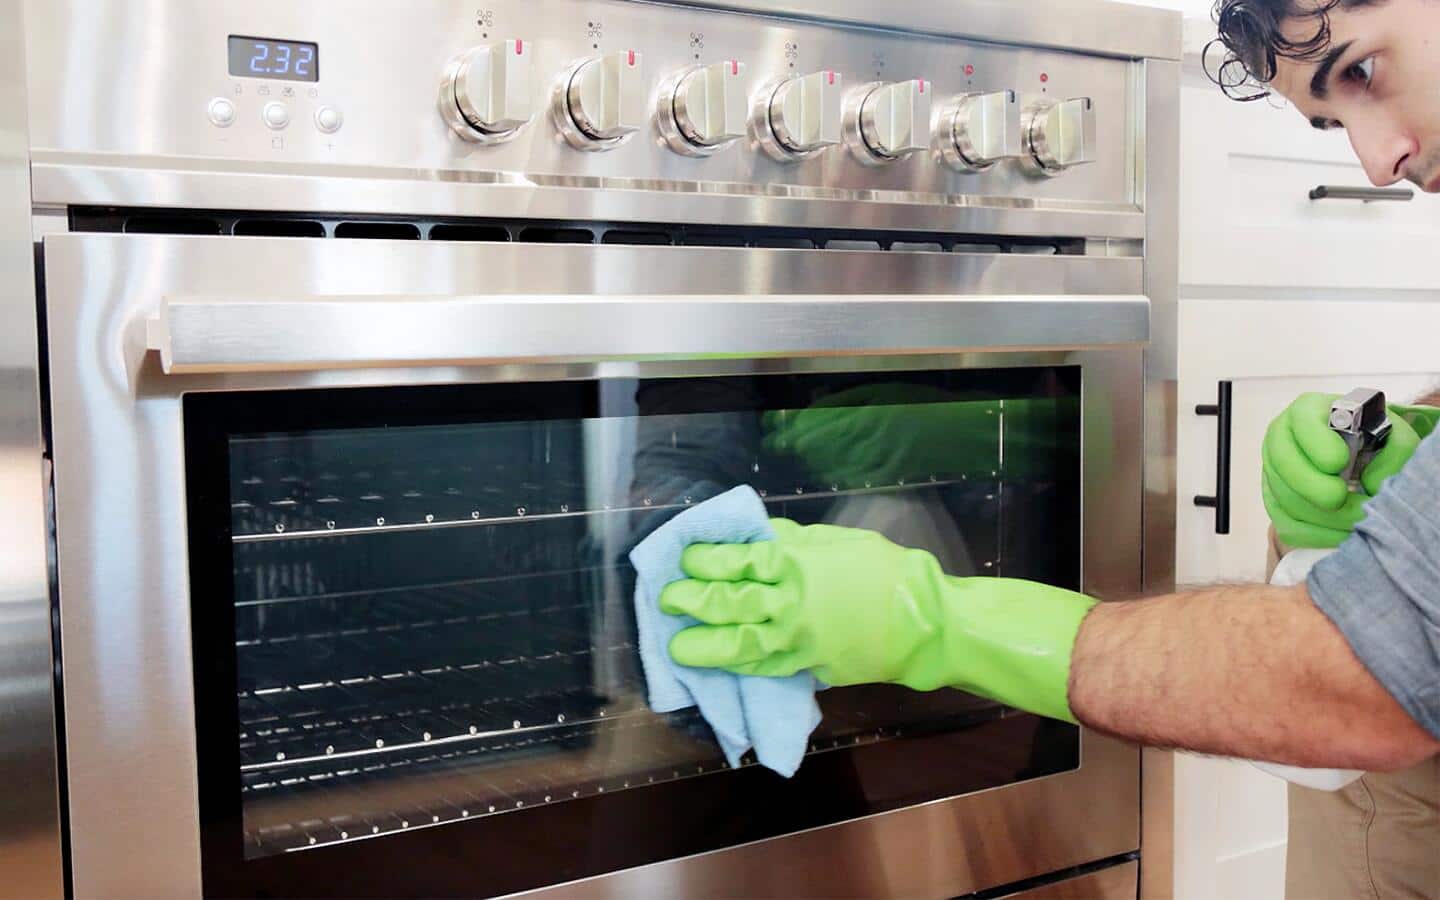
Cleaning Oven Door
Cleaning an oven door involves removing grime and grease effectively. Begin by applying a baking soda paste to the glass. Let it sit for 15 minutes, then scrub gently and wipe clean.
Cleaning your gas oven can transform both its look and function, especially when you focus on the oven door. The door is often the first thing you notice, and keeping it spotless can make your entire kitchen feel fresher. Plus, a clean oven door allows you to see your delicious creations more clearly as they bake. But how exactly do you tackle this task efficiently?
Glass Panel Cleaning
Begin by removing the glass panel if your oven design allows it. This can make the cleaning process much easier and thorough. If you’re unsure about how to remove the panel, check your oven’s manual for guidance. Once removed, lay the glass on a soft surface like a towel to prevent scratches. Use a mixture of baking soda and water to create a paste. Gently scrub the glass with a non-abrasive sponge, focusing on any stubborn spots. Rinse with warm water and dry thoroughly with a microfiber cloth to prevent streaks. If your oven’s glass panel is not removable, apply the paste directly onto the glass and let it sit for 15 minutes before wiping away.
Handling Grease Buildup
Grease can be tricky, but it’s nothing a little elbow grease can’t handle. Start by heating the oven for a few minutes to slightly soften the grease—be careful not to make it too hot. Once the oven is warm, turn it off and apply a mixture of vinegar and water to the greasy areas. The acidity of the vinegar helps break down the grease without harsh chemicals. Use a scraper or a credit card edge to gently remove the softened grease. Wipe down with a damp cloth to catch any remaining residue. Repeat the process if necessary, but remember, patience pays off. Have you ever tried cleaning your oven door with natural solutions before? You might find it’s not only effective but also satisfying to avoid harsh chemicals in your kitchen.
Maintenance Tips
Cleaning a gas oven is simple with the right steps. Begin by removing racks and soaking them in warm soapy water. Use a baking soda paste to scrub interior surfaces, and wipe clean with a damp cloth for a spotless finish.
Cleaning a gas oven regularly keeps it working well and safe. It helps avoid stubborn stains and unpleasant smells. A clean oven ensures your food tastes great. Consistent maintenance also extends the oven’s life.
Regular Cleaning Schedule
Create a simple cleaning schedule. Wipe spills immediately after cooking. This prevents them from hardening. Clean the oven interior every month. Use warm soapy water and a soft cloth. Avoid abrasive cleaners that scratch surfaces. Remove and wash oven racks separately. Soak them in hot, soapy water for easier cleaning.
Preventive Measures
Use oven liners to catch drips and spills. They are easy to remove and clean. Avoid placing aluminum foil on the oven floor. It can damage the oven or affect cooking performance. Check gas burners regularly. Ensure they are clean and free from debris. Keep the oven door seal intact. A damaged seal lets heat escape, affecting cooking efficiency.
Troubleshooting Common Issues
Cleaning a gas oven can be challenging. Sometimes, unexpected issues arise. Persistent stains or strange odors might linger. Knowing how to troubleshoot these common problems is essential.
Addressing Persistent Stains
Stubborn stains can be frustrating. Start by using a mixture of baking soda and water. Apply it to the stained area. Leave it for 15 minutes. Scrub gently with a soft brush. Rinse with warm water. Repeat the process if necessary. For extra tough stains, try vinegar. It helps break down grime. Always test on a small area first. This ensures no damage occurs.
Dealing With Odors
Odors can linger after cleaning. Baking soda absorbs smells effectively. Sprinkle some on the oven floor. Leave it overnight. In the morning, wipe it away. Another solution is white vinegar. Place a bowl inside the oven. Heat at a low temperature. Let it sit for 30 minutes. This neutralizes unpleasant odors. Regular airing also helps. Keep the oven door open for a while.
Credit: www.lisabronner.com
Frequently Asked Questions
How Should I Clean My Gas Oven?
To clean your gas oven, first remove racks and soak them in warm, soapy water. Use a baking soda paste for interior stains. Scrub gently with a soft brush. Wipe down surfaces with a damp cloth. Ensure the oven is cool before cleaning.
Regular maintenance keeps your oven efficient.
Can You Put Oven Cleaner In A Gas Oven?
Avoid using oven cleaner in a gas oven. It can damage parts and emit harmful fumes. Use warm soapy water instead for safe cleaning.
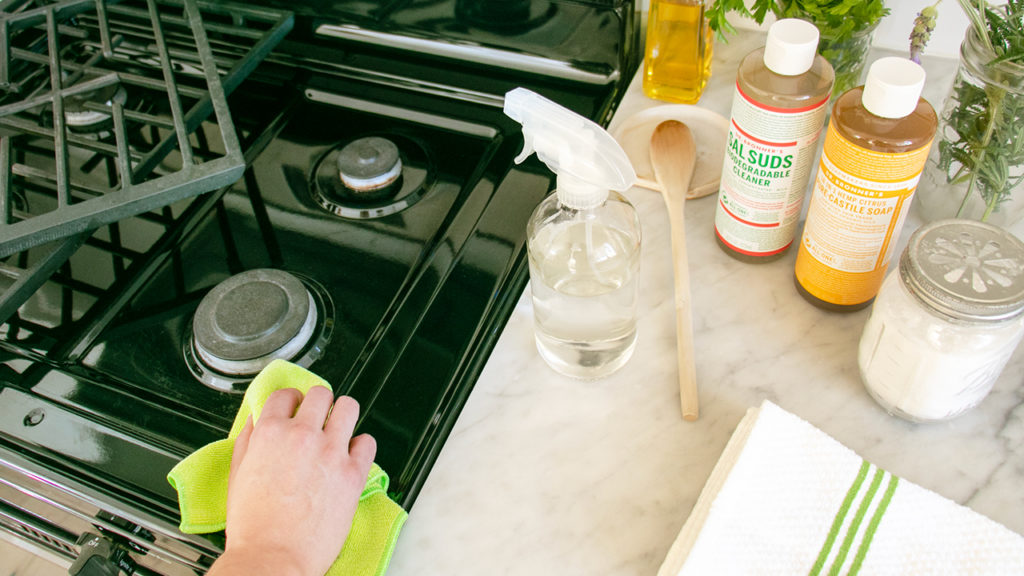
What Is The Best Thing To Clean A Gas Stove With?
Use a mixture of baking soda and water to clean a gas stove. Apply the paste, scrub gently, and wipe with a damp cloth for best results. This method is effective, eco-friendly, and safe for most surfaces.
What Is The Best Oven Cleaner For Gas Ovens?
Easy-Off Professional Fume Free Max Oven Cleaner is ideal for gas ovens. It effectively removes grease and grime. It’s fume-free and safe for self-cleaning ovens. This cleaner delivers efficient cleaning without strong odors, making it user-friendly and effective for maintaining a clean gas oven.
Conclusion
Cleaning your gas oven doesn’t have to be hard. Regular maintenance keeps it functioning well. Follow simple steps for a spotless oven. Remove loose debris first. Use safe cleaners to scrub surfaces. Pay attention to stubborn spots. Rinse thoroughly to avoid residue.
Let it dry completely before use. A clean oven enhances cooking results. A tidy kitchen feels inviting. Keep up with routine cleaning. Enjoy a fresh and efficient cooking experience. Your oven will thank you. Happy cooking!

Hi, I’m Daniel Harper, a senior editor here at KitchenBucks.com. For over 10 years, I’ve been exploring kitchen gadgets and appliances to help people find tools that truly add value without breaking the bank. I love simplifying product choices so you can focus more on cooking and less on worrying about what to buy. When I’m not reviewing the latest gadgets, you’ll usually find me experimenting with coffee brewing or firing up the grill for a weekend barbecue.