Cleaning the inside of your oven might feel like a daunting task. Yet, a sparkling, fresh-smelling oven can transform your cooking experience.
Imagine opening the oven door to a spotless interior, free from burnt-on food and unpleasant odors. You deserve a kitchen that inspires you, not one that makes you sigh every time you bake or roast. By taking a few simple steps, you can achieve that pristine oven you’ve always wanted.
Ready to discover the secrets to effortless oven cleaning? Let’s dive into a guide that will not only save you time but also breathe new life into your cooking space.
Preparation
Gather baking soda, vinegar, a spray bottle, and a scrub brush. Remove oven racks for separate cleaning. Create a paste with baking soda and water, apply to the oven’s interior, and let it sit overnight. Spray vinegar to lift grime, then scrub and wipe clean.
Preparing to clean the inside of your oven can make the task much easier and more efficient. A little forethought can save you from unnecessary scrubbing and ensure you have everything you need at hand. Let’s explore the key steps to get you fully prepped for this kitchen chore.Gather Supplies
Before diving into oven cleaning, having the right supplies is crucial. You’ll need some basic items that are likely already in your home. Gather baking soda, vinegar, dish soap, a spray bottle, a scrubbing pad, and a microfiber cloth. Consider using an old toothbrush for those hard-to-reach spots. This little tool can be a game-changer for stubborn grime. Have a trash bag ready for any debris you might scoop out. It’s always better to be over-prepared than to interrupt your cleaning flow to fetch more supplies.Safety Measures
Safety should be your top priority while cleaning your oven. Make sure your oven is completely cool before you start to avoid burns. Consider wearing gloves to protect your hands from harsh cleaning agents. Even if you’re using natural cleaners, gloves can prevent skin irritation. Ensure your kitchen is well-ventilated. Open a window or turn on a fan to disperse any fumes, especially if you’re using commercial cleaners. By taking these precautions, you not only safeguard your health but also make the cleaning process smoother. What safety measures do you find most crucial when cleaning at home?Initial Cleaning
Cleaning your oven can seem daunting. But starting with the basics makes it easier. This initial cleaning sets the stage for a thorough refresh. First, focus on removing items and debris.
Remove Oven Racks
Take out all the oven racks. This allows you to clean them separately. Use warm soapy water. Let them soak for a while. This helps to break down grime. Rinse and dry them well. Place them aside for now.
Vacuum Loose Debris
Use a handheld vacuum. This removes loose crumbs and debris. Focus on the oven floor and corners. Reach as far back as possible. This clears away dust and dirt. Prepare the surface for further cleaning.
Deep Cleaning
Deep cleaning your oven can transform your cooking space. It removes stubborn grime and baked-on residue. This process ensures your meals taste fresh and free of odors. Let’s dive into the steps for a spotless oven interior.
Apply Cleaning Solution
First, choose a cleaning solution. You can use a store-bought cleaner or make your own. Mix baking soda with water to form a paste. Spread the solution generously inside the oven. Focus on areas with visible stains and grease. Avoid applying the mixture on heating elements or vents. Leave the solution overnight for tough stains.
Scrub Oven Interior
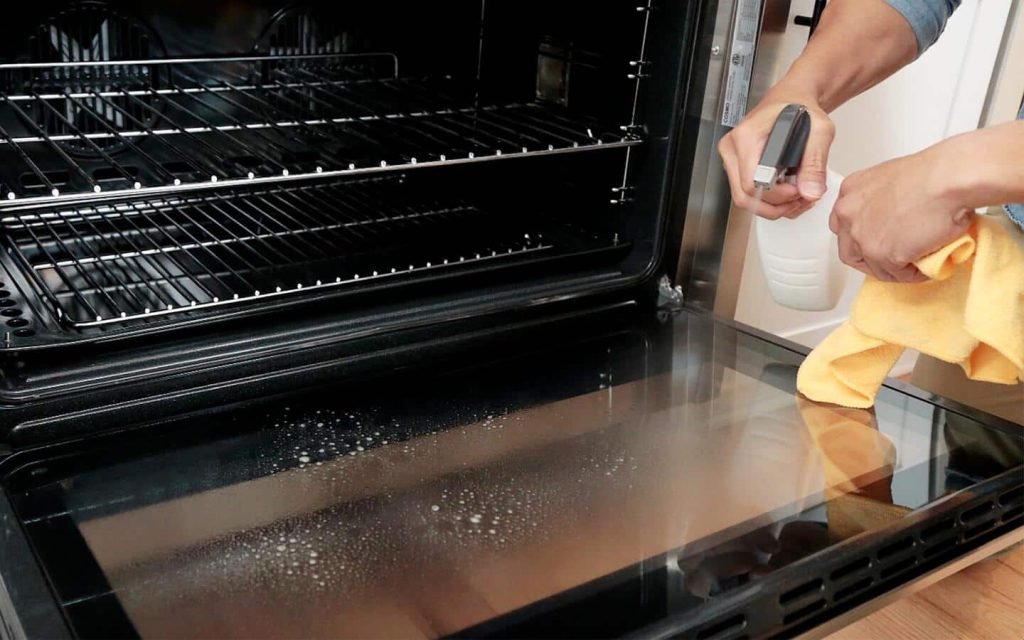
Next, grab a scrubbing brush or sponge. Begin scrubbing the oven walls and racks. Use circular motions for effective cleaning. Pay attention to corners and crevices. These spots often hold the most dirt. For stubborn spots, apply extra pressure. Wipe down with a damp cloth to remove residue. Repeat if needed for a pristine oven.
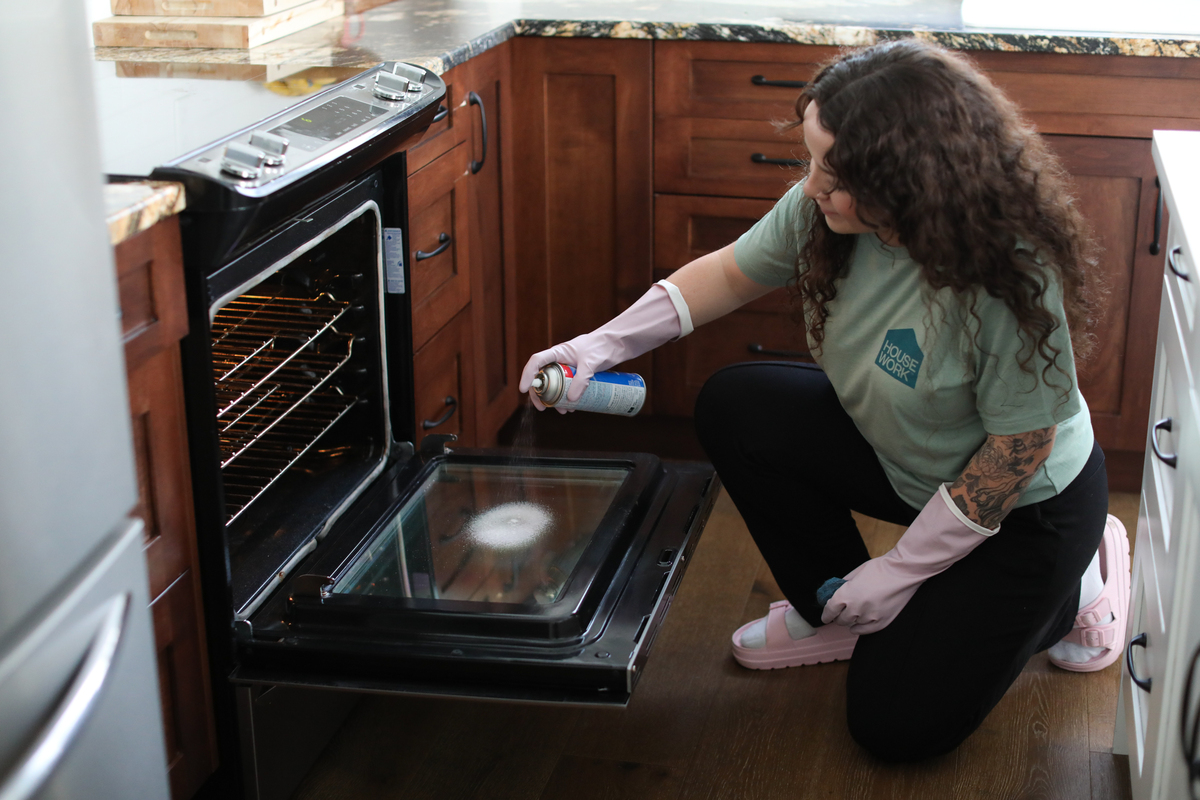
Credit: www.housework.com
Tackling Tough Spots
Cleaning the inside of an oven is a task many dread. Tackling tough spots can be challenging, especially grease and grime. But fear not! With the right approach and tools, you can make your oven shine. Let’s explore effective methods to clean those stubborn areas.
Use Baking Soda Paste
Baking soda is a natural cleaner. Mix it with water to create a paste. Apply this paste to tough spots inside your oven. Let it sit for a few hours. Baking soda breaks down grease and stains. Wipe it away with a damp cloth. You’ll notice a big difference.
Target Grease And Grime
Grease and grime build up over time. To tackle these, use vinegar spray. Spray vinegar directly on greasy spots. Let it sit for a few minutes. Vinegar helps dissolve stubborn grime. Use a scrub brush to clean the area. Rinse with water and dry with a cloth.
Cleaning Oven Racks
For effective oven cleaning, focus on the racks. Remove them first. Soak in warm, soapy water for easy grime removal. Use a scrub brush to tackle stubborn spots. Rinse thoroughly and let dry.
Cleaning oven racks is essential for a spotless kitchen. Grease and grime can build up over time. Regular cleaning keeps your oven efficient. Clean racks also prevent smoke and odors. Let’s explore how to clean oven racks effectively.Soak And Scrub Racks
Remove the racks from the oven. Place them in a bathtub or large container. Fill with hot water and dish soap. Let them soak for at least 4 hours. This softens the grime for easier removal. Use a non-abrasive scrubber to scrub the racks. Focus on stubborn spots. For tough stains, use a paste of baking soda and water. Rinse the racks thoroughly with clean water. Ensure all soap residue is gone.Dry And Replace
After rinsing, dry the racks with a clean towel. Ensure they are completely dry to prevent rust. Check for any remaining stains. Re-scrub if necessary. Once dry, slide the racks back into the oven. Ensure they are properly aligned. This helps maintain even cooking and prevents damage. Your oven is now ready for use. Regular maintenance keeps it in top shape. Enjoy the benefits of a clean oven.
Credit: theorganicmaids.com
Final Touches
After scrubbing and cleaning, your oven is almost ready. The final touches make it shine. Ensuring no residue remains is crucial. These steps help complete your cleaning process.
Wipe Down Surfaces
Use a damp cloth to wipe down all surfaces. Pay attention to corners and edges. They often trap grime. A microfiber cloth works best. It doesn’t leave lint behind. Ensure the cloth is clean to avoid spreading dirt.
Check For Residues
Look inside your oven for any leftover residues. Check the walls and racks carefully. Remove any remaining cleaning solution. Use a sponge if needed. Rinse with water and wipe dry. Make sure all surfaces are completely dry before closing the oven.
Maintenance Tips
Cleaning the inside of an oven is simple with the right approach. Mix baking soda and water into a paste. Apply the paste, let it sit overnight, and wipe clean the next day.
Maintaining a clean oven extends its life and improves its performance. Regular cleaning prevents stubborn stains and keeps your kitchen smelling fresh. Keeping up with maintenance also ensures your oven operates efficiently, saving you energy and money. Here are some simple tips to keep your oven in top shape.Regular Cleaning Schedule
Set a cleaning schedule for your oven. Clean it every three months for best results. This prevents grease buildup and tough stains. Use mild cleaners to avoid damaging the oven’s interior. Baking soda and water make a great natural cleaner. Apply the paste, let it sit, then wipe with a damp cloth.Quick Clean After Spills
Clean spills immediately to prevent baked-on messes. Use a damp cloth to wipe the spill while the oven is still warm. Avoid using harsh chemicals, which can leave odors. For stubborn spots, use a paste of baking soda and water. Let it sit for a few minutes, then scrub gently. This keeps your oven looking and smelling fresh.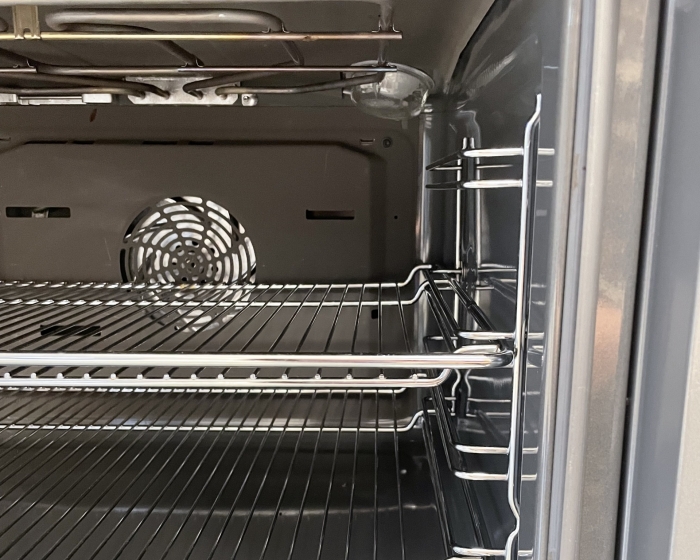
Credit: www.ovenclean.com
Frequently Asked Questions
What Is The Best Way To Clean The Inside Of An Oven?
Use a baking soda paste and water to clean the oven interior. Let it sit overnight. Wipe the mixture off with a damp cloth. Use vinegar to remove residue and odors. For tough stains, a commercial oven cleaner can be effective.
Always follow safety instructions when using chemicals.
Do Baking Soda And Vinegar Really Clean Ovens?
Yes, baking soda and vinegar effectively clean ovens. Baking soda scrubs away grime, while vinegar dissolves grease. Together, they tackle tough stains, leaving your oven fresh. Use a paste of baking soda and water, apply it, and spray vinegar. Let it sit, then wipe clean for sparkling results.
How To Clean A Really Dirty Oven Quickly?
Remove oven racks and soak them in warm, soapy water. Mix baking soda and water into a paste. Apply paste inside the oven, let it sit for 15 minutes, then scrub thoroughly. Wipe with a damp cloth. Use vinegar spray for extra shine.
Return cleaned racks.
How To Get Burnt Stuff Off Inside Of An Oven?
Sprinkle baking soda on burnt areas. Spray with vinegar and let it fizz. Scrub with a sponge, then rinse.
Conclusion
Cleaning an oven inside is simpler than it seems. Follow the steps carefully. Gather your supplies first. Use a baking soda paste for tough spots. Scrub gently to avoid scratches. Rinse with water to remove residue. Let the oven dry completely.
Regular cleaning keeps it efficient. A clean oven cooks food evenly. Plus, it prevents bad smells. Enjoy a fresh and safe cooking space. Take time to clean regularly. Your oven will thank you. Keep these tips handy for future cleans.
Make oven cleaning a routine. It saves time and effort. Happy cooking!
