If you’ve ever peeked inside your oven and cringed at the sight of baked-on grime and grease, you’re not alone. An unclean oven not only looks unsightly but can also affect the taste and quality of your food.
The good news? You can restore your oven to its former glory with the right oven cleaner and a little elbow grease. Imagine the satisfaction of seeing your oven sparkle like new again and knowing that your meals are cooked in a fresh, clean environment.
Whether you’re preparing for a big holiday feast or just want to maintain a pristine kitchen, learning how to clean your oven effectively is a skill worth mastering. In this guide, we’ll walk you through simple, step-by-step instructions to make the process as effortless as possible. Ready to transform your oven and elevate your cooking experience? Let’s dive in!
Preparation
Cleaning your oven can seem daunting. Proper preparation makes it easier. Before using oven cleaner, gather everything you need. Keep safety in mind. Let’s dive into the preparation steps.
Gather Supplies
Start by collecting all necessary items. You will need an oven cleaner. Choose one that suits your oven type. Have a few cleaning cloths ready. Soft ones work best. A sponge is also useful. Get a bucket for rinsing. A pair of gloves is important. They protect your skin. Old newspapers or rags help catch spills. They save time during cleanup.
Safety Precautions
Safety is crucial when cleaning. Always wear gloves. They protect your hands from chemicals. Ensure the kitchen is ventilated. Open windows and turn on fans. Use a mask if fumes are strong. Keep children and pets away. Store the cleaner out of their reach. Read the cleaner’s instructions carefully. Follow them closely for safe use. These precautions keep you safe and efficient.
Choosing The Right Oven Cleaner
Cleaning your oven can be a daunting task, but choosing the right oven cleaner makes it easier. The market offers various types, each designed to tackle specific needs. Whether you prefer strong chemicals or eco-friendly options, there’s a cleaner that fits your requirements. Knowing the differences helps in making an informed decision.
Types Of Oven Cleaners
Oven cleaners come in different forms, each with unique properties. Spray cleaners are popular for their ease of use. They cover surfaces evenly, breaking down grime efficiently. Gel cleaners stick to vertical surfaces, providing deep cleaning. Foam cleaners expand, covering large areas quickly. Choose based on the level of dirt and the type of oven.
Eco-friendly Options
Eco-friendly oven cleaners are perfect for those who care about the environment. These products use natural ingredients, making them safe for family and pets. Look for cleaners with biodegradable formulas. Baking soda and vinegar mixtures are homemade alternatives. They are effective and gentle on surfaces. Opt for eco-friendly options to reduce chemical exposure.
Application Process
Cleaning your oven with an oven cleaner can be a simple task. Follow the application process carefully for the best results. This ensures the cleaner works effectively, removing stubborn grime and grease. Let’s dive into the steps for applying oven cleaner.
Read Instructions
Before you start, read the cleaner’s instructions carefully. Each product has specific guidelines. These tell you how long to leave the cleaner on and safety tips. Understanding these instructions helps avoid mistakes. Some cleaners may need ventilation, so check for that too.
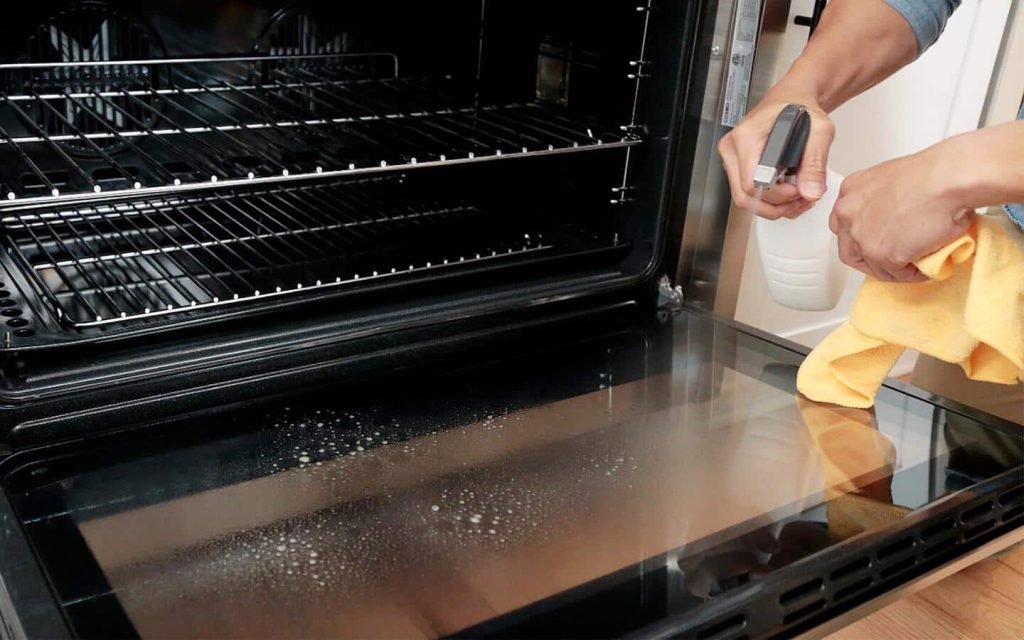
Apply Cleaner
Once you’re familiar with the instructions, apply the cleaner to the oven’s interior. Use gloves to protect your hands. Spread the cleaner evenly, covering all dirty areas. Be cautious around heating elements. Let the cleaner sit for the recommended time. This allows it to break down tough stains and grease.
:max_bytes(150000):strip_icc()/ar-easiest-cheapest-oven-cleaning-adobe-ar-4x3-3c46ad9481fb4dea8d2b4f05b6a99670.jpg)
Credit: www.allrecipes.com
Waiting Period
Apply oven cleaner and allow it to sit for the recommended waiting period. This ensures effective breakdown of grime.
Cleaning your oven with an oven cleaner can be a surprisingly straightforward task, yet the waiting period is a crucial step that is often overlooked. This phase allows the cleaner to break down stubborn grease and grime, ensuring that your oven emerges spotless. But how long should you really wait? Understanding the recommended wait times and how to maximize the effectiveness of this period can make all the difference.Recommended Wait Times
According to most oven cleaner instructions, a standard waiting time is often between 15 minutes to an hour. However, this can vary depending on the brand and the level of grime your oven has accumulated. Some cleaners might require an overnight soak for particularly stubborn residues. It’s vital to read the label instructions carefully. They provide a guideline tailored to the chemical composition of the cleaner. Skipping this step might lead to less effective cleaning results or even damage to your oven.Maximizing Effectiveness
While waiting, you might wonder how to ensure the cleaner is working its hardest. Simple actions can enhance its effectiveness. For instance, applying the cleaner evenly ensures full coverage. A brush or sponge can help spread the product into corners and crevices. Consider turning on your kitchen fan or opening windows to ventilate the area. This not only helps in reducing fumes but can aid in the drying process. Have you ever found yourself impatiently watching the clock during the waiting period? Distract yourself with another task to make the time pass quickly. Ultimately, the wait is worth it. A clean oven not only looks better but also cooks more efficiently. So, are you ready to tackle that grime head-on and make the most of your waiting period?Cleaning Techniques
Cleaning your oven can seem like a daunting task. But with the right techniques, it’s manageable. Using an oven cleaner, you can make this job easier. The right methods ensure your oven looks and functions its best.
Scrubbing Tips
Scrubbing is crucial for effective cleaning. Use a non-abrasive scrub pad. This prevents scratches on the oven surface. Apply the oven cleaner generously. Let it sit for the recommended time. This softens the grime, making it easier to remove. Use circular motions for better results. Always wear gloves to protect your hands. Rinse the scrub pad often to avoid spreading dirt.
Removing Stubborn Stains
Some stains are tough to remove. Focus on these areas with extra cleaner. Let it sit longer if needed. Use a toothbrush for tight spots. This helps reach corners and edges. For burnt residues, a plastic scraper can help. Be gentle to avoid damage. Check your oven’s manual before using tools. This ensures you follow the manufacturer’s guidelines.
:max_bytes(150000):strip_icc()/spr-oven-cleaners-june-24-test-zep-zuovgr19-heavy-duty-grill-before-after-cathie-france-2-e072e9d1f23d4e6dac972aa4722bf6eb.jpeg)
Credit: www.thespruce.com
Post-cleaning Care
Post-cleaning care ensures your oven stays in top condition. Wipe down surfaces with a damp cloth to remove any residue. Check the oven’s interior for lingering cleaner and rinse if needed.
Post-cleaning care of your oven is just as crucial as the cleaning itself. Once you’ve tackled the grime and grease, ensuring your oven remains in pristine condition requires a few simple steps. This part of the process not only maintains cleanliness but also prolongs the life of your appliance.Rinsing And Wiping
After using an oven cleaner, it’s essential to rinse away any residue thoroughly. Use a damp cloth to wipe down the interior surfaces, ensuring all cleaner remnants are removed. This step prevents any chemical residue from affecting your food’s flavor during future cooking sessions. Pay special attention to corners and crevices where cleaner might hide. A final wipe with a dry cloth can help prevent water spots and maintain a shiny interior.Maintenance Tips
Regular maintenance can keep your oven in top shape, reducing the need for heavy-duty cleaning. Consider placing a baking sheet on the lower rack to catch drips and spills, making cleaning easier. Develop a habit of wiping down the oven door and controls weekly. This prevents grime build-up and keeps your kitchen looking tidy. Think about setting a reminder to deep clean your oven every few months. How often do you currently clean yours, and could increasing the frequency make your life easier?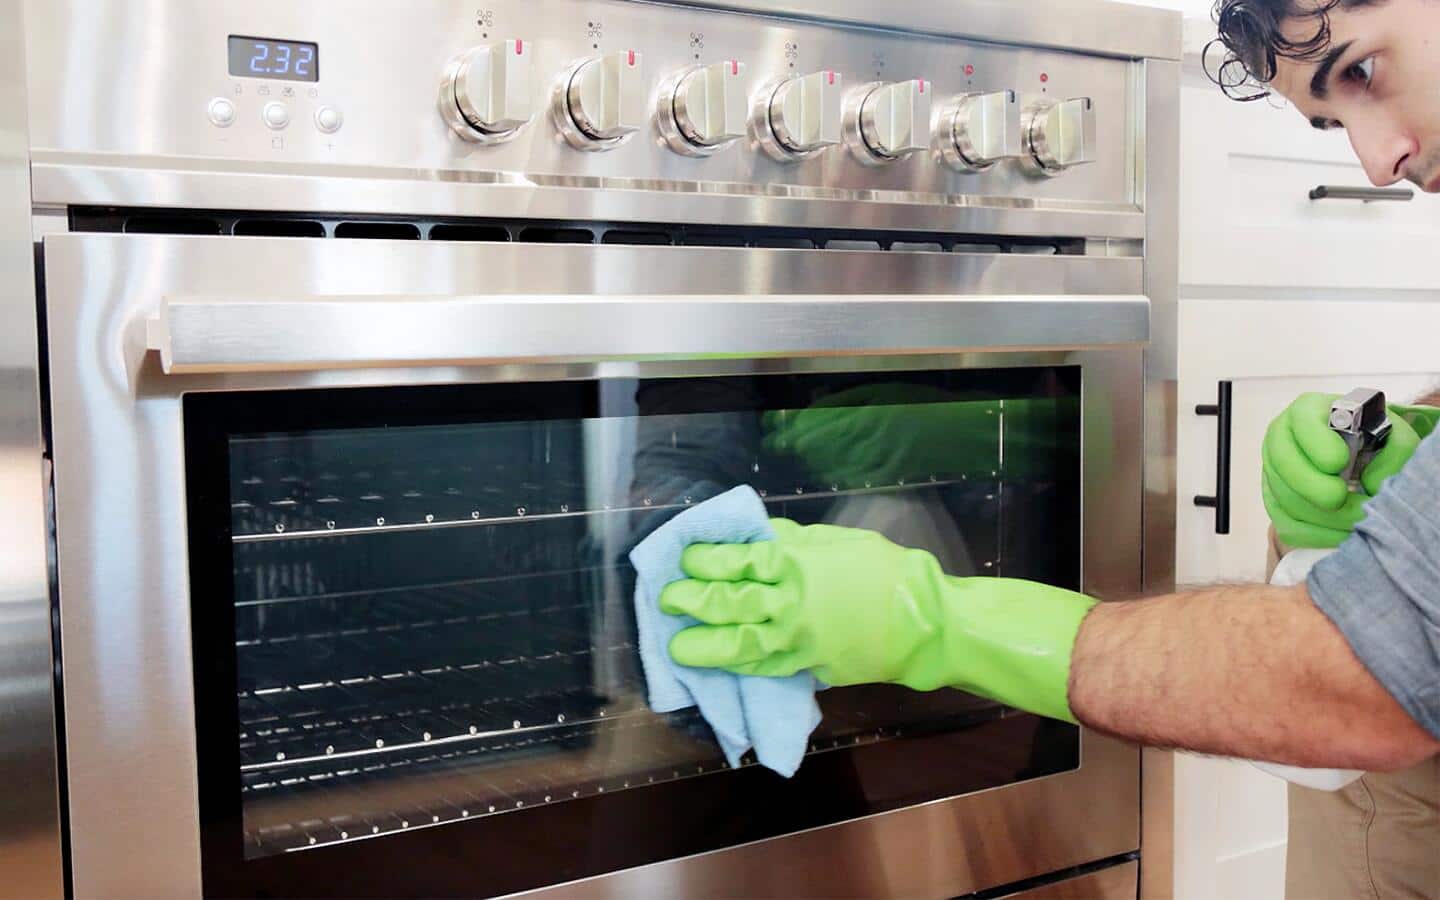
Credit: www.homedepot.com
Frequently Asked Questions
How Long Should You Leave Oven Cleaner In The Oven?
Leave oven cleaner in the oven for 20 to 30 minutes. Follow the product instructions for best results. Clean thoroughly afterward to remove residues. Ensure proper ventilation during the cleaning process to avoid inhaling fumes.
Will Vinegar And Dawn Clean An Oven?
Yes, vinegar and Dawn can clean an oven. Mix them to create a powerful, natural cleaning solution. Spray on oven surfaces, let it sit, and scrub gently. Rinse thoroughly for best results. This method effectively removes grease and grime, leaving your oven spotless and fresh.
What Not To Do When Cleaning Your Oven?
Avoid using harsh chemicals or abrasive materials. Don’t neglect safety precautions like wearing gloves. Never clean a hot oven. Avoid spraying cleaner on heating elements. Don’t forget to rinse thoroughly to remove residue.
What Is The Best Way To Deep Clean The Inside Of An Oven?
Use a baking soda and water paste to coat the oven interior. Let it sit overnight. Wipe with a damp cloth. Spray vinegar on remaining residue and wipe clean. For stubborn stains, use a scraper carefully. Regular maintenance ensures a clean oven.
Conclusion
Cleaning your oven with oven cleaner is simple and effective. Follow the steps carefully. Safety comes first, so wear gloves. Ensure proper ventilation in the kitchen. Spray the cleaner evenly inside the oven. Let it sit for the recommended time.
Wipe it clean with a damp cloth. For stubborn spots, scrub gently. Regular cleaning keeps your oven in top shape. It also helps your food taste better. A clean oven is more efficient too. Enjoy cooking in a sparkling clean oven! Keep your kitchen fresh and healthy.
Happy cleaning!