Is your kitchen sink showing signs of a leak? Ignoring even a small drip can lead to big problems like water damage and higher bills.
But finding the exact spot where water is escaping isn’t always easy. Don’t worry—you’re in the right place. This guide will help you quickly spot the leak under your kitchen sink, so you can fix it before it gets worse.
Keep reading, and you’ll learn simple steps that anyone can follow to protect your home and save money.
Credit: www.garvinssewerservice.com
Common Causes Of Kitchen Sink Leaks
Leaks under the kitchen sink are common and often caused by simple issues. These leaks can lead to water damage and mold if not addressed quickly. Understanding the common causes helps spot problems early and fix them effectively.
Worn Out Gaskets
Gaskets create a seal between pipes and fittings. Over time, they dry out or crack. This wear lets water escape slowly, causing leaks. Regular checks can catch worn gaskets before damage starts.
Loose Connections
Connections between pipes may loosen from movement or poor installation. Loose fittings allow water to drip or spray. Tightening these connections often stops leaks fast.
Cracked Pipes
Pipes under the sink can crack due to age or pressure. Even small cracks leak water steadily. Inspect pipes for visible damage or damp spots on surrounding surfaces.
Faulty Faucet
A faucet with broken parts can drip into the cabinet. Faulty seals or valves cause water to escape. Repair or replace the faucet to prevent leaks and water waste.
Signs Of A Leak
Noticing a leak under your kitchen sink early can save you from costly repairs and water damage. Leaks often start small and can go unnoticed until they cause visible problems. Being aware of the signs helps you act quickly and avoid prolonged issues.
Water Stains
Look closely for water stains on the cabinet floor or walls beneath your sink. These stains might appear as dark or discolored patches that weren’t there before. Sometimes, the wood or material feels softer or swollen, signaling moisture damage.
If you spot these stains, don’t ignore them. They often indicate a slow drip or steady leak that can worsen over time.
Musty Odor
A persistent musty smell under your sink is a strong hint that water is accumulating where it shouldn’t. This odor often comes from dampness that promotes bacterial growth. You might not see the leak, but your nose can detect it early.
Ask yourself: Have you noticed any unusual smells after using the sink? This could help pinpoint hidden leaks before they become visible.
Mold Growth
Mold thrives in moist environments, so discovering mold near your kitchen sink is a red flag. Mold patches can appear as black, green, or white spots and usually grow on cabinet surfaces or walls. Besides damaging your home, mold poses health risks.
Don’t wait for mold to spread. Inspect suspicious areas regularly, especially if you’ve noticed water stains or odors. Catching mold early means fixing the leak faster and protecting your living space.
Tools Needed For Repair
Before you dive into fixing a leak under your kitchen sink, having the right tools on hand can make all the difference. These tools not only help you work efficiently but also prevent further damage during repairs.
Imagine trying to tighten a pipe joint with your bare hands. Frustrating, right? The right tools turn a tough job into a manageable one, saving you time and stress.
Wrench
A wrench is essential for loosening and tightening pipe connections. An adjustable wrench works best because it fits various sizes of nuts and bolts under your sink.
Keep in mind, using the right size prevents stripping the nuts, which can complicate the repair. Have one ready before you start, so you’re not searching for it mid-task.
Plumber’s Tape
Also known as Teflon tape, plumber’s tape seals pipe threads to stop leaks. Wrapping it around threaded joints ensures a tight, water-proof fit.
Without it, even a well-tightened connection might drip. Think of plumber’s tape as your insurance policy against future leaks.
Bucket
A bucket is handy for catching any water that drips or spills while you work. It keeps your cabinet dry and prevents water damage to the floor.
Don’t underestimate this simple tool; it helps keep your repair area clean and manageable.
Towels
Towels are useful for wiping up spills and drying the area around the leak. Having a few old towels on hand makes cleanup quicker and keeps the workspace safe.
They also help you spot the exact location of the leak by drying the pipes before you start.
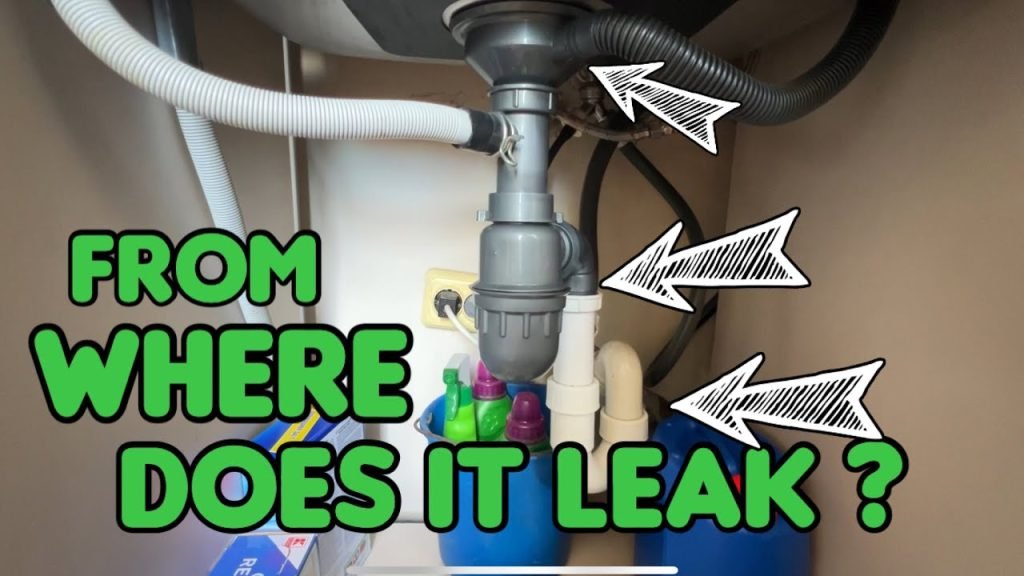
Step-by-step Guide To Finding The Leak
Finding a leak under the kitchen sink needs careful checking. A small drip can cause big water damage. Follow these clear steps to spot the problem fast. Each step focuses on a key area under the sink. This guide helps save time and money by fixing leaks early.
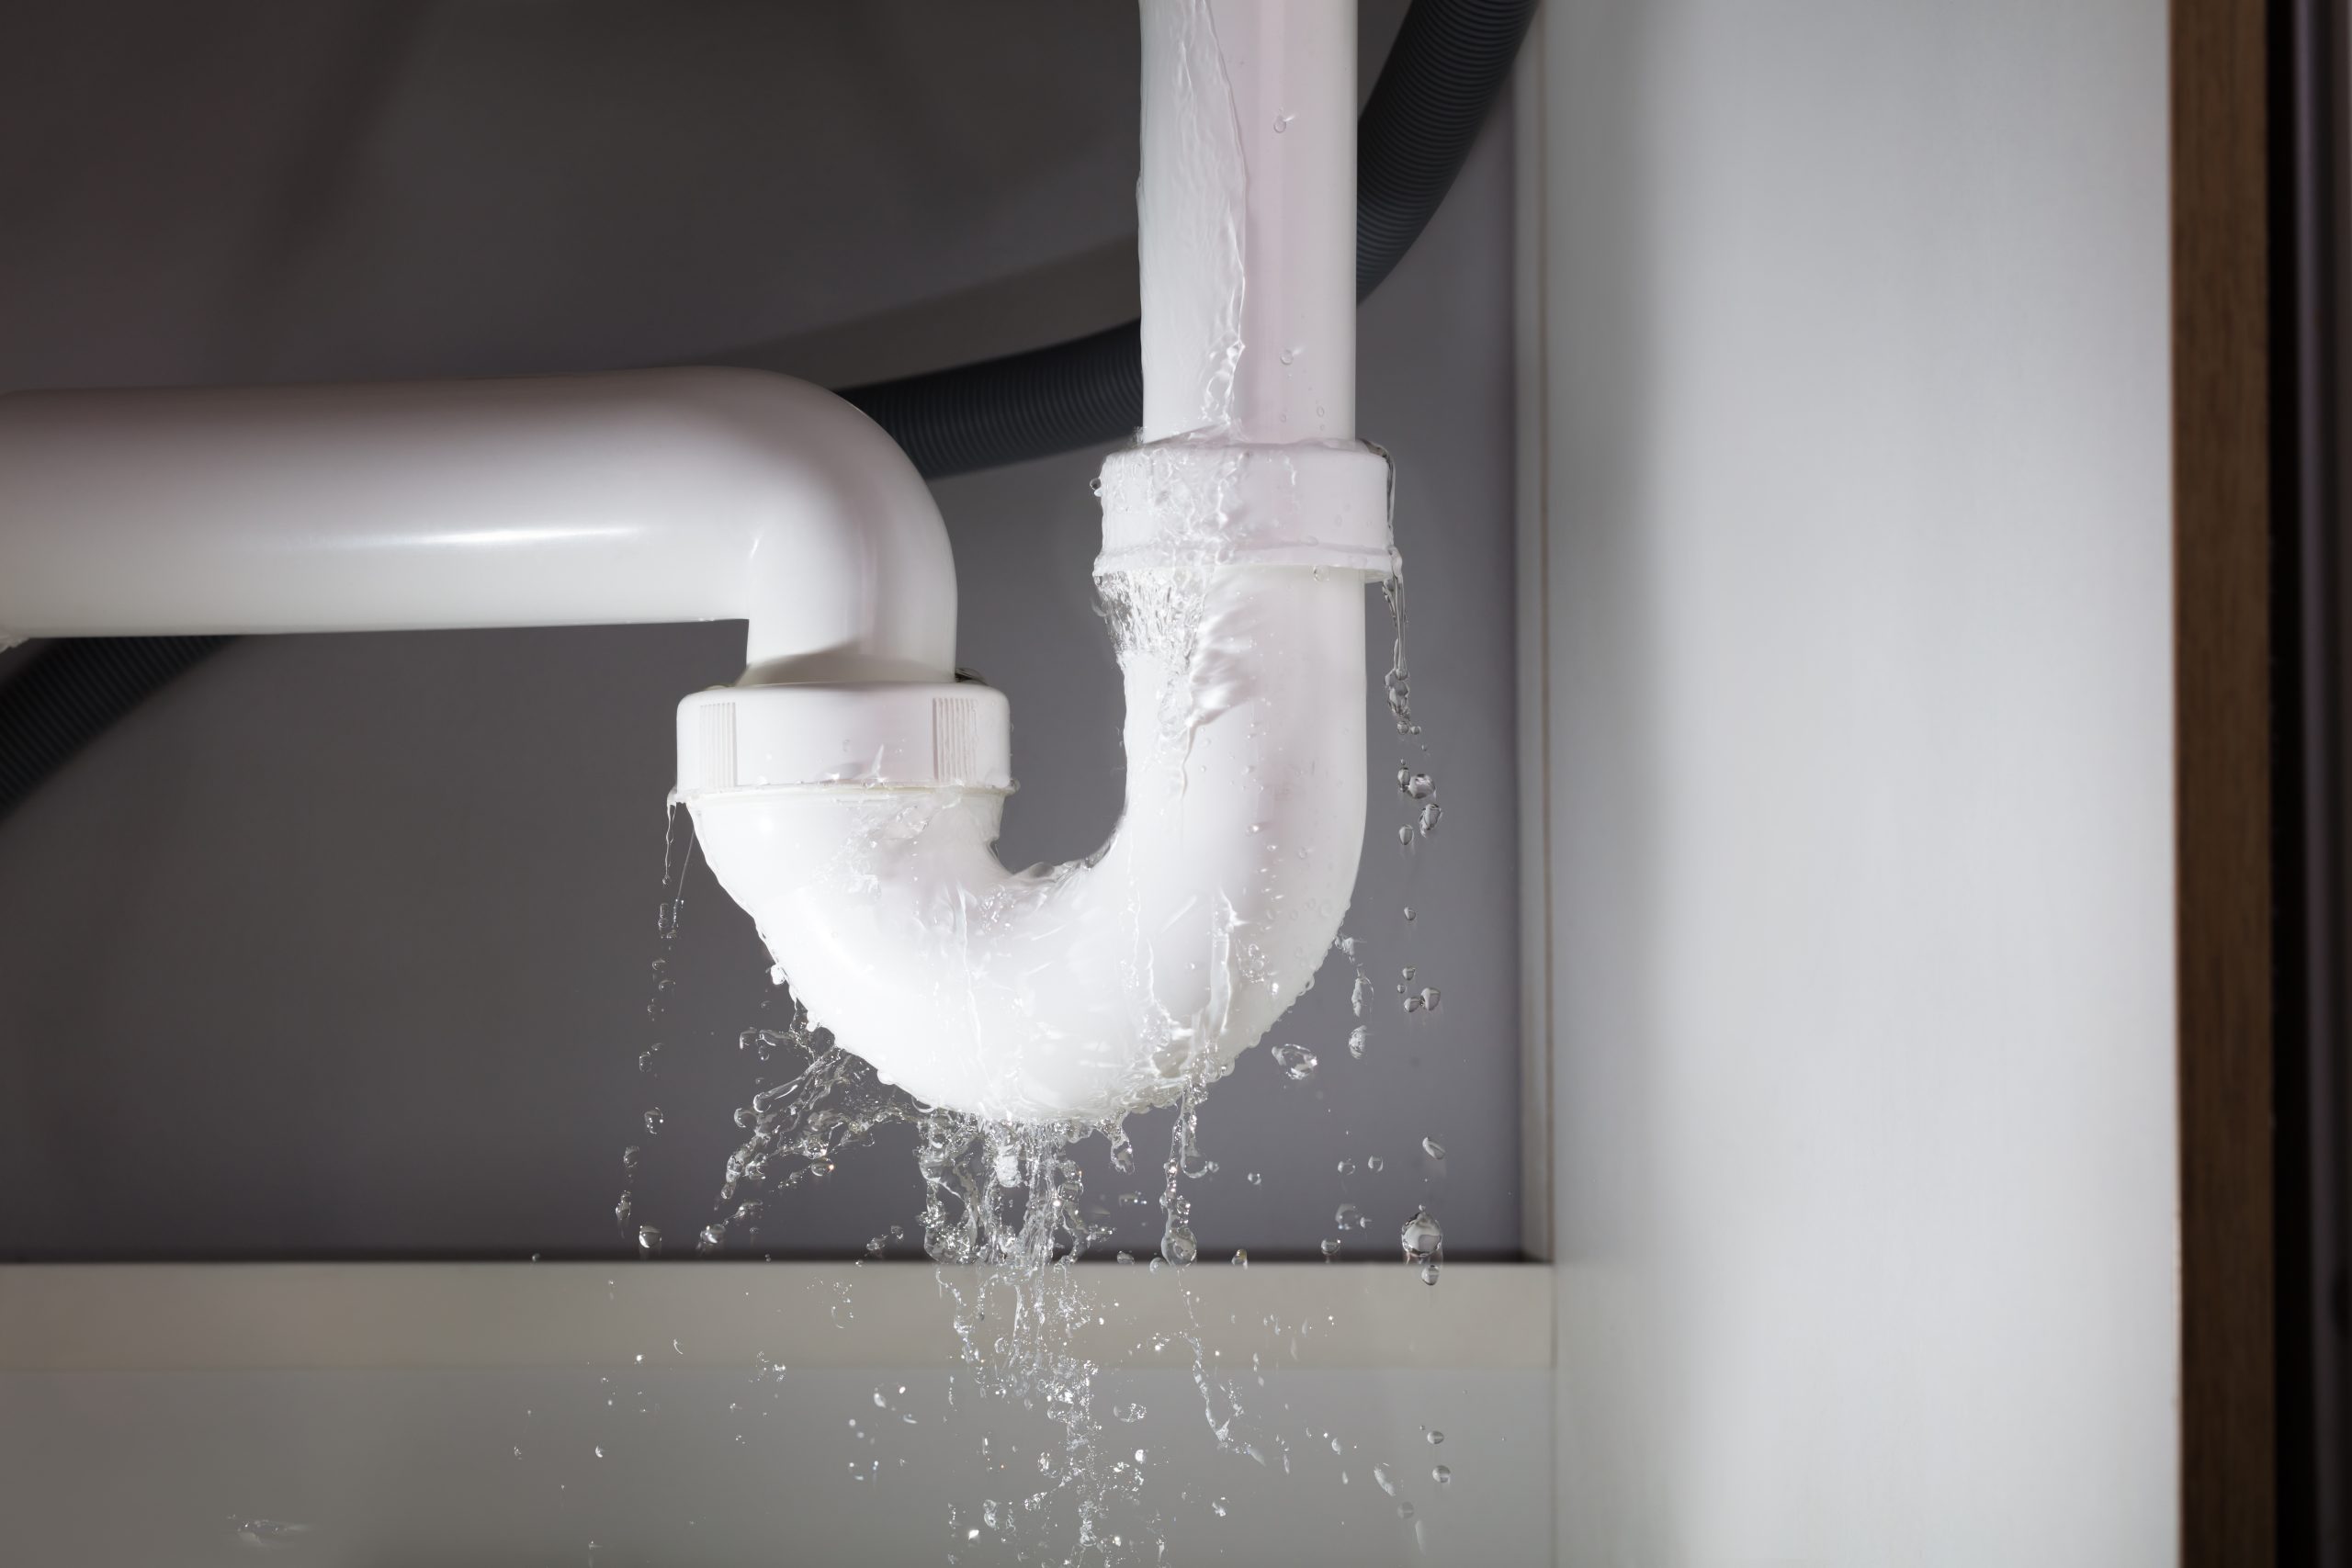
Inspect The Pipes
Look closely at all pipes under the sink. Check for wet spots or water stains. Tap gently on pipes to find loose fittings. Notice any rust or corrosion on metal pipes. Plastic pipes may show cracks or splits. Use a flashlight for better view in dark spaces.
Check The Connections
Examine where pipes join or meet fittings. These areas often cause leaks. Tighten any loose nuts or bolts carefully. Avoid overtightening, which can cause damage. Look for worn-out washers or seals. Replace parts showing signs of wear.
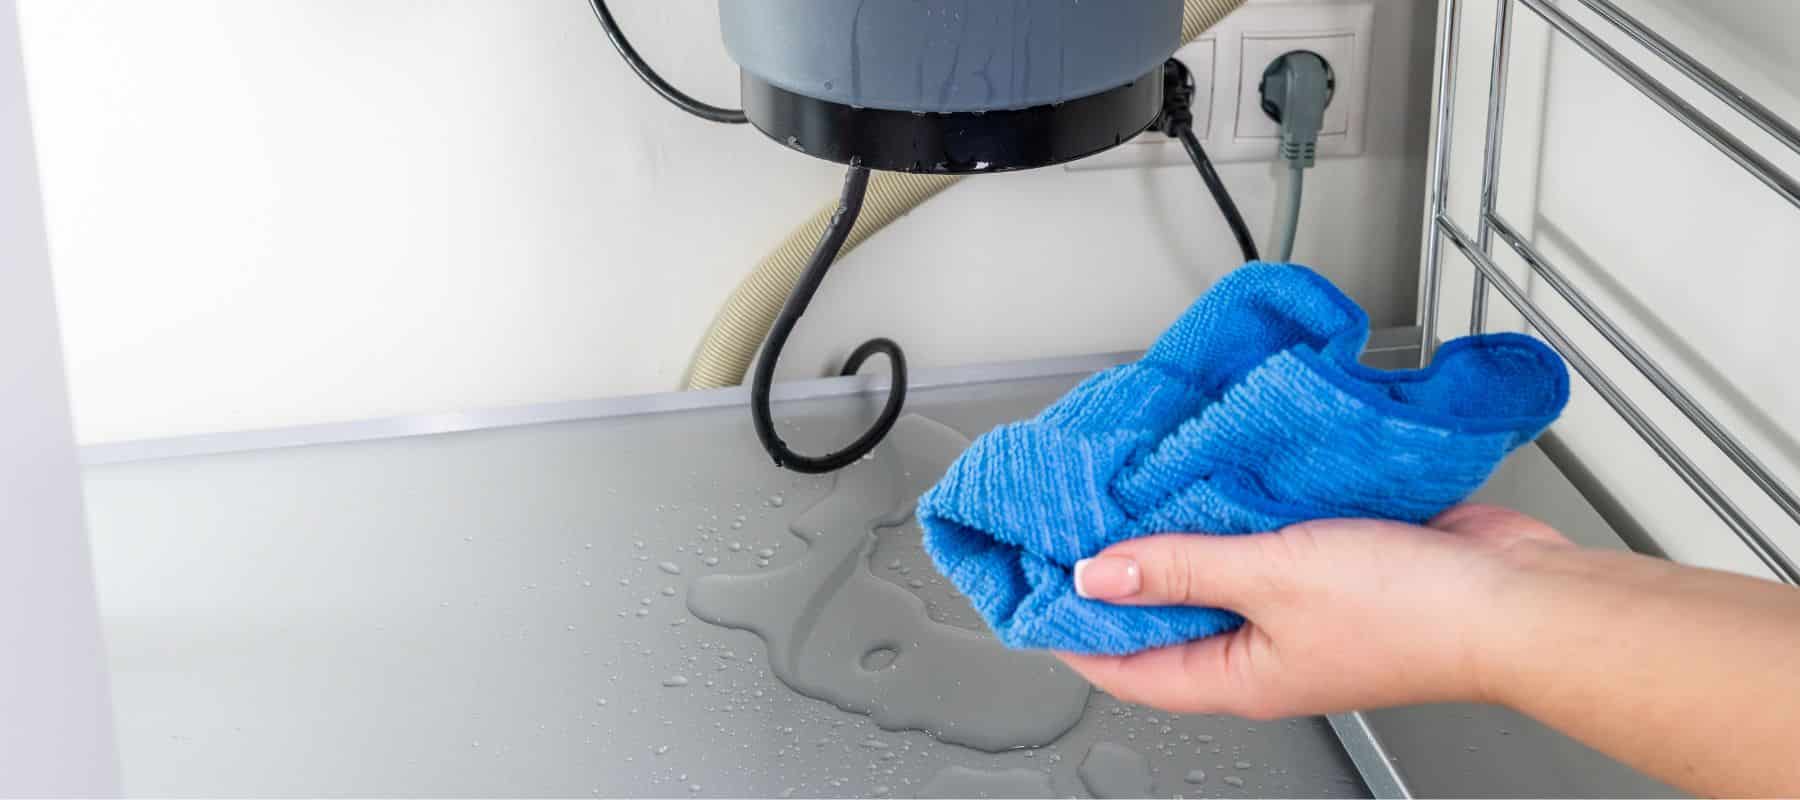
Look Under The Sink
Clear out items stored under the sink. Check the cabinet floor for puddles or dampness. Smell for musty odors that signal hidden leaks. Use paper towels to test wet areas. Watch for water drops while running the faucet. This helps locate slow or hidden leaks.
Quick Fix Tips
Finding a leak under the kitchen sink can feel urgent. Quick fixes help stop water damage fast. These simple steps save time and avoid costly repairs.
Try these quick tips to fix leaks easily at home. Each one targets common leak causes under the sink.
Tighten Loose Connections
Loose pipes often cause leaks under sinks. Use a wrench to tighten connections gently. Avoid overtightening to prevent damage. Check all joints around the drain and water supply lines. Tight connections stop drips and keep water flowing smoothly.
Replace Worn Gaskets
Gaskets seal the joints in plumbing. Over time, they wear out or crack. Remove old gaskets and replace them with new ones. Use rubber or silicone gaskets for a better seal. This fix stops leaks from worn seals quickly and cheaply.
Seal With Plumber’s Tape
Plumber’s tape, also called Teflon tape, wraps pipe threads. It creates a tight, waterproof seal. Wrap tape clockwise around threads before connecting pipes. This helps prevent leaks at joints and fittings. Plumber’s tape is easy to apply and very effective.
Credit: piccfla.com
When To Call A Professional
Knowing when to call a professional plumber can save time and prevent costly damage. Some leaks require expert tools and skills. Ignoring serious issues can make problems worse. Understanding the signs helps decide when to get help.
Persistent Leaks
Leaks that continue despite your efforts need a plumber. Small drips can turn into floods over time. Persistent leaks often hide deeper problems. Professionals can find and fix these hidden issues fast.
Major Water Damage
Water stains, warped cabinets, or mold growth signal major damage. Such damage affects your home’s structure and health. A professional can assess the full impact and make repairs. Quick action prevents further harm and costly repairs.
Complex Plumbing Issues
Unusual noises, low water pressure, or strange smells point to complex problems. These issues need special tools and knowledge to fix. Professionals understand plumbing systems inside and out. They ensure repairs are safe and long-lasting.

Credit: www.comfortspringstation.com
Frequently Asked Questions
How Do I Detect A Leak Under My Kitchen Sink?
Check for water stains, dampness, or puddles beneath the sink. Use a flashlight to inspect pipes and joints closely. Run water to spot drips or moisture accumulation. Early detection prevents damage and costly repairs.
What Tools Help Find Kitchen Sink Leaks Quickly?
Use a flashlight, paper towels, and a bucket to detect leaks. A moisture meter can identify hidden damp spots. Wrenches help tighten loose fittings. These tools make inspection and repair easier and more efficient.
Can I Fix A Kitchen Sink Leak Myself?
Yes, small leaks from loose connections or worn washers can be fixed DIY. Turn off water supply first. Tighten fittings or replace damaged parts carefully. For complex leaks, call a professional plumber to avoid further damage.
What Causes Common Leaks Under Kitchen Sinks?
Leaks often stem from worn-out washers, loose fittings, or cracked pipes. Drain traps and supply lines are frequent leak points. Corrosion or improper installation can also cause leaks. Regular inspection helps catch issues early.
Conclusion
Finding a leak under your kitchen sink is easier than it seems. Check pipes and connections carefully. Small drips can cause big problems over time. Fix leaks quickly to save water and avoid damage. Use simple tools and follow steps calmly.
Don’t ignore any wet spots or smells. Staying alert helps keep your kitchen safe and dry. Regular checks prevent costly repairs later. Take action today for a leak-free sink tomorrow.

Hi, I’m Daniel Harper, a senior editor here at KitchenBucks.com. For over 10 years, I’ve been exploring kitchen gadgets and appliances to help people find tools that truly add value without breaking the bank. I love simplifying product choices so you can focus more on cooking and less on worrying about what to buy. When I’m not reviewing the latest gadgets, you’ll usually find me experimenting with coffee brewing or firing up the grill for a weekend barbecue.