If you’ve ever found yourself battling lingering kitchen odors or dealing with smoke from your cooking adventures, installing an under cabinet range hood might just be the solution you’ve been searching for. Imagine a kitchen where the air is fresh, the ambiance is serene, and your cooking experience is enhanced.
It sounds great, right? That’s exactly what an under cabinet range hood can offer you. But the process of installing one might seem daunting. Fear not! This guide is here to walk you through each step, making the installation process simple and stress-free.
Ready to transform your kitchen? Let’s get started!
Tools And Materials Needed
Installing an under cabinet range hood enhances your kitchen’s functionality. To ensure a smooth installation, gather the right tools and materials. This preparation simplifies the process and minimizes potential issues. Let’s explore what you’ll need for this project.
Tools You’ll Need
You’ll need a drill for secure mounting. A screwdriver set is essential for assembling components. Use a measuring tape for accurate positioning. A pencil helps mark drill points. Safety goggles protect your eyes during work. Having these tools ready saves time.
Materials Required
Purchase the range hood that fits your space. You’ll need screws suitable for your cabinet’s material. A power cord kit may be required if not included. Duct tape helps secure connections. Ensure you have the correct electrical wires. Gather these materials before starting.
Additional Supplies
Consider a stud finder to locate secure mounting points. Level ensures your hood aligns correctly. Wire connectors are vital for safe electrical connections. Have a utility knife handy for cutting ductwork. A flashlight can illuminate dark cabinet spaces. These supplies support an efficient installation.
Preparation And Safety Measures
Installing an under cabinet range hood requires careful preparation. Ensuring safety is crucial for a smooth installation process. This section highlights essential steps to prepare your kitchen and ensure safety during installation. Follow these guidelines to make your range hood installation stress-free and secure.
Gather Necessary Tools
Start by collecting all necessary tools. You will need a screwdriver, drill, and measuring tape. A level and pencil are also useful. Having these tools ready saves time.
Check Electrical Connections
Ensure the electrical connections are safe. Turn off the power supply to the kitchen area. This prevents accidents during installation. Double-check the wiring and outlets for any issues.
Clear The Workspace
Make sure the workspace is clear and organized. Remove items from the kitchen counter. This provides ample space for the range hood installation. Keeping the area tidy helps avoid accidents.
Read Manufacturer Instructions
Carefully read the manufacturer’s instructions. Each range hood model has specific requirements. Understanding these instructions is vital. This ensures proper installation without errors.
Measure Your Space
Measure the space where the range hood will be installed. Accurate measurements prevent installation issues. Ensure the hood fits perfectly under the cabinet.
Wear Protective Gear
Safety gear is essential during installation. Wear goggles and gloves to protect yourself. This minimizes the risk of injury while handling tools.
Plan Ventilation
Plan the ventilation route carefully. Proper ventilation enhances kitchen air quality. Check if the ductwork is clear and unobstructed.
Choosing The Right Range Hood
Installing an under-cabinet range hood enhances kitchen ventilation. Begin by measuring the space to ensure a proper fit. Secure the hood with screws, aligning it with the ductwork for efficient airflow.
Choosing the right range hood for your kitchen can be as exciting as it is essential. This decision impacts both the functionality and aesthetics of your cooking space. A well-chosen range hood not only enhances air quality but also elevates your kitchen’s style. When I was installing a range hood in my kitchen, I realized the importance of researching and matching the hood to my cooking habits and kitchen layout. I learned that choosing the right one can make cooking more enjoyable and keep the air clear.Understanding Your Kitchen Needs
Consider how often you cook and the types of meals you prepare. If you frequently fry or grill, a more powerful range hood might be necessary. Think about the size of your kitchen as well. A small kitchen may require a quieter model, while a larger space might benefit from a hood with a higher CFM (cubic feet per minute).Evaluating Different Types Of Range Hoods
There are several types of range hoods, including wall-mounted, under-cabinet, and island hoods. Each type serves different needs and kitchen layouts. Under-cabinet range hoods are popular for their compact design and ability to blend seamlessly into existing cabinetry. They are ideal if you have limited space above your stove.Considering Style And Design
Your range hood should complement your kitchen’s design. Stainless steel offers a modern look, while copper adds warmth and character. You can also find range hoods with sleek, minimalistic designs or more ornate options to match traditional kitchens. A visually appealing range hood can become a focal point in your kitchen.Checking Noise Levels
Noise levels are crucial, especially if your kitchen is a central hub in your home. A noisy range hood can disrupt conversations or TV time. Look for models with sound ratings in sones; the lower the sone rating, the quieter the hood. Some hoods offer multiple fan speeds, allowing you to adjust the noise level depending on your needs.Setting A Budget
Determine how much you’re willing to spend before shopping. Range hoods vary significantly in price, from affordable models to high-end options with advanced features. Consider what features are most important to you, such as LED lighting, touch controls, or built-in timers. Sometimes, investing a bit more upfront can save money in the long run with energy-efficient models. Have you ever thought about how the right range hood can transform your cooking experience? With these tips, you’re well on your way to making an informed decision that suits both your needs and your kitchen’s style.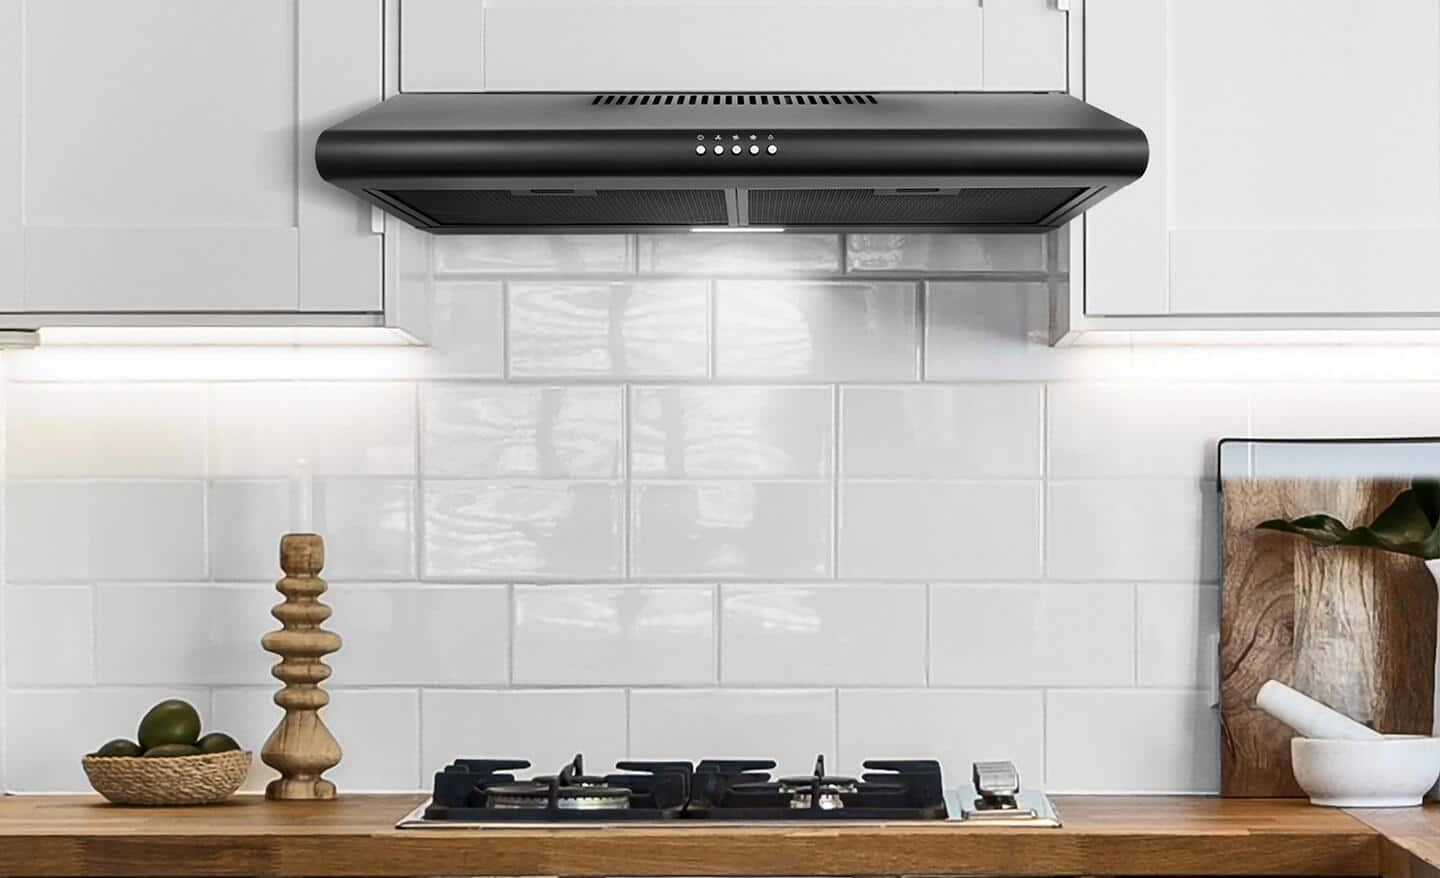
Credit: www.homedepot.com
Measuring And Marking
Installing an under cabinet range hood can seem like a daunting task, but with the right approach, it’s manageable and rewarding. The first critical step in this DIY project is measuring and marking the space where your range hood will be installed. This ensures a seamless fit and effective performance. Whether you’re a seasoned DIY-er or a newbie, accurate measurements and precise markings will set the foundation for a successful installation. You don’t want to be stuck with a hood that’s too big or too small, right? Let’s dive into the details.
Measure The Space
Start by measuring the width of the space above your stove. This will determine the size of the range hood you need. Use a tape measure for accuracy. Measure from one end of the cabinet to the other, ensuring your range hood will fit snugly.
If your cabinets are custom-made or uniquely shaped, take multiple measurements at different points. This helps account for any irregularities or angles.
Consider the height as well. The range hood should be installed at a comfortable height for optimal performance. Too high, and it won’t catch all the steam and smoke; too low, and it might get in your way.
Mark The Installation Points
Once you have your measurements, it’s time to mark the spots where you’ll drill holes or mount brackets. Use a pencil to mark these spots clearly. A washable marker works too.
Double-check these marks before proceeding. Mistakes here can lead to misaligned hoods and a lot of wasted time. Think of it as marking the spot for a treasure chest; you want to be precise.
Consider using a level to ensure your marks are straight and even. This will help avoid any tilted installations.
Check For Obstacles
Before you start drilling, look for any obstacles that might affect installation. Check inside the cabinets for wiring or plumbing that could be in the way.
Consider if you’ll need to reroute anything. Sometimes, a small adjustment can save you a lot of hassle later on. You wouldn’t want a pipe blocking your perfect installation, would you?
Think about the venting route, too. Ensure there’s a clear path for your ductwork. This will guarantee that your range hood operates efficiently.
Accurate measuring and marking are your roadmap to a smooth installation. It’s like drawing a map for a journey; clear directions make the travel easy. Are you ready to take the first step in transforming your kitchen? Let’s get started!
Removing The Old Range Hood
Removing the old range hood is the first step in installing a new one. It’s crucial to ensure safety and efficiency during this process. With some tools and patience, you can remove the old unit with ease.
Preparation
Begin by turning off power to the range hood. Locate the circuit breaker and switch it off. This step prevents electrical accidents during removal. Gather necessary tools like a screwdriver and a flashlight.
Disconnecting Wires
Next, remove the cover of the range hood. Find the wires connected to the unit. Carefully disconnect them using a screwdriver. Note their arrangement for easier installation later.
Unscrewing The Hood
Locate the screws holding the hood in place. Use a screwdriver to remove them. Ensure you support the hood to prevent it from falling. Once unscrewed, gently lower the hood.
Cleaning The Area
Inspect the area where the hood was installed. Clean any dust or grease buildup. A clean space ensures better installation of the new hood. Use a damp cloth for effective cleaning.
Electrical Connections
Installing an under-cabinet range hood begins with secure electrical connections. Ensure the power is off before connecting wires. Follow the hood’s manual for specific instructions, and use wire nuts for a safe fit. Double-check connections for safety before turning the power back on.
Installing a range hood under your cabinet is a task that many DIY enthusiasts can accomplish with a bit of patience and attention to detail. One of the most critical aspects of this installation is making the electrical connections. This part of the process ensures that your range hood functions properly and safely. Understanding how to make these connections can save you from future headaches and potential hazards. Let’s dive into the steps involved in making secure and efficient electrical connections for your new under-cabinet range hood.Prepare Your Tools And Materials
Before you start, gather all necessary tools and materials. You’ll need a screwdriver, wire connectors, electrical tape, and a voltage tester. Having everything ready will make the process smoother and more efficient. Don’t forget to ensure you have the right type of wires for your specific range hood model. This can often be found in the product manual.Ensure Safety First
Safety should be your top priority. Make sure to turn off the power to the circuit you’ll be working on at your home’s breaker box. Use a voltage tester to confirm there’s no electricity running to the wires. This step is crucial to prevent any accidental shocks or injuries.Identify The Wires
Once you’re ready to start, identify the wires you’ll be working with. Typically, you will deal with a black (live), white (neutral), and green or bare (ground) wire. Understanding which wire is which is essential for making correct connections. Check your hood’s manual if there’s any confusion about the wire colors.Connect The Wires
Start by connecting the green or bare wire from the range hood to the ground wire in your home. Twist them together securely and cover with a wire connector. Next, connect the white wire from the hood to the white wire in the wall. Finally, connect the black wire from the hood to the black wire in the wall. Secure all connections with wire connectors and wrap them with electrical tape for added safety.Test The Connection
After making the connections, it’s time to test your work. Turn the power back on at the breaker box. Switch on the range hood to see if it powers up correctly. If it doesn’t, double-check your connections to ensure they are secure and correctly matched.Secure The Wiring
Once you confirm everything works, it’s important to secure the wiring. Tuck the wires neatly into the designated compartment of your range hood. This prevents any loose wires from causing issues or getting damaged over time. A tidy setup also makes future maintenance easier.Reflect On The Process
Take a moment to reflect on your installation. Was it easier or harder than expected? What did you learn that could help in future projects? Understanding your experience helps build confidence for tackling other home improvement tasks. Have you ever faced a challenge with electrical connections in your home? Your experience could provide valuable insights for others embarking on similar projects.Mounting The Range Hood
Installing an under cabinet range hood enhances kitchen ventilation. Begin by measuring and marking the placement under the cabinet. Secure the hood with screws, ensuring it’s level and aligned properly.
Mounting the range hood is a pivotal step in setting up your kitchen for better ventilation. This process might seem daunting at first, but with the right tools and a little patience, it can be a straightforward task. Whether you are a DIY enthusiast or a first-timer, understanding the steps involved in mounting a range hood will make the installation process smoother and more efficient.Gather Your Tools And Materials
Before you start, ensure you have all necessary tools and materials at hand. You’ll need a measuring tape, a drill, screws, a screwdriver, and a level. It’s also helpful to have a friend assist you. An extra set of hands can make the job easier and safer. Having everything ready will help you avoid unnecessary trips to the store and keep the momentum going.Measure And Mark The Installation Area
Accurate measurements are crucial. Measure the space between the cabinets where the range hood will be installed. Make sure it aligns with the stove or cooktop below. Mark the spots where you’ll drill holes for mounting brackets. Double-check these measurements to avoid drilling mistakes. Precise markings ensure a secure and balanced installation.Install The Mounting Brackets
With your markings in place, start drilling. Drill holes at the marked spots to fit the mounting brackets. Secure the brackets tightly using screws. They must hold the weight of the range hood, so ensure they are firmly attached. Test the brackets by giving them a slight tug to confirm they are stable.Attach The Range Hood
Lift the range hood into position, aligning it with the mounting brackets. It’s here that having a helper really pays off. Carefully attach the hood to the brackets and secure it with screws. Make sure it’s level. An unbalanced range hood can cause operational issues and reduce its lifespan.Connect The Ductwork And Power
Once mounted, connect the ductwork. This step is essential for effective ventilation. Ensure all connections are tight to prevent air leaks. Finally, plug in the range hood or connect it to the power source. Test the fan and light to ensure everything works properly. If something isn’t right, it’s better to fix it now rather than later. Mounting a range hood might challenge you, but it’s rewarding to see your kitchen transform. Have you ever tackled a home project that seemed intimidating at first but turned out to be simpler than expected? Share your experiences and tips in the comments below!Ventilation Setup
Setting up ventilation is key when installing an under cabinet range hood. Proper ventilation ensures your kitchen stays fresh and free from smoke or odors. This section will guide you through the ventilation setup process step by step.
Choosing The Right Ventilation Type
First, decide on the type of ventilation. There are ducted and ductless options. Ducted systems vent air outside. Ductless systems use filters to clean the air. Choose based on your kitchen layout and preferences.
Preparing The Ventilation Pathway
Measure the distance from the hood to the vent exit. Make sure the pathway is clear of obstacles. For ducted systems, check if ducts can be installed through walls or ceilings. Ensure there is enough space for the ductwork.
Installing Ductwork For Ducted Systems
If using ducted ventilation, install the ducts carefully. Use metal ducts for durability. Secure them with screws and seal joints with metal tape. Keep the ducts as straight as possible for efficient airflow.
Setting Up A Ductless System
Ductless systems require charcoal or carbon filters. Install the filters inside the hood. Change filters regularly for optimal performance. This setup recirculates air, removing smoke and odors efficiently.
Testing The Ventilation System
Once installed, test the ventilation system. Turn on the range hood and check for proper airflow. Ensure there are no leaks in ductwork. For ductless, verify filters are removing odors effectively.
Securing The Hood
Installing an under cabinet range hood enhances kitchen ventilation. Start by measuring the space, ensuring proper fit. Attach the hood securely, following manufacturer instructions for optimal performance.
Installing an under cabinet range hood can transform your kitchen space, enhancing both functionality and aesthetics. However, securing the hood properly is crucial to ensure its efficiency and safety. This step might seem straightforward, but doing it right makes all the difference in stability and performance.Preparing Your Workspace
Before you start, clear your workspace. Remove any items from the countertop beneath the cabinet where the hood will be installed. Make sure you have easy access to the tools and materials needed. This might include a screwdriver, drill, level, and measuring tape. A clutter-free area not only speeds up your installation but also prevents potential hazards.Positioning The Hood
Carefully lift the range hood into place. It’s vital that you hold it steady and ensure the duct aligns perfectly with the opening above. Use a level to check that the hood is horizontally straight. A slight tilt can affect the hood’s performance, leading to inefficient smoke and odor removal. Have a friend assist you if the hood is too heavy to handle alone.Securing With Screws
Once positioned, secure the hood with screws through the pre-drilled holes in the cabinet. Ensure these screws are tight enough to hold the hood firmly, but avoid over-tightening as this may damage the cabinet or the hood itself. If you’re uncertain about the tightness, a good rule of thumb is to stop once you feel resistance.Testing Stability
Test the stability by gently shaking the hood. If it moves, you might need to adjust the screws or reposition the hood. A stable range hood should feel solid and unmoving. Consider how often you might be using the hood and the importance of it not rattling or becoming loose over time.Checking The Alignment
Finally, double-check the alignment. Is the hood parallel to the cabinetry? A misaligned hood can lead to uneven ventilation and affect the overall look of your kitchen. Correct any misalignment by adjusting the screws or repositioning the hood. Securing your under cabinet range hood effectively is a step that demands precision and care. Have you ever installed one and found it wasn’t quite right the first time? Addressing minor details now can save you from headaches later. Your kitchen deserves a hood that not only works flawlessly but also complements your space beautifully.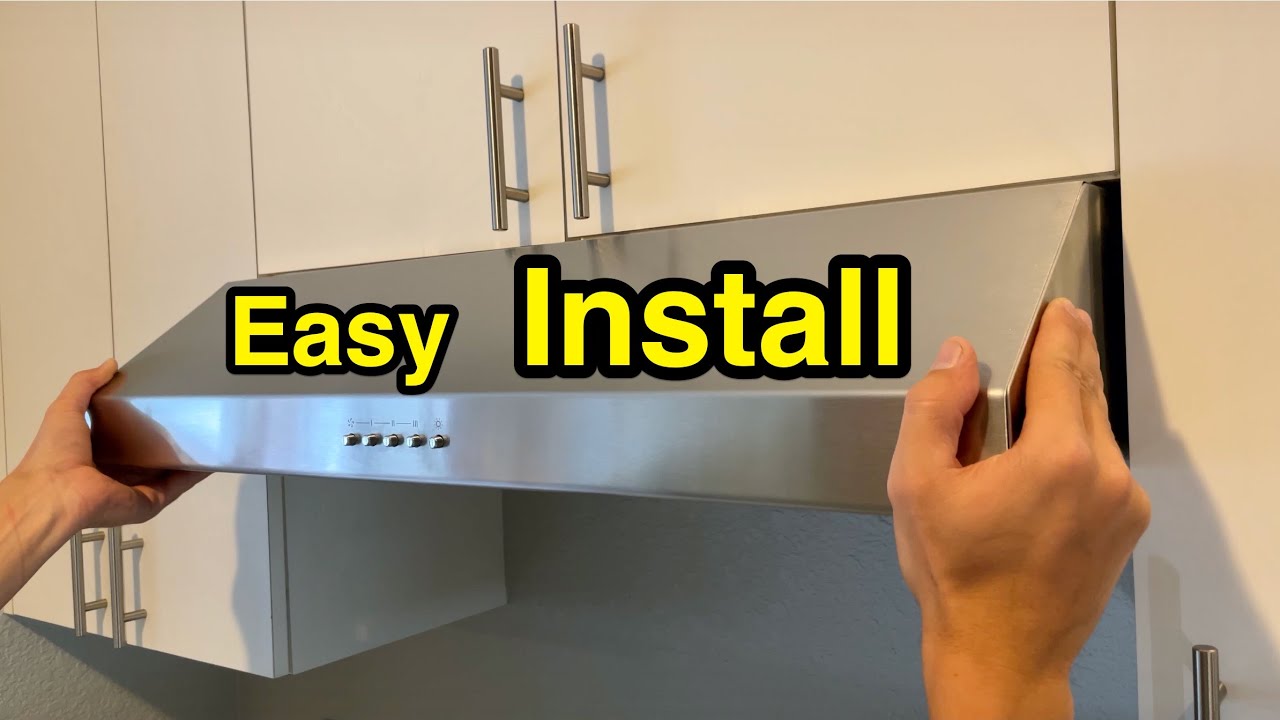
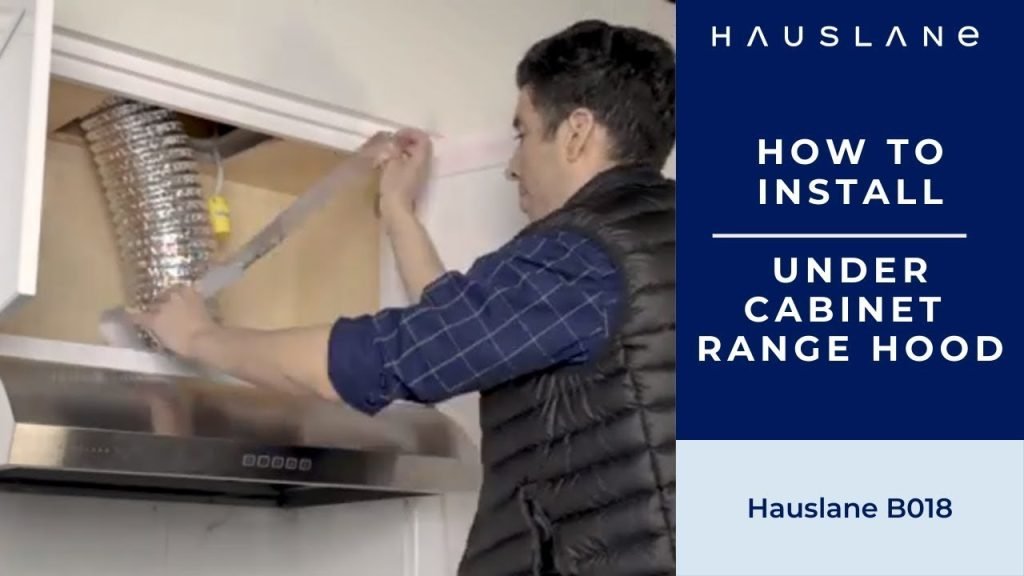
Credit: www.youtube.com
Testing And Final Adjustments
Testing and final adjustments ensure your under cabinet range hood works perfectly. Check for proper ventilation and secure fitting. Adjust settings for optimal performance and noise reduction.
Installing an under cabinet range hood is a rewarding DIY project. Once you’ve mounted it and connected all the wiring, it’s crucial to ensure everything works perfectly. Testing and making final adjustments guarantee your range hood functions efficiently, providing a safer and more pleasant cooking environment.Testing The Range Hood’s Functionality
Start by turning on the range hood to check if the fan and lights are operational. If they don’t turn on, double-check your electrical connections. Listen to the fan as it runs. Is it making any unusual noises, or is it quieter than expected? These could be signs of a loose part or improper installation.Checking Ventilation Efficiency
Hold a piece of lightweight paper or a tissue near the vent to see if it’s drawing air effectively. If the paper doesn’t stick or move towards the vent, you might need to inspect the ductwork for blockages or leaks. Consider if the air is being vented outside adequately. Feel the airflow at the exhaust point to ensure it’s strong and unobstructed.Adjusting Fan Speeds
Test the range hood at various fan speeds. Does each setting work as expected? If not, you may need to revisit the control panel wiring. Think about how often you cook. You might prefer a quieter setting for everyday use and a higher speed for heavy-duty cooking.Ensuring Proper Lighting
Switch on the lights and observe their brightness. Are they illuminating your cooktop evenly? If the lighting is insufficient, check if the bulbs need repositioning or replacement. Reflect on your kitchen’s ambiance. A well-lit cooking area can enhance your cooking experience and make it more enjoyable.Inspecting For Vibrations
When the fan runs, feel for any vibrations or rattling. These could indicate loose screws or an unstable mount. Consider adding rubber gaskets or pads to minimize vibrations and ensure a quieter operation. This small tweak can make a significant difference.Final Touches And Clean-up
Once satisfied with the range hood’s performance, remove any protective film or stickers. Clean the surface to remove fingerprints or dust that may have accumulated during installation. Think about your next cooking session. A spotless and well-functioning range hood sets the stage for a delightful culinary adventure. Installing and adjusting an under cabinet range hood might seem daunting, but once you complete these final steps, you’ll feel accomplished and ready to enjoy your improved kitchen setup. How did your installation process go? Share your experience or any additional tips in the comments below!
Credit: hauslane.com
Frequently Asked Questions
Do Under-cabinet Range Hoods Need To Be Vented?
Under-cabinet range hoods can be vented or non-vented. Vented hoods expel air outside, improving kitchen air quality. Non-vented hoods recirculate air using filters. Choose based on kitchen layout and personal preference.
Can I Install A Range Hood Myself?
Yes, you can install a range hood yourself with proper tools and instructions. Ensure electrical safety and follow manufacturer guidelines. If unsure, consulting a professional is recommended to avoid installation errors. Proper installation enhances kitchen ventilation and prevents damage or safety issues.
Always prioritize personal safety during installation.
How Much Does It Cost To Install An Under-cabinet Range Hood?
Installing an under-cabinet range hood typically costs between $200 and $600. Prices depend on brand and features. Labor costs range from $150 to $250. Additional charges may apply for electrical work or duct installation. Always compare quotes from professionals to get the best deal.
Do Rangehoods Have To Be Vented Outside?
Rangehoods don’t always need to vent outside. Ductless rangehoods filter air and recirculate it inside. Venting outside is ideal for better air quality, but not mandatory.
Conclusion
Installing an under-cabinet range hood can be straightforward. Follow these easy steps. Ensure proper measurements for a snug fit. Secure the hood to avoid any wobble. Connect the venting and power carefully. Check everything works before closing up. A well-installed range hood improves kitchen air quality.
It keeps smoke and odors at bay. This DIY project saves you money. Plus, you gain useful home improvement skills. Enjoy a cleaner and fresher kitchen space. Happy cooking!