Imagine transforming your everyday drill into a powerful cleaning tool with just a simple DIY project. If you’re tired of scrubbing stubborn stains and grime with minimal results, you’re in the right place.
Creating a scrub brush attachment for your drill can revolutionize your cleaning routine, making it faster and more efficient. This guide will walk you through the easy steps to craft your own drill scrub brush, saving you both time and money.
You’ll discover how this clever hack can tackle dirt in places that often seem impossible to clean. By the end, your surfaces will gleam, and you’ll wonder how you ever cleaned without it. Curious to know how it’s done? Read on to unlock the secret to effortless cleaning.
Materials Needed
Gather a drill, a scrub brush, a bolt, a nut, and a washer. These simple items create an effective cleaning tool.
To make a scrub brush for your drill, you need the right materials. These supplies are easy to find. They make the process simple and effective.Gathering Supplies
Start with a trip to your local hardware store. You’ll need a few basic items. These include a drill, a brush head, and a bolt. The drill should be cordless for easy movement. The brush head should be sturdy and durable. Look for one designed for scrubbing tasks. You will also need a nut and washer. These help secure the brush to the drill.Choosing The Right Brush
Pick a brush suitable for your cleaning task. Nylon bristles are great for general cleaning. They are gentle yet effective on most surfaces. For tougher grime, consider a brush with stiffer bristles. These handle tougher jobs without damaging surfaces. Always match the brush type to the surface you plan to clean. This ensures the best results and avoids damage.Preparing The Brush
Preparing the brush for your drill is an essential part of the process. This ensures efficiency and effectiveness in your cleaning tasks. With a few simple steps, you can transform a regular brush into a powerful cleaning tool.
Cutting The Bristles
Begin by selecting a brush with sturdy bristles. Use scissors to trim them to the desired length. Shorter bristles offer more scrubbing power. This makes them perfect for tough stains and grime. Ensure the bristles are evenly cut. Uneven bristles can affect the cleaning performance.
Securing The Brush Base
Choose a durable base for your brush. The base should fit comfortably in the drill. Attach the brush securely to the base. A strong adhesive or screws can be used. This prevents the brush from slipping while in use. Check the attachment to ensure stability. A stable brush delivers better results and lasts longer.
Attaching To The Drill
Secure the scrub brush onto the drill using a compatible drill attachment. Ensure it’s tightly fastened for effective cleaning. Adjust the drill speed based on the surface type.
Attaching a scrub brush to a drill can transform your cleaning routine. It makes tasks faster and more efficient. This guide explains the process of attaching a scrub brush to your drill.Drill Compatibility
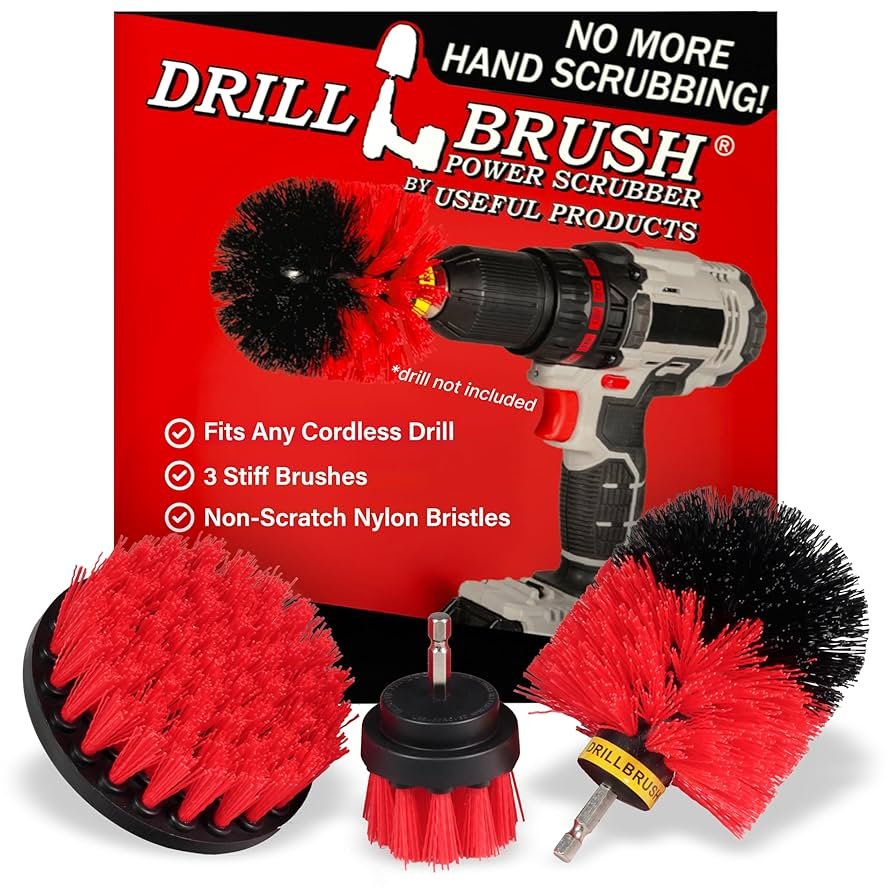
Ensure your drill is compatible with the scrub brush attachment. Most standard drills work well. Check the drill’s chuck size. It should match the brush’s shank diameter. Typically, a 3/8-inch chuck fits most brush attachments.Connecting The Brush
Connecting the brush is simple. First, ensure the drill is off. This prevents accidental activation. Open the drill chuck by rotating it counterclockwise. Insert the brush shank into the chuck. Tighten the chuck by rotating it clockwise. Ensure the brush is secure. Test by gently pulling on the brush. Ensure it’s firmly attached. Your brush is now ready to use.
Credit: www.amazon.com
Safety Precautions
Ensure safety goggles and gloves are worn to protect from debris. Secure the drill with a stable grip. Work in a well-lit area to avoid mishaps.
Safety Precautions are crucial when making a scrub brush for a drill. Understanding the risks involved is important for ensuring a safe experience. Following simple guidelines can prevent accidents and injuries. Below are key aspects to consider for safety.Protective Gear
Wearing the right protective gear is essential. Always use safety goggles to shield your eyes from debris. Gloves can protect your hands from sharp edges or unexpected movements. Ear protection may be necessary, as drills can be loud.Safe Operating Practices
Ensure the drill is turned off before attaching the scrub brush. Double-check that the brush is securely attached to avoid accidents. Keep loose clothing and hair away from the drill to prevent entanglement. Maintain a firm grip on the drill for better control during use.Using The Scrub Brush
Using a scrub brush attached to a drill can make cleaning easier. This tool spins rapidly, removing dirt and grime effectively. It saves time and effort, leaving surfaces spotless.
Effective Cleaning Techniques
Begin by lightly pressing the brush onto the surface. Use circular motions to ensure thorough cleaning. Apply consistent pressure to avoid scratches. Rinse the area frequently to prevent buildup. Adjust the drill speed for delicate surfaces. A gentle speed is ideal for sensitive areas.
Types Of Surfaces
This brush works on various surfaces. It cleans tiles, removing stubborn stains. It scrubs grout lines, restoring their original color. Wooden decks benefit from gentle brushing. It freshens outdoor furniture quickly. Avoid using on surfaces prone to scratches. Always test on a small area first.
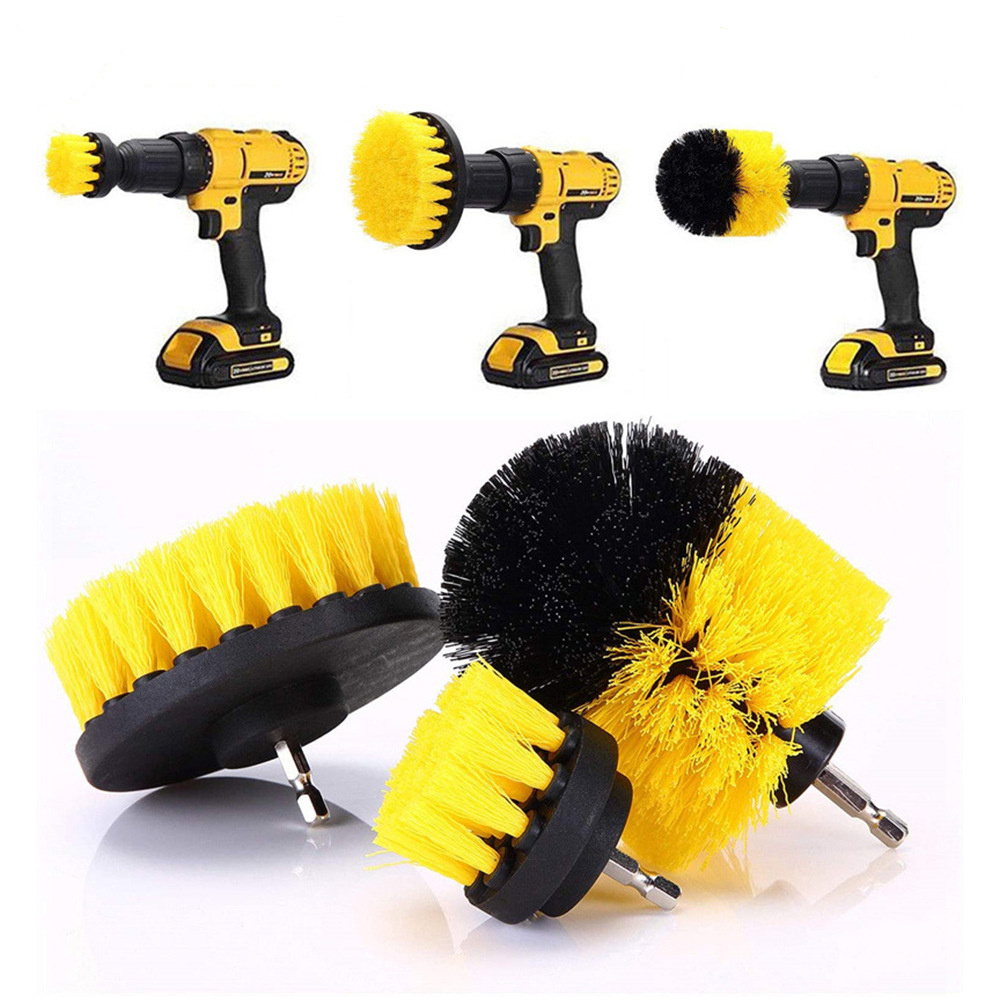
Credit: theraleighbeergarden.com
Maintenance Tips
Create a scrub brush for your drill using a bottle cap and durable bristles. Attach the cap securely to the drill bit. This DIY tool saves time and effort when cleaning surfaces.
Maintaining your DIY scrub brush for a drill is essential for longevity. Proper care ensures your brush remains effective and safe to use. Follow these maintenance tips to keep your brush in top condition.Cleaning The Brush
Regular cleaning of the brush is crucial. After every use, rinse the brush bristles under warm water. This removes dirt and debris. Use mild soap if needed for stubborn grime. Avoid harsh chemicals that can damage the bristles. Use a comb to gently remove trapped particles. This prevents buildup and keeps the brush effective. Allow the brush to air dry completely. Moisture can cause bristle damage over time.Storing Properly
Proper storage extends your brush’s life. Store the brush in a dry, cool place. Avoid areas with high humidity. Hang the brush by its handle if possible. This prevents bristle deformation. Avoid placing heavy objects on the brush. Pressure can bend or break the bristles. Use a storage bag for added protection from dust. Ensure the brush is completely dry before storing.
Credit: www.amazon.com
Frequently Asked Questions
How Are Scrub Brushes Made?
Scrub brushes are made by attaching bristles to a handle, often using synthetic or natural materials. Manufacturers mold or cut handles from wood, plastic, or metal. Bristles are secured with glue, staples, or wires. The brushes undergo quality checks to ensure durability and efficiency before packaging and distribution.
How To Add Brush To Drill?
Attach the brush to the drill’s chuck. Ensure it fits securely by tightening the chuck with the key. Check for stability. Choose the appropriate speed setting on the drill. Test the attachment by running the drill briefly. Always wear protective gear during use for safety.
What Are Drill Brushes Made Of?
Drill brushes are made of durable nylon bristles. These bristles effectively clean surfaces without scratching. The brush base is usually crafted from high-quality plastic or rubber. This combination ensures longevity and efficient cleaning performance.
What Is Used To Make A Brush For Scrubbing Vessels?
Scrubbing brushes for vessels are often made with durable bristles like nylon or polypropylene. These materials effectively remove residue and are easy to clean. Handles are typically made from plastic or wood, providing comfortable grip and durability. Choose brushes designed specifically for kitchen use for optimal performance.
Conclusion
Creating a scrub brush for your drill is simple and effective. This DIY tool saves time and energy during cleaning tasks. With basic materials, you can enhance your drill’s capabilities. Enjoy the ease of scrubbing without tiring your hands. It’s a handy solution for stubborn dirt and grime.
Perfect for busy individuals seeking quick cleaning methods. Plus, crafting it yourself adds a sense of accomplishment. Try making one today and see the difference. Your drill will become your new cleaning ally. Cleaner spaces await with this homemade tool!

Hi, I’m Daniel Harper, a senior editor here at KitchenBucks.com. For over 10 years, I’ve been exploring kitchen gadgets and appliances to help people find tools that truly add value without breaking the bank. I love simplifying product choices so you can focus more on cooking and less on worrying about what to buy. When I’m not reviewing the latest gadgets, you’ll usually find me experimenting with coffee brewing or firing up the grill for a weekend barbecue.