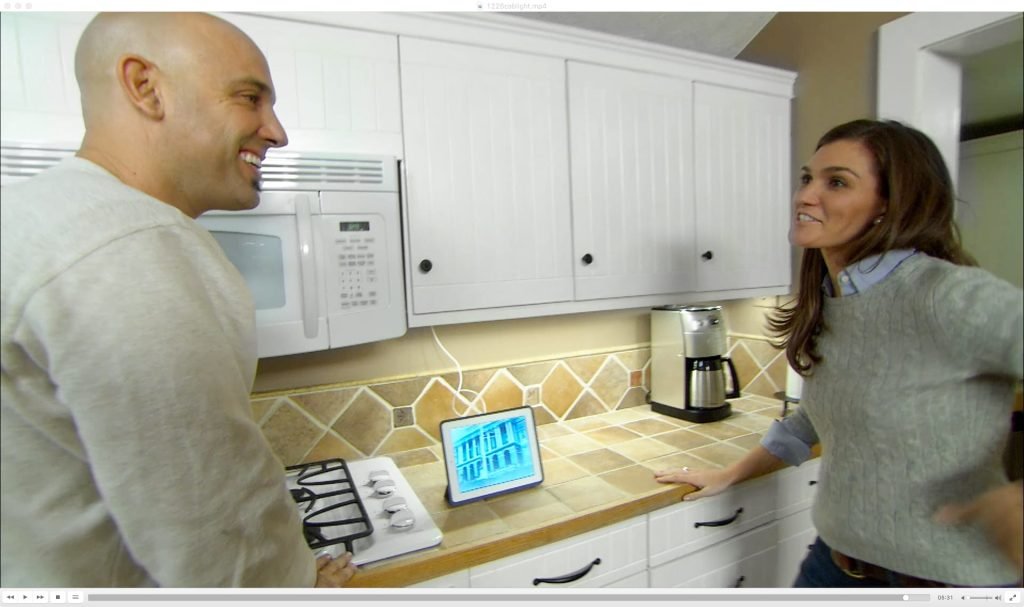
Imagine transforming your kitchen into a brighter, more inviting space with just a simple upgrade. Installing lights under your kitchen cabinets can do exactly that — making your countertops glow, highlighting your cooking area, and adding a touch of style.
If you’ve ever struggled with shadows while chopping or wished for a cozy ambiance during evening meals, this guide is for you. Keep reading to discover how easy it is to install these lights yourself and why this small change can make a big difference in your daily kitchen experience.
Benefits Of Under-cabinet Lighting
Under-cabinet lighting offers several practical and visual benefits for any kitchen. It creates a well-lit workspace and adds charm to the room. Installing these lights improves kitchen functionality and style without major renovations.
Enhanced Visibility
Under-cabinet lights brighten countertops directly. They reduce shadows that overhead lights cause. This makes food prep and cooking safer and easier. Clear visibility helps with chopping, measuring, and reading recipes. It also improves cleaning by highlighting spills and crumbs.
Aesthetic Appeal
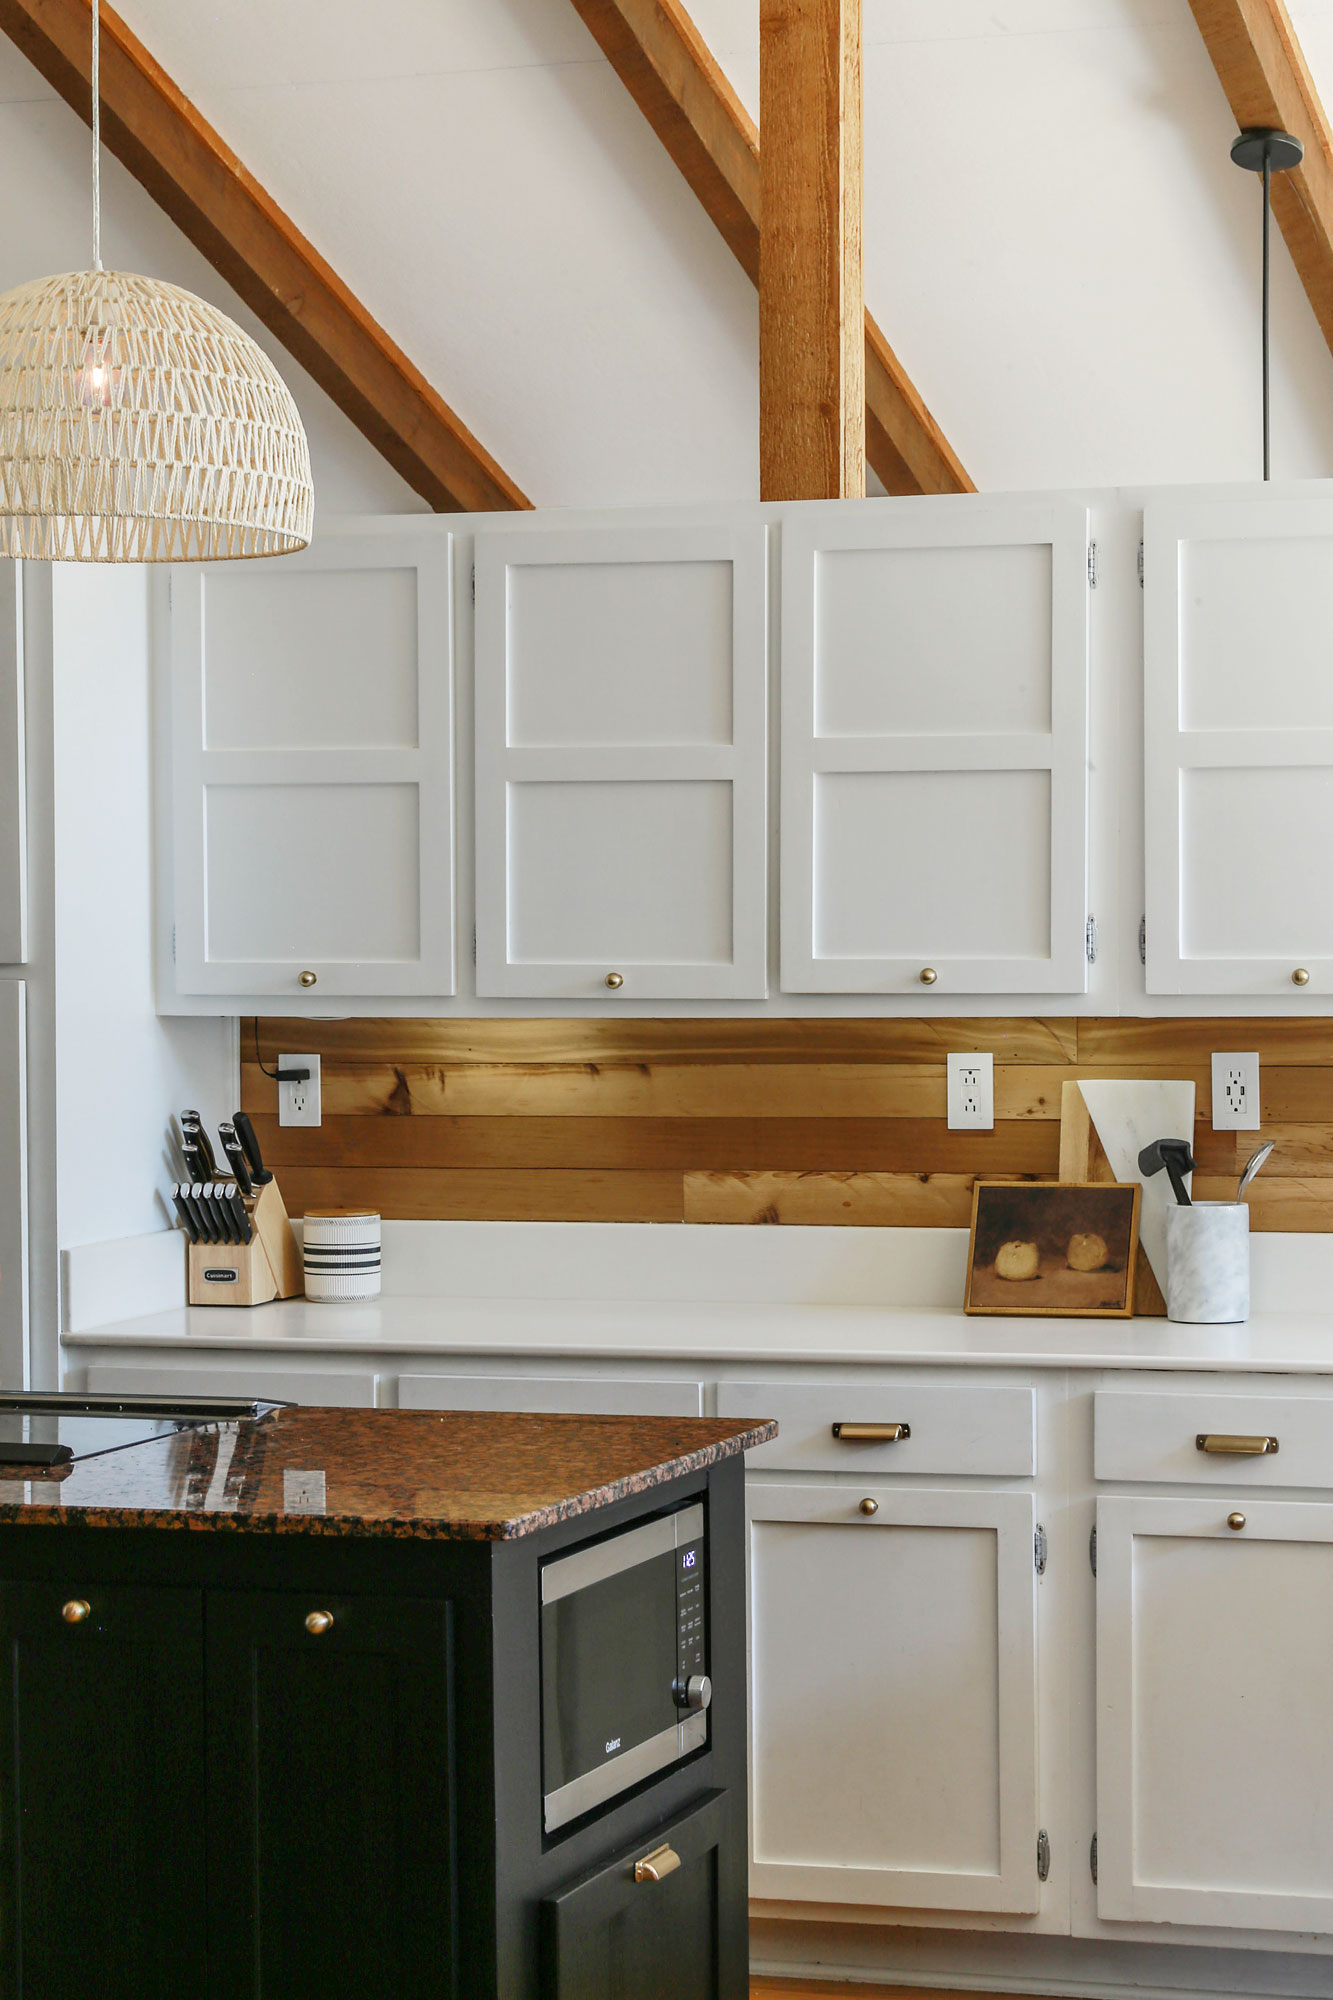
These lights add a warm, inviting glow to the kitchen. They highlight backsplashes, countertops, and decor. Soft lighting creates a cozy atmosphere for meals and gatherings. You can choose different colors or brightness levels to match your style. Under-cabinet lighting makes the kitchen look modern and polished.
Energy Efficiency
LED under-cabinet lights use less electricity than overhead bulbs. They provide focused light without wasting energy on unused areas. Many models have dimmers or motion sensors to save power. Long-lasting LEDs reduce the need for frequent replacements. This helps lower your electricity bills and carbon footprint.
Types Of Under-cabinet Lights
Choosing the right under-cabinet lighting enhances kitchen function and style. Various types suit different needs, budgets, and installation skills. This guide covers popular options to help you decide.
Led Strip Lights
LED strip lights are thin, flexible, and easy to install. They provide even, bright light across countertops. These lights save energy and last a long time. You can cut strips to fit specific lengths. Many come with dimmers for adjustable brightness.
Puck Lights
Puck lights are small, round fixtures that create focused light spots. They work well for task lighting and highlighting certain areas. You can mount them under cabinets or inside shelves. Battery-operated or hardwired options are available. Puck lights offer a classic look and strong illumination.
Rope Lights
Rope lights consist of small bulbs inside a flexible tube. They are softer and less intense than LEDs or puck lights. Rope lights add a warm, decorative glow to kitchens. They are easy to bend around corners or awkward spaces. Installation is simple, and they often come with adhesive backing.
Fluorescent Lights
Fluorescent lights provide bright, cool light for clear visibility. They are energy-efficient and last longer than older bulbs. These fixtures usually come in tube form and require more space. Fluorescent lights can be a budget-friendly choice. They often need professional installation due to wiring requirements.
Choosing The Right Lighting
Choosing the right lighting for under your kitchen cabinets can transform your cooking space. It’s not just about adding light; it’s about selecting the perfect brightness, color, and controls to suit your daily needs. The right choice makes your kitchen feel more inviting and functional.
Brightness And Color Temperature
Brightness affects how well you can see your workspace. Look for lights that provide enough illumination without causing glare or harsh shadows. A range between 300 to 500 lumens per foot usually works well for kitchen tasks.
Color temperature influences the mood and clarity. Cooler lights around 4000K give a bright, clean look that helps with food prep, while warmer lights near 2700K create a cozy atmosphere. Think about whether you want your kitchen to feel lively or relaxed during use.
Wattage And Energy Use
Choosing lights with the right wattage helps balance brightness and power consumption. LED lights are a smart pick because they use less energy and last longer than traditional bulbs. For example, a 5-7 watt LED strip can replace a much higher wattage incandescent bulb while still lighting your countertop well.
Consider your electricity bill as well. Lower wattage means you save money over time, especially if you use your under-cabinet lighting daily. Would you rather pay more upfront or keep your energy costs low?
Dimmable Options
Adding dimmable lights gives you control over brightness throughout the day. You can brighten the space for cooking and dim it for a soft glow during dinner or late-night snacks. Many LED under-cabinet lights come with built-in dimmers or are compatible with external dimmer switches.
Think about how often you’ll need to adjust the light. Do you want a simple on/off setup, or do you prefer the flexibility to change the mood with a dimmer? This choice can make a big difference in how you use your kitchen space.
Credit: designingvibes.com
Tools And Materials Needed
Installing lights under your kitchen cabinets can transform the space instantly, making it brighter and more inviting. To get it right, you need the proper tools and materials on hand. Having everything ready before you start saves time and reduces frustration.
Lighting Fixtures
Your choice of lighting fixtures sets the tone for your kitchen ambiance. LED strip lights are popular for their slim profile and energy efficiency. You can also consider puck lights if you want focused spots of light.
Think about brightness and color temperature—do you want warm or cool light? This affects how your kitchen feels and how food colors appear. Have you checked if the fixtures come with dimming options? It’s a handy feature you might appreciate later.
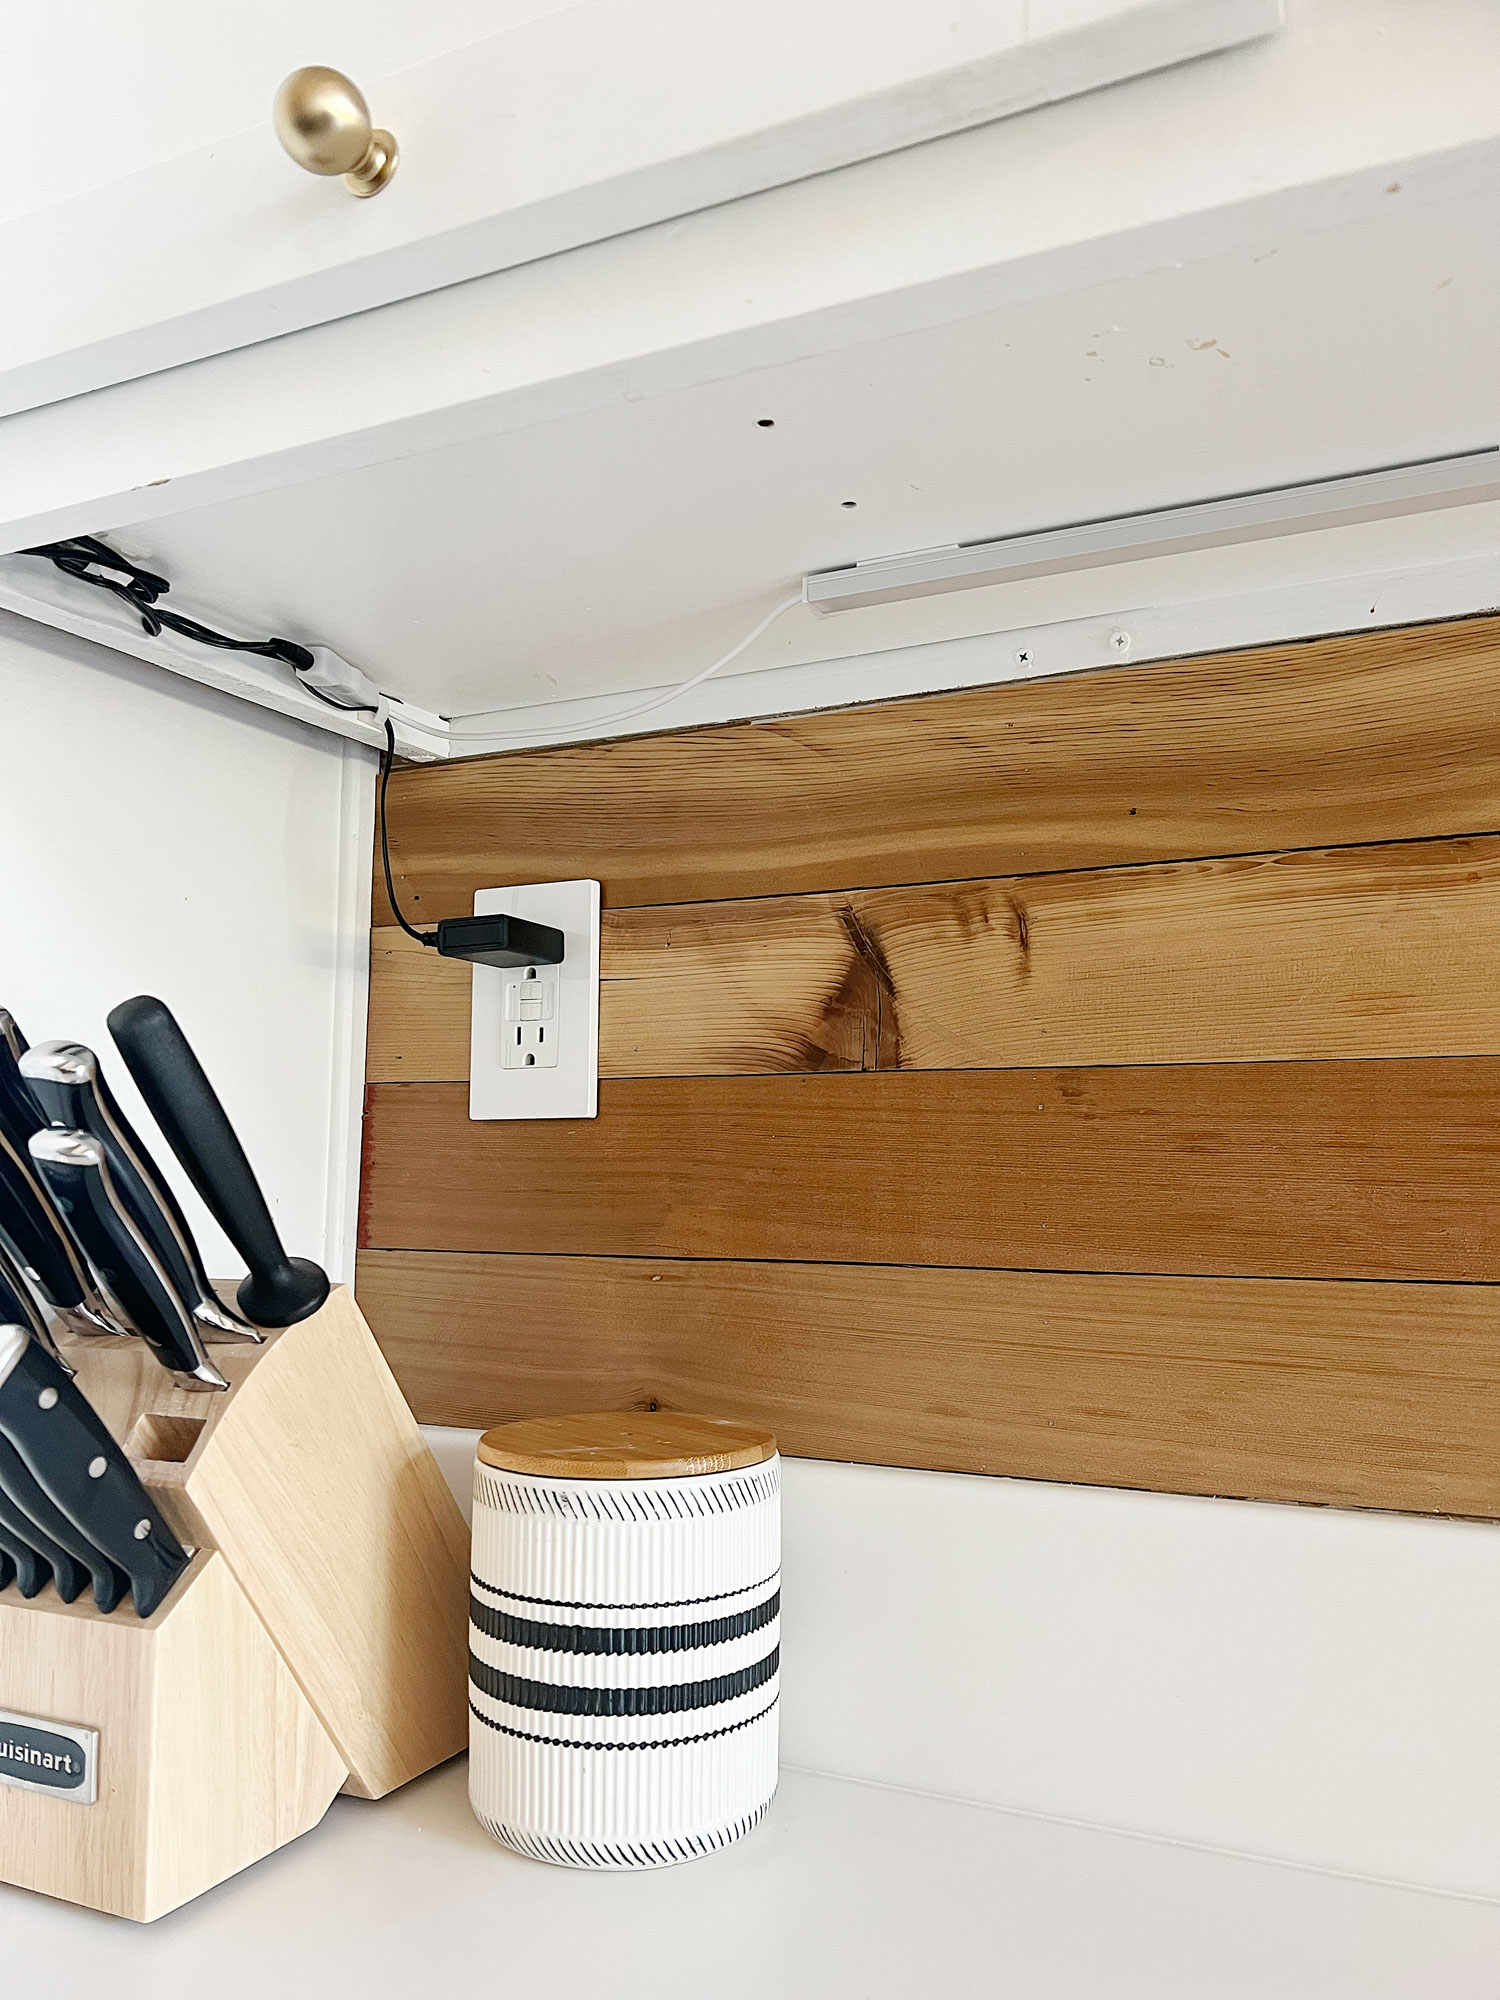
Power Sources
Lights need power, but where will you get it from? You might tap into an existing outlet or run new wiring from your electrical panel. Battery-operated lights are an option but often require frequent replacements and less power.
Don’t forget to check the voltage requirements of your fixtures. Mismatched voltage can damage the lights or cause safety issues. Planning this ahead avoids costly adjustments after installation.
Mounting Hardware
Proper mounting hardware keeps your lights secure and looking neat. Adhesive strips work for lightweight LED strips and smooth surfaces. Screws and brackets provide a stronger hold, especially for puck lights or heavier fixtures.
Consider the cabinet material—wood, metal, or laminate—when choosing mounting options. Will you need special anchors or drill bits? Having the right hardware means your lights stay put and look professional.
Wiring And Connectors
Good wiring and connectors are essential for safe and reliable lighting. Use wires rated for your light type and electrical load to avoid overheating. Quick-connect clips can simplify the process and reduce mistakes.
If you’re not confident with electrical work, a simple plug-and-play system might be better. Are you familiar with basic wiring codes and safety precautions? Knowing this protects you and your home from hazards.
Step-by-step Installation Process
Installing lights under kitchen cabinets brightens your workspace and enhances kitchen style. The process is simple and clear. Follow these steps to add perfect lighting beneath your cabinets. This guide helps you install lights safely and neatly.
Planning The Layout
Decide where to place each light strip or puck light. Consider areas where you need the most light, such as near the sink or stove. Think about power source locations to avoid long wires. Sketch a rough layout on paper or use a tape measure to note distances.
Measuring And Marking
Measure the length of the cabinets where lights will go. Mark spots for mounting clips or screws with a pencil. Make sure marks are evenly spaced for balanced lighting. Double-check measurements to avoid errors before drilling.
Mounting The Lights
Use screws or adhesive strips to attach lights under the cabinets. Clean the surface first for better adhesion. Align lights with your marks and press firmly if using adhesive. For screw mounting, drill small pilot holes to protect the wood.
Wiring And Connecting
Connect the lights to the power supply following the manufacturer’s instructions. Use wire connectors or plugs for a secure fit. Hide wires along cabinet edges or inside cable channels. Avoid loose wires to keep the setup safe and tidy.
Testing The Setup
Turn on the lights to check all connections. Look for any flickering or dark spots. Adjust positioning or wiring if needed. Confirm the switch or remote control works properly. Enjoy your new under-cabinet lighting once everything runs smoothly.
Safety Tips For Installation
Installing lights under kitchen cabinets enhances both style and function. Safety is key during installation. Proper care prevents accidents and damage. Follow essential safety tips to protect yourself and your home.
Handling Electrical Components
Turn off power at the circuit breaker before starting. Use a voltage tester to check wires. Avoid touching exposed wires with bare hands. Wear insulated gloves for extra protection. Keep electrical parts dry to prevent shocks. Follow manufacturer instructions carefully for all components.
Avoiding Overloads
Check the total wattage of all lights combined. Make sure your circuit can handle the load safely. Use LED lights as they consume less power. Avoid plugging too many devices into one outlet. Spread the electrical load across different circuits if needed. Overloads can cause breakers to trip or fires.
Using Proper Tools
Use screwdrivers with insulated handles. Have wire strippers and pliers ready for clean connections. Use a drill with the correct bit size for mounting. Avoid makeshift tools that can slip or damage parts. Keep tools organized to avoid accidents. Proper tools make installation easier and safer.
Maintenance And Troubleshooting
Keeping your under-cabinet lights in good shape ensures they work well and last longer. Regular maintenance prevents damage and saves time fixing problems later. Troubleshooting common issues helps restore lighting quickly without extra cost or effort. Simple steps can keep your kitchen bright and inviting.
Cleaning Fixtures
Dust and grease build up on light fixtures fast in kitchens. Use a soft cloth dampened with mild soap and water to clean surfaces. Avoid harsh chemicals that can damage finishes or lenses. Clean lights monthly for clear, bright illumination. Turn off lights before cleaning to stay safe.
Replacing Bulbs Or Strips
Lights may dim or stop working over time. Replace bulbs or LED strips with the same type and wattage. Check the manufacturer’s instructions for compatible replacements. Handle bulbs gently and avoid touching LED strips with bare hands. Turn off power to prevent shocks during replacement.
Fixing Common Issues
Flickering lights often signal loose connections or faulty wiring. Tighten connections and inspect wiring carefully. If lights do not turn on, test the power source and switch. Replace damaged wires or switches as needed. For uneven lighting, adjust the position of strips or add diffusers to spread light evenly.

Credit: aisav.com
Creative Lighting Ideas
Creative lighting under kitchen cabinets can change the room’s mood and function. It adds beauty and improves visibility for cooking and tasks. Exploring unique lighting ideas can make your kitchen more inviting and practical.
Color-changing Options
Color-changing lights offer flexibility to suit any mood or occasion. Choose LED strips with adjustable colors to switch from bright white to soft blue or warm amber. This feature allows quick customization and creates a lively or calm atmosphere.
Use remote controls or apps to pick colors easily. These lights can highlight kitchen features or blend with your décor. They bring fun and style without extra wiring or complex setup.
Smart Lighting Integration
Smart lighting lets you control lights with voice commands or mobile devices. Connect under-cabinet lights to your smart home system for hands-free operation. Adjust brightness or turn lights on and off remotely for convenience.
Set schedules to save energy and improve kitchen use. Smart lights can sync with other devices to create smooth lighting scenes. They make your kitchen modern and efficient.
Layered Lighting Effects
Layered lighting combines different light sources for balance and depth. Pair under-cabinet lights with ceiling fixtures and pendant lamps. This approach reduces shadows and highlights kitchen zones.
Use dimmers to adjust light levels for cooking or relaxing. Layered lighting enhances both functionality and style. It creates a welcoming and well-lit space that adapts to daily needs.
Credit: designingvibes.com
Frequently Asked Questions
What Types Of Lights Work Best Under Kitchen Cabinets?
LED strip lights and puck lights are ideal. They provide bright, even illumination, use low energy, and last long. Choose warm or cool white tones for ambiance and task lighting.
How Do I Install Lights Under Kitchen Cabinets Safely?
Turn off power before installation. Use proper mounting hardware. Follow manufacturer instructions carefully. Consider hiring a professional electrician for complex wiring and to ensure safety compliance.
Can Under-cabinet Lighting Improve Kitchen Functionality?
Yes, it enhances visibility on countertops, making food prep easier and safer. It also adds ambiance and highlights kitchen decor, increasing overall usability and aesthetic appeal.
Are Led Lights Energy-efficient For Under Cabinet Use?
Absolutely, LEDs consume less electricity and last longer than traditional bulbs. They produce less heat, reducing energy costs and keeping your kitchen cooler during use.
Conclusion
Installing lights under kitchen cabinets brightens your workspace and adds style. It helps you see clearly while cooking or cleaning. Choosing the right lights is simple and fits any kitchen design. You can do the installation yourself with basic tools and a little patience.
This small change makes a big difference in your kitchen’s look and function. Try it out and enjoy a brighter, safer kitchen every day.

Hi, I’m Daniel Harper, a senior editor here at KitchenBucks.com. For over 10 years, I’ve been exploring kitchen gadgets and appliances to help people find tools that truly add value without breaking the bank. I love simplifying product choices so you can focus more on cooking and less on worrying about what to buy. When I’m not reviewing the latest gadgets, you’ll usually find me experimenting with coffee brewing or firing up the grill for a weekend barbecue.