Are you planning a kitchen makeover and wondering about the best flooring options? One detail you might be overlooking is the tile under your kitchen cabinets.
You might ask, “Does it really matter if there’s tile beneath those cabinets? ” The answer is yes—and it can make a big difference. Whether you’re thinking about durability, ease of cleaning, or future-proofing your kitchen for a remodel, understanding how tile works under your cabinets can save you time, money, and hassle.
Keep reading to discover why this small detail could have a huge impact on your kitchen’s look and longevity.
Credit: www.backsplash.com
Benefits Of Tiling Under Cabinets
Tiling under kitchen cabinets offers several practical and visual benefits. It protects the floor and enhances the kitchen’s overall appearance. This simple addition helps maintain cleanliness and withstands daily wear. Below are key advantages of tiling beneath your cabinets.
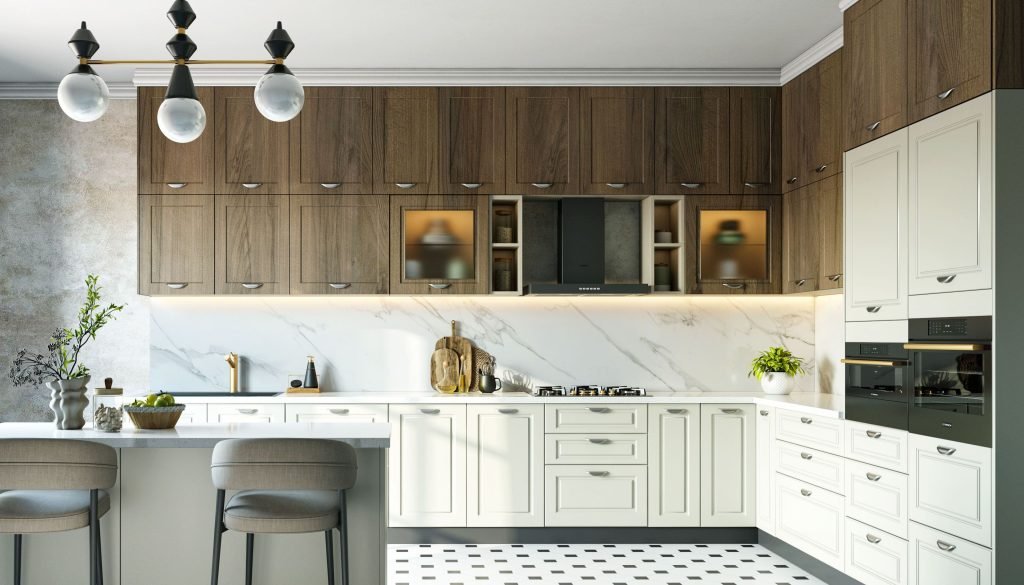
Enhanced Aesthetics
Tiling adds a polished look to the kitchen floor. It creates a smooth, continuous surface that looks neat. Tiles come in various colors and patterns to match any kitchen style. This allows for a cohesive and attractive design. Even the hidden areas under cabinets look well-finished and cared for.
Improved Durability
Tiles protect the floor from damage caused by spills and heavy foot traffic. They resist moisture better than many other materials. This reduces the risk of warping or rotting under cabinets. Tiles also handle scratches and dents, keeping the floor strong for years. This durability lowers repair costs over time.
Easy Maintenance
Cleaning tiled floors is quick and simple. Tiles do not trap dirt or stains easily. Sweeping or mopping removes dust and spills efficiently. There is no need to move heavy cabinets to clean underneath. This convenience helps keep the kitchen hygienic and fresh at all times.
Choosing The Right Tile
Choosing the right tile under kitchen cabinets sets the tone for your kitchen’s style. It affects durability, cleaning ease, and overall look. Careful selection ensures your space feels balanced and welcoming.
Material Options
Tiles come in many materials, each with unique benefits. Ceramic tiles are affordable and easy to clean. Porcelain tiles offer strong resistance to stains and water. Natural stone adds a classic, luxurious feel but needs more care. Vinyl tiles provide a soft, warm surface that is budget-friendly. Consider your kitchen use and maintenance preferences.
Color And Texture Selection
Color influences the kitchen’s mood and brightness. Light colors make a small space feel larger. Dark colors hide dirt and stains well. Texture adds depth and interest. Smooth tiles create a sleek look. Textured tiles can help prevent slips. Choose colors and textures that match your cabinets and countertops.
Size And Shape Considerations
Tile size changes the kitchen’s visual impact. Large tiles create a modern, clean look. Small tiles add detail and pattern. Shapes like squares, rectangles, or hexagons offer different styles. Rectangular tiles can create a sense of length or width. Pick sizes and shapes that fit your kitchen’s size and style.
Installation Process
Installing tile under your kitchen cabinets can transform the overall look of your space while providing a durable surface that withstands spills and foot traffic. The process might seem challenging, but with the right approach, it becomes manageable and even rewarding. Let’s break down the installation process into clear, actionable steps to help you achieve a professional finish.
Preparation Steps
Start by clearing out the area beneath your cabinets completely. Remove any existing flooring or debris to create a clean, flat surface for tiling.
Next, check the subfloor for any damage or uneven spots. Fix these issues to prevent tile cracking or uneven surfaces later on.
Measure the space carefully. Accurate measurements help you calculate the number of tiles and materials needed, saving time and money.
Tools And Materials Needed
- Tile cutter or wet saw:Essential for cutting tiles to fit corners and edges.
- Notched trowel:Helps spread the adhesive evenly.
- Tile adhesive or thin-set mortar:Bonds the tiles securely to the floor.
- Tile spacers:Ensure consistent gaps between tiles for grout.
- Grout and grout float:Fills the spaces between tiles for a finished look.
- Level:Keeps your tiles flat and even.
- Rubber mallet:Gently taps tiles into place without breaking them.
- Sponge and bucket of water:Cleans excess grout from tile surfaces.
Step-by-step Installation
Lay out your tiles dry first to visualize the pattern and reduce cutting surprises. This step can prevent awkward gaps and ensure symmetry.
Spread the tile adhesive with your notched trowel over a small section of the floor. Work in manageable areas to prevent the adhesive from drying out before placing tiles.
Press each tile firmly into the adhesive, using spacers to keep gaps even. Check alignment frequently with your level to avoid uneven tiles.
Cut tiles as needed to fit around edges and corners. Take your time here—precise cuts make a huge difference in the final appearance.
After the adhesive sets, remove spacers and apply grout with the grout float. Push grout into the gaps thoroughly, then wipe off excess with a damp sponge.
Allow everything to dry completely before walking on the tiles or reinstalling your cabinets. This patience pays off with a durable, professional-looking floor.
Have you noticed how much smoother the process goes when you prepare thoroughly and take your time with each step? What part of the installation do you think you’d find most challenging?
Credit: www.backsplash.com
Design Inspirations
Choosing the right tile under kitchen cabinets can change the whole room’s feel. It sets a base that complements the cabinets and adds style. Tiles come in many designs, colors, and textures. They offer ways to express style and personality. Exploring design inspirations helps pick the perfect tile for your kitchen space.
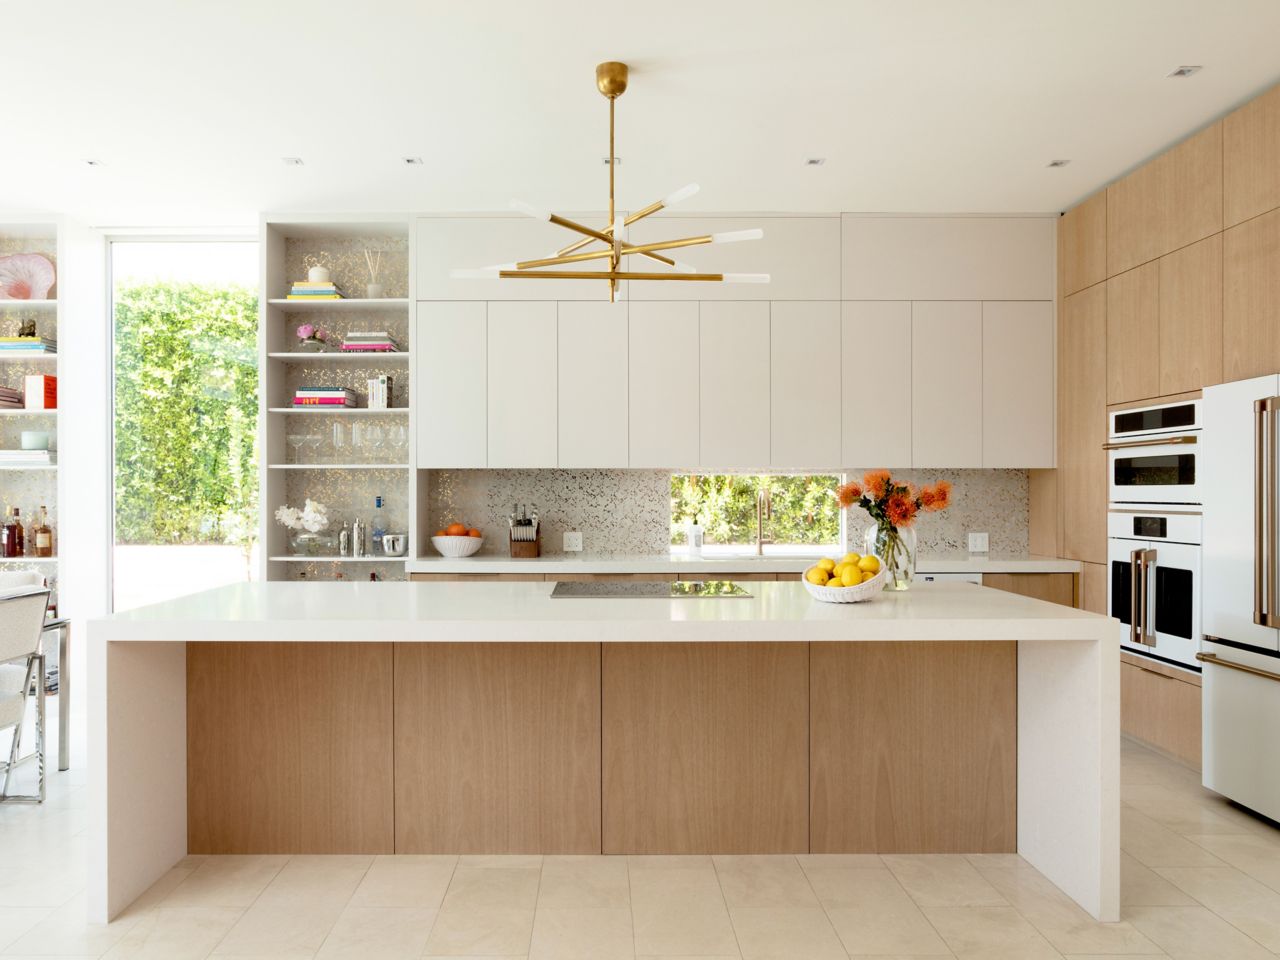
Modern Styles
Modern tile designs focus on clean lines and simplicity. Neutral colors like gray, white, and black create a sleek look. Large tiles with minimal grout lines make the space look bigger. Matte finishes add a soft touch without glare. Subway tiles arranged in a straight pattern bring timeless charm. These styles suit kitchens with simple, functional decor.
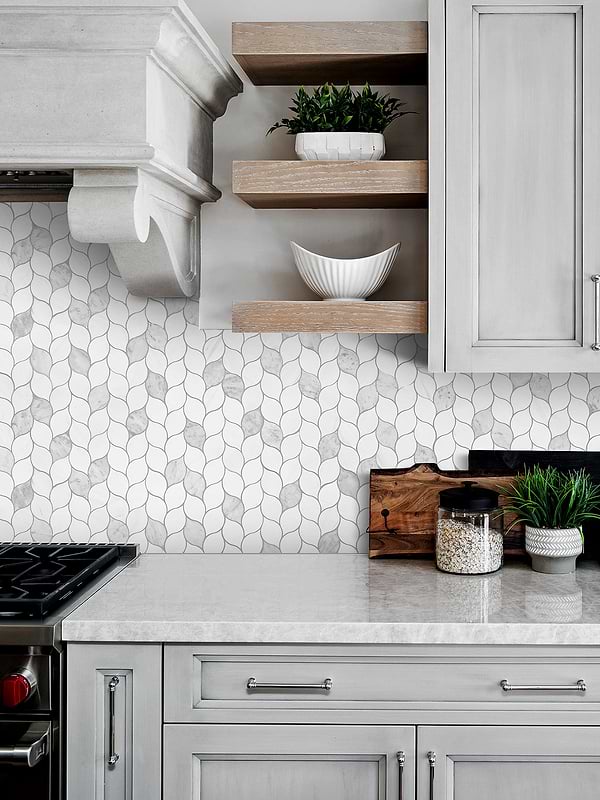
Rustic Appeal
Rustic tiles bring warmth and charm to kitchen spaces. Earthy tones like brown, beige, and terracotta create cozy vibes. Textured tiles mimic natural materials such as stone or wood. Handcrafted or distressed tiles add character and history. These tiles pair well with wooden cabinets and vintage accessories. The rustic style feels inviting and lived-in.
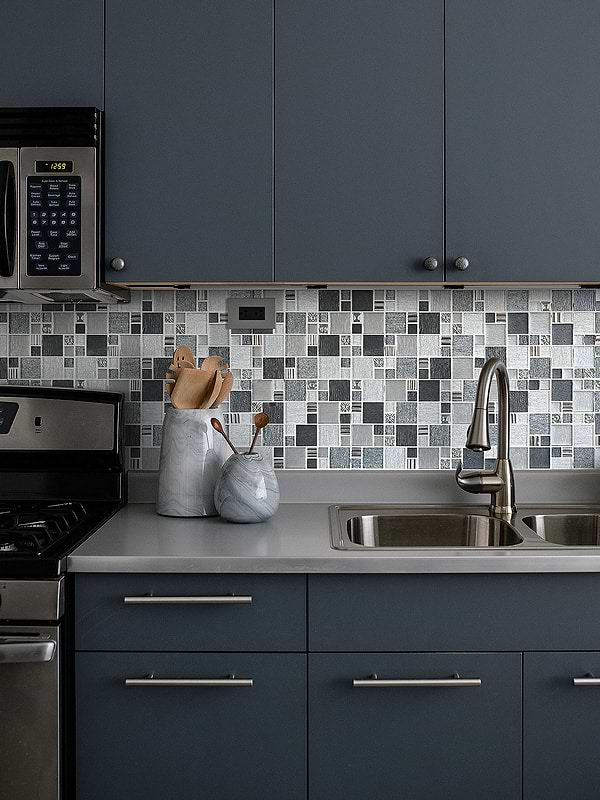
Mixing Patterns
Mixing tile patterns adds energy and creativity to kitchens. Combining geometric shapes with floral or abstract designs creates interest. Use a bold pattern as a focal point beneath cabinets. Balance busy tiles with plain, solid-colored ones to avoid clutter. Patterned tiles work well in small sections for subtle impact. This approach suits those who enjoy a unique, artistic kitchen look.
Cost Considerations
Choosing tile under kitchen cabinets requires careful cost planning. Expenses vary by tile type, size, and installation style. Budgeting helps avoid overspending and surprises later. Consider all factors before starting your project.
Budgeting Tips
Set a clear budget before buying tiles or materials. Include costs for tiles, grout, adhesive, and tools. Reserve extra funds for unexpected expenses or mistakes. Compare prices at different stores to find the best deals. Plan for any cabinet removal or floor prep costs.
Cost Comparison
| Tile Type | Average Cost per Sq Ft | Durability | Maintenance |
|---|---|---|---|
| Ceramic | $1 – $5 | Good | Low |
| Porcelain | $3 – $10 | Very Good | Low |
| Natural Stone | $5 – $15 | High | Medium |
| Vinyl Tiles | $1 – $4 | Moderate | Low |
Costs differ greatly based on tile quality and brand. Choose tiles that fit your budget and style.
Diy Vs Professional Installation
- DIY Installation:Saves money on labor costs. Requires time and basic skills. Mistakes can lead to extra expenses.
- Professional Installation:Ensures quality and durability. Costs more but reduces risk of errors. Saves time and effort.
Consider your skills and schedule before deciding. Sometimes paying for experts can save money long term.
Credit: www.tileshop.com
Maintenance Tips
Maintaining tile under kitchen cabinets keeps your space clean and lasting longer. Proper care prevents stains, cracks, and dullness. Follow simple steps to keep tiles looking fresh and new.
Cleaning Techniques
Use a soft broom or vacuum to remove loose dirt daily. Mop tiles with warm water and mild detergent. Avoid harsh chemicals that can damage tile surfaces. For grout, use a gentle brush and baking soda paste. Wipe spills immediately to stop stains from setting.
Preventing Damage
- Place mats or rugs near sinks to catch water spills.
- Use furniture pads on cabinet legs to avoid scratches.
- Avoid dropping heavy objects on tiles.
- Keep sharp tools away from tile edges.
- Check for leaks under cabinets regularly.
Long-term Care
Seal grout lines every 6 to 12 months to protect against moisture. Inspect tiles for cracks or loose spots and fix them early. Maintain proper ventilation to reduce humidity. Regular care saves money and keeps your kitchen beautiful.
Frequently Asked Questions
Can You Tile Under Kitchen Cabinets?
Yes, you can tile under kitchen cabinets. It ensures a seamless look and protects the floor beneath cabinets from moisture and damage.
Should Tile Go Under Kitchen Base Cabinets?
Tiling under base cabinets is optional but recommended for durability. It prevents floor damage during cabinet installation or future renovations.
What Type Of Tile Is Best Under Cabinets?
Porcelain or ceramic tiles are best under cabinets. They are durable, water-resistant, and easy to clean, making them ideal for kitchen floors.
How To Prepare Floor Before Tiling Under Cabinets?
Clean and level the floor thoroughly. Remove debris, fill gaps, and apply a suitable underlayment for proper tile adhesion and longevity.
Conclusion
Tile under kitchen cabinets adds both style and protection. It resists water and stains better than wood or carpet. Cleaning becomes easier, saving you time and effort. Tiles come in many colors and patterns to fit any kitchen look. Proper installation ensures durability and a neat finish.
Choosing tile helps keep your kitchen floor strong for years. Small effort, big difference in your kitchen’s appearance and care. Consider tile for a practical and attractive kitchen solution.

Hi, I’m Daniel Harper, a senior editor here at KitchenBucks.com. For over 10 years, I’ve been exploring kitchen gadgets and appliances to help people find tools that truly add value without breaking the bank. I love simplifying product choices so you can focus more on cooking and less on worrying about what to buy. When I’m not reviewing the latest gadgets, you’ll usually find me experimenting with coffee brewing or firing up the grill for a weekend barbecue.