
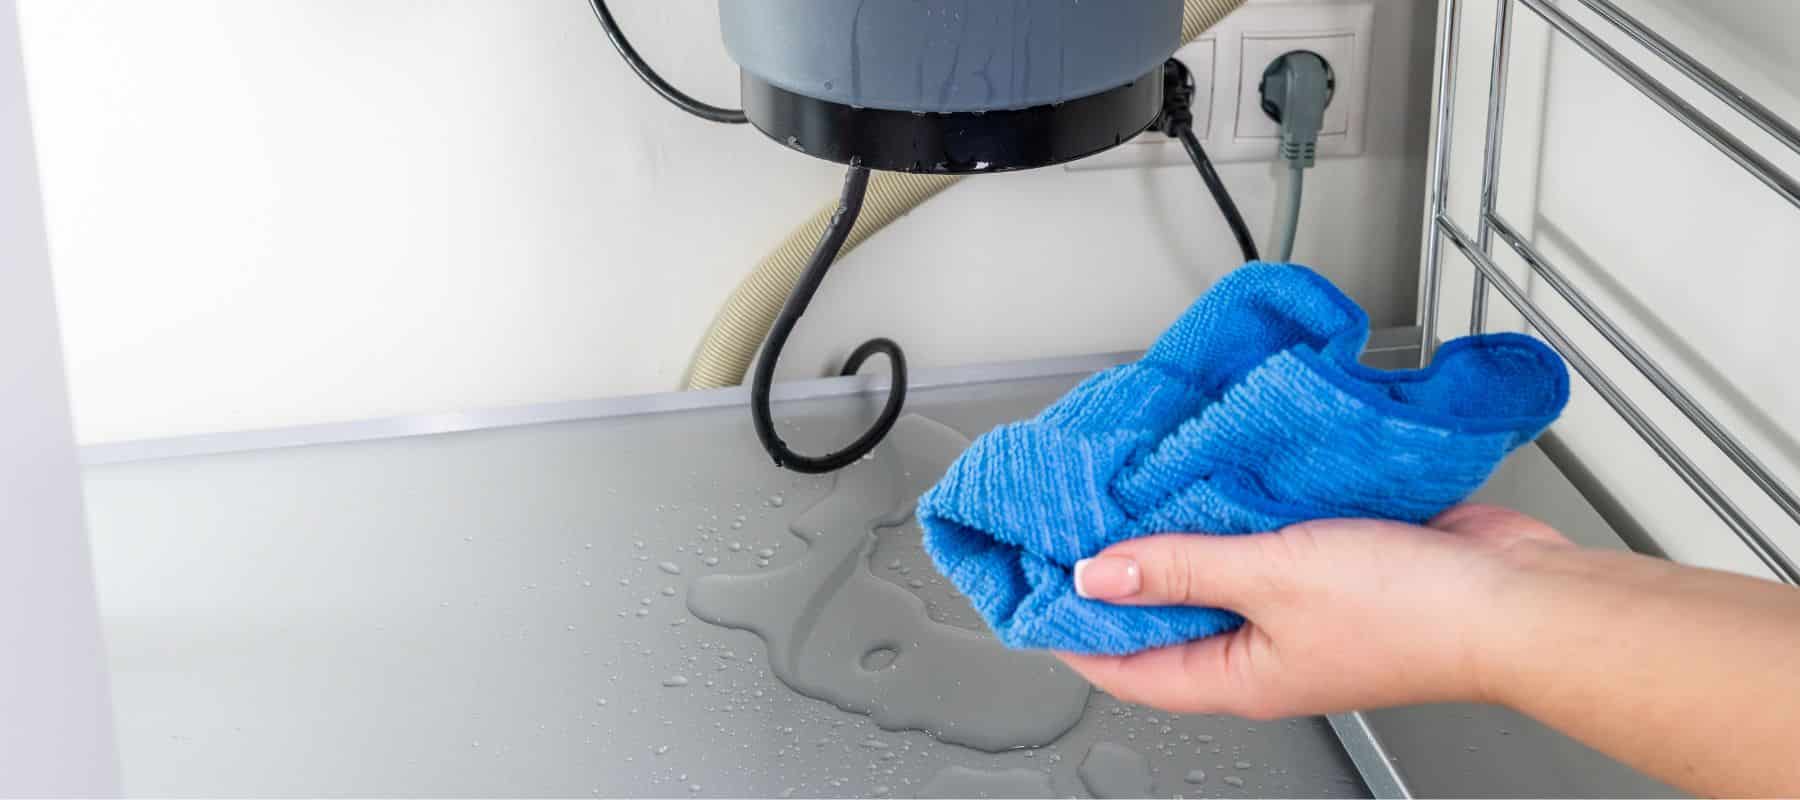
You’ve just noticed a drip under your kitchen sink. It might seem small now, but that leak can quickly turn into a costly problem.
Ignoring it won’t make it go away—in fact, it could damage your cabinets, cause mold, or raise your water bill without you even realizing. Understanding what’s causing the leak and how to fix it can save you time, money, and stress.
Keep reading to learn exactly what to look for and the simple steps you can take to stop that leak for good.

Credit: www.youtube.com
Common Causes Of Sink Leaks
Leaks under the kitchen sink can cause serious damage if ignored. Knowing common causes helps in quick repair. Many leaks happen due to simple issues. Fixing these can save money and prevent water damage.
Worn Out Washers
Washers seal connections and stop water leaks. Over time, washers wear out and crack. Water then seeps through small gaps. Replacing old washers often stops leaks fast. It is a simple and cheap fix.
Loose Connections
Connections under the sink may loosen from use or vibrations. Loose nuts or fittings cause water to drip. Tightening these connections stops leaks quickly. Checking connections regularly avoids bigger problems later.
Cracked Pipes
Pipes under the sink can crack due to pressure or age. Even a small crack leaks water steadily. Cracked pipes need replacement or repair. Ignoring cracks can lead to flooding and mold.
Faulty Seals
Seals keep water inside pipes and drains. Over time, seals dry out and fail. A broken seal lets water escape and drip. Replacing seals restores proper water flow. Good seals protect cabinets from water damage.

Credit: www.instagram.com
Tools And Materials Needed
Fixing a leak under your kitchen sink starts with having the right tools and materials at hand. Without them, you might spend more time and effort than necessary, or even worsen the problem. Gathering everything you need before you begin helps you work smoothly and confidently.
Basic Plumbing Tools
These are the essentials you should have nearby:
- Adjustable wrench:Perfect for loosening and tightening nuts of various sizes.
- Pipe wrench:Provides extra grip on stubborn pipes and fittings.
- Slip-joint pliers:Great for gripping and turning irregularly shaped objects.
- Bucket:To catch any water that drips during the repair.
- Flashlight:Helps you see clearly in tight, dark spaces under the sink.
When I first tackled a kitchen leak, having a bucket saved my floor from a mini flood. What small tool could make your repair easier?
Replacement Parts
Leaks often happen because parts wear out or break. You’ll need to identify which parts to replace before starting.
- Washers and gaskets:These small rubber or silicone rings create tight seals and often cause leaks when worn out.
- Pipe sections or fittings:If a pipe is cracked or corroded, swapping it out is necessary.
- Compression nuts:These secure pipes and may need replacement if damaged.
Check your pipes carefully. Have you noticed any cracks, rust, or brittle spots? Buying the right parts in advance saves you from multiple trips to the hardware store.
Sealants And Tape
To ensure a leak-proof repair, you need quality sealants and tape:
- Plumber’s tape (Teflon tape):Wrap it around pipe threads to create a watertight seal and prevent leaks.
- Pipe joint compound:Also known as pipe dope, it provides extra sealing strength on threaded connections.
- Silicone sealant:Useful for sealing gaps around sink drains or fittings.
Using sealants correctly can make the difference between a short-term fix and a lasting repair. Do you know which sealant suits your specific pipe material?
Step-by-step Leak Repair
Fixing a leak under the kitchen sink is easier than it seems. Follow clear steps to find and stop the leak quickly. This guide helps save water and prevents damage.
Shutting Off Water Supply
Start by turning off the water supply. Locate the shutoff valves under the sink. Turn them clockwise until tight. This stops water flow and keeps the area dry.
Inspecting The Leak Source
Look carefully where water drips or pools. Check pipes, joints, and connections. Use a flashlight for dark spots. Identifying the exact source is key to repair.
Tightening Loose Fittings
Use a wrench to tighten nuts and fittings. Avoid over-tightening to prevent damage. Tight connections often stop small leaks fast. Test by turning water on briefly.
Replacing Damaged Components
Remove old or cracked parts with care. Match new parts to the old ones. Install replacements firmly in place. Use plumber’s tape on threaded joints for a secure seal.
Applying Sealant Properly
Clean the area around the leak before applying sealant. Use plumber’s putty or silicone for best results. Apply evenly and smooth with a finger or tool. Let it dry fully before testing the repair.
Credit: www.garvinssewerservice.com
Temporary Fixes For Emergencies
A leak under the kitchen sink can cause stress and damage. Temporary fixes can help stop the water until a professional repair is possible. These quick solutions prevent water waste and minimize harm to cabinets and floors.
Each method uses common tools and materials. Apply them carefully to control the leak effectively. Remember, these fixes are short-term and should not replace permanent repairs.
Using Pipe Tape
Pipe tape, also known as plumber’s tape, wraps around leaking joints. It seals small gaps and stops drips fast. Clean the pipe surface before applying the tape for better grip.
- Dry the pipe thoroughly.
- Wrap the tape tightly around the leak area.
- Overlap the tape layers to cover the leak fully.
- Press the tape firmly to secure it.
This fix works best for slow leaks on threaded pipes. It can hold until proper repairs are made.
Applying Epoxy Putty
Epoxy putty sticks directly to pipes and hardens quickly. It creates a strong, waterproof patch over holes or cracks. Knead the putty to mix it, then press it on the leak.
- Clean and dry the pipe surface.
- Cut a small amount of putty and knead until soft.
- Apply the putty over the leak, smoothing edges.
- Allow it to cure for the time recommended on the package.
Epoxy putty works well for larger holes or cracks. It provides a sturdy barrier until professional help arrives.
Wrapping With Rubber And Clamp
This method uses a piece of rubber and a clamp to stop leaks quickly. The rubber acts as a patch, and the clamp holds it tight. It’s useful for leaks on smooth, straight pipe sections.
- Cut a small piece of thick rubber, like from an old inner tube.
- Place the rubber over the leaking spot.
- Wrap a hose clamp or metal clamp around the rubber.
- Tighten the clamp firmly to seal the leak.
This fix is strong and easy to remove later. It can hold water pressure temporarily without much fuss.
Preventing Future Leaks
Preventing future leaks under the kitchen sink helps save money and stress. Small leaks can cause big damage over time. Taking simple steps keeps your plumbing strong and reliable. Regular checks and proper care stop leaks before they start.
Regular Maintenance Tips
- Look under the sink for moisture or water stains often.
- Check hoses and pipes for cracks or loose fittings monthly.
- Keep the area dry and clear of clutter to spot leaks easily.
- Clean drains to avoid blockages that increase pressure and cause leaks.
- Test the water shut-off valves to make sure they work well.
Checking For Corrosion
Corrosion weakens pipes and causes leaks. Metal parts under the sink often corrode due to moisture.
Inspect pipes and connections for rust or greenish buildup regularly. Replace any parts showing damage fast. Use corrosion-resistant materials like PVC or stainless steel to reduce risk. Keep the area dry to slow down corrosion.
Proper Installation Practices
Proper installation prevents leaks from the start. Use the right tools and materials for your sink plumbing. Tighten fittings just enough—too tight or too loose causes leaks. Follow manufacturer instructions carefully for all parts. Consider hiring a professional plumber for complex jobs to ensure a secure fit.
When To Call A Professional
Knowing when to call a professional for an under the kitchen sink leak is important. Some leaks look small but cause big problems. Other leaks need special tools or skills to fix.
Calling a plumber early can save money and prevent damage. Here are signs that show it is time to get expert help.
Signs Of Major Damage
- Water stains on cabinets or walls
- Mold or mildew smells under the sink
- Warped or soft wood near the leak
- Water pooling that won’t dry
These signs mean the leak has been there for a while. The damage could get worse without proper repair.
Complex Plumbing Issues
- Multiple leaks in pipes or fittings
- Corroded or broken pipes
- Leaks near shut-off valves or drains
- Hidden leaks behind walls or cabinets
Some leaks need special tools or knowledge to fix. A professional plumber can handle complex pipe problems safely.
Safety Considerations
- Electrical outlets or wires near the leak
- Gas lines or appliances close to water pipes
- Risk of slipping on wet floors
- Strong odors or chemicals under the sink
Water leaks near electricity or gas can be dangerous. Professionals know how to manage these risks safely and quickly.
Frequently Asked Questions
What Causes An Under The Kitchen Sink Leak?
Leaks under the kitchen sink usually result from worn-out pipes, loose fittings, or damaged seals. Corrosion and clogs can also cause leaks. Identifying the exact cause helps in efficient repairs and preventing further water damage.
How To Detect An Under The Kitchen Sink Leak Early?
Look for water stains, mold, or a musty smell near the sink cabinet. Listen for dripping sounds and check for dampness on the floor. Early detection reduces damage and repair costs.
Can I Fix Under The Kitchen Sink Leaks Myself?
Yes, minor leaks from loose connections or worn washers can be fixed DIY. However, complex leaks involving pipes or drainage systems may require professional help for safety and durability.
How Much Does It Cost To Repair Under The Kitchen Sink Leaks?
Repair costs vary depending on the leak’s cause and severity. Simple fixes may cost $50-$150, while extensive plumbing repairs can exceed $300. Getting a professional estimate ensures accurate budgeting.
Conclusion
A leak under the kitchen sink can cause big problems fast. Catch it early to stop water damage and mold. Fixing small leaks saves money and keeps your home safe. Regular checks help you spot issues before they grow. Simple tools and steps can often fix leaks yourself.
Don’t wait until the problem gets worse. A dry, leak-free sink area makes your kitchen better and healthier. Stay alert, act quick, and protect your home easily.
