Have you ever faced a sudden leak or needed to fix your kitchen faucet but didn’t know how to stop the water quickly? Knowing how to turn off the water shut off valve under your kitchen sink can save you from a costly mess and stress.
You’ll learn simple, clear steps to locate and use your shut off valve with confidence. By the end, you’ll feel ready to handle small plumbing issues without waiting for a professional. Keep reading to take control of your kitchen plumbing right now!
Locate The Shut Off Valve
Locating the shut off valve under the kitchen sink is essential for quick water control. Knowing its exact position helps in emergencies and simple repairs. This guide simplifies the process. It breaks down how to find and recognize the valve easily.
Check Under The Sink
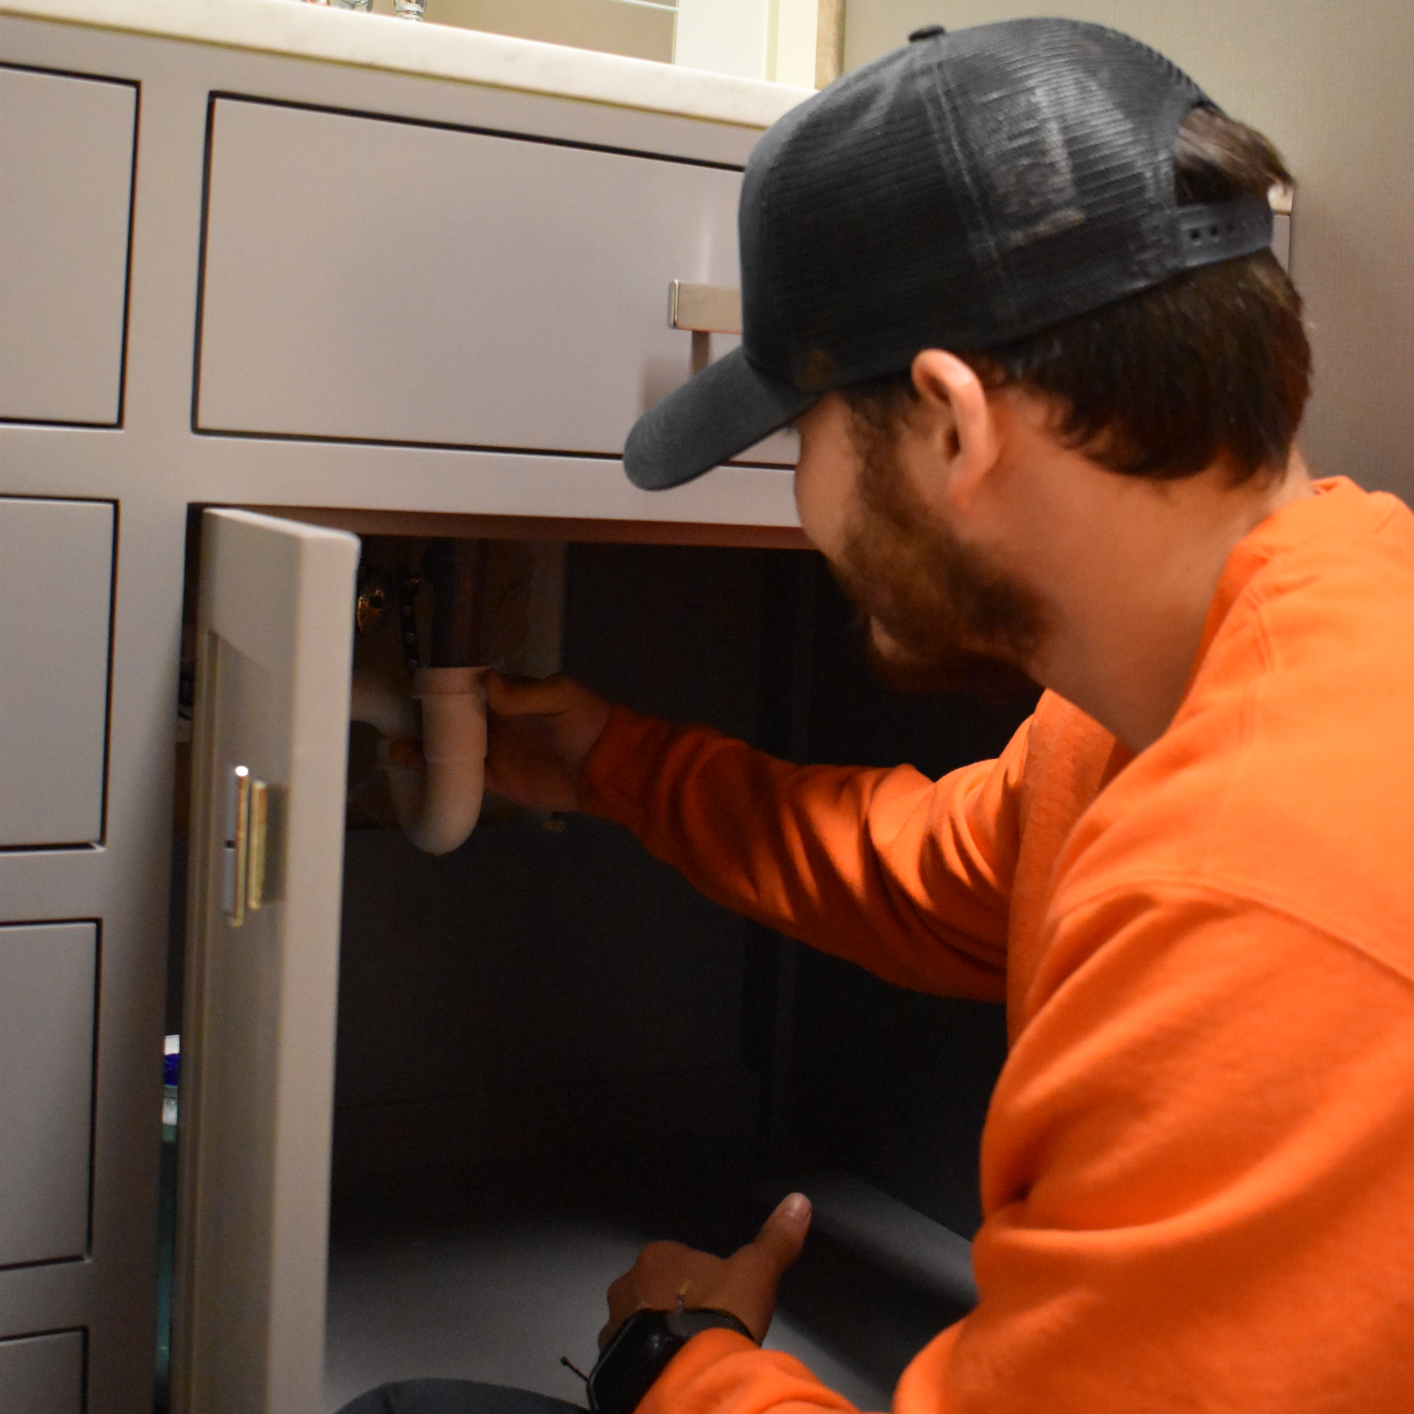
Open the cabinet doors beneath the kitchen sink. Look along the pipes coming from the wall or floor. The shut off valve is usually near the water supply lines. It might be close to the back or side of the cabinet. Check for a small handle or knob attached to a pipe.
Sometimes the valve hides behind stored items or cleaning supplies. Clear the space for a better view. Use a flashlight if the area is dark. The valve should be easy to spot once the cabinet is clear.
Identify Valve Types
Shut off valves come in a few common types. Recognizing them speeds up turning water off.
- Ball Valve:Has a lever handle. Turn it 90 degrees to shut off water.
- Gate Valve:Features a round wheel handle. Turn clockwise to close.
- Angle Stop Valve:Usually located at a right angle to the pipe. Has a small round handle.
Each type works the same way but looks different. Identifying the valve helps avoid confusion during urgent situations.
Credit: www.estesair.com
Turn Off The Water Supply
Turning off the water supply under your kitchen sink is a simple but essential task that can save you from a big mess. Whether you’re fixing a leak or replacing a faucet, knowing how to stop the water flow quickly gives you control and prevents damage. Here’s how you can do it effectively and what to do if the usual valve isn’t working.
Use The Valve Handle
Look under your kitchen sink for a small valve attached to the water pipe. This valve usually has a round or oval handle that you can turn by hand.
Turn the handle clockwise to close the valve. You should feel resistance as it stops the water flow.
Sometimes the valve might be stiff or stuck from lack of use. If it won’t budge, try using a cloth for better grip or a pair of pliers, but be gentle to avoid breaking it.
Alternative Shut Off Points
If the valve under your sink is missing, broken, or doesn’t fully stop the water, check other shut off points in your home.
- Main water shut off:Usually located near the water meter or where the water line enters your house. Turning this off stops water to the entire home.
- Wall or floor valves:Some kitchens have additional shut off valves behind a removable panel or inside a cabinet.
- Appliance-specific valves:If you’re working on a dishwasher or refrigerator water line, these may have their own shut off valves.
Have you ever tried to fix a leak only to find no shut off nearby? Knowing where these alternative points are can save you from emergency calls and water damage.
Fix Common Valve Issues
Fixing common valve issues under your kitchen sink can save you from unexpected water damage and costly repairs. Valves that don’t work properly often cause frustration, but many problems are easier to fix than you might think. Understanding how to handle stuck or leaking valves empowers you to maintain control over your home’s water flow.
Stuck Valve Solutions
Valves can get stuck from mineral buildup or corrosion. Before forcing it, apply some penetrating oil and let it sit for about 15 minutes. This often loosens the valve enough for you to turn it smoothly.
If the valve remains stuck, try gently rocking the handle back and forth instead of forcing a full turn. Using excessive force risks breaking the valve, which could cause a bigger mess.
Have you checked if the valve is the right type for your plumbing? Sometimes older valves seize because they’re outdated or worn out. Replacing a stuck valve with a modern ball valve can improve reliability and ease of use.
Leaking Valve Repairs
Leaks around the valve usually happen because of worn washers or loose connections. Start by turning off the main water supply to avoid water spraying everywhere during repair.
Carefully tighten the compression nut with a wrench, but avoid overtightening which can damage the valve parts. If the leak persists, replacing the washer inside the valve often stops drips and saves the entire valve.
Keep an eye out for corrosion or cracks on the valve body. In such cases, replacing the entire valve is safer and more effective than trying to patch it up.
Replace A Faulty Valve
Replacing a faulty valve under the kitchen sink is a simple fix. A leaking or stuck valve can cause water damage or stop water flow. Fixing it quickly saves water and prevents bigger problems.
This task requires a few basic tools and careful steps. The process helps restore full control of water supply to your sink. Anyone can do it with clear instructions and some patience.
Tools Needed
- Adjustable wrench
- Screwdriver (flat or Phillips)
- Teflon tape
- Bucket or small container
- Replacement shut-off valve
- Towels or rags
Step-by-step Replacement
- Turn off the main water supply to the house.
- Open the faucet to drain any water left in the pipes.
- Place a bucket under the valve to catch water.
- Use the wrench to loosen the nuts connecting the valve.
- Remove the faulty valve carefully from the pipe.
- Wrap Teflon tape around the threads of the new valve.
- Screw the new valve onto the pipe by hand first.
- Tighten the nuts with the wrench without over-tightening.
- Turn the main water supply back on slowly.
- Check for leaks by opening and closing the new valve.
- Clean up any water spills and dry the area.
Prevent Future Problems
Preventing future problems with the water shut off under your kitchen sink starts with understanding how to keep it in good shape. Small issues left unnoticed can quickly turn into costly repairs or water damage. Taking simple steps now saves you time, money, and stress later.
Regular Maintenance Tips
Check the shut off valve periodically to ensure it turns smoothly. Valves that stick or are hard to turn can fail when you need them most.
Look for signs of leaks or corrosion around the valve and pipes. Even tiny drips can cause damage over time if ignored.
- Turn the valve off and on every few months to prevent it from seizing up.
- Clean around the valve to keep dirt and grime from building up.
- Replace washers or seals if you notice any leaks or drip sounds.
I once ignored a slow drip under my sink until it caused a swollen cabinet door. Addressing leaks early would have prevented that damage and saved me a repair bill.
When To Call A Plumber
Sometimes, problems with your shut off valve need a professional touch. If the valve won’t turn, leaks worsen, or you see rust spreading, it’s time to reach out for help.
Trying to force a stuck valve can cause it to break, leading to a bigger mess. A plumber can safely replace or repair it before water damage occurs.
Ask yourself: Is the valve easy to operate? Does it stop water completely when turned off? If not, don’t wait until a leak starts—call a plumber to inspect it.

Credit: www.facebook.com

Credit: www.amazon.com
Frequently Asked Questions
How Do I Locate The Water Shut Off Under Kitchen Sink?
Look for two small valves under the sink near the pipes. They control hot and cold water flow. Turn them clockwise to close and stop water.
When Should I Turn Off The Kitchen Sink Water Valve?
Turn it off during repairs, leaks, or replacing faucets. This prevents water damage and allows safe plumbing work.
What If The Water Shut Off Valve Under Sink Is Stuck?
Try gently turning the valve with pliers. If stuck, apply lubricant or call a plumber to avoid damage.
Can I Replace A Faulty Water Shut Off Valve Myself?
Yes, if you have basic plumbing skills and tools. Ensure water is off before removing and installing the valve.
Conclusion
Knowing how to shut off water under the kitchen sink saves time and stress. It stops leaks fast and protects your home from water damage. Always check the valves work well before an emergency happens. Keep a small wrench nearby for quick access.
Regularly inspect the pipes and valves for any signs of wear. This simple skill helps you handle small problems easily. Practice turning the shutoff valve so you feel confident. Taking these steps keeps your kitchen safe and dry.