
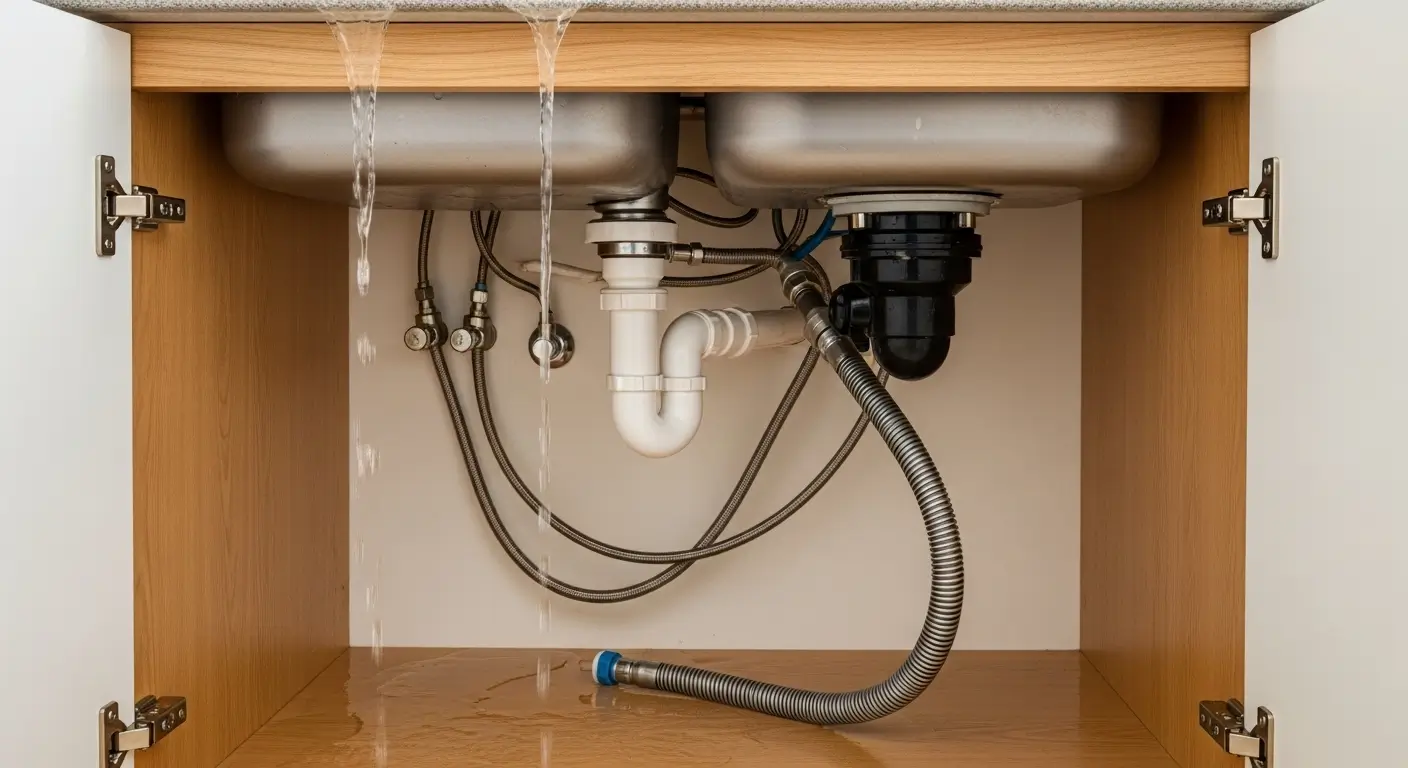
Nothing grabs your attention like a puddle forming under the sink the moment you twist the tap. That drip-drip-drip might seem minor, but water finding its way where it shouldn't can lead to swollen cabinet floors, musty odours, and unexpected repair bills. The good news? Most leaks that appear only when the water is running have straightforward causes you can diagnose and fix yourself in under an hour.
This guide walks you through the real-world reasons your kitchen sink leaks under pressure, the exact tools you'll need, and the step-by-step repairs that actually work. No guesswork, no calling a plumber for something you can handle—just clear, practical advice from someone who's been under more sinks than they care to count.
Why Your Sink Leaks Only When Water Is On
A leak that appears exclusively when water flows is almost always a pressure-related problem. When the tap is off, the system is static. The moment you open the valve, water pressure rises inside the pipes, and any weak point—a loose nut, a cracked seal, a corroded joint—will immediately show itself.
Understanding this distinction is critical. If water pooled under the sink all the time, you'd be dealing with a different issue entirely. But because the leak only happens during use, you can narrow your diagnosis to components under pressure: supply lines, shutoff valves, and the faucet body itself.
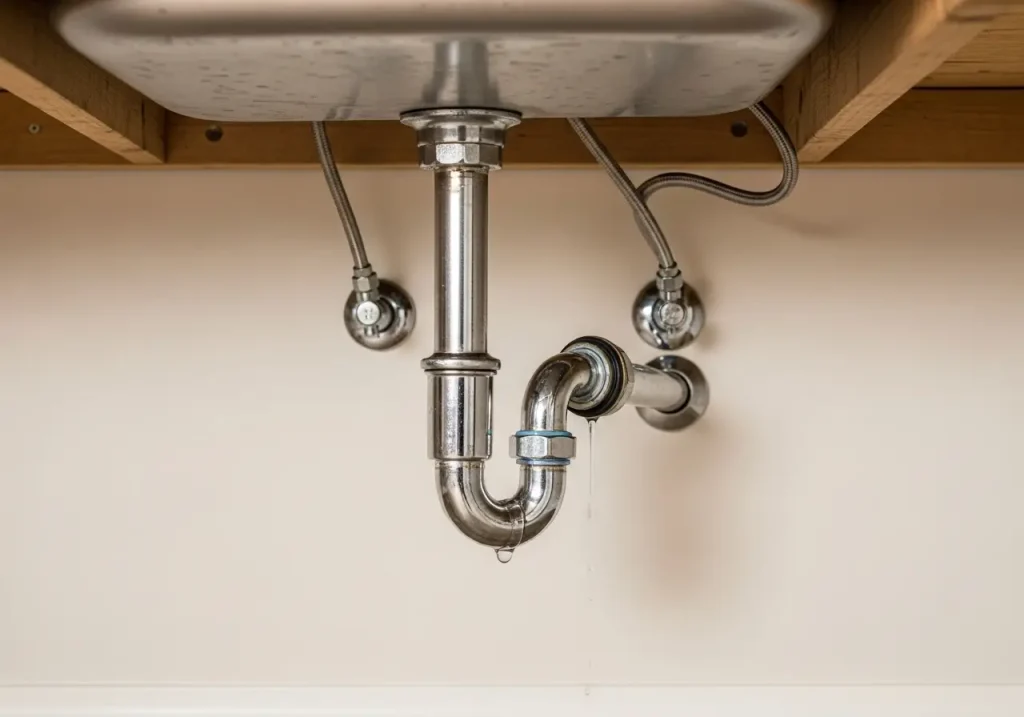 A cross-section view of common leak points under a kitchen sink, highlighting supply lines, drain connections, and shutoff valve joints.
Common Causes of a Pressure-Activated Leak
Loose Compression Nuts on Supply Lines
The braided stainless steel or plastic tubes that carry water from the shutoff valves to the faucet are secured by compression nuts. These nuts can gradually loosen from normal vibration—especially if you store heavy cleaning products under the sink that knock against the pipes when you rummage around.
How to check: Reach under the sink and gently grip each supply line nut. If it turns with minimal effort, it's loose. Tighten it clockwise with an adjustable wrench until snug—then give it an extra quarter turn. Do not overtighten; compression nuts can crack the brass fitting underneath.
Worn Out Rubber Washers Inside Supply Lines
Every supply line has a small rubber washer at both ends where it connects to the shutoff valve and the faucet tailpiece. Over time, these washers flatten, harden, or develop micro-cracks. When water pressure hits, they fail.
A common mistake is replacing the supply line but reusing the old rubber washer. Always inspect the washer—if it feels brittle or shows a permanent compression ring, replace it. A pack of assorted washers costs under five dollars and covers most standard sizes.
Damaged Shutoff Valve Seals
The small valves under your sink (usually chrome or plastic quarter-turn handles) have internal seals. If the valve itself is leaking—not the connection point—you'll see water dripping from the valve stem or the handle shaft when the water is on. This is trickier to fix because it usually means replacing the entire valve, which requires shutting off the main water supply to the house.
Cracked or Corroded Tailpiece
The tailpiece is the vertical pipe that drops from the sink strainer into the P-trap. Because it's constantly exposed to water and cleaning chemicals, chrome-plated brass tailpieces can develop pinhole corrosion over several years. If the leak is running down the outside of this pipe when water runs, the tailpiece itself needs replacement.
Tools and Materials You'll Actually Need
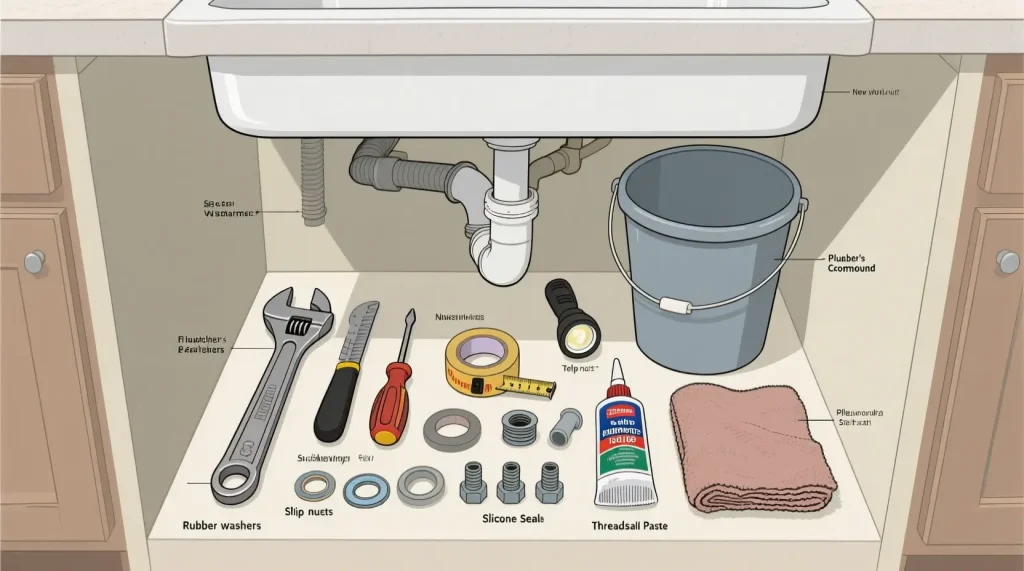 An organised layout of the essential plumbing tools and replacement parts for fixing a kitchen sink leak.
Essential tools:
- Adjustable wrench (6-inch or 8-inch)—avoid pipe wrenches, they damage chrome
- Flathead and Phillips screwdrivers
- Plumber's tape (Teflon tape, 1/2-inch width)
- Small bucket or shallow pan
- Strong LED flashlight or headlamp
- Old towels
Replacement parts to keep on hand:
- Assorted rubber washer kit (flat and cone-shaped)
- Supply lines (braided stainless steel, standard 20-inch length fits most sinks)
- Slip-joint washers for drain connections
- Silicone faucet grease (prevents future seal cracking)
Step-by-Step Repair Process
Step 1: Shut Off the Water Properly
Locate the hot and cold shutoff valves under the sink. Turn each clockwise until it stops—do not force it. If these valves are stuck or missing, or if water continues to flow after turning them, you'll need to shut off the main water valve for your home, usually located near the water meter or where the main line enters the house.
Before proceeding: Open the kitchen faucet to relieve pressure in the lines. Place a bucket under the P-trap—water will spill when you disconnect anything.
Step 2: Dry Everything and Identify the Source
Wipe all pipes, fittings, and the cabinet floor completely dry with towels. Now have someone turn the water back on briefly while you watch from below. Do not blindly tighten everything—you want to see exactly where the first drops appear.
Three most common drip locations:
- Where the supply line nut meets the shutoff valve
- Where the supply line nut meets the faucet tailpiece
- Dripping from the shutoff valve handle itself
Step 3: Tighten Fittings the Right Way
If you found a loose compression nut, here's the correct technique:
Hold the stationary part of the fitting (the shutoff valve body or faucet tailpiece) with one hand. Use the wrench on the nut with your other hand. Turn clockwise firmly but gently—compression fittings seal best when hand-tight plus a quarter turn with a wrench. Overtightening deforms the brass ferrule inside and creates a permanent leak that requires replacing the entire fitting.
Step 4: Replace Washers or Supply Lines
If tightening didn't stop the leak, the washer has failed. Disconnect the supply line at both ends. Remove the old rubber washer from inside the nut. Install a new washer of the exact same diameter and thickness. Apply a thin smear of silicone faucet grease to the washer face before reassembly—this prevents it from drying out and cracking next year.
When to replace the entire supply line: If the brass compression ring (ferrule) is stuck on the valve and won't slide off, or if the supply line's crimped ends are corroded, replace the whole line. Braided stainless steel lines cost roughly eight to twelve dollars and are vastly more reliable than the old plastic mesh style.
Step 5: Check the Faucet Base and Handles
Sometimes the leak isn't from the pipes at all but from the faucet body itself. Water can run down the outside of the faucet, along the countertop, and drip into the cabinet—making it look like a pipe leak.
Test this: Dry the countertop completely. Wrap a dry paper towel around the base of the faucet where it meets the sink. Run the water. If the towel gets wet, the faucet's base gasket or O-ring is failing. This requires removing the faucet handle and cartridge to access the seal. Faucet brands widely follow standardised cartridge designs, so you can get a replacement from the manufacturer or a plumbing supply store.
Step 6: Test Under Full Pressure
After completing your repair, turn both shutoff valves fully open. Run the kitchen faucet on full hot and full cold for thirty seconds each. Shut it off, then wait two minutes. Wipe down all connections with a dry paper towel—any wet spot means a leak is still present.
Pro tip: Check again after twenty-four hours. Sometimes a seal seats itself overnight as the rubber warms and conforms. A tiny weep that wasn't there immediately after repair can appear later.
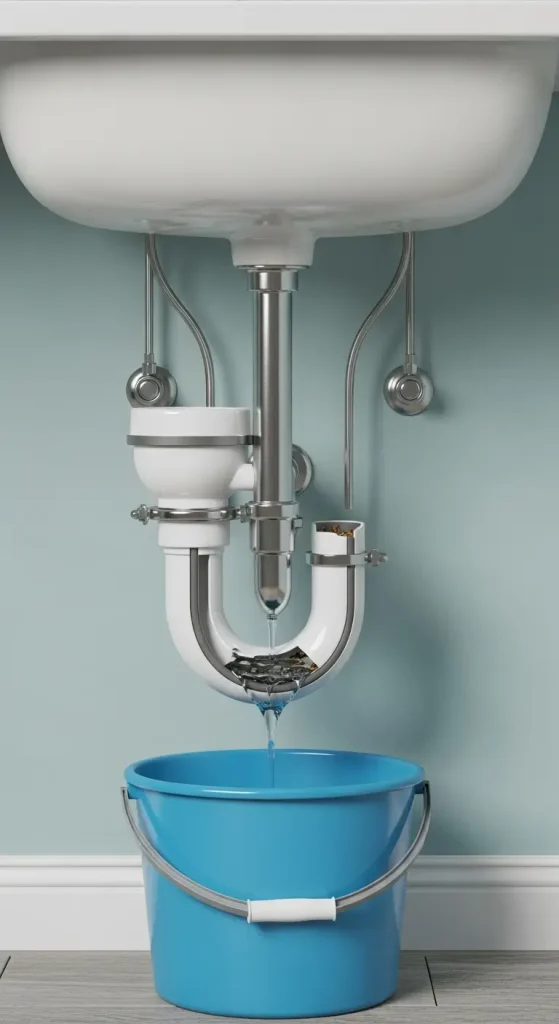 Close-up of water dripping from a compression nut at the shutoff valve connection—one of the most common pressure-leak points.
When the Leak Is in the Drain System
Not every under-sink leak is from the supply side. A leak that only happens when you run the garbage disposal or when water drains from the basin is a drain-side problem. The symptoms are similar, but the fix is different.
Drain leaks typically come from:
- The slip-joint nuts on the P-trap (hand-tighten these—never use a wrench)
- The gasket where the sink strainer meets the basin (tighten from above with a basin wrench)
- The dishwasher drain hose connection (check the clamp and rubber boot)
If you're dealing with a drain-related issue, you'll want to get familiar with the specific components involved. A proper plumbing layout diagram with dishwasher can help you identify exactly which part is failing.
Preventing Future Leaks
Monthly Visual Checks
Once a month, open the cabinet and shine a flashlight at every connection point. Look for mineral deposits—white crusty buildup around nuts and fittings is a sign of a slow evaporation leak that hasn't yet produced dripping water. If you see it, tighten the fitting slightly.
Don't Store Heavy Items Against Pipes
Those gallon jugs of cleaning solution and bulk dish soap can shift and knock against supply lines, gradually loosening compression nuts. Use a cabinet organiser or storage bin to keep heavy containers away from the plumbing. You can find excellent storage solutions for under-sink cabinets that keep everything secure.
Replace Supply Lines Every Five Years
Braided stainless steel lines have a finite lifespan. The rubber core inside ages and the braiding can develop micro-fractures. Mark the installation date on the line with a permanent marker. Set a calendar reminder for replacement at year five—especially if you live in an area with hard water or high water pressure.
Know Your Shutoff Valves
Many homeowners discover their under-sink valves are seized or broken only when a leak starts. Test yours once a year by turning them off and on. If a valve is stiff, leaks from the stem, or won't close fully, replace it before you need it in an emergency. Our guide on water valves under kitchen sink breaks down the different types and how to swap them.
Frequently Asked Questions
Why does my kitchen sink only leak when the water is turned on, not when it's off?
This indicates a pressure-related leak. When the tap is off, the water in the pipes is static. When you turn the water on, pressure builds up and forces water through weak seals, loose connections, or cracked components. The most common culprits are worn rubber washers inside supply line nuts or loose compression fittings at the shutoff valves.
Can I use plumber's tape on every threaded connection?
Only on straight-threaded connections like shower arms or threaded faucet shanks. For the compression nuts under your sink, plumber's tape is not the correct fix—these seal using a rubber washer or a brass ferrule, not thread sealing. Applying tape to compression threads can actually prevent the nut from seating properly and cause a worse leak.
How tight should I make compression nuts under the sink?
Hand-tighten the nut, then give it a quarter to half turn with an adjustable wrench. The brass ferrule inside needs to compress just enough to form a watertight seal. If you overtighten, the ferrule deforms permanently and the connection will never seal properly again.
Is it safe to use chemical drain cleaners if I suspect a leak?
No. Chemical drain cleaners generate heat and can attack rubber seals, washers, and pipe joints. If you have a leak, the chemicals will escape through the same opening and can damage cabinet flooring or cause burns. Use a mechanical snake or remove the P-trap manually instead.
When should I call a professional instead of attempting the repair yourself?
Call a plumber if you discover a leak in a concealed wall pipe, if the shutoff valves under the sink are corroded beyond turning, if water pressure has dropped significantly, or if you've tightened and replaced parts but the leak persists. Also call if you turn the shutoff valve and it leaks from the stem—that means the valve's internal seals have failed.
Conclusion
A leak under your kitchen sink that only appears when the water runs is rarely a catastrophe. Nine times out of ten, it's a loose compression nut or a worn-out rubber washer that you can replace in twenty minutes with a wrench and a few dollars in parts. The trick is diagnosing it correctly before reaching for tools.
Start by drying everything and watching for the first drip under pressure. Tighten what's loose, replace what's worn, and always test your work at full flow. Regular monthly inspections and replacing aged supply lines will keep those cabinets dry for years to come.
If you run into a problem that goes beyond a simple washer swap—like a corroded shutoff valve or a failing faucet cartridge—don't hesitate to make a quick service call. A small investment now beats cleaning up water damage later. And next time you open that cabinet, you'll know exactly what every pipe and fitting does, and why it matters.
