
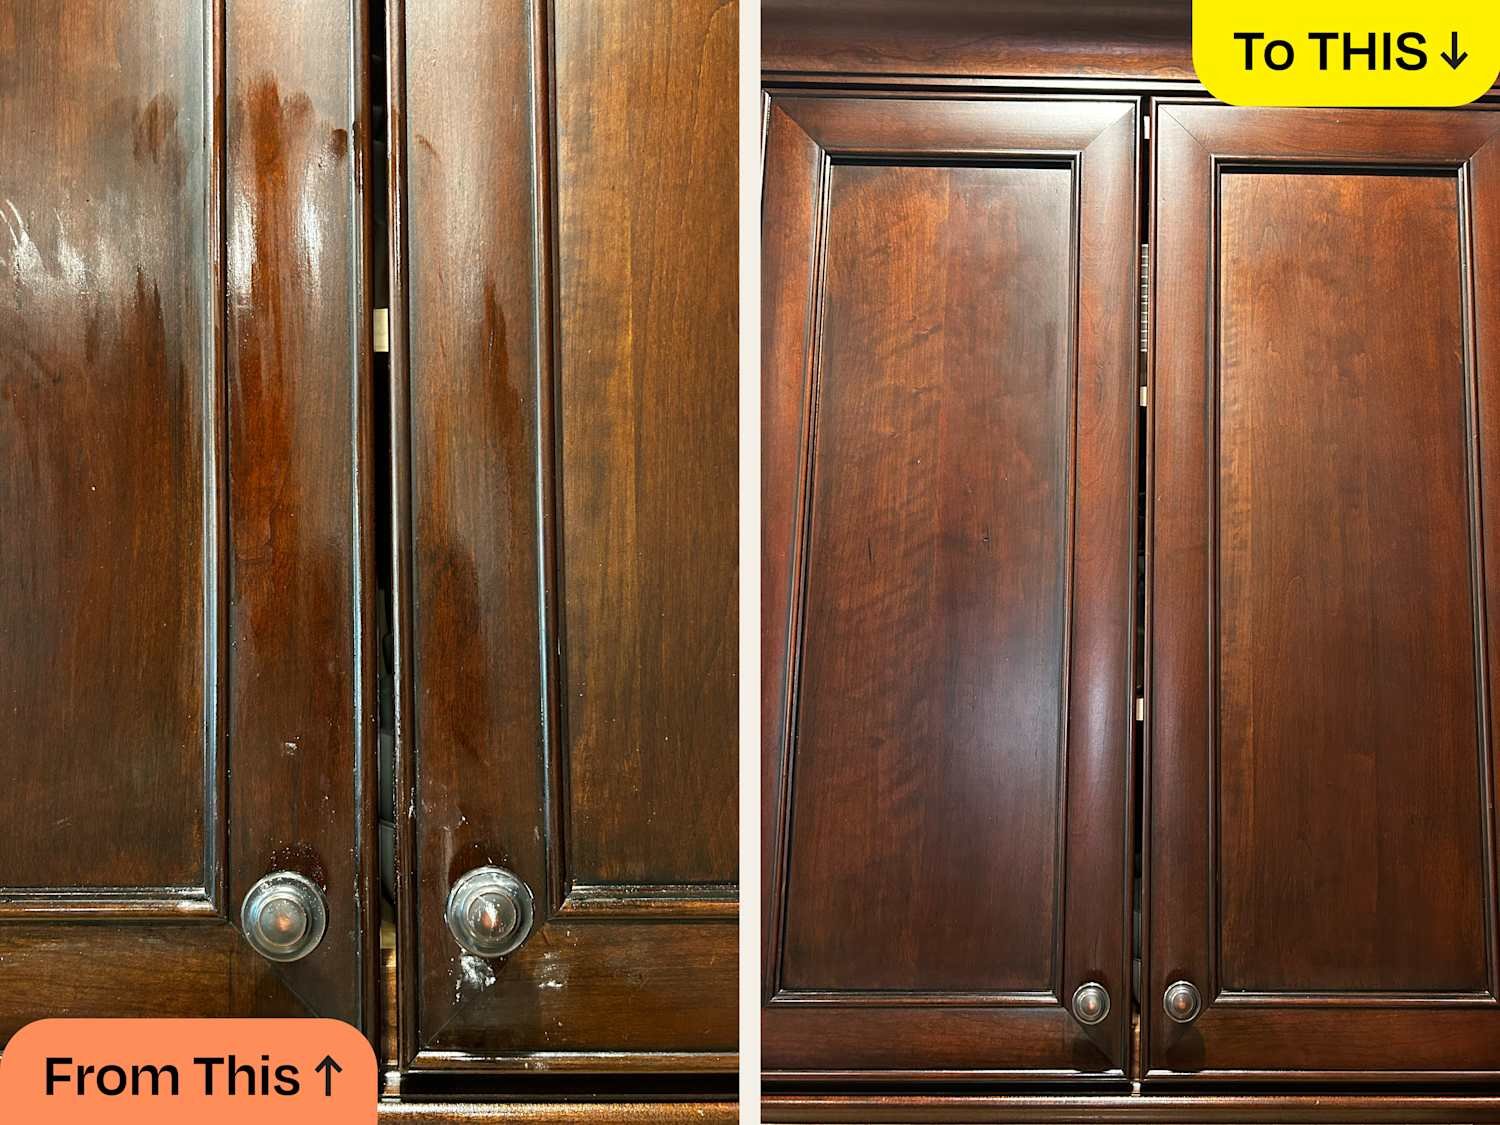
Wood cabinets are often the centerpiece of a kitchen, but daily cooking, steam, and greasy fingerprints can leave them looking dull and lifeless. The good news? You don't need expensive products or professional help to restore their original glow. With the right technique and a little patience, you can bring back that rich, warm luster yourself.
This guide walks you through everything—from choosing the safest cleaner for your cabinet's finish to the polishing methods that deliver a streak-free shine. Whether your cabinets are showing years of wear or just need a seasonal refresh, these expert tips will get the job done.
Why Proper Cleaning Matters for Wood Cabinets
Wood is a natural material that reacts to moisture, heat, and chemicals. Unlike laminate or metal, wood can warp, crack, or discolor if cleaned incorrectly. The goal is not just to remove dirt but to preserve the finish that protects the wood underneath.
A common mistake is using all-purpose sprays or window cleaners. These often contain ammonia or alcohol that strip the protective coating. Over time, the finish dulls, and the wood becomes vulnerable to stains and moisture damage. Cleaning with the right products and methods extends the life of your cabinets and keeps them looking like new.
Choosing the Right Cleaning Products
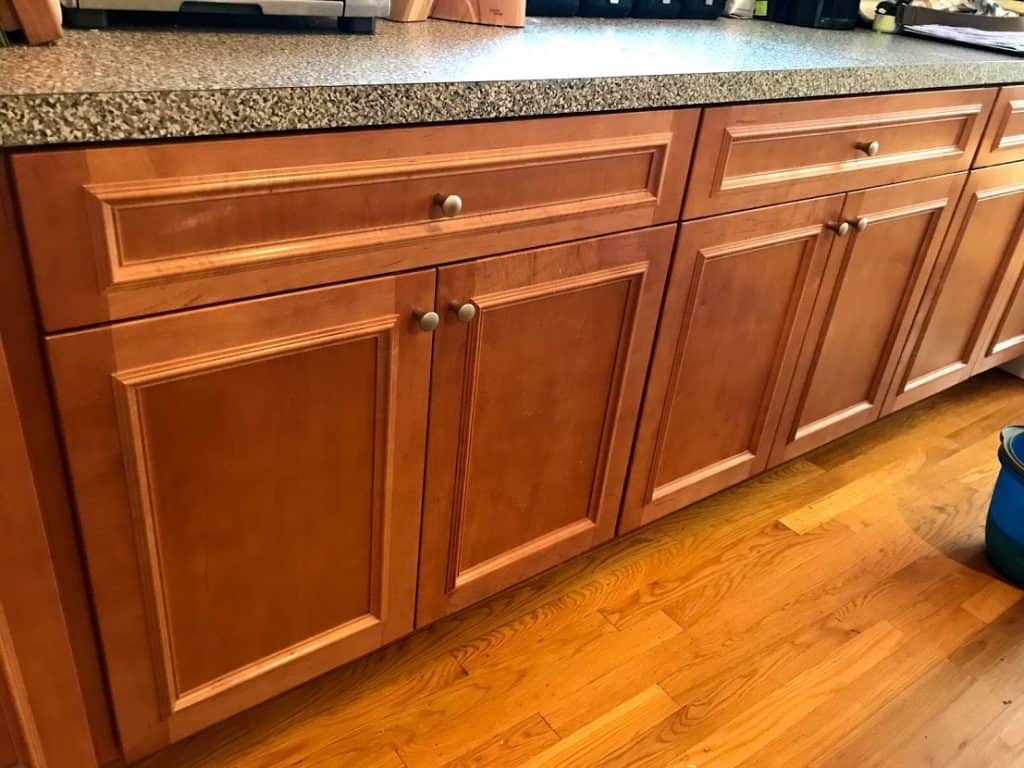
Image source: everydayoldhouse.com
Selecting mild cleaning products keeps wood cabinets looking new. Choose solutions that protect and enhance their shine.
Natural vs. Chemical Options
Natural cleaners like white vinegar, baking soda, and mild dish soap are effective for most everyday cleaning without damaging the wood's finish. Vinegar diluted with water cuts through grease safely, while baking soda paste handles stubborn stains without scratching.
Chemical cleaners can be more powerful on heavy grease, but they come with risks. Many commercial kitchen degreasers contain solvents that soften or strip polyurethane finishes. If you go the chemical route, choose a product explicitly labeled as safe for sealed wood and always test on a hidden spot first.
For most homes, a natural approach provides all the cleaning power needed while being safer for your family and the environment. A simple mixture of warm water and a few drops of dish soap is often enough for routine cleaning.
Understanding Wood Finishes
Before you clean, identify your cabinet's finish. This determines which products are safe.
Sealed finishes (polyurethane, lacquer, or varnish) are the most common on modern cabinets. They create a hard, protective barrier that resists moisture. These can handle gentle soap-and-water cleaning and periodic polishing.
Oil finishes (tung oil, linseed oil, or Danish oil) penetrate the wood rather than sit on top. They require specialized oil soaps—never use water-heavy cleaners on oiled wood, as moisture can get trapped and cause cloudiness.
Wax finishes are less common but appear on some antique or hand-rubbed cabinets. Wax finishes need gentle cleaning with a damp cloth and reapplication of wax to maintain shine.
If you are unsure about your cabinet's finish, check the manufacturer's documentation or test a small area inside a cabinet door with the product you plan to use.
Preparing Your Cabinets for Cleaning
Preparation makes the difference between a surface wipe and a deep clean that restores shine. Skipping this step often means pushing dirt into corners or leaving residue that dulls the finish.
Removing Hardware
Take off knobs, handles, hinges, and any decorative pulls. This allows you to clean the entire cabinet face without obstruction. Use a screwdriver and store the hardware in a bowl or zip bag so nothing gets lost.
While the hardware is off, clean it separately. Soapy water works for most metal finishes, but check the manufacturer's care instructions—some brass or antique finishes require a gentle polish.
Dusting and Surface Cleaning
Dust and loose grime must be removed before any wet cleaning begins. If you apply a cleaner to dusty cabinets, you end up rubbing grit across the surface, causing micro-scratches.
Use a microfiber cloth or a soft tack cloth to wipe down every surface, including edges, corners, and the tops of cabinets where dust settles. Microfiber traps particles rather than moving them around. Pay special attention to the underside of cabinet fronts—grease and cooking residue collect there.
For this initial dusting, no water or cleaner is needed. Just a dry cloth to remove loose debris.
Deep Cleaning Techniques
Image source: cdn.houseoutlook.com
Deep cleaning should happen every three to six months, depending on how often you cook. This is where you remove the grease, grime, and sticky buildup that regular wipedowns miss.
Using Soap and Water
Mix a solution of warm water with a few drops of mild dish soap. Avoid using too much soap—excess suds leave a residue that attracts dirt.
Dampen a soft sponge or cloth in the solution and wring it out thoroughly. The cloth should be damp, not wet. Excess moisture can seep into seams and cause the wood to swell or the finish to peel.
Wipe each cabinet door and frame, working from top to bottom. Rinse your cloth frequently in clean water to avoid redistributing grease. Follow immediately with a dry microfiber cloth to remove any moisture. Do not let the cabinets air-dry; water spots can etch into the finish.
Dealing with Grease and Stains
Grease buildup near the stove and above countertops requires a little more effort. For these areas, mix a paste of baking soda and water (about three parts baking soda to one part water). Apply it to the greasy spots with a soft sponge and gently scrub in circular motions. Let it sit for a minute, then wipe away with a damp cloth.
For tougher, cooked-on residue, add a splash of white vinegar to the baking soda paste. The fizzing action helps lift grime. As always, test on a small hidden area first.
If grease has built up heavily over years, you may need to repeat the process two or three times. Be patient—harsh scrubbing will damage the finish.
Polishing for Shine
Polishing is where the magic happens. A good polish fills tiny imperfections in the finish and adds a reflective layer that makes the wood glow. But not all polishes work the same way, and applying them incorrectly can leave streaks or sticky buildup.
Selecting the Right Polish
For sealed cabinets (polyurethane or lacquer), a polish with carnauba wax or beeswax works best. These natural waxes buff to a high shine and create a protective barrier against future dust and grease.
Avoid silicone-based polishes. They produce an initial high shine but leave a film that attracts dust and makes future refinishing difficult. Once silicone is on the wood, paint and new finishes struggle to adhere.
For oiled cabinets, skip wax polishes. Instead, use a specialized wood oil conditioner or a light mineral oil. These renew the wood's natural depth without sitting on the surface.
Some products to look for include:
- Beeswax furniture polish – safe for most sealed finishes, easy to apply
- Carnauba wax paste – gives a hard, durable shine
- Mineral oil – suitable for oiled or butcher-block cabinet surfaces
Application Methods
Apply polish sparingly. A dime-sized amount is enough for an average cabinet door. More product does not equal more shine—it leads to buildup that dulls over time.
Use a clean, lint-free cloth. Apply the polish in small circular motions, covering the entire surface evenly. Let it sit for the time recommended on the label (usually 5–10 minutes), then buff with a separate dry cloth until the wood gleams.
For best results, work in sections. Do one door completely before moving to the next. This prevents the polish from drying unevenly.
Polish your cabinets twice a year for optimal shine. In high-grease kitchens, consider polishing the doors near the stove every few months.
Maintaining the Shine
Getting the cabinets clean and polished is only half the battle. Keeping them that way requires a routine that does not take much time.
Regular Cleaning Schedule
- Daily or after cooking: Wipe down cabinet fronts with a dry microfiber cloth to remove splatters and fingerprints before they set.
- Weekly: Use a damp cloth with a tiny drop of dish soap to clean the surfaces. Dry immediately.
- Every 3–6 months: Perform the full deep-cleaning and polishing routine described above.
Avoiding Common Mistakes
- Do not use vinegar on waxed or oiled finishes – vinegar strips wax and can cloud oil finishes.
- Do not soak cabinets – standing water causes wood to swell and finish to peel. Always wring out your cloth thoroughly.
- Do not use paper towels – they leave lint and can scratch delicate finishes. Stick to microfiber or soft cotton cloths.
- Do not use abrasive scrubbers – steel wool or scouring pads ruin the finish permanently.
Expert Tips for Longevity
Preventing Damage
Prevention is easier than repair. Simple habits protect your cabinets for years.
- Wipe spills immediately – water, oil, and acidic foods like tomato sauce can stain or etch the finish if left to sit.
- Use a range hood – steam and grease from cooking are the main culprits behind dull cabinets. Running your hood while cooking pulls moisture and oil away from the wood.
- Avoid direct sunlight – UV rays fade wood finishes over time. Install blinds or UV-blocking window film if your kitchen gets a lot of afternoon sun.
- Keep cabinets closed when not in use – this prevents kitchen fumes and moisture from settling on the interior surfaces.
Handling Wear and Tear
Even with careful maintenance, cabinets show signs of age. Scratches, loose hinges, and faded spots happen over time. Address these small issues before they become big problems.
- Tighten loose hardware every few months. A wobbly handle stresses the wood around the screw hole.
- Buff light scratches with a furniture touch-up marker or a blend of equal parts olive oil and vinegar applied with a cotton swab.
- Check cabinet hinges for squeaking – a drop of silicone lubricant prevents wear and keeps doors aligned.
- If the finish looks cloudy or sticky, you may have product buildup. Wipe with a cloth dampened in mild soapy water, then rinse and dry thoroughly. This often restores clarity.
For deeper scratches or damage to the finish, consider consulting a professional refinisher rather than attempting a DIY repair with strong chemicals.
Frequently Asked Questions
How do I get my wooden cabinets to shine again?
Clean cabinets thoroughly with a mild soap-and-water solution, dry completely, then apply a wax-based wood polish. Buff the surface in circular motions with a clean cloth for a streak-free glow. Avoid silicone-based products that leave a sticky film.
How to make wood kitchen cabinets look glossy?
Start with a clean, dry surface. Lightly sand sealed cabinets with 400-grit sandpaper to smooth any roughness, then apply a high-gloss polyurethane or furniture wax in thin, even coats. Allow each coat to dry fully and buff between layers for a mirror-like finish. For oiled wood, use multiple coats of tung oil and buff after each one.
Is Murphy's Oil Soap good for cleaning wood cabinets?
Yes, Murphy's Oil Soap is safe for sealed wood cabinets when diluted according to the label. It cleans gently without damaging the finish. However, it should be used sparingly and always followed by a dry cloth—residue left on the surface can attract dust.
What is the best homemade cleaner for wood cabinets?
Mix equal parts white vinegar and warm water with a few drops of mild dish soap. This solution cuts grease and lifts grime without harsh chemicals. For sealed cabinets, add one tablespoon of olive oil to condition the wood as you clean. Shake well before each use. Always test on an inconspicuous area first.
Conclusion
Clean, shiny wood cabinets do not require a professional cleaner or a cabinet full of expensive products. The secrets are simple: use the right cleaner for your cabinet's finish, avoid excess moisture, establish a consistent cleaning routine, and polish with a quality wax a few times a year.
By following the steps in this guide—preparing properly, deep-cleaning when needed, polishing with care, and maintaining regularly—you can keep your cabinets looking beautiful for years. Your kitchen will feel brighter, cleaner, and more welcoming every time you walk in.
Start with a quick inspection of your current cabinet condition, pick the appropriate cleaning method from this guide, and give your cabinets the care they deserve. The transformation is well worth the effort.
