Is the dim glow from your range hood barely illuminating your cooking space? You’re not alone.
Replacing a range hood light bulb might seem like a daunting task, but it’s actually straightforward and quick. Imagine effortlessly whipping up your favorite dishes with clear visibility, making your kitchen adventures more enjoyable and efficient. In this guide, you’ll discover simple steps to swap out that dull bulb for a bright new one, ensuring your kitchen remains the heart of your home.
Dive in, and let’s bring that light back to life!
Tools And Materials Needed
Gather a replacement bulb, screwdriver, and cleaning cloth. Check the bulb type in the hood’s manual. Ensure the range hood is turned off to avoid any electrical hazards.
Replacing a range hood light bulb can seem daunting at first, but with the right tools and materials, you can easily complete this task yourself. Ensuring you have everything ready before you start will save time and reduce frustration.
Gathering Essential Tools
You don’t need a toolbox filled with complicated tools. A simple screwdriver is often all you need to remove the light cover. Check whether your range hood uses Phillips or flathead screws. Having both types on hand can save you a trip to the hardware store.
Choosing The Right Light Bulb
Using the correct bulb is crucial. Before heading out to buy a replacement, check your range hood’s manual for the recommended type and wattage. If you can’t find the manual, take the old bulb with you to ensure you get a perfect match. Remember, using a bulb with the wrong wattage can lead to overheating or poor lighting.
Safety Gear And Precautions
Safety first! Always have a pair of gloves to protect your hands from sharp edges or broken glass. If your old bulb is broken, goggles can prevent any glass shards from causing injury. Make sure your range hood is turned off and unplugged before you start.
Optional Cleaning Supplies
While you’re at it, why not give your range hood a quick clean? A damp cloth and a mild detergent can help remove grime and grease. This small step can improve the overall look and efficiency of your appliance. Do you have any other tools that you find helpful for small home repairs? Sharing your experiences can help others tackle these tasks with confidence. Remember, preparation is key to a smooth and quick bulb replacement!
Safety Precautions
Replacing a range hood light bulb might seem simple. Yet, ensuring safety is crucial. Before starting, be aware of potential hazards. Taking the right precautions can prevent accidents. This guide covers essential safety steps for a stress-free experience.
Unplug The Range Hood
Begin by unplugging the range hood. This step prevents electrical shocks. Always prioritize cutting off power first. Never skip this basic safety measure.
Allow The Bulb To Cool
Light bulbs can get very hot. Let the bulb cool before touching it. Wait a few minutes after switching it off. This prevents burns and injuries.
Use A Sturdy Ladder Or Step Stool
Ensure you have a stable ladder or stool. Wobbly supports can cause falls. Check the surface is even and secure. Always prioritize stability.
Wear Protective Gloves
Gloves protect your hands from sharp edges. They also offer grip for the bulb. Choose gloves that fit well. They should not be too loose or tight.
Handle The Bulb Gently
Light bulbs are fragile. Handle with care to avoid breakage. Use gentle pressure when unscrewing. Avoid dropping or striking the bulb.
Dispose Of The Old Bulb Properly
Old bulbs need proper disposal. Check local guidelines for bulb disposal. Use a paper or cloth wrap for safety. Disposing of glass safely prevents injury.
Identifying The Bulb Type
Changing a range hood light bulb seems easy. But, identifying the right bulb type is crucial. Using the wrong bulb can damage your appliance. Or it might not fit at all. Here’s how to find the correct bulb.
Check The User Manual
The user manual provides essential information. It lists the recommended bulb type. Always start here for guidance.
Look At The Old Bulb
Remove the old bulb carefully. Check its base and size. Most bulbs have labels on them. This tells you the wattage and type.
Consider The Bulb Shape
Bulbs come in different shapes. Some are round, others are tubular. Ensure the new bulb matches the old one’s shape.
Understand Different Bulb Types
Common types include halogen, LED, and incandescent. Each has unique features. Choose based on energy efficiency and brightness.
Match The Bulb Base
Bulb bases vary in size and design. Screw bases and pin bases are common. Verify the base type before buying a new bulb.
Consult A Professional
If unsure, consult a professional. They can help identify the right bulb. This ensures your range hood functions properly.
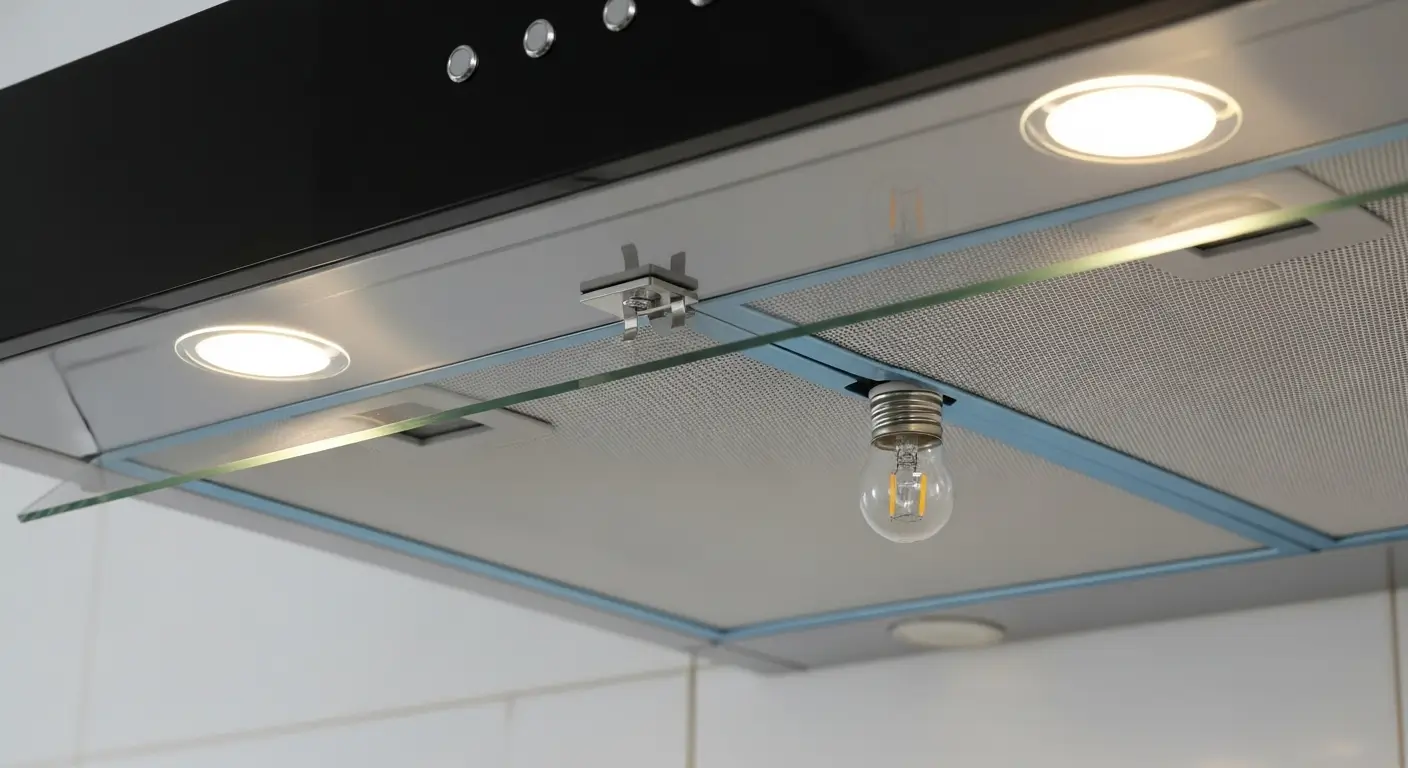
Removing The Old Bulb
Gently twist the old bulb counterclockwise to remove it from the range hood. Ensure the hood is off and cool before starting. This simple step makes way for the new bulb, brightening up your cooking space efficiently.
Replacing a range hood light bulb might seem daunting, but with a bit of guidance, it can be a simple task. One of the crucial steps is removing the old bulb, which requires careful handling. If you’ve ever tried replacing a bulb and felt unsure, you’re not alone. This section will guide you through the process, ensuring you do it safely and efficiently. Let’s dive into the details to make sure you get the job done right.
Turning Off Power
Safety first! Before you begin, ensure the power is off. Locate your range hood’s power switch or unplug it from the outlet. This step is vital to prevent any electrical mishaps. If you’re unsure about where the switch is, check the manual or look around for a small switch near the hood. It’s usually easy to find. Turning off the power protects you from any electrical shocks and keeps the bulb replacement smooth.
Accessing The Bulb
Once the power is off, it’s time to access the bulb. Most range hoods have a cover or panel protecting the bulb. Take a moment to inspect how it opens; some might have screws, while others simply slide off. Have you ever struggled with a stubborn panel? You might need a screwdriver or just a firm grip.
Carefully remove the cover, and you’ll see the bulb staring back at you. It’s like uncovering a hidden treasure, but remember, handle with care. As you look at the bulb, consider its placement. Is it easy to reach, or does it require a bit of maneuvering? Sometimes a small step stool can be handy, ensuring you can safely access and remove the bulb without straining.
Installing The New Bulb
You’ve tackled the task of removing the old range hood bulb, now comes the exciting part—installing the new one. This might sound straightforward, but getting it right ensures your kitchen stays bright and safe. In this section, you’ll learn how to select the perfect bulb and install it properly. Ready to light up your cooking space?
Selecting The Right Bulb
Before you jump to installation, choosing the right bulb is crucial. Not all bulbs fit every range hood. Check your range hood manual for specifications. Typically, you’ll need a bulb that matches the wattage and size.
LED bulbs are a smart choice. They’re energy-efficient and last longer. If you’ve ever replaced a bulb only to find it burnt out quickly, you know the frustration. Investing in a high-quality LED saves you the hassle.
Consider the color temperature. Do you prefer warm or cool lighting? Your choice can enhance your kitchen’s ambiance. Picking the right bulb is more than just functionality; it’s about creating a space you love.
Proper Installation Steps
Got the right bulb? Great! Now, let’s install it. Start by turning off the power to your range hood. Safety first! Ensure the switch is off and unplug the hood if possible.
Carefully insert the bulb into the socket. It should fit snugly but don’t force it. If it doesn’t seem to fit, double-check you’ve chosen the correct size and type. A gentle twist might be all you need.
Once installed, switch the power back on. Test the bulb by turning on the range hood light. Does it illuminate as expected? If not, retrace your steps. Sometimes, a simple adjustment can make all the difference.
Replacing a range hood bulb is a task you can master. Have you ever hesitated to change a bulb because of uncertainty? Now, you have the know-how to tackle it with confidence.
Testing The New Light
Discover the simple steps to replace your range hood light bulb easily. Ensure safety by switching off the power. Carefully remove the old bulb and insert the new one. Test the light to confirm everything works properly. Enjoy a brighter cooking space with your new range hood bulb.
Testing the new light in your range hood can feel like a small victory, especially after you’ve successfully installed the replacement bulb. It’s the moment you see your hard work pay off, quite literally in a new light! But how can you ensure that everything is working perfectly and safely? Let’s dive into the steps to make sure your range hood is shining brightly and efficiently.
Check The Light Switch
First, ensure the light switch is in the correct position. It sounds simple, but it’s easy to overlook. Flick the switch on and off a few times to confirm it’s not stuck or malfunctioning. If the light doesn’t turn on, double-check if the bulb is screwed in properly.
Inspect The Bulb
Look closely at the bulb through the range hood cover. Is it flickering or dim? This might suggest the bulb isn’t compatible or is defective. Sometimes, even new bulbs can be duds. Make sure the bulb is the right wattage and type for your range hood.
Observe The Light Coverage
Consider how well the light covers your cooking area. Does it illuminate the entire space evenly? A well-lit cooking surface can make all the difference in preparing meals safely. If the coverage isn’t satisfactory, you might need to try a different bulb type, such as an LED for broader illumination.
Listen For Odd Noises
While the range hood is on, listen for any unusual sounds. A strange noise could indicate a loose bulb or an issue with the electrical connection. It’s important to address these issues quickly to prevent any hazards.
Evaluate The Heat Output
Feel the area around the bulb after it has been on for a few minutes. Is it excessively hot? This could be a sign that the bulb is too powerful for the fixture. Opt for a lower wattage if you notice excessive heat, as it could damage the range hood over time.
Consider Your Cooking Habits
Think about how often you use the range hood light. If it’s a frequent fixture in your cooking routine, investing in a long-lasting, energy-efficient bulb could save you time and money. LEDs are an excellent choice for frequent use due to their longevity and low energy consumption. Have you ever found yourself cooking in dim light, only to realize the range hood bulb is out? Testing it right after installation can save you from such frustrations. What other small household fixes have you mastered that make your daily life smoother?
Troubleshooting Common Issues
Changing a range hood light bulb seems straightforward, but it can sometimes pose unexpected challenges. You might find yourself scratching your head, wondering why the light still doesn’t work or why the bulb won’t fit. Let’s dive into common issues you might face and how to tackle them effectively.
How To Identify A Faulty Bulb
Before you start replacing the bulb, ensure it’s the bulb that’s at fault. A quick way to test is by swapping the questionable bulb into another socket that you know works. If the bulb lights up, then the issue might lie elsewhere in your range hood.
Ensuring Proper Bulb Fit
Not all bulbs fit every socket. Measure the old bulb and note its specifications before buying a new one. It’s frustrating to get home and realize the bulb doesn’t fit, wasting both your time and money.
Checking The Socket
Even if the bulb looks fine, the socket might be the culprit. Inspect the socket for any signs of damage or corrosion. A damaged socket can prevent the bulb from connecting properly, leading to no light.
Understanding Electrical Connection Issues
Sometimes, the problem lies in the electrical connections. Make sure all wires are securely connected. Loose wires can disrupt the flow of electricity, preventing your bulb from lighting up.
Resolving Compatibility Problems
Range hoods often have specific bulb requirements. Check your range hood’s manual to ensure the bulb you’re using is compatible. This prevents unnecessary trips to the store and saves you from further headaches.
Dealing With Persistent Light Failure
If your light still doesn’t work after trying these solutions, it may be time to consider professional help. A persistent issue might hint at a larger problem within the electrical system of your range hood.
Have you ever faced any quirky issues while replacing your range hood bulb? Share your experience or solutions to help others who might be in the same boat.
Maintenance Tips
Maintaining your range hood light bulb is often overlooked, yet it’s essential for a well-functioning kitchen. Proper care not only extends the bulb’s life but also ensures your cooking area remains well-lit and safe. Here are some practical maintenance tips to keep your range hood lighting in top shape.
Inspect Regularly
Make it a habit to check your range hood light bulb every few weeks. Look for signs of flickering or dimming, which could indicate it’s nearing the end of its lifespan. A simple inspection can prevent unexpected bulb failures.
Clean The Bulb
Dust and grease build-up can reduce the bulb’s brightness. Use a soft cloth to gently wipe the bulb. Ensure the bulb is cool before cleaning to avoid burns. A clean bulb can improve lighting efficiency significantly.
Choose The Right Bulb
Not all bulbs are created equal. Use bulbs recommended by the manufacturer to ensure compatibility. LED bulbs are energy-efficient and last longer, saving you money and time on replacements.
Check Wiring
If you’re handy, inspect the wiring connecting to the bulb. Loose or damaged wires can cause flickering or total failure. Tighten any loose connections or seek professional help if needed.
Replace Timely
Don’t wait for the bulb to burn out completely. Replace it when you notice significant dimming. This proactive approach keeps your kitchen well-lit and functional, especially during evening cooking sessions.
Have you ever been caught off guard by a burnt-out bulb in the middle of dinner prep? Regular checks and timely replacements prevent such inconvenient surprises. Keep your kitchen bright and welcoming with these simple maintenance tips.
Frequently Asked Questions
How To Replace A Bulb On A Range Hood?
Turn off the power. Remove the range hood cover. Gently unscrew the old bulb. Insert a new bulb. Replace the cover securely.
What Kind Of Lightbulb Goes In A Range Hood?
Range hoods usually require halogen or LED bulbs. Check the owner’s manual for specific wattage and bulb type. Ensure compatibility with your range hood model for optimal lighting. Replace bulbs regularly to maintain brightness and efficiency. Always switch off the appliance before changing bulbs to ensure safety.
How Do You Change A Led Light On A Vent Hood?
Turn off the power to the vent hood. Remove the cover by unscrewing or unclipping it. Gently take out the old LED light. Insert the new LED, ensuring it fits securely. Replace the cover. Turn the power back on to test the new light.
How To Replace Oven Range Light Bulb?
Turn off the oven and unplug it. Locate the bulb cover, usually in the back. Remove the cover, unscrew the old bulb, and replace it with a new one. Ensure the bulb matches the wattage and type. Reattach the cover, plug in the oven, and test the light.
Conclusion
Replacing a range hood light bulb is simple with the right steps. First, gather your tools and new bulb. Make sure the range hood is off for safety. Remove the old bulb carefully. Install the new bulb by gently screwing it in place.
Finally, test the light to ensure it works. Regular maintenance keeps your kitchen bright and functional. Always refer to your hood’s manual for specific guidance. Taking these steps ensures a well-lit cooking area. Now, enjoy your renewed kitchen lighting.