
A list of 21 Baking Tools Every Beginner Needs can be helpful. But the right first purchase is a practical starter kit, not a crowded drawer of gadgets.
Manufacturer specifications commonly list a 13 by 18 inch size for rimmed baking sheets. That specification shows why dimensions matter alongside a tool’s basic job. As of 2026, start with measuring and mixing basics, then add pans and finishing tools.
Quick Answer
The 21 Baking Tools Every Beginner Needs cover measuring, mixing, baking, and finishing. Treat them as a useful starter set, not a mandatory shopping list. Buy basics first, then add specialty tools for your favorite recipes.
Match purchases to your recipes, kitchen space, and care routine.
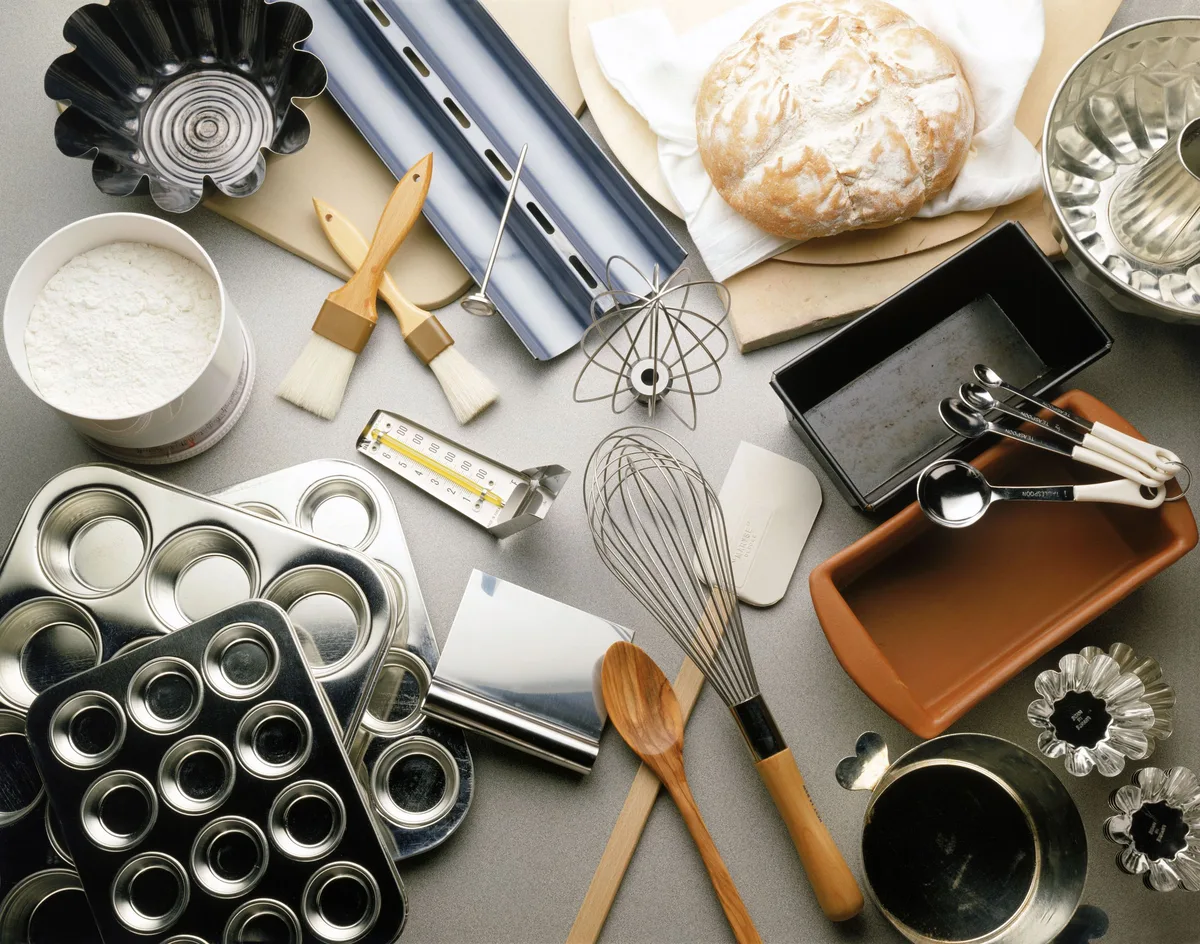
5 Measuring and Mixing Tools Worth Buying First
Measurements set the foundation of a recipe. Mass means the weight of an ingredient, while volume means the space it occupies.
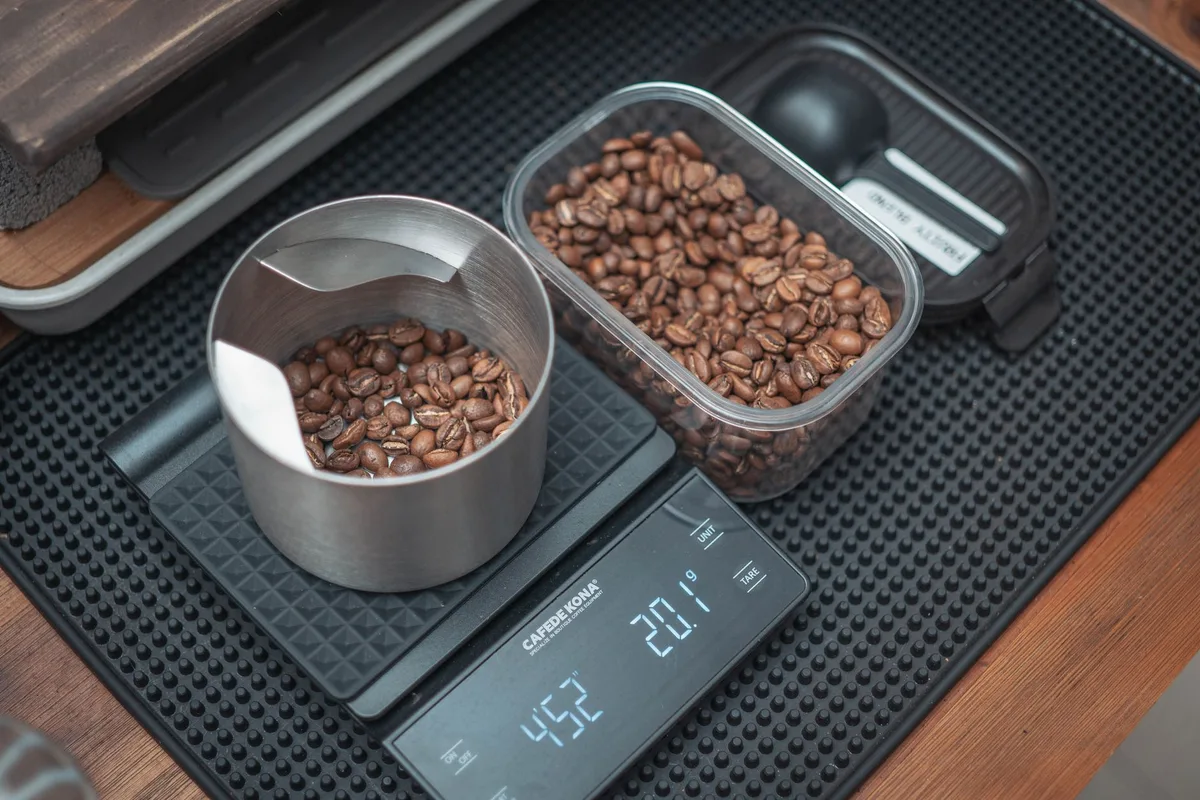
1. Digital kitchen scale
A digital kitchen scale measures ingredient mass and gives you a repeatable number. Its tare function subtracts the weight of a bowl, and a 5 kg (11 lb) capacity covers most home baking batches.
Check documented accuracy, not just display increments. A 0.1 g step doesn’t guarantee 0.1 g accuracy.
2. US measuring cups
Choose US measuring cups for ingredients that a recipe measures by volume. Level dry ingredients with a straight edge, and fill liquid cups to the marked line.
Keep separate cups for sticky ingredients. Packing flour or brown sugar into a measure adds an extra variable.
3. Measuring spoon set
A measuring spoon set handles small amounts of yeast, salt, vanilla, and spices. Useful sizes include 1/4 teaspoon, 1/2 teaspoon, 1 teaspoon, and 1 tablespoon.
Add 1/2 and 1/3 tablespoon spoons if your recipes call for them. Choose clear markings, a comfortable handle, and spoons that stack securely.
4. Mixing bowls
Mixing bowls come in metal, glass, and plastic sizes for mixing and holding ingredients. Metal is durable, plastic is lighter, and glass has its own heat limits.
Choose sizes that hold a full batch without approaching the rim. Check cupboard space before buying a large nesting set.
5. Rubber or silicone spatula
A rubber or silicone spatula scrapes bowls, mixes batters, and folds thicker mixtures. A flexible head reaches the sides and bottom without leaving behind large amounts of batter.
For sauce or melted chocolate, check its stated heat limit. For dense cookie dough, choose a stiff blade that won’t fold over.
5 Preparation Tools for More Consistent Portions and Cleaner Work
These tools control dough thickness, portion size, and cleanup. They’re most useful when you make cookies, pies, pastries, or bread.
6. Wire whisk
A wire whisk combines ingredients and adds air during fast, circular strokes. A balloon whisk suits thin batters and egg whites, while a sturdier whisk handles cream and sauces.
Stop mixing once the visible ingredients are combined. If a recipe needs fuller dough development, follow the right mixing approach for that dough.
7. Fine-mesh sieve
A fine-mesh sieve sifts flour and breaks up small lumps before mixing. Its mesh can also catch stray pieces of nuts, seeds, or dried fruit when you need a smoother filling.
Sift when the recipe specifically calls for it. You don’t need to sift every measured cup of flour.
8. Rolling pin
A rolling pin controls dough thickness and makes pie crusts easier to roll evenly. A straight pin gives you direct pressure, while a pin with bearings moves smoothly with less wrist effort.
Choose a length that fits your work surface and recipes. Keep the surface floured, and roll evenly instead of thinning only one section.
9. Bench scraper
A bench scraper divides dough, gathers sticky mixtures, and moves chopped ingredients into a bowl. Flexible plastic lifts dough from a surface, while rigid metal cuts and portions more firmly.
Weigh dough portions against a scale for better consistency. Clean underneath the scraper promptly so food doesn’t remain trapped against the worktop.
10. Pastry wheel
A pastry wheel cuts neat strips, pie lattice, and repeated dough shapes. A blade guard keeps the wheel raised when it rests on a counter.
Use a ruler for straight, evenly spaced strips when accuracy matters. Add this tool once pie and pastry become regular parts of your baking.
6 Baking Pans to Choose by Recipe, Size, and Material
A baking pan sets capacity, portion size, and heat behavior. Match the recipe’s stated dimensions and depth before choosing a color or coating.
A rimmed baking sheet is a shallow metal tray with raised sides. It suits cookies, sheet cakes, and roasting.
| Pan | Best for | What to check |
|---|---|---|
| Rimmed baking sheet | Cookies, sheet cakes, and roasting | A common size is 13 by 18 inches. Raised sides contain grease. |
| Round cake pan | Layer and single-layer cakes | Common diameters are 8 and 9 inches. Match both width and depth. |
| Loaf pan | Quick breads and sandwich loaves | A common metal size is 9 by 5 inches. Check capacity before switching. |
| Muffin pan | Muffins, cupcakes, and quick breads | A standard pan holds 12 cups. Check clearance for oversized versions. |
| Pie dish | Pies and tarts | Follow the stated diameter and depth. A wider dish changes the filling ratio. |
| Springform pan | Cheesecakes and removable-bottom cakes | Look for a secure clamp and level sides. A cardboard base is a short-term option. |
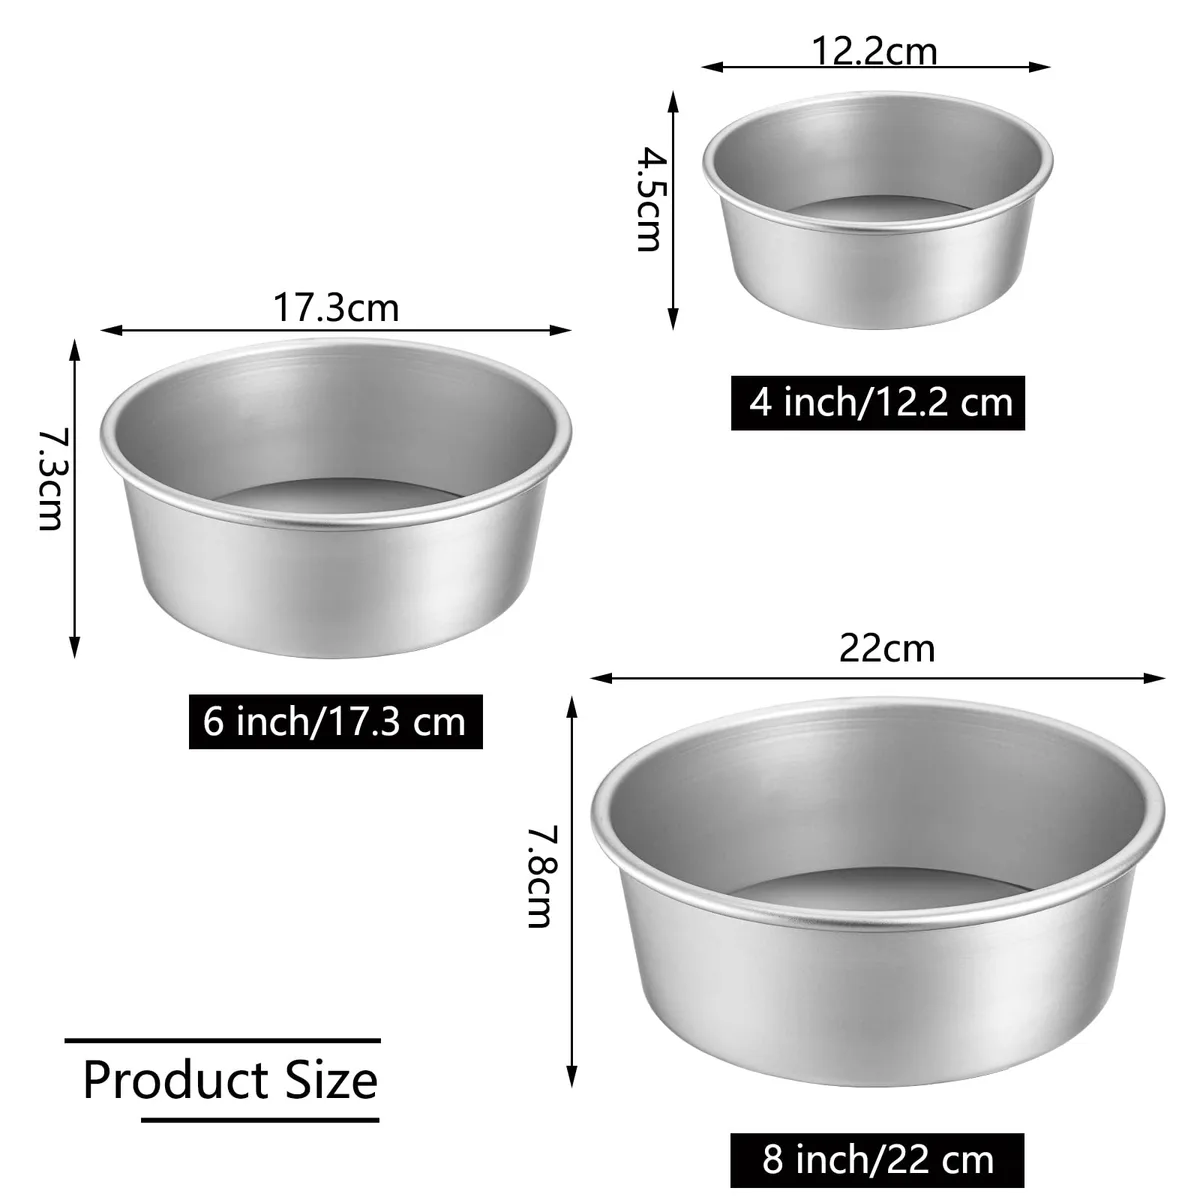
Pale aluminum generally browns food more gently than dark steel. Glass and ceramic can also brown more slowly, so check stated oven-temperature limits.
Match nonstick pans to the recipe. Avoid heating an empty coated pan at excessive temperatures.
Measure the pan’s outside width, including any handle. Make sure the oven rack can sit level inside the oven.
5 Finishing and Handling Tools That Make Baking Easier
These tools protect your hands and help finished bakes release cleanly. They make handling easier without changing the recipe.
17. Wire cooling rack
A wire cooling rack holds baked goods above the counter so hot air can circulate underneath. Choose wires spaced closely enough for cookies, with enough clearance for a sheet pan.
Cooling trays and towels can trap moisture under cake layers. Let cakes cool fully before frosting or wrapping.
18. Parchment baking paper
Parchment baking paper resists grease within its stated temperature range. Follow the label for coated and unbleached paper, and cut each piece to fit.
Wax paper isn’t oven-safe. Replace paper that’s torn, brittle, or heavily greasy.
Use a silicone liner instead if you prefer a basket-style mat. Keep it within its stated heat limit.
19. Offset spatula
An offset spatula spreads frosting without disturbing cake crumbs, thanks to its narrow blade. Use a thin blade for a crumb coat and a longer one for lifting cookies or cake layers.
A piping set is better for consistent borders or flower shapes. Keep the spatula clean between decorating steps.
20. Pastry brush
A pastry brush applies egg wash, glaze, melted chocolate, or basting sauce. Silicone flexes around uneven surfaces, while firmer bristles hold a heavier coating.
Use separate brushes for sweet, savory, and dairy recipes. For upkeep, wash the brush promptly and follow its material-specific care instructions.
Let the bristles dry fully before storage. Storing it properly helps prevent trapped moisture and odors.
21. Heat-resistant oven mitts
Heat-resistant oven mitts protect your hands when you lift hot pans or baking sheets. Thick quilted cloth suits heavy sheet pans, while silicone provides flexible grip for smaller cookware.
Check the stated temperature rating, and use both hands for an awkward load. Keep cloth mitts dry, let them cool fully, and choose a snug fit.
Replace a damaged glove rather than relying on a loose or thin one.
Hand Mixers, Stand Mixers, and Specialty Upgrades: What’s Worth It?
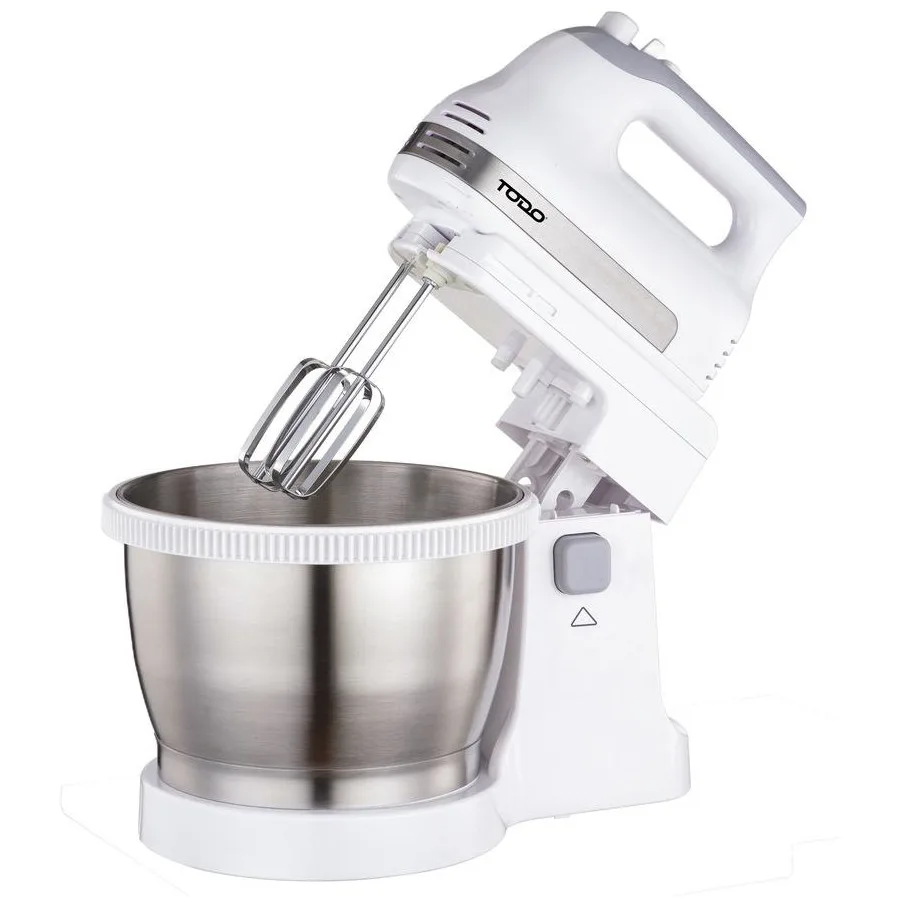
A hand mixer covers most cakes, cookies, and batters. A stand mixer helps when you repeatedly develop dough or work with larger batches.
| Option | Best for | Main trade-off |
|---|---|---|
| Whisk and spatula | Small batches, cakes, and occasional cookies | Less powerful dough mixing, but inexpensive and compact |
| Hand mixer | Cookies, cakes, batters, and whipped cream | You must hold and control it |
| Stand mixer | Repeated dough mixing and larger batches | Costs more and needs storage space |
A stand mixer is an electric appliance that drives interchangeable attachments while a supported bowl holds the mixture. Bowl-lift models raise heavy bowls, while tilt-head models make adding ingredients easier.
A common stand-mixer bowl holds 4.5 quarts. Check the stated capacity for the model you’re considering, and make sure you can comfortably lift the filled bowl.
Choose a hand mixer if you bake occasionally. Choose a stand mixer if dough is a regular task and you can handle the machine and its bowl.
Use the matching attachment: a whisk, flat beater, or dough hook. Follow the appliance’s load limit, and stop mixing once the dough is ready.
Add specialty tools when a recipe needs them
| Upgrade | Most useful for | Important condition |
|---|---|---|
| Food processor | Repeated chopping, puréeing, and dough preparation | Size the bowl to your largest recipe |
| Oven thermometer | Checking oven temperature after preheating | Follow its placement and care instructions |
| Dutch oven | Small bread batches and oven-spring control | Confirm that every part is oven-safe |
| Banneton | Shaping rustic loaves | Use it for wet dough, not refrigerated ready-to-bake dough |
| Piping set | Consistent borders, flowers, and filling deposits | Start with one tip size |
| Baking stone or steel | Pizza and flatbreads | Allow extra time for preheating |
Put your budget into the basics first
Spend first on a dependable scale and a versatile rimmed baking sheet. Add specialty equipment only when it removes a repeated problem in your own recipes.
Check care requirements and replacement-part availability before buying. A cheap mixer without available replacement parts can become a costly short-term purchase.
Measurement, Pan-Swap, and Care Mistakes That Cost You
These errors change portions, browning, or food safety. Fix the technique before buying another tool.
| Common mistake | Why it matters | Better practice |
|---|---|---|
| Scooping flour into a measuring cup | The amount changes with the scoop and packing | Weigh it when precision matters, or fill and level it |
| Swapping pan sizes | Dough depth, portions, and baking time change | Follow the recipe’s dimensions and depth |
| Leaving parchment loose | It can move toward a heating element | Trim it to fit without touching the oven walls |
| Heating an empty coated pan | Excess heat can damage the coating | Cool it first and follow its temperature limit |
| Overloading a mixer | Mixing can become uneven | Follow the bowl and load limits |
| Frosting a warm layer | Frosting can melt or soak into the crumb | Cool the cake fully on a rack |
Use a timer as a guide, not a guarantee. Check the recipe’s doneness cues, and use an instant-read thermometer for foods where temperature is relevant.
“Food-contact-safe” describes food contact, while “oven-safe” describes heat exposure. Confirm both claims before heating a tool.
Wash your hands and work surfaces after handling raw eggs. Follow FDA guidance for safe food at home, and don’t taste batter containing uncooked eggs or flour.
Frequently Asked Questions
Do beginners need a stand mixer?
No. A hand mixer handles most cookies, cakes, and batters, while a whisk covers small jobs. Consider a stand mixer if you frequently make bread, mix large dough batches, or want both hands free.
Choose based on your recipes, storage space, and budget, not just motor power.
Are measuring cups accurate enough for baking?
They can be, but preparation changes the amount. Level dry ingredients with a straight edge, and don’t pack them into the cup. Weighing gives more consistent results for flour and other ingredients that can vary by volume.
Should I buy a complete baking set?
Usually, don’t buy one automatically. A set can cover the measuring, mixing, rolling, and baking basics covered here, but it may contain tools you’ll never use. Compare each piece with your current equipment and focus on the items you need first.
Can baking tools go in the dishwasher?
Only if the manufacturer says they can. Wooden tools, glued handles, some silicone items, and many coated pans need different care. Check the complete product’s instructions, including removable parts, because a damaged coating or handle can end a tool’s useful life.
What baking tools should I buy first on a tight budget?
Start with a digital kitchen scale, a 13 by 18 inch rimmed baking sheet, two mixing bowls, a whisk, a rubber spatula, and a wire cooling rack. If you can afford only one, choose the sheet for now. Add a measuring set or the remaining basics as your budget grows.
