
Removing a stove hood can look straightforward until you find hidden screws, live wires, or a heavy canopy you cannot lift safely. How to remove stove hood depends on hood type, venting, and whether it is plug‑in or hard‑wired, so a quick plan prevents damage and injury.
Manufacturer specifications show common under‑cabinet units weigh 15 to 40 pounds, while island canopies often exceed 80 pounds, as of 2026. Photograph wiring and duct connections, gather a helper, and confirm tools before you begin.
How to Remove a Stove Hood Safely in 6 Steps
Quick Answer
How to remove stove hood, identify the hood type first.
Turn off the circuit breaker feeding the hood.
Support the hood with a helper or strap before unfastening.
Disconnect power, then remove ducts and mounting screws.
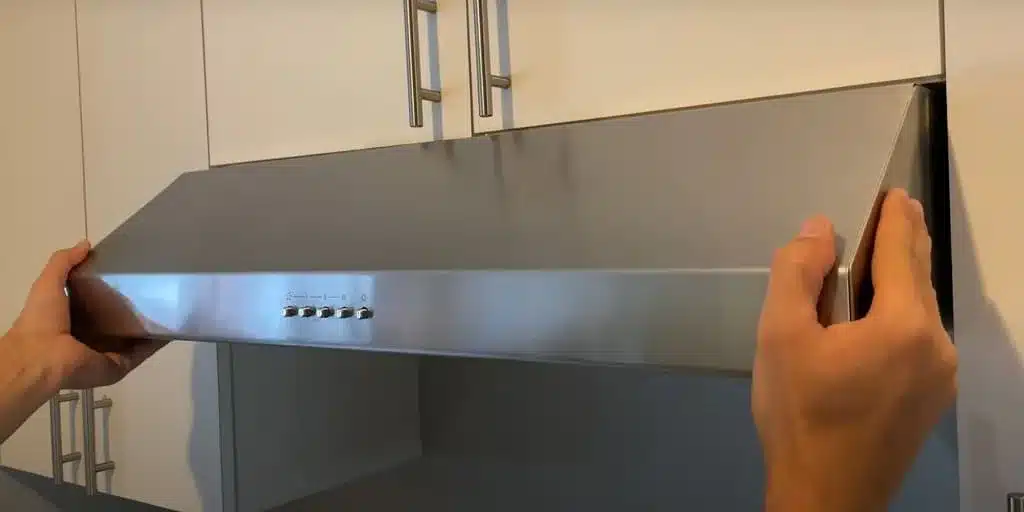
Problem / common pain points when removing a stove hood
Rusted screws and taped or mastic‑sealed ducts cause the most delays. Hidden fasteners inside cabinets or behind trim often surprise DIYers.
Live wiring is the biggest hazard, and many hoods are hard‑wired into junction boxes that remain live until the correct breaker is switched off. Weight and awkward balance cause most physical accidents, especially with over‑the‑range microwaves and island canopies.
Plan time for penetrating oil soak, extra hands for lifting, and possible duct or cabinet repairs. That planning prevents damage to finishes and keeps the job on schedule.
Identify your hood: mounting, venting, electrical, and weight variables
Start by noting four variables, in this order: mounting type, venting path, electrical hookup, and estimated weight. These decide which removal workflow to follow.
Mounting types, and where to look
- Under‑cabinet, fastened to the cabinet bottom, often with screws through the cabinet floor.
- Wall‑mounted chimney, attached to a bracket on studs with a top duct into a chase.
- Island canopy, suspended from ceiling anchors with an upper duct chase.
- Over‑the‑range microwave, bolted to cabinets and strapped to a wall bracket.
Look for visible screws under the hood, a front lip screw, and brackets inside nearby cabinets. A photo helps when reinstalling.
Venting types and their effects
- Ducted exterior vents use round 4‑inch or 6‑inch ducts, and require clamp or screw removal at the collar.
- Flexible foil ducts are often sealed with foil tape or mastic and need careful cutting.
- Recirculating hoods only use charcoal filters, and remove more like a cabinet appliance.
Measure the duct collar diameter if you plan to reuse ducting.
Electrical hookup checks
- Plug‑in hoods may be unplugged after removing the sump cover.
- Hard‑wired hoods use a junction box with 14/2 or 12/2 cable in the US. Always confirm power is off with a tester.
- Conduit or armored cable indicates more complex wiring and often needs a pro.
Estimating weight and help needed
- 15 to 40 pounds for small under‑cabinet units, 40 to 80 pounds for chimneys and OTR microwaves, and 80+ pounds for island canopies.
If the hood is over 60 pounds, plan a strap or mechanical support and have two strong people.
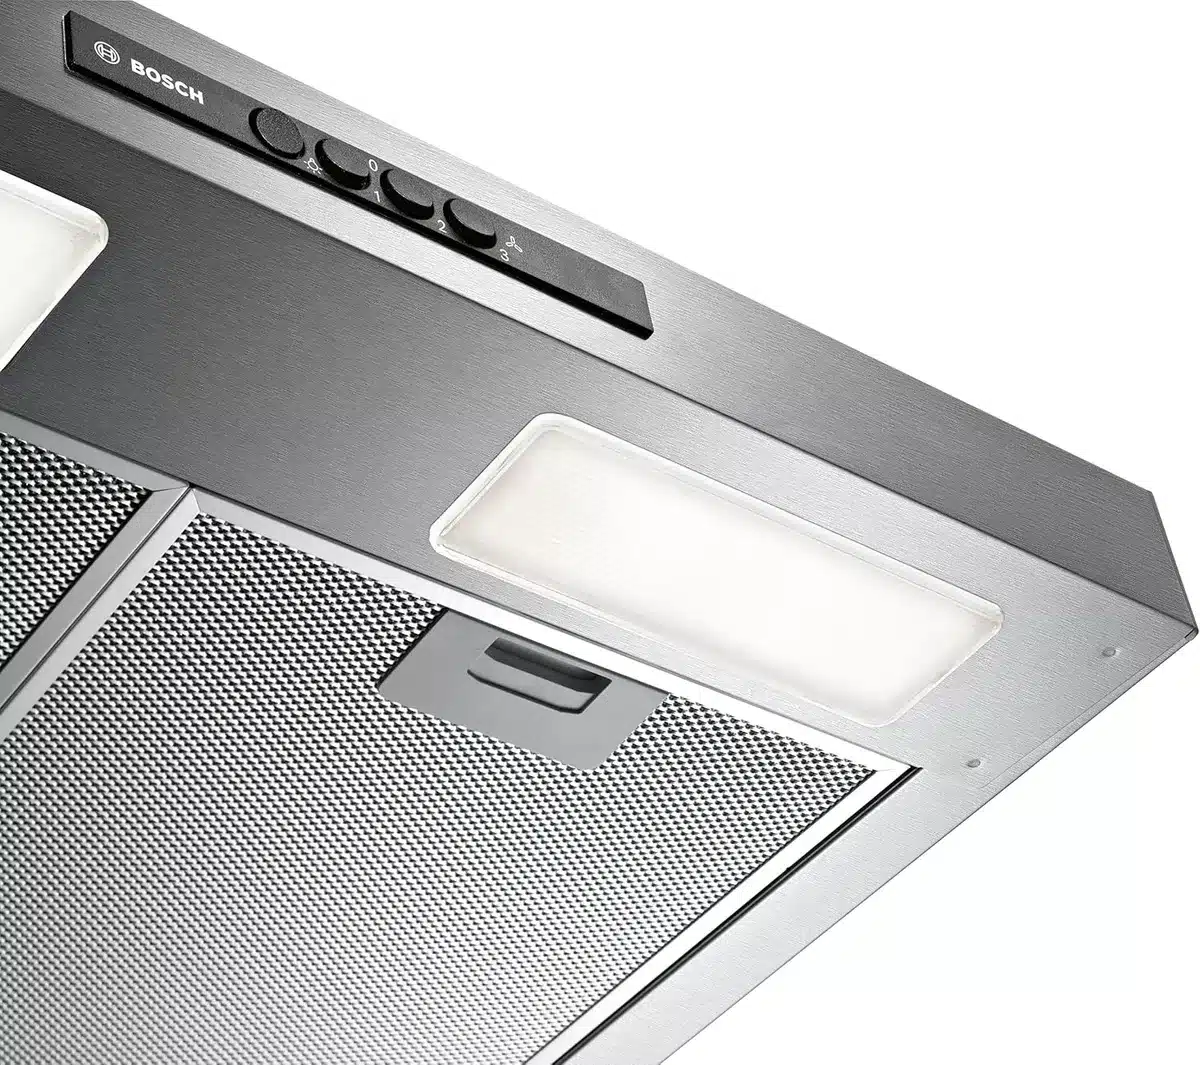
Tools, safety gear, and pre‑work checklist
Gather tools and verify safety items before you touch the hood. A short checklist upfront saves time and reduces risk.
Tools and gear table
| Item | Purpose | Notes |
|---|---|---|
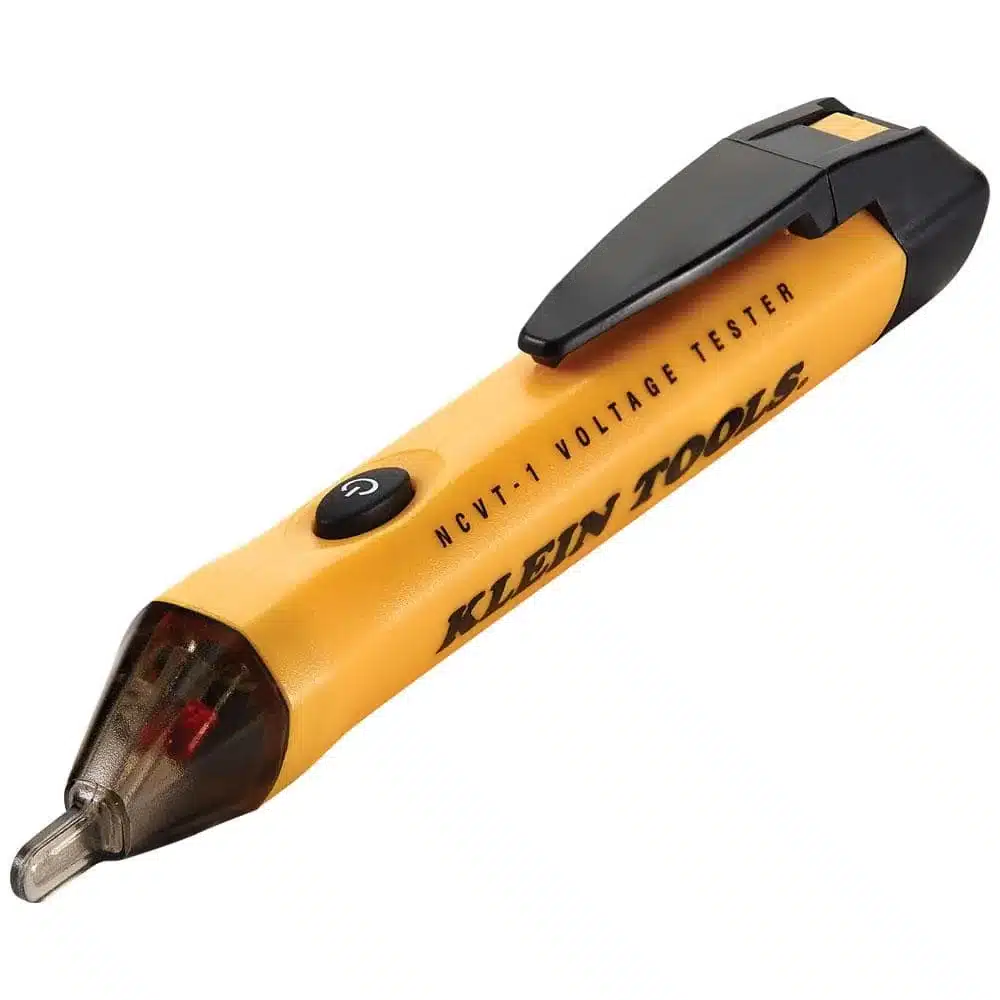
| Non‑contact voltage tester | Verify power off | Test at switch and junction box |
| Phillips and flat screwdrivers | Remove screws and panels | Magnetic tips help with greasy screws |
| Drill/driver with bits | Speed up screw removal | Use correct bit size to avoid stripping |
| Adjustable wrench and socket set | Disconnect duct collars and bolts | 8–13 mm sockets common |
| Utility knife | Cut foil tape or mastic | Fresh blade prevents cabinet damage |
| Work gloves, safety glasses | Personal protection | Cut‑resistant gloves recommended |
| Support strap or temporary cleat | Hold hood while unfastening | Frees both hands for tools |
| Penetrating oil | Loosen corroded fasteners | Wait 10 to 15 minutes after application |
Pre‑work checklist, step by step
- Turn off the breaker for the kitchen circuit and label it if the panel is unclear.
- Verify power is off with a non‑contact tester at the switch and in the junction box.
- Remove filters, light bulbs, and covers to reduce weight. Photograph wiring and duct joints.
- Clear counters and stove, lay down a drop cloth, and position a helper or strap under the hood.
- Keep wire nuts, electrical tape, and marker tape ready to label and cap conductors.
Safety and standards references
For ladder and PPE guidance see OSHA. For electrical requirements and junction box access consult NFPA and the National Electrical Code. These standards guide safe wiring disconnection and how to secure conductors.
Decision tree: pick the right removal workflow
Answer these questions to choose the correct workflow, and follow the branch that applies to your hood type and setup. The diagram below maps each choice to the recommended action.
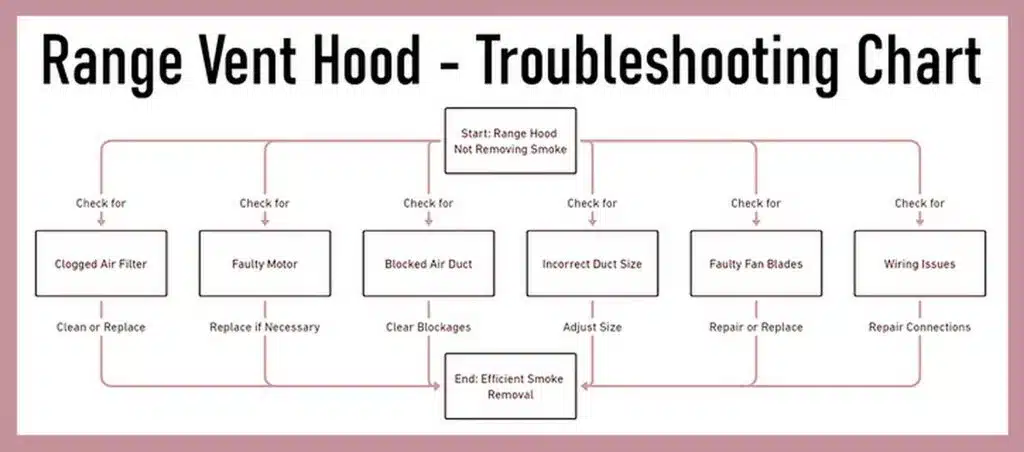
Step 1, is the hood plug‑in?
- Yes, unplug and follow the plug‑out path, then support and remove mounting screws.
- No, proceed to Step 2.
Step 2, is the hood hard‑wired into a junction box with visible NM cable?
- Yes, turn off the breaker, test, photograph, label wires, and then open the box to separate conductors. If wiring is conduit, call an electrician.
- No, go to Step 3.
Step 3, is the hood ducted outside?
- Yes, identify duct type. For flexible foil, loosen the clamp and cut tape. For rigid duct, remove sheet‑metal screws at the collar and slide the duct off. Expect grease.
- No, if recirculating, skip duct disconnection.
Step 4, is the hood mounted to a cleat or rear bracket?
- Yes, locate screws inside cabinet bottoms or at the rear cleat. Support the hood and remove rear screws last.
- No, check for ceiling anchors or hidden expansion bolts.
Step 5, can two people lift the unit safely?
- Yes, proceed with two‑person lowering using a strap or helper to steady the weight.
- No, arrange mechanical support or hire a pro for heavy canopies and microwaves.
Condensed outcomes and time ranges
- Plug‑in, non‑ducted under‑cabinet, 20 to 60 minutes.
- Hard‑wired, ducted under‑cabinet, 30 to 120 minutes.
- Wall‑mounted chimney, 45 to 150 minutes.
- Island canopy or OTR microwave, 60 to 180 minutes or more.
Universal step-by-step process (what you do on every hood)
Follow this core sequence for every removal to stay safe and organized. Turn off the breaker, verify zero voltage, remove filters and bulbs, and support the hood before you loosen final fasteners.
Photograph wiring and duct connections, then label wires with tape. Keep screws and small parts in a marked bag so you can reuse them. Work top to bottom and avoid pulling on ducts or wiring.
Branch-specific removal steps (detailed checklists)
Plug‑in under‑cabinet, quick path
Unplug the unit and remove filters and bulbs. Loosen visible screws under the cabinet and slide the hood off its mounting plate while a helper holds it. Coil and stow the cord and outlet cover for future use.
Hard‑wired, ducted under‑cabinet, standard path
Turn off the breaker and verify power is off. Open the junction box, photograph and label each conductor, then remove wire nuts. Support the hood, disconnect the duct at the collar, remove mounting screws, and lower slowly.
Recirculating, filter‑only path
Remove charcoal and grease filters, then find quick‑release clips or screws on the blower housing. Unfasten the housing and lower the unit, keeping the blower upright to avoid spills. No exterior ducting means less mess.
Wall‑mounted chimney: bracket removal
Support the chimney section and remove outer panels to expose the mounting bracket. Unbolt the bracket from studs and detach the top duct collar before lowering the shell. Expect time for sealing the chase opening.
Island canopy and OTR microwave, heavy path
Arrange two strong people and a support strap. For microwaves, remove cabinet screws and then the anti‑tip strap after the unit is supported. For island canopies, unfasten ceiling anchors last and lower slowly, watching for hidden fasteners.
Troubleshooting common problems and quick fixes
Stuck screws, apply penetrating oil and wait 10 to 15 minutes, then use the correct bit. For rounded heads use a screw extractor or left‑hand drill bit.
Sealed duct joints, score foil tape with a utility knife and peel back slowly. For hardened mastic, warm the joint with a heat gun on low and pry apart with sheet‑metal tools.
Hidden fasteners often hide inside cabinet backs or cleats. Inspect adjacent cabinets and remove trim if needed. For unexpected conduit or armored cable, stop and call a licensed electrician to avoid code violations.
Mistakes to avoid so you do not break cabinets, wiring, or the hood
Do not work without verifying the breaker is off, always test with a non‑contact voltage tester. Do not remove the last screw before the hood is supported, leave one fastener partially threaded until straps are secure.
Do not yank sealed ducts or pull mastic without scoring, you can tear drywall. Do not cut unknown wires or remove conduit fittings yourself, call a licensed electrician. Do not attempt heavy ceiling anchors alone, get mechanical support or pros.
Post‑removal tasks: duct capping, wiring closure, patching, and cleanup
Seal exposed ducts to keep out pests and drafts using foil HVAC tape or a temporary cap. For hard‑wired circuits, place conductors inside an approved junction box, cap them, and install a cover per NEC rules.
Patch holes in cabinet bottoms or drywall with wood filler or joint compound, sand, prime, and paint to match. Clean grease from cabinets and walls with a degreaser, then ventilate the area for fumes.
Time, weight, and cost estimates — what to expect
Expect 20 to 180 minutes for removal based on hood type and complications. Small under‑cabinet units often take 20 to 60 minutes, while large island canopies often need 60 to 180 minutes with extra hands.
Typical weight ranges are 15 to 40 pounds for small units, 40 to 80 pounds for chimneys and microwaves, and 80+ pounds for island canopies. If hiring help as of 2026, budget hourly rates roughly: electricians $65 to $125, HVAC pros $80 to $150, appliance technicians $75 to $150, and carpenters $50 to $100.
Safety, code, and compliance essentials (electrical, venting, permits)
Turn off the correct breaker and verify zero voltage before touching wires. NFPA and the National Electrical Code define junction box access and conductor handling. For ladder and PPE guidance see OSHA.
Venting changes, roof penetrations, or major duct reroutes often require permits and make‑up air considerations. Contact your local building department before altering roof flashes or chase penetrations. Follow UL listings and manufacturer instructions to preserve safety ratings.
When to hire a pro: electrician, HVAC, appliance tech, or carpenter
Hire an electrician for conduit, armored cable, or if you cannot identify live conductors. Electricians prevent code violations and ensure safe reinstallation.
Call an HVAC or duct pro for complex reroutes, roof flashing, or matching rigid duct through joists. Use an appliance technician for over‑the‑range microwaves and a carpenter for cabinet or ceiling reinforcement work. Get written estimates for structural or multi‑trade jobs.
Expert tips, shortcuts, and a quick packing list for the job
Keep one screw partially threaded until straps or a helper support the hood, and always photograph wiring and duct joints before disconnecting. Use a ratchet strap to free both hands when removing heavy units.
Shortcuts that save time
- Remove filters and bulbs first to reduce weight by several pounds.
- Loosen duct clamps before removing mounting screws to prevent spills.
- Store fasteners in labeled bags for quicker reassembly.
Quick packing list table
| Item | Why you need it |
|---|---|
| Non‑contact voltage tester | Confirm power is off at the switch and box |
| Support strap or ratchet strap | Holds hood steady while you unfasten screws |
| Drill/driver and bits | Faster removal, reduces stripped heads |
| Utility knife and penetrating oil | Cut tape and free corroded screws |
| Gloves and safety glasses | Protect hands and eyes from grease and metal shards |
Frequently Asked Questions
Can I remove a hood if it is hard wired?
Yes, if you can switch off the correct breaker and confirm zero voltage. Photograph wiring and label conductors before disconnecting wire nuts. If wiring is in conduit or armored cable, hire a licensed electrician.
Do I have to disconnect the duct to remove the hood?
No, you can usually disconnect the duct at the hood collar and leave the rest in place. If you plan to cap or reroute the duct, access the run and exterior cap and be ready to reseal or adapt the diameter.
What if the screws are completely rusted or stripped?
Spray penetrating oil and wait 10 to 15 minutes, then use the correct driver. If the head is rounded, use a screw extractor or a left‑hand drill bit. In extreme cases drill out the head and replace the fastener.
How do I safely lower a heavy island canopy or microwave?
Use two strong people and a support strap or temporary cleat. Keep one fastener partially threaded until the strap is secure. If ceiling anchors look weak, consult a carpenter before unbolting.
Do I need a permit to change or remove a range hood?
Permits vary by locality. Simple removal often needs no permit, but structural changes, new roof penetrations, or major duct reroutes commonly do. Check with your local building department before altering venting or framing.
For cabinet grease cleanup after removal, see guidance on effective kitchen cabinet cleaning and recommended cleaners. For storage ideas if you remove an over‑the‑range microwave, review under‑counter storage layouts.

1 thought on “How to Remove a Stove Hood Safely in 6 Steps”