
If you need a fast, safe way to learn how to clean stainless steel rangehood, this guide gives clear, actionable steps. Grease, fingerprints, and baked deposits build up quickly above everyday cooking, and the right method keeps the finish shiny and the fan working.
Manufacturer specifications and safety guidance matter, especially for commercial systems covered by NFPA 96, and residential schedules vary with use, as of 2026. Read the quick answer, then match your hood type and grime level to the correct workflow below.
How to Clean a Stainless Steel Range Hood Quickly
Quick Answer
how to clean stainless steel rangehood starts with power off.
Wipe light grime with warm water and dish soap.
Soak metal filters in hot, soapy water for 15 to 30 minutes.
Replace charcoal filters, do not try to wash them.
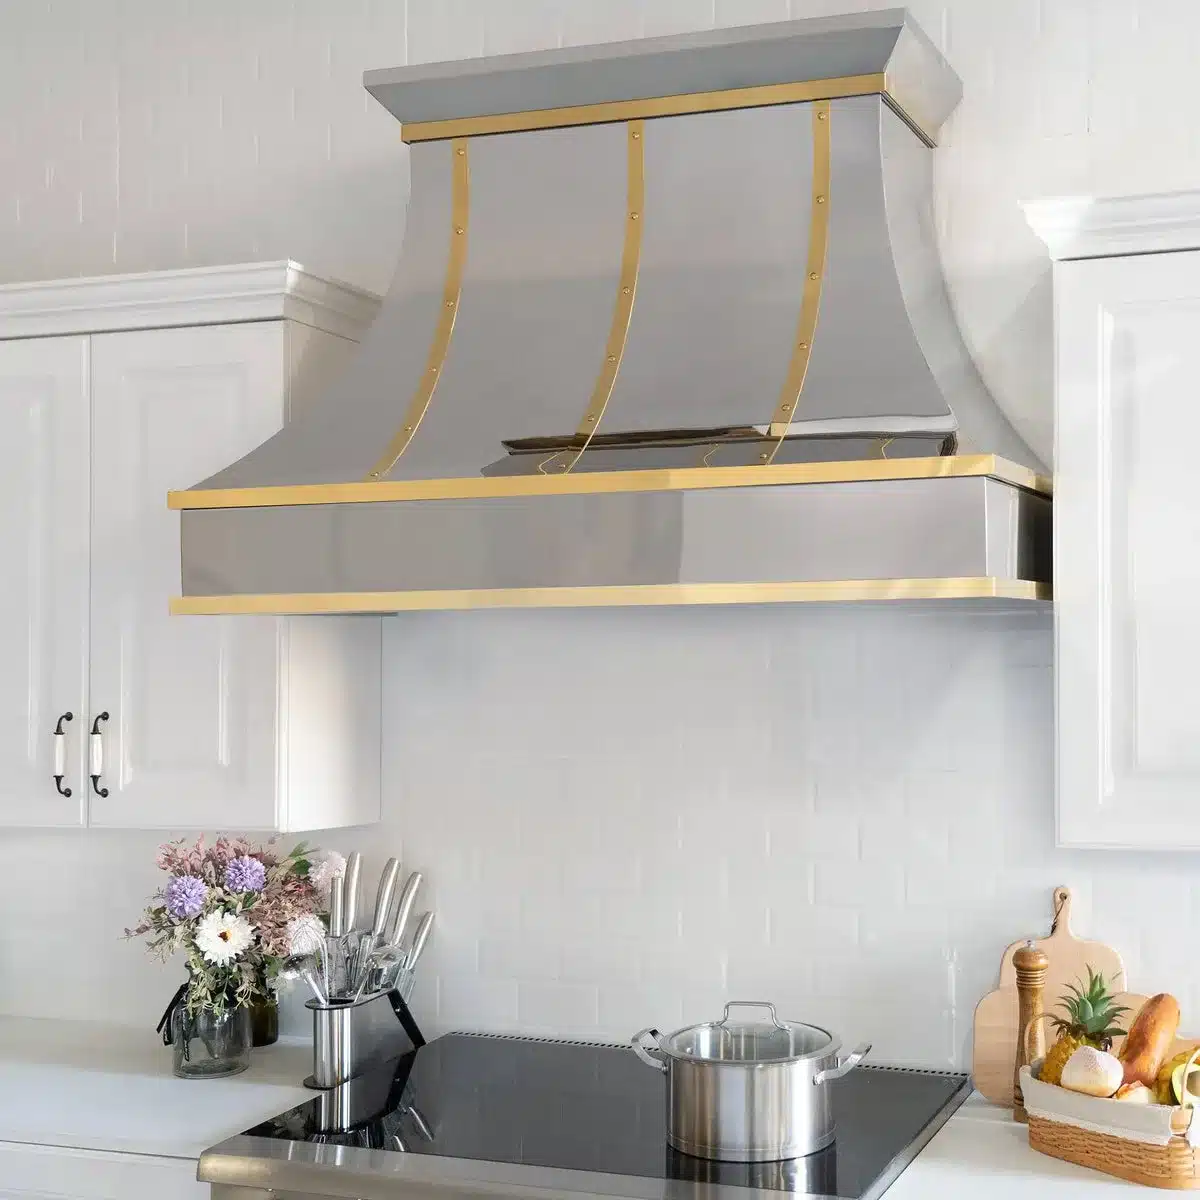
The problem: why rangehoods trap grease and when grime becomes a safety issue
Rangehoods sit above the cooktop and capture airborne oil droplets and smoke. Heat makes oil vapor condense on metal, and that oil oxidizes into sticky deposits over time.
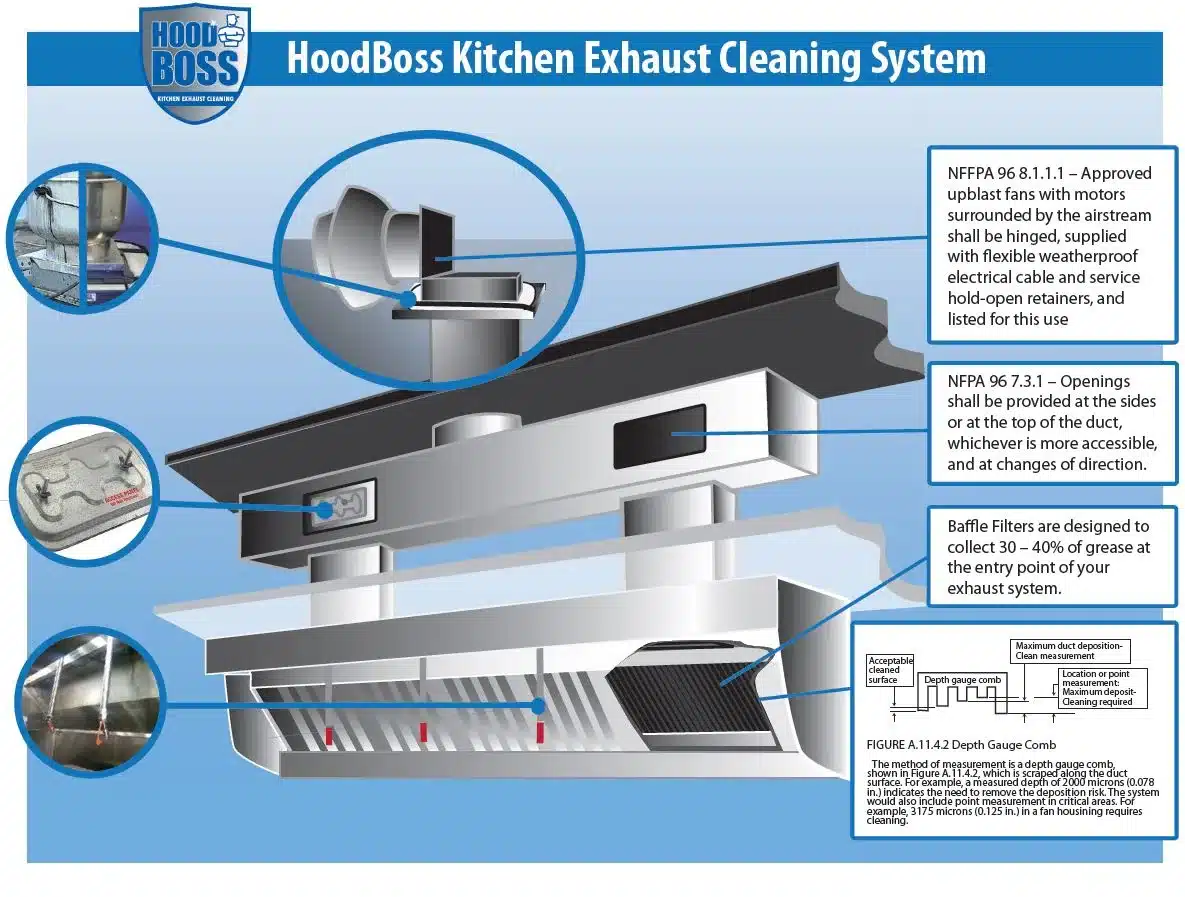
Clogged filters and greasy fan blades cut airflow and let smoke linger. Thick grease in ducts is a fire hazard, which is why commercial systems follow NFPA cleaning standards. Home kitchens that cook heavily should inspect filters monthly.
Watch for these signs now
- Dark, crusty grease on filters or canopy.
- Lingering cooking odors after venting.
- Reduced suction or louder fan noise.
- Visible smoke or oil reaching other surfaces.
Which hood do you have? finishes, filter types, and serviceability checkpoints
Identifying finish, filter type, and access level sets your cleaning choices. Check for brushed or polished stainless, removable mesh or baffle filters, and whether panels allow safe access to the blower.
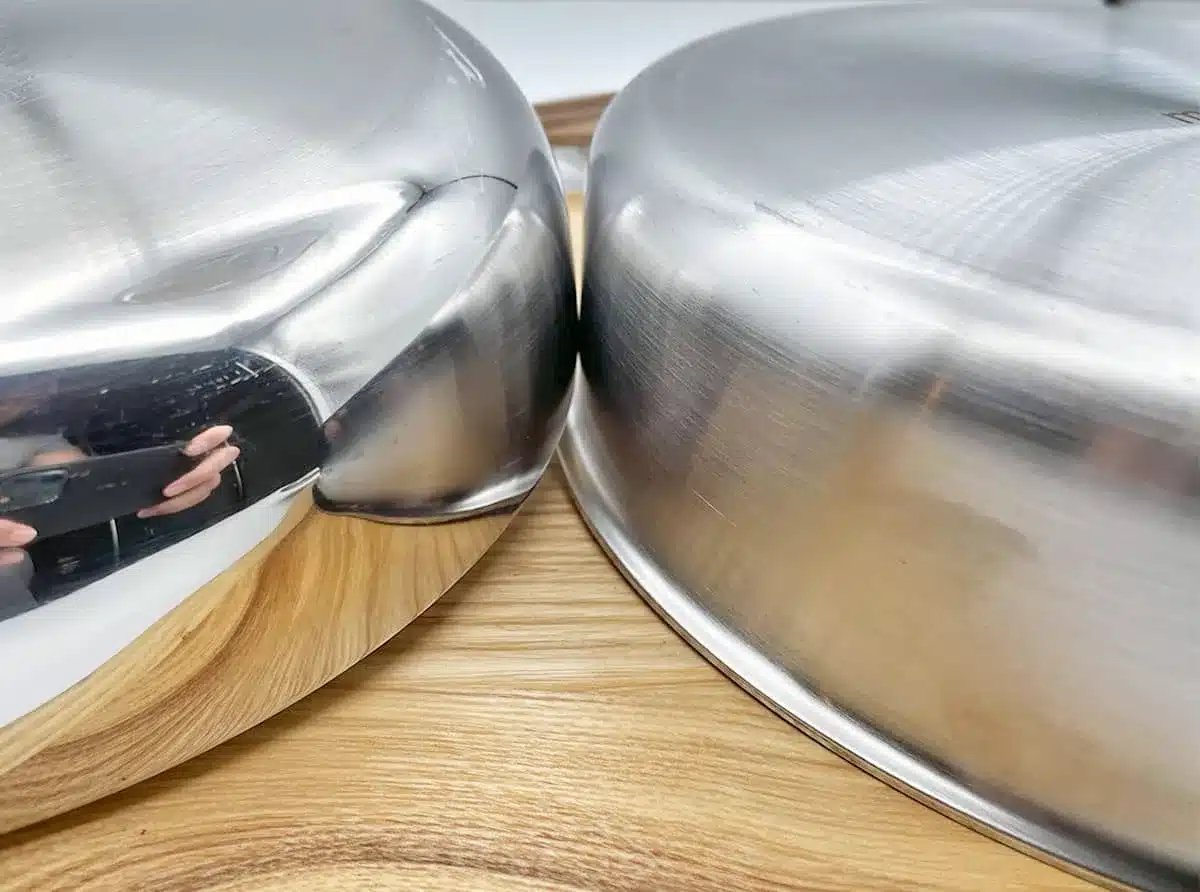
Brushed versus polished versus coated finishes, what changes
Brushed or satin finishes show a grain. Clean along the grain to avoid visible scratches. Polished finishes show streaks easily, so dry and buff carefully.
Coated or lacquered steel needs mild cleaners only. Test any cleaner on a hidden patch first.
Filter types and what you can clean
Mesh filters are removable screens that soak well. Baffle filters are folded stainless panels that trap grease and also clean up with soaking and brushing. Charcoal or activated-carbon cartridges absorb odors in recirculating hoods and cannot be restored by washing.
Replace charcoal filters per the manufacturer, usually every six to twelve months.
Serviceability checkpoints
If panels are user-serviceable per the manual, you can clean exposed parts. If the blower housing is sealed or wiring is visible, do not open it. For renters, confirm landlord rules before disassembly.
For guidance on storing tools and supplies near the hood, see these under-counter storage ideas.
Decision flow: choose the right cleaning path (finish, filter, grime, access)
Follow this if/then flow to pick the correct method and escalation point. Match finish, filter type, and the grime level to an action.
Branch A, light smudges or daily grime on exterior
If the finish is brushed or polished, wipe with a microfiber cloth and warm water with one drop of dish soap. Rinse the cloth and wipe again, then dry immediately with a clean microfiber.
Branch B, sticky sugars or recent splatter
If residue is sugar or caramel, place a hot, damp cloth over the spot to soften it. Then wipe with dish soap and water. If it resists, use a baking soda paste and a soft sponge.
Branch C, metal mesh or baffle filters with grease
If filters are removable, take them out, soak in very hot water with dish soap and baking soda for 15 to 30 minutes, brush gently, rinse, and dry fully. Replace filters showing warping or tears.
Branch D, charcoal filters in recirculating hoods
If your hood uses charcoal cartridges, do not wash them. Replace cartridges per the manufacturer's schedule. If odors persist after replacement, inspect the canopy and ductwork for trapped grease.
Branch E, greasy blower, ducts, or sealed internals
If grease is thick inside ducts or panels are sealed, stop and hire a hood or duct cleaning contractor. Professional cleaning follows NFPA 96 for commercial systems and uses equipment designed for grease removal.
Tools, cleaners, and PPE: what to buy and when to use it
Start with mild options and step up only if needed. Avoid abrasives that scratch stainless, and never mix cleaners.
Tools and supplies table
| Item | Use | Typical cost |
|---|---|---|
| Microfiber cloths | Wiping and polishing | $5–$15 |
| Soft nylon brush | Scrubbing filters and crevices | $3–$8 |
| Plastic scraper | Lifting baked-on deposits safely | $3–$8 |
| Dish soap | Everyday degreasing | $3–$10 |
| Baking soda | Mild abrasive paste for carbonized grease | $2–$6 |
| Citrus degreaser | Heavy grease removal on metal | $6–$15 |
| Mineral oil or polish | Final buff, reduce fingerprints | $5–$12 |
| Rubber gloves and goggles | Protection from heat and chemicals | $3–$12 |
Cleaner choice by problem
- Light grease, daily: dish soap and hot water.
- Baked-on carbon: baking soda paste, plastic scraper.
- Heavy kitchen grease: citrus degreaser after testing on a hidden spot.
- Odors in recirculating hoods: replace charcoal filters.
Protective practices
Wear gloves when using hot water or degreasers. Ventilate the kitchen when using concentrated cleaners. Store products out of children reach.
For workplace chemical guidance, refer to OSHA.
Step-by-step: gentle daily and weekly exterior cleaning (microfiber and soap)
For daily touch-ups, dampen a microfiber cloth with warm water and a drop of dish soap, then wipe along the grain. Rinse the cloth and wipe again. Dry immediately with a second microfiber to prevent water spots.
Weekly, inspect seams, control panels, and light covers. Use a soft toothbrush to loosen grime in crevices, then repeat the soap-and-water wipe and dry. Run the fan on high for five minutes after cooking to clear lingering fumes.
Quick practical tips
- Two-cloth method: one for washing, one for drying.
- Always follow the grain on brushed finishes.
- Keep a small spray bottle of soap solution near the sink for quick jobs.
Step-by-step: filter removal, soak, scrub, and reinstallation (mesh and baffle)
Power off before removing filters and ensure the hood has cooled. Identify the release latch from the manual or visible hardware, then remove filters carefully to avoid bending.
Soak and clean procedure
- Fill the sink with very hot water, add 2 tablespoons dish soap and 1/4 cup baking soda per gallon.
- Submerge filters for 15 to 30 minutes, longer if very greasy.
- Use a soft nylon brush to loosen trapped oil in folds and frames.
- Rinse under hot running water, set aside until fully dry, then reinstall.
Soak and dry time table
| Part | Soak time | Dry before reinstalling |
|---|---|---|
| Metal mesh filter | 15–30 minutes | Fully dry, 1–3 hours |
| Stainless baffle filter | 20–30 minutes | Fully dry, 2–4 hours |
| Light cover (glass) | 5–10 minutes | Dry thoroughly to avoid electrical issues |
Dishwasher guidance, check the manual first. If allowed, place mesh filters on the top rack and skip high-heat dry cycles. When in doubt, hand-soak and brush.
Troubleshooting filters
If grease remains after one soak, repeat with fresh hot water and a small amount of citrus degreaser. Replace damaged filters. For storage solutions for cleaned filters and tools, see practical under-counter storage ideas.
Step-by-step: attacking baked-on grease and carbonized deposits (safe abrasives and degreasers)
Answer first, then act: try the baking soda paste method first, then a citrus degreaser if needed. Always test cleaners on a hidden area for coated finishes.
Baking soda paste method
Mix baking soda with a small amount of warm water to form a thick paste. Spread the paste, wait 10 to 20 minutes, then scrub gently with a non-abrasive sponge or plastic scraper, following the grain. Rinse and dry.
Citrus degreaser method
Apply product as directed, allow the dwell time listed on the label, scrub lightly with a soft brush, rinse thoroughly, and dry. Do not let concentrated degreaser stay on lacquered finishes.
Safe scraper technique
Use a plastic scraper at a low angle to lift deposits. Move slowly and stop if resistance or scratching appears. Pre-soak sugar or caramel with a hot cloth to soften before scraping.
When to call it
If a stain persists after two safe attempts, consult the manufacturer guide or a professional cleaner.
Step-by-step: blower, motor housing, and duct cleaning, DIY limits and professional handoff
Answer first, then proceed carefully: clean only accessible, non-electrical areas yourself. If panels are sealed, stop and hire a professional.
Safe DIY fan cleaning checklist
Turn power off at the breaker and tag the switch. Remove removable panels per the manual. Wipe loose grease with a cloth dampened in hot, soapy water.
Use a soft brush on exposed fan blades and dry with a lint-free towel.
When to call a pro
If the blower housing is sealed, wiring or capacitors are exposed, or duct grease is thick and inaccessible, hire a hood or duct cleaning contractor. Professionals use rotary brushes, vacuums, and industrial degreasers. For commercial systems, they follow NFPA 96.
Expect a residential service to take one to three hours and cost roughly $100 to $400 depending on access and grease level.
What professionals check and fix
They remove grease from duct runs, clean roof or wall caps, inspect motor bearings, and reseal duct joints. If a leak or mold issue appears, coordinate repairs with a plumber and follow mold guidance.
Mistakes to avoid: scratches, ruined coatings, chemical mixing, and electrical hazards
Do not use steel wool, wire brushes, or heavy abrasive powders on stainless. These scratch the surface and create corrodible sites. Always clean along the grain on brushed stainless.
Never mix cleaners
Do not combine ammonia with bleach or vinegar with hydrogen peroxide. Mixing creates hazardous gases or reactive compounds. Use one cleaner at a time, rinse thoroughly, and ventilate the area.
Avoid electrical contact
Do not spray cleaners into vents or over control buttons. Liquids inside electrical housings cause shorts and corrosion. If water reaches a light assembly or switch, power off the breaker and allow full drying before restoration.
Coating and finish care
Test cleaners on a hidden area before use. If a cleaner removes sheen or discolors the finish, stop and consult the manual. For fingerprint resistance, apply a very light amount of mineral oil, then buff off the excess.
Recovering from mistakes
For light scratches on brushed stainless, use a fine non-abrasive polish along the grain. For deeper gouges or stripped coating, source replacement parts or seek professional refinishing. If chemical exposure causes a strong odor, ventilate and consult the product safety data sheet.
Safety, codes, and compliance
Always disconnect power when servicing the hood and tag the breaker to avoid accidental re-energizing. For commercial cleaning intervals and fire protection rules, see NFPA guidance at NFPA. For chemical handling and workplace safety, consult OSHA.
Check the manufacturer manual for approved cleaners and dishwasher guidance for filters. Following those specs keeps warranties intact and prevents finish damage. For rental properties, check local fire and building codes before scheduling professional duct work.
Maintenance schedule and simple checklist
Daily: wipe the exterior with a damp microfiber cloth once the hood has cooled.
Weekly: inspect seams, light covers, and controls for trapped grease.
Monthly: remove and clean metal mesh or baffle filters, dry fully before reinstalling.
Annually: inspect ductwork and blower performance, with a professional clean for heavy-use kitchens.
Keep a simple log near your supply cabinet or use the cleaning schedule in your phone to track dates and actions. For cabinet-specific grease cleaning tips, see cupboard degreasing tips.
Costs, time estimates, and replacement intervals
DIY filter cleaning typically takes 30 to 90 minutes including soak and dry time. Residential professional hood service often costs $100 to $400 and runs one to three hours based on access and grease level. Charcoal filters usually cost $10 to $40 and should be replaced every six to twelve months.
If you fry frequently, budget for an annual professional duct inspection and cleaning. For material decisions when replacing parts, consult the stainless gauge guide.
Expert tips and quick hacks from real kitchen maintenance
Keep two cloths during cleaning: one for washing and one for drying to avoid streaks. Keep a dedicated soft toothbrush for crevices and a plastic scraper for carbonized spots. For hard water marks, wipe a 1:1 water and white vinegar mix, rinse, and dry.
Repeat gentle methods twice before using stronger degreasers. For cabinet and surface degreasing strategies, review greasy cabinet cleaner advice. Store cleaning tools in a dry spot near the sink using the under-counter storage ideas page.
Use cases, who benefits most
Frequent home cooks, especially those who fry or grill often, benefit most from monthly filter checks and regular exterior cleaning. Renters need gentle, non-destructive methods that avoid harsh solvents. Property managers reduce tenant complaints and avoid costly duct cleaning by scheduling routine upkeep.
Small-scale food businesses using residential hoods should follow commercial guidance and schedule more frequent professional cleanings.
Comparison: cleaning methods and when to pick them
Dish soap and hot water, choose this for daily grime. It is safe on all stainless finishes and will not strip coatings.
Baking soda paste, choose this for localized, carbonized or sugar-based deposits. It gives mild abrasive action when used along the grain.
Citrus-based degreaser, choose this for heavy kitchen grease after testing on a hidden area and rinsing thoroughly. Avoid oven cleaners or strong acids unless the manufacturer explicitly allows them.
Real scenarios and quick examples
Light daily cooking, occasional frying: clean exterior weekly and metal filters monthly to keep odors low and airflow steady.
Heavy frying multiple times per week: clean filters every two weeks and schedule professional duct cleaning annually to reduce fire risk and restore suction.
Recirculating hood with charcoal cartridges: replace cartridges every six to twelve months and deep-clean the canopy quarterly to limit trapped oils.
Authoritative sources and where to check model specifics
Manufacturer owner manuals list approved cleaners, dishwasher guidance, and serviceable parts. Search your model number on the official product support page for exact instructions.
For commercial ventilation standards and fire protection, consult NFPA at NFPA. For chemical safety and workplace guidance, refer to OSHA. Manufacturer specs confirm electrical safety steps and warranty conditions.
Final decision guide: printable checklist to follow right now
Turn power off at the breaker and tag the switch.
Remove and soak filters in hot, soapy water.
Wipe exterior along the grain, rinse, and dry immediately.
Use baking soda paste for baked-on grease, then rinse and dry.
Replace charcoal filters and call a professional for sealed blowers or greasy ducts.
Keep a printed checklist near your cleaning supplies or save it on your phone for quick access.
Frequently Asked Questions
How often should I clean my rangehood filters?
Clean metal filters every one to three months, depending on cooking intensity. If you fry frequently, monthly cleaning keeps grease from building up. Replace charcoal cartridges in recirculating hoods every six to twelve months, following the manufacturer schedule.
Can I put mesh filters in the dishwasher?
Only if your hood manual specifically allows dishwasher cleaning. Some metal filters tolerate the top rack, but high-heat dry cycles and harsh detergents can warp frames. When in doubt, hand-soak and brush for safer results.
Will vinegar damage stainless steel finishes?
A 1:1 water and white vinegar solution is safe for brief cleaning on most stainless surfaces. Test first on any lacquered or coated finish. Rinse thoroughly and dry to avoid prolonged acid contact that can dull protective coatings.
What removes baked-on grease without scratching?
Apply a baking soda paste, let it sit for 10 to 20 minutes, then work gently with a plastic scraper or soft sponge along the grain on brushed finishes. If that fails, try a citrus degreaser, test on a hidden area, then rinse and dry.
When should I call a professional for duct or blower cleaning?
Call a professional if duct grease is thick, the blower housing is sealed, wiring is exposed, or access is difficult. Commercial or heavy-use kitchens require certified cleaning at intervals that comply with NFPA 96, and professionals use equipment that safely extracts grease.
