
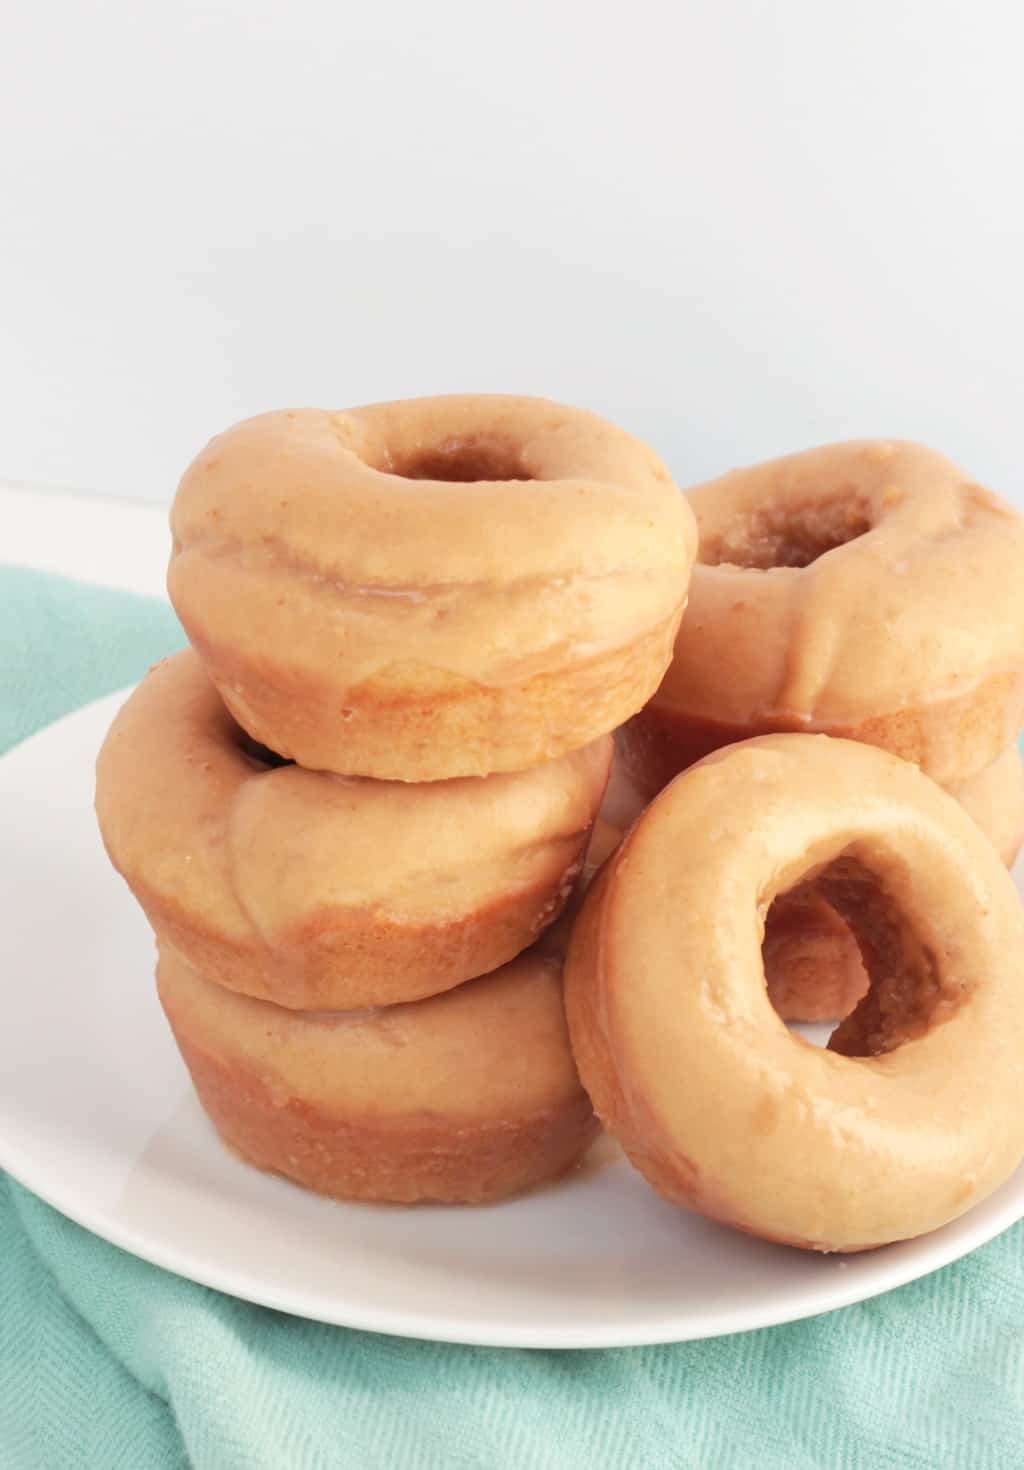
The smell of fresh donuts drifting through your kitchen is one of baking's greatest pleasures. But what happens when you're ready to bake and realize you don't own a donut pan? It's a common scenario, and the good news is that a specialized pan is entirely unnecessary. With a few everyday kitchen tools and some simple hand techniques, you can shape bakery-quality donuts right on your countertop. This guide covers six reliable methods, from using cookie cutters to shaping entirely by hand, so you can produce evenly cooked, perfectly formed donuts every time.
Choosing the Right Dough for Hand Shaping
Before you shape a single donut, the dough itself determines your success. Not every dough handles the same way when you're working without a pan. The ideal dough is soft, pliable, and elastic enough to hold its shape during proofing and baking or frying.
Yeast Dough vs. Cake Dough
Yeast dough is the traditional choice for light, fluffy donuts. It develops gluten structure, which helps the dough stretch without tearing when you shape it by hand. Cake dough, on the other hand, is denser and relies on baking powder or soda for lift. Cake dough works well for drop-style donuts but can be more fragile when you're cutting rings. If you're new to shaping without a pan, start with a yeast-based recipe — it's more forgiving.
Testing Dough Elasticity
A simple test tells you if your dough is ready. Pinch a small piece and gently pull it apart. If it stretches slightly and springs back partway, the gluten is developed enough to hold a ring shape. If the dough tears immediately or feels slack, it needs more kneading or a longer rest. Resting the dough for 10–15 minutes after mixing also relaxes the gluten, making shaping easier.
Managing Stickiness
Sticky dough is the biggest obstacle when shaping without a pan. A light dusting of flour on your work surface and hands prevents sticking, but too much flour dries out the dough and creates tough donuts. Instead, use a bench scraper to lift and move the dough without adding excess flour. If the dough still clings, chill it for 20 minutes — cold dough is significantly less sticky and much easier to handle.
Method 1: Using a Cookie Cutter
A cookie cutter is the closest substitute for a donut pan and produces the most uniform results. This method works well for both baked and fried donuts and gives you clean, professional-looking rings.
Selecting the Right Sizes
For a standard donut, use a round cutter approximately 3 inches in diameter for the outer ring. The center hole cutter should be about 1 inch across. If you want smaller, bite-sized donuts, use a 2-inch cutter. A biscuit cutter set often includes multiple sizes that work perfectly. For the center hole, a metal pastry tip or the wide end of a piping nozzle also does the job.
Cutting Technique for Clean Edges
Roll your dough to an even ½-inch thickness — too thin and the donuts will be flat, too thick and they won't cook through evenly. Dip the cutter in flour before each cut to prevent sticking. Press straight down without twisting; twisting can seal the edges and prevent the donut from rising properly. After cutting, gently reroll the scraps once and cut again. Overworking the scraps creates tough donuts, so limit yourself to one reroll.
Method 2: Shaping Donuts by Hand
Hand shaping gives you complete control and requires no special tools at all. It's the oldest method and, with a little practice, produces donuts with a charming, artisanal look.
Rolling Even Dough Balls
Start by dividing your dough into equal portions — a kitchen scale helps here. Roll each portion into a smooth ball using your palms on a lightly floured surface. Apply even, gentle pressure and rotate the ball in a circular motion. The ball should feel uniform with no seams or cracks. Aim for balls about the size of a golf ball for standard donuts.
Creating the Center Hole
Once you have a smooth ball, poke your thumb through the center and gently stretch the hole outward. Rotate the dough as you stretch, keeping the ring even all the way around. The hole should be about 1 inch wide at this stage — it will shrink during proofing and expand again during cooking. Avoid making the hole too large, or the donut may lose its shape entirely. For consistent holes, use the handle end of a wooden spoon to press through the center, then rotate the dough around it.
Method 3: Using Household Items
Your kitchen is full of donut-shaping tools that you may not have considered. Jar lids, bottle caps, and drinking glasses all work as improvised cutters.
Jar Lids for the Outer Ring
A standard mason jar lid (the ring portion, not the flat disc) is roughly the same diameter as a classic donut. Place the ring on your rolled dough and press down firmly. Because the edge is thin, it cuts cleanly through. If the lid sticks, dip it in flour between cuts. Different-sized lids let you create a range of donut sizes — use a wide-mouth lid for large donuts or a small spice jar lid for mini versions.
Bottle Caps for the Center Hole
A standard soda bottle cap is almost exactly the right size for punching out donut holes. Press the cap into the center of your dough circle, give it a slight twist, and lift it out. The cutout piece becomes a perfect donut hole that you can bake or fry separately. This method is faster than shaping holes by hand and guarantees uniformity across a batch.
Method 4: The Rolling and Twisting Method
This technique creates donuts without any cutting at all. It's especially useful if you're working with a softer dough that tends to stick to cutters.
Forming the Rope
Take a piece of dough roughly the size of your palm and roll it on a floured surface into a log about 10 inches long. The log should be even in thickness from end to end — aim for about ¾ inch in diameter. If the log tapers, press the thicker parts gently to even them out. Rest the log for 2–3 minutes after rolling; this relaxes the gluten and prevents the dough from snapping back when you form the ring.
Twisting and Sealing
Bring the two ends of the log together and overlap them by about ½ inch. Press the overlapping ends together firmly, then roll the joined section gently under your palm to seal it. The result is a twisted ring that bakes or fries into a donut with a subtle spiral pattern. This method produces a slightly different texture than cut donuts — the twisted seam creates a pleasing variation in crumb structure.
Baking Tips for Pan-Free Donuts
Shaping is only half the battle. Without a pan to hold the dough in place, you need to take extra care during baking to preserve your donuts' shape.
Maintaining Shape During Proofing
If you're using yeast dough, the shaped donuts need to proof before cooking. Place them on a parchment-lined baking sheet, leaving at least 2 inches between each donut — they will expand significantly. For baked donuts, cut parchment paper squares and place each donut on its own square. This lets you transfer them to the oven without disturbing their shape. Cover loosely with a clean kitchen towel and proof in a warm, draft-free spot until doubled in size.
Even Cooking Without a Pan
Arrange donuts in a single layer with space around each one for airflow. Rotate the baking sheet halfway through cooking. If your oven has hot spots, rotate the sheet both front-to-back and top-to-bottom. Baked donuts are done when the bottoms are golden brown and the tops spring back when lightly pressed. For fried donuts, the hole should shrink visibly as the donut cooks — if it closes up completely, your oil temperature is too low.
Frequently Asked Questions
Can I use a muffin tin instead of a donut pan?
Yes. Roll dough into balls, place one in each greased muffin cup, and use your finger or the end of a wooden spoon to press a well into the center. The dough will rise around the depression, creating a cup-like shape that works well for filled donuts.
Why do my hand-shaped donuts close up during frying?
This usually means the dough is too soft or the oil temperature is too low. The oil should be between 350°F and 365°F. If it's cooler, the donuts absorb oil and lose structure. Use a kitchen thermometer to verify your oil temperature before frying.
How thick should I roll the dough?
For baked donuts, roll to ½ inch thickness. For fried donuts, ⅜ inch is better — the extra heat of frying causes more rise, and starting thinner prevents the center from remaining raw.
Can I freeze shaped but uncooked donuts?
Yes. Arrange the shaped donuts on a parchment-lined baking sheet and freeze until solid, about 2 hours. Transfer to a freezer bag. Bake or fry directly from frozen, adding 2–3 minutes to the cooking time. This is a practical way to enjoy fresh donuts without starting from scratch each time.
Conclusion
Shaping donuts without a donut pan is not only possible — it gives you more flexibility and creativity in the kitchen. Whether you reach for a cookie cutter, a jar lid, or simply your own hands, each method produces donuts that taste just as good as any made with specialized equipment. The key is understanding your dough: keep it elastic, manage stickiness with light flour or chilling, and cut or shape with clean, deliberate motions. With these techniques, you can enjoy homemade donuts anytime, without waiting for a special pan to arrive. Try a method that matches the tools you already own, and discover how simple it is to turn basic dough into something truly rewarding.
