
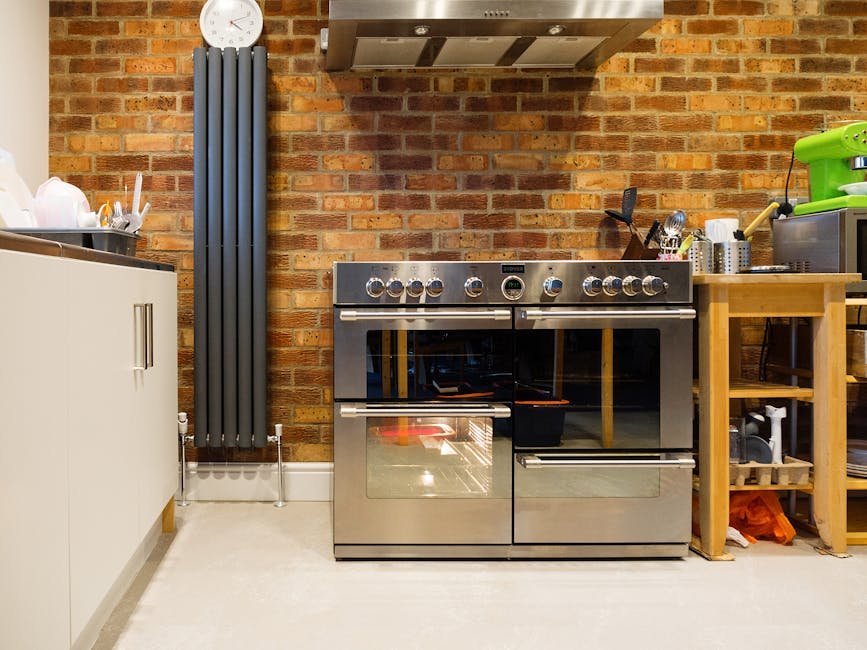
Cooking smells that linger for hours, grease settling on cabinets, and steam fogging up your kitchen windows—these are signs you need a range hood. But what if your kitchen wasn’t built with ductwork running to the outside? You don’t have to live without the benefits of a hood. A ductless (or recirculating) range hood filters and cleans the air then returns it to the room. No structural changes, no roof penetrations—just a weekend project that can dramatically improve your indoor air quality.
In this guide, you’ll learn exactly how to install a range hood without venting, from choosing the right model to final testing. We’ll cover the tools, the steps, the filters, and the mistakes to avoid, so you can get it right the first time.
Understanding Ductless Range Hoods
Before you pick up a drill, it helps to know how a non-vented hood works—and when it’s the right choice for your kitchen.
How Ductless Range Hoods Work
A ductless range hood pulls cooking air through a mesh grease filter that traps particles, then pushes the air through an activated charcoal filter. The charcoal absorbs odors and some smoke. The cleaned air is then recirculated back into the kitchen through vents on the top or front of the hood.
Because no air leaves the house, a ductless hood is much simpler to install than a ducted system. There’s no need to cut holes in your roof or siding, which makes it an ideal solution for apartments, condos, and homes where ductwork isn’t feasible.
Ductless vs. Ducted: Key Differences
| Feature | Ductless (Recirculating) | Ducted (Vented) |
|---|---|---|
| Venting required | No – recirculates air | Yes – exhausts outside |
| Installation complexity | Low – mount and plug in | High – ductwork, roof/wall cut |
| Cost | Lower – no ductwork | Higher – materials and labor |
| Odor removal | Good (with fresh charcoal filters) | Excellent |
| Heat removal | None (air is not exhausted) | Removes hot air |
| Filter maintenance | Replace charcoal every 3–6 months | Clean grease filters periodically |
When a Ductless Hood Makes Sense
- Your kitchen has no existing ductwork and you don’t want to cut into walls.
- You rent and can’t make permanent structural changes.
- You live in a high-rise building where exterior venting is prohibited by building codes.
- You want a quick, budget-friendly upgrade for an existing kitchen.
For anyone who needs the strongest possible ventilation, a ducted system is still superior because it removes heat and humidity. But for most everyday cooking—especially if you don’t deep-fry frequently—a ductless hood does the job well.
Tools and Materials You’ll Need
Having everything on hand before you start saves trips to the hardware store and keeps the project moving.
Essential Tools
- Drill with drill bits (including masonry bits if mounting on tile or stone)
- Measuring tape
- Level (a 2-foot or torpedo level works)
- Screwdriver set (Phillips and flathead)
- Pencil for marking
- Stud finder (recommended for secure mounting)
- Voltage tester (non-contact type, for safety)
- Wire strippers (if hardwiring the hood)
- Safety glasses and gloves
Materials Checklist
- Ductless range hood (confirm it comes with recirculation kit and charcoal filters)
- Mounting bracket (usually included)
- Screws and wall anchors (for drywall, wood studs, or concrete as needed)
- Charcoal filters (at least one set; may be included)
- Wire nuts (for hardwiring)
- Cable clips (to secure power cord)
- Electrical tape
If you’re replacing an existing hood, also have a putty knife and painter’s tape to protect surrounding surfaces during removal.
Before You Begin: Preparation
Proper preparation prevents misalignment and safety issues later.
Measure and Mark the Mounting Location
The hood must be level and centered over your cooktop. Standard installation height is 24 to 30 inches above the cooking surface for gas ranges and 20 to 24 inches for electric ranges. Check your hood’s manual for the manufacturer’s recommended clearance—it can vary by model.
- Measure the width of your cooktop and mark the center point on the wall.
- Measure up from the cooktop to the desired hood height and draw a horizontal line using your level.
- Place the mounting bracket (or the hood itself if it uses keyhole slots) against the wall at that height, ensure it’s level, and mark where the screw holes will go.
Electrical and Clearance Requirements
Most ductless range hoods come with a standard 3-prong plug that fits a grounded outlet. If you don’t have an outlet within reach of the cord (usually 30–36 inches), you will need to install one—or choose a hardwired model.
- Plug-in models: The outlet should be located inside the hood canopy or behind a cabinet to stay hidden. Many hoods have a cutout for the cord that can be accessed after mounting.
- Hardwired models: You’ll need to connect the hood’s wiring to a dedicated 15- or 20-amp circuit. If you’re not comfortable working with electrical, hire a licensed electrician. Always turn off the circuit breaker and confirm power is off with a voltage tester before touching wires.
Choosing the Right Charcoal Filter
Not all charcoal filters are created equal. Look for filters with high surface area and a thick activated carbon bed. Some are reusable after washing, but most are disposable. Confirm the model number matches your hood. If your hood came with filters, it’s wise to buy a spare set so you have a replacement ready when it’s time.
Step-by-Step Installation
Follow these steps in order for a clean, safe installation.
Step 1 – Assemble the Hood Components
Some hoods arrive with the fan motor, lights, and controls already installed. Others require you to attach the canopy, the chimney extension (if under-cabinet), and the damper. Remove everything from the box and lay it out. Install the charcoal filters before mounting if the manual instructs that—some models require the filters to be clipped in from the bottom after mounting.
Step 2 – Mark and Drill Pilot Holes
Using the marks you made earlier, drill pilot holes at the screw locations. If you hit a wood stud, no anchor is needed. If you’re drilling into drywall only, use wall anchors that match the screw size and weight of the hood. For tile or stone backsplash, use a carbide-tipped bit and drill slowly to avoid cracking.
Step 3 – Secure the Bracket or Mount the Hood
If your hood uses a separate mounting bracket, screw it into the wall first, then hang the hood onto it. If the hood mounts directly, position it over the pilot holes and drive the screws through the keyhole slots or pre-drilled holes. Use the level to verify alignment as you tighten—don’t overtighten, as this can strip the screw holes or warp the hood frame.
Step 4 – Connect the Electrical Wiring
- Plug-in models: Route the power cord through the designated opening and plug it into the outlet. Use cable clips to secure the cord so it doesn’t hang loose.
- Hardwired models: Connect the hood’s wires to the house wiring using wire nuts: black to black (hot), white to white (neutral), and green or bare copper to ground. Tuck the wires into the junction box and replace the cover plate.
Turn the circuit breaker back on and test the lights and fan before finalizing the mounting (you can always loosen screws slightly to adjust alignment).
Step 5 – Install Charcoal Filters
If you haven’t already, snap or slide the charcoal filters into place. Many hoods have a latch or turn mechanism that locks them in. Make sure they’re seated firmly—air gaps will allow unfiltered air to bypass the carbon.
Step 6 – Test the Hood
Turn on the fan at each speed setting. Listen for rattles or vibrations that might indicate a loose screw or a filter not fully seated. Check the lights. Hold a piece of paper against the intake grille—good suction will hold the paper in place. If it drops, check for a stuck damper or an incorrectly installed filter.
Common Installation Mistakes and How to Avoid Them
- Mounting too high or too low. A hood outside the recommended height range loses efficiency. Measure twice before drilling.
- Skipping the stud finder. Drywall anchors alone may not support the weight over time, especially if the hood is heavy. Always try to secure at least one screw into a stud.
- Using the wrong filters. Charcoal filters must be present for a ductless setup. Some hoods ship with a grease filter only and require you to buy a charcoal filter separately.
- Forgetting to remove shipping tape. Some models have plastic films or tape on filters or the fan blade. If left on, the hood will smoke when first used.
- Not checking the outlet location. If the cord won’t reach, you’ll need to rearrange or install a new outlet. Plan this before you mount.
Maintenance and Filter Replacement
A ductless hood only works well when its filters are clean. Grease that builds up on the mesh filter restricts airflow, and saturated charcoal can no longer absorb odors.
Cleaning Grease Filters
Remove the mesh grease filter every month and wash it in warm, soapy water or run it through the dishwasher (if the manufacturer says it’s dishwasher-safe). Dry it completely before reinstalling. You can use a homemade degreaser to break down stubborn buildup—it’s safer on the filter than harsh chemicals.
Replacing Charcoal Filters
Charcoal filters cannot be washed—they must be replaced when saturated. Most manufacturers recommend every 3 to 6 months, depending on cooking frequency. If you notice lingering odors even when the hood is running, it’s time to swap them. Follow the steps for removing the filter from your range hood to take out the old one and install the new one.
When to Replace Filters
| Filter type | Replacement frequency |
|---|---|
| Mesh grease filter | Clean monthly (replace every 12 months if damaged) |
| Charcoal filter | Replace every 3–6 months |
| Combination (mesh+charcoal) | Replace charcoal element per schedule; clean mesh monthly |
Frequently Asked Questions
Can you install a range hood without a vent?
Yes. A ductless (recirculating) range hood is designed specifically for kitchens without exterior venting. It filters and recirculates air rather than exhausting it outdoors.
Where does the air go in a ductless range hood?
Air is drawn in through the grease filter, then passed through a charcoal filter to remove odors, and finally returned to the kitchen through vents on the top or front of the hood.
What is the point of a non-vented range hood?
It removes smoke, grease, and cooking odors from the air without requiring ductwork. This makes it an easy retrofitted solution for many kitchens and can improve indoor air quality when used with fresh charcoal filters.
What to do if you don’t have a hood vent?
Install a ductless range hood. You can also use a window fan or portable air purifier as supplementary devices, but a hood directly above the cooktop is the most effective at capturing airborne grease and steam.
How often should I replace the charcoal filters?
Every 3 to 6 months. If you cook frequently or use high heat often, aim for the shorter end of that range. The U.S. Environmental Protection Agency offers general guidance on reducing indoor air pollutants, and maintaining fresh filters is a key part of that strategy.
Conclusion: Breathe Easier with a Ductless Range Hood
Installing a range hood without a vent is one of the smartest kitchen improvements you can make without opening up walls or hiring a contractor. The process is straightforward—mount the hood, connect power, insert filters, and test. As long as you keep the charcoal filters fresh and clean the grease mesh regularly, your kitchen will stay fresher, your cabinets will collect less grime, and you’ll enjoy cooking without the lingering aftermath.
Ready to tackle more kitchen upgrades? Browse our other kitchen improvement projects for hands-on guides that save you time and money.
