
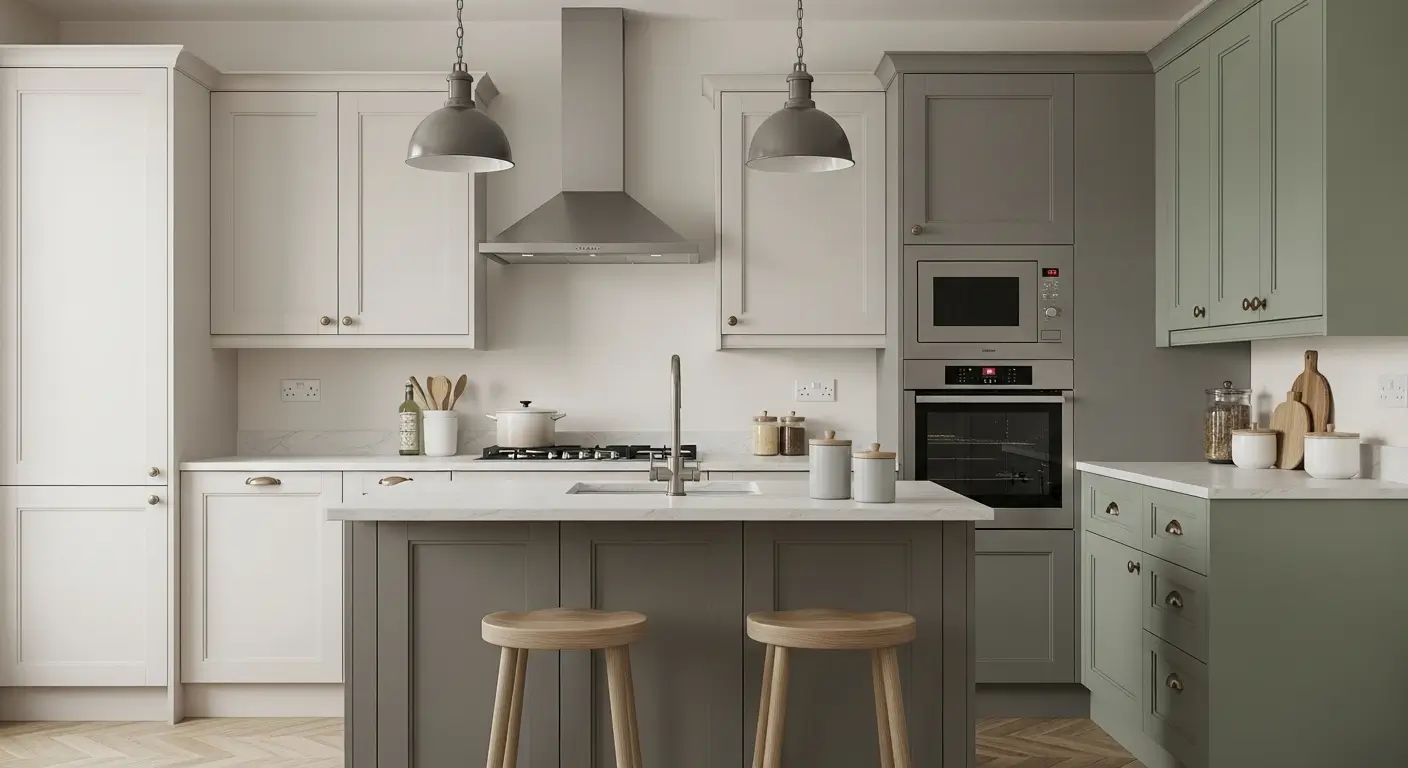
A kitchen renovation or refresh rarely goes perfectly. You sand a spot too hard, a hinge shifts and leaves a dent, or an old screw hole stares back at you from an otherwise flawless cabinet door. The product that saves the day—wood putty—is small, cheap, and easy to overlook. Yet choosing the wrong putty color is one of the fastest ways to turn a minor repair into an eyesore.
The best putty color for kitchen cabinets isn't a single shade; it's the shade that disappears into your specific cabinet finish. When you get it right, the repair is invisible. When you get it wrong, every guest will notice that one weird spot on the door. This guide walks you through selecting, matching, and applying putty so your cabinets look professionally finished—no matter your style or budget.
Why Putty Color Matters More Than You Think
Putty does more than fill holes. It sits on the surface of your cabinet, catching light exactly like paint or stain does. If the color is off by even a few shades, that spot will reflect light differently and draw the eye.
A common mistake is assuming "natural" or "universal" putty will work on everything. In practice, these generic shades rarely match real cabinet finishes. A beige universal putty might work on oak, but against bright white paint it looks like a coffee stain. Against dark walnut it looks like chalk.
The goal is not just to fill the hole—it's to make the repair invisible from three feet away, which is the distance most people see your cabinets.
Matching Putty to Your Cabinet Material
Different cabinet materials absorb and display putty differently. Understanding these nuances prevents disappointment after the putty dries.
Wood Cabinets
Wood is porous, so putty soaks in slightly as it dries, often darkening by a half-shade. Always test on a hidden area (inside a door or behind a drawer) before committing to a visible spot.
- Light woods (maple, birch, pine): Choose putty in warm beige, cream, or light tan. Avoid stark white—it will look pasty against the natural wood tone.
- Medium woods (oak, cherry, alder): A golden-brown or honey-toned putty blends best. For oak in particular, look for putty labeled "oak" or "natural oak" from reputable brands.
- Dark woods (walnut, mahogany, espresso stain): Rich brown or dark walnut putty works. If you can't find an exact match, go slightly darker rather than lighter—dark putty looks like part of the wood grain, while light putty looks like a spot.
Wood expands and contracts with humidity changes, especially in a kitchen. Choose a putty labeled "flexible" or "non-shrinking" to prevent cracking over time. For more on maintaining your cabinet surfaces, keeping grease and grime off the finish extends the life of any repair.
Painted Cabinets
Because paint is opaque, the putty color needs to match the paint color exactly—not the wood underneath. The challenge is that paint colors have undertones (warm, cool, neutral) that are easy to miss.
- White cabinets: Test three shades—pure white, warm white (slightly ivory), and cool white (slightly gray). Many "white" putties dry with a yellow cast that clashes with cool white paint.
- Gray cabinets: Match the undertone. Warm grays need putty with a hint of beige; cool grays need putty with a hint of blue or green.
- Colored cabinets (blue, green, navy): Your best bet is tinted putty or mixing a tiny amount of your cabinet paint into plain white putty. Store-bought colored putties rarely match custom paint colors.
The rule for painted cabinets: if you're repainting anyway, fill holes first, sand smooth, then paint over the putty. This guarantees the repair matches exactly. If you cannot paint over the putty, tinting is the only reliable path.
Laminate Cabinets
Laminate is non-porous, so putty sits on top rather than soaking in. This means the color match must be precise—there is no blending into the surface.
- White or light gray putty works for most common laminates.
- Avoid thick applications. Because laminate is smooth, excess putty is obvious. Apply thin, sand flush, and consider painting over the repair if the match is imperfect.
Lightly sand the area around the repair (120-grit, just a few passes) to give the putty something to grip. Laminate adhesion failure is a common cause of putty popping out after a few months.
Metal Cabinets
Metal cabinets are rare in homes but common in commercial or modern industrial kitchens. Putty needs to resist rust and match metallic tones.
- Use epoxy putty designed for metal—it bonds better and resists moisture.
- Tint with metallic paint after the putty dries. Apply a thin coat of paint that matches the cabinet finish over the putty area.
Metal doesn't absorb any color, so expect to paint over every putty repair. This is normal and expected.
Choosing a Putty Color by Kitchen Style
Your kitchen's overall style influences which putty shade looks natural, even on a small repair.
Modern and Minimalist Kitchens
Sleek lines, flat-panel doors, and neutral palettes call for putty that disappears completely. Light gray or cool white putty is ideal. Avoid warm beige—it will look yellowish against the clean cool tones of a modern kitchen.
If your cabinets are off-white, mix a drop of gray paint into white putty to create a custom cool tone. Test and adjust until the match is invisible on a scrap piece.
Rustic and Farmhouse Kitchens
These kitchens celebrate natural wood grain and warm earthy colors. Warm beige, soft brown, or golden tan blends right in. For distressed or textured cabinets, consider "grainable" putty that you can score with a tool after drying to mimic wood lines.
A slightly rough texture after sanding is actually desirable here—it mimics the natural feel of wood. A glass-smooth patch on a rustic cabinet looks out of place.
Traditional and Classic Kitchens
Rich colors, raised-panel doors, and classic designs need refined repairs. Cream, off-white, or light tan putty matches stained or painted cabinets elegantly. For dark wood stains, choose a putty one shade lighter than the stain—it looks natural without being too dark.
Smooth finishes are essential. Traditional cabinets show every imperfection, so sand the putty flush and wipe clean before any topcoat.
How to Match Putty Color Perfectly (Step by Step)
Exact color matching is the difference between a repair you notice and one you can't find. Here is the process professionals use.
- Clean the surface. Grease and dirt alter how putty looks once applied. Wash the area around the repair with a degreaser and dry thoroughly.
- Test on a hidden spot. Apply a dab of your chosen putty to the inside of a cabinet door or behind a drawer. Let it dry completely (24 hours is ideal—putty color shifts as it cures).
- Light it from multiple angles. Kitchen lighting changes throughout the day. Check the test spot under overhead lights, natural light, and under-cabinet lights. If it matches in all three, you're good.
- Mix if needed. If store-bought putty is close but not exact, mix in a tiny amount of acrylic paint in a complementary color. Stir thoroughly with a toothpick. Add paint in micro amounts—a drop too much ruins the batch.
- Apply thin. Too much putty creates a raised spot that catches light. Fill the hole slightly above the surface, then sand flush.
Application Tips for a Flawless Finish
Even the perfect putty color looks bad if applied poorly. These techniques come from years of cabinet refinishing experience.
Prepare the Surface
Clean cabinets thoroughly before any putty work. Kitchen cabinets accumulate grease vapor that prevents adhesion. A mild detergent works, but a dedicated degreaser is better for heavy buildup. Rinse and let dry completely.
If the area is glossy (common with laminate and painted cabinets), scuff it with 220-grit sandpaper. This gives the putty something to grip. You don't need to remove the finish —you just need to roughen it enough for mechanical adhesion. Wipe away sanding dust with a tack cloth or damp rag before applying putty.
Apply Putty Evenly
Use a flexible putty knife—stiff blades are harder to control and tend to leave ridges. Scoop a small amount of putty onto the blade and press it firmly into the hole or crack at a slight angle. The goal is to force putty into the void, not just lay it on top.
Work in small sections. Putty that sits on the blade too long starts to skin over, making smooth application harder. If you're filling multiple holes, reload the knife frequently.
After pressing the putty in, scrape across the surface at a 90-degree angle to remove excess. A thin smear left behind is better than a thick mound—you'll sand it flush anyway. If putty squeezes out around the edges, wipe it away immediately with a damp finger or cloth. Once it hardens, removing it requires sanding that can damage the surrounding finish.
Sanding and Finishing
Let the putty cure fully. Most wood putties need 2–4 hours, but epoxy and water-based formulas often require 24 hours. Rushing this step guarantees a sunken or cracked repair.
Sand with 220-grit sandpaper wrapped around a sanding block (not just your fingers—fingers create uneven pressure and gouges). Sand in the direction of the wood grain if you're working on stained cabinets, or in light circular motions on painted surfaces. Stop frequently to wipe away dust and check if the surface is flush.
Once smooth, wipe the area with a damp cloth to remove all dust. If you plan to paint or stain over the repair, apply a primer first—unsealed putty absorbs paint differently than the surrounding cabinet, creating a visible patch.
For a detailed guide on keeping your cabinets clean and repair-ready, understanding how to maintain your kitchen surfaces goes a long way.
Popular Putty Brands: What Actually Works
Not all putty is created equal. The brand you choose affects how well the color matches, how smoothly it applies, and how long the repair lasts in a kitchen environment.
Best for Durability and Quality
Minwax and Elmer's are the industry standards for a reason. Minwax offers a wide range of pre-mixed wood tones that match common stain colors. Their "Natural" and "Golden Oak" shades are reliable for medium-toned woods. Elmer's wood filler dries hard, sands smoothly, and accepts stain well if you need to color over it.
These brands excel in kitchens because they resist shrinking and cracking. A repair done with quality putty stays intact through humidity swings, temperature changes, and the occasional splash from the sink.
Best Eco-Friendly Options
If indoor air quality is a concern—especially in a small kitchen with limited ventilation—look for AFM Safecoat or Timbermate. These brands use low-VOC formulas and natural ingredients without sacrificing performance.
Timbermate is water-based, sands easily, and can be tinted with acrylic paint or water-based stain. It's also flexible, which makes it a strong choice for wood cabinets in humid climates. The trade-off is a slightly longer drying time compared to solvent-based putties.
Best Budget-Friendly Choices
DAP and Red Devil are widely available at hardware stores and cost a fraction of premium brands. Their "Natural" and "White" shades work well for painted cabinets and lighter woods.
Budget putties tend to shrink more as they dry, so apply them slightly proud of the surface (a hair above the surrounding area) and sand flush after curing. They also may not last as long in high-moisture environments, but for rental properties, temporary fixes, or large projects where cost matters, they get the job done.
If you're working on a tight timeline and need to do multiple repairs, keeping a clean workspace helps avoid mistakes. Knowing how to keep your tools in good shape saves time and frustration.
Common Mistakes and How to Avoid Them
Even experienced DIYers make these errors. Recognizing them beforehand saves you from redoing the work.
Using the Wrong Shade
The most common mistake is grabbing a "universal" putty and hoping for the best. Universal putty works for exactly zero cabinets. Always test on a hidden area. If you can see the putty from three feet away under normal lighting, the shade is wrong.
Applying Too Much Putty
Thick layers take longer to dry, shrink more, and are harder to sand flush. Use just enough to fill the void. It's easier to add a second thin layer than to sand down a thick glob.
Skipping Surface Preparation
Grease, dust, and glossy finishes prevent putty from bonding. A repair that looks good on day one may peel off in a week if the surface wasn't prepped. Clean, scuff, and dry before applying.
Forgetting to Sand
Skipping the sanding step leaves a raised patch that catches light and shadows. Always sand flush. Always. A smooth, level surface is what makes the color match convincing.
Not Accounting for Paint or Stain
If you're planning to paint over the repair, the putty color barely matters—the paint will cover it. But if you leave the putty exposed, the color match must be precise. Decide before you start which approach you're taking.
Frequently Asked Questions
What is the best putty color for white kitchen cabinets?
For white cabinets, use a putty that matches the undertone of your paint. Warm white cabinets need an off-white or cream putty. Cool white cabinets (with gray or blue undertones) need a pure white or light gray putty. Test on a hidden area—many "white" putties dry slightly yellow.
Can I tint putty myself to match my cabinet color?
Yes. Mix a small amount of acrylic paint (in your cabinet color) into plain white or neutral putty. Stir thoroughly with a toothpick. Add paint in tiny increments—a drop too much changes the shade significantly. Test on scrap before applying to the cabinet.
How long should I wait before sanding putty?
Read the label, but a general rule is 2–4 hours for standard wood putty and 24 hours for water-based or epoxy formulas. Putty that feels dry on the surface may still be soft underneath. Rushing leads to sunken repairs.
Do I need to sand between coats of putty?
If the first coat shrank and left a depression, sand lightly, wipe away dust, and apply a second thin coat. If the first coat is flush, no sanding is needed between coats.
Can I use spackling compound instead of wood putty?
Spackling compound is designed for drywall, not wood. It dries chalky, doesn't sand as smoothly, and absorbs paint differently. Use wood putty or wood filler for kitchen cabinets.
Conclusion
Choosing the best putty color for kitchen cabinets is a small decision with a big visual impact. Match the shade to your cabinet material and finish, test before applying, and take the time to prepare the surface and sand smooth. The right putty, applied correctly, makes every repair disappear.
Whether you're fixing a dent in a painted white cabinet, filling a screw hole in oak, or patching a chip in laminate, the principles are the same: clean, match, apply thin, sand flush. Your kitchen will look cohesive, professional, and free of distracting imperfections.
Start with a test patch, invest in quality putty, and give each repair the time it needs to cure. Your cabinets—and everyone who sees them—will thank you.
