
You have a stubborn smear on your cooktop and you want a clear plan for how to clean a flat top stove without scratching or etching the surface. This guide gives step-by-step choices based on what spilled, how long it sat, and whether your cooktop is glass-ceramic or porcelain enamel.
Manufacturer specifications confirm glass-ceramic tops can fracture from thermal shock, and Schott Ceran lists technical limits for glass-ceramic panels. As of 2026, follow safety steps and tool choices carefully. Now let’s get to the quick answer and the decision flow that saves your cooktop.
How to Clean a Flat-Top Stove: Easy Steps & Tips
Quick Answer
how to clean a flat top stove starts with a cool surface.
Wipe fresh spills with warm, soapy microfiber cloths.
Use a cooktop cream or baking-soda paste for baked-on grease.
For sugar or melted plastic, cool, then scrape carefully with a razor.
Problem / common pain points with glass-ceramic and enamel flat-tops
You can damage a smooth-top fast by using the wrong tool. Metal scouring pads and harsh powders leave fine scratches that trap grime. Those scratches are permanent and make future cleaning harder.
Acidic cleaners and undiluted vinegar can etch the surface, leaving cloudy patches. Once etched, the finish does not fully recover without specialized polishing or replacement. Thermal shock and impacts create cracks that require immediate attention.
For general appliance safety guidance, consult the U.S. Consumer Product Safety Commission at https://www.cpsc.gov.
Identify your surface and damage risk (glass-ceramic vs. porcelain enamel vs. induction)
Know your surface before you pick a cleaner. The method for a tempered glass-ceramic top differs from a porcelain-enameled griddle.
- Glass-ceramic cooktop, also called a smooth-top range, is tempered glass with a ceramic matrix. It scratches easily and can etch from acids.
- Porcelain-enameled flat-top or griddle is thicker and resists scratches better, but the enamel can chip if scraped hard.
- Induction cooktops use the same glass-ceramic surface as radiant types, so cleaning methods are the same, although residue can affect induction coupling.
Quick identification
- Glossy surface with burner outlines beneath, likely glass-ceramic.
- Heavy metal plate with enamel and raised edge, likely porcelain enamel.
- Rapid heating and cookware-specific performance, likely induction with glass surface.
Manufacturer owner manuals list banned tools and cleaners. If you have a manual, follow it. If not, treat the surface as glass-ceramic for the safest approach.
Key variables that change the method (spill type, age of stain, heat state, scratch/etch presence)
If the surface is warm, wait until it cools. Never clean a hot cooktop.
If the spill is fresh grease, a warm soapy wipe will usually work. If the spill is sugar, syrup, melted plastic, or foil, let it cool and use a scraper carefully. If the stain is mineral scale from hard water, use a diluted vinegar soak.
If you see cracks, chips, or flaking, stop cleaning and contact service. Continued scraping or harsh chemicals can worsen damage and void warranties.
Decision at a glance
| Variable | Immediate action | Tool / cleaner |
|---|---|---|
| Fresh spill | Wipe with warm soapy cloth | Microfiber, dish soap |
| Grease set-on | Apply paste or cream | Baking soda paste, cooktop cream |
| Mineral ring | Vinegar soak 5–10 minutes | 1:1 white vinegar, microfiber |
| Melted plastic/sugar | Cool then scrape gently | Single-edge razor, glove |
| Crack or chip | Stop and consult service | Manufacturer or technician |
Decision flow: pick the right method step-by-step
This if-then workflow gets you to the safest method fast.
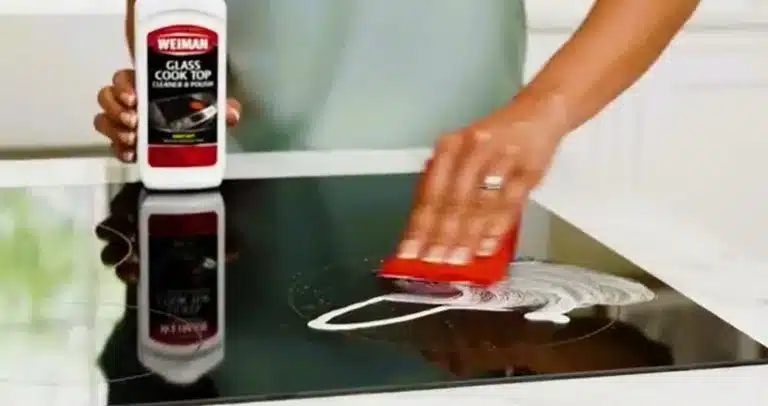
Step 1, surface cool check
- If the cooktop is warm, wait until it is cool to the touch. Do not apply cold water to hot glass.
Step 2, identify the spill
- If the spill is grease or food splatter, follow the medium clean path.
- If the spill is mineral deposits, follow the mineral-ring path.
- If the spill is sugar, melted plastic, or foil, follow the razor-scraper path.
- If the surface is cracked or heavily pitted, stop and call a technician.
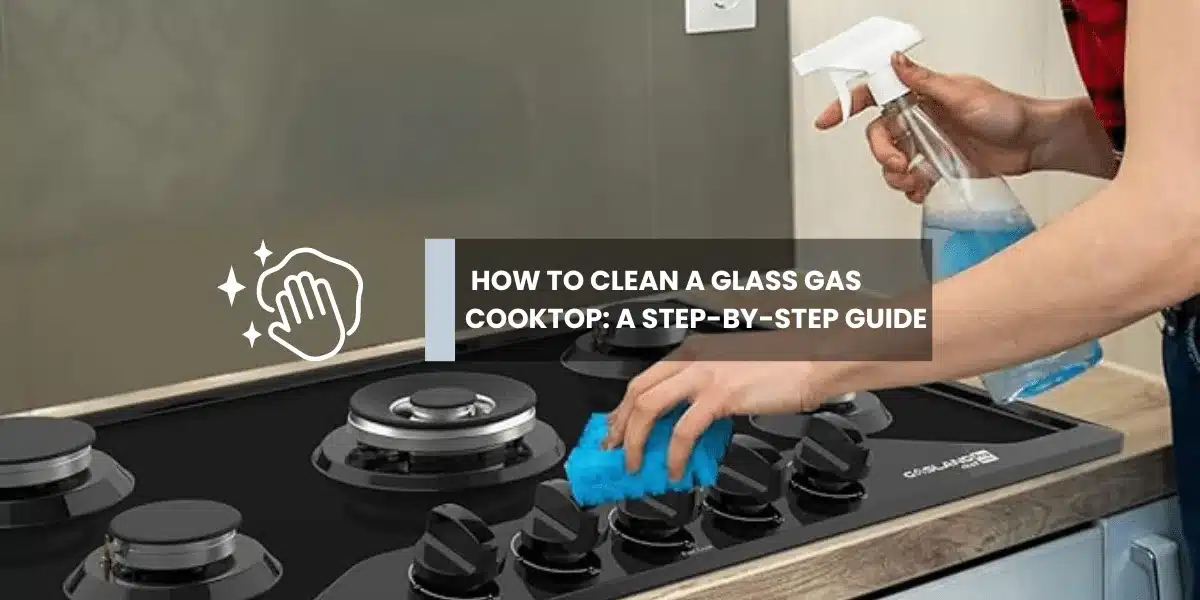
Branch A, fresh spills and daily wipe
- Wipe loose crumbs, dampen a microfiber with warm soapy water, and wipe the surface.
- Rinse the cloth and wipe again to remove soap film. Buff dry.
Branch B, grease and medium baked-on food
- Apply a small amount of cooktop cream or baking-soda paste.
- Rub gently with a damp non-scratch pad in circular motions. Rinse and buff. Repeat once if needed.
Branch C, hard-water rings and mineral deposits
- Place a cloth soaked in 1:1 white vinegar and water over the deposit for 5 to 10 minutes.
- Rub with a microfiber, rinse with water, and dry.
Branch D, burnt sugar, melted plastic or foil
- Wait until the surface is fully cool. Wear gloves.
- Use a single-edge razor scraper flat at a low angle to lift the deposit. Finish with cream and buff.
Branch E, heavy carbonized burns or visible cracks
- Alternate short scraper passes with cooktop cream, inspecting after each pass.
- Stop immediately if pits, flaking, or glass flexing appear, and contact service.
Tools and materials at a glance
| Item | Use case | Replace / caution |
|---|---|---|
| Microfiber cloths | Daily wipe, buff | Use lint-free cloths |
| Mild dish soap | Degreasing | Rinse fully |
| Baking soda | Mild abrasive paste | Use gently |
| White vinegar | Mineral deposits | Dilute 1:1, rinse |
| Cooktop cream | Medium residue, polish | Follow label |
| Single-edge razor scraper | Melted plastic, sugar | Blade flat, replace often |
| Non-scratch pad | Scrubbing | Avoid heavy abrasives |
| Nitrile gloves | Hand protection | Keep sealed spares |
For grease on cabinets, see our short guide on cabinet grease cleanup. For cookware care that reduces scratches, read about clean cookware bottoms. If cleaning risks sending chemicals down a drain, know how to fix a broken pipe.
For broader upkeep routines, check kitchen maintenance tips. For storage solutions for cleaners, review under-counter storage.
Tools, cleaners, and materials you should have on hand (what to buy and why)
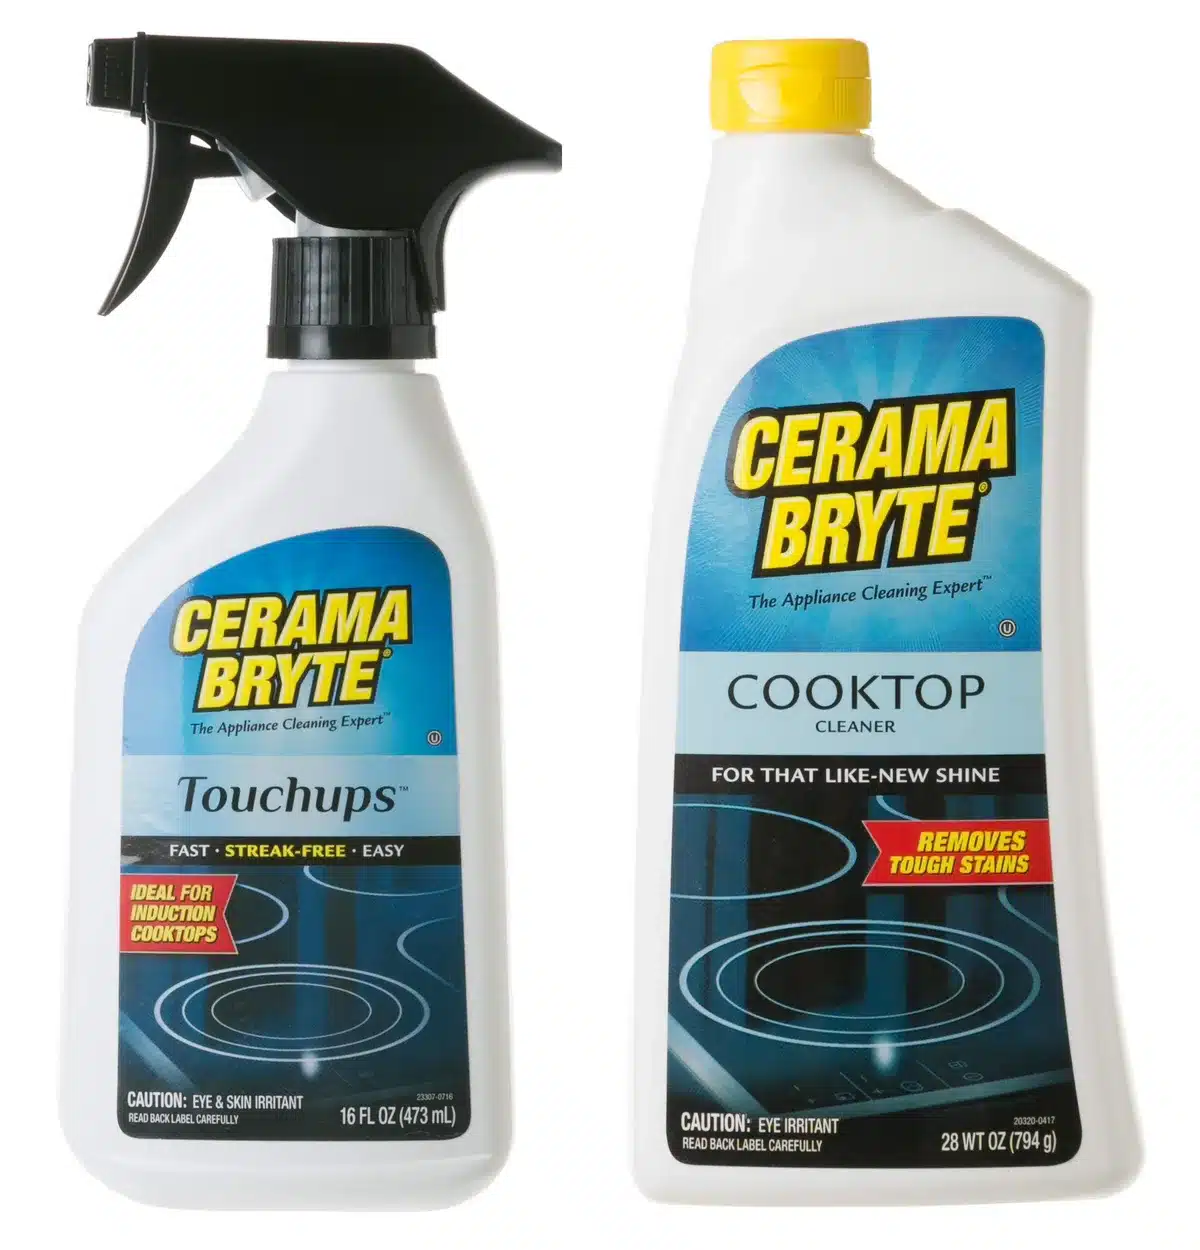
Keep a small kit so the right tool is always at hand. Manufacturer care guides and aggregate reviews favor gentle, purpose-built items over household abrasives.
| Item | Primary use | Caution |
|---|---|---|
| Microfiber cloths | Lifting grease, buffing | Use separate cloths for greasy work |
| Mild dish soap | Daily degreasing | Rinse completely |
| Baking soda | Mild abrasive paste | Use gently |
| White vinegar | Mineral deposits | Dilute 1:1, rinse after |
| Cooktop cream | Medium residue, polish | Follow dwell times |
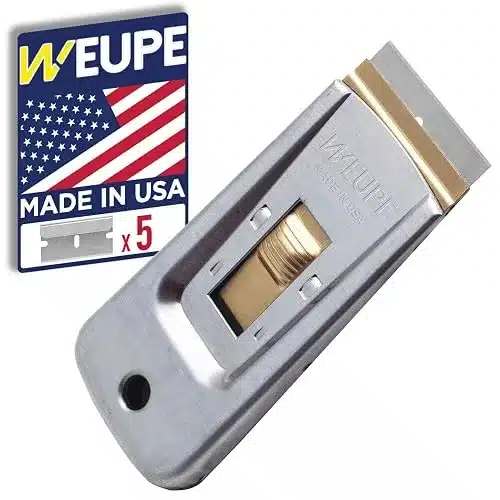
| Single-edge razor scraper | Melted plastic, sugar removal | Keep blade flat |
| Non-scratch nylon pad | Scrubbing baked-on food | Avoid heavy-duty pads |
| Nitrile gloves | Hand protection | Wear for blades and solvents |
| Blade-safe disposal can | Blade storage | Puncture-proof container required |
Why these choices
Microfiber lifts particles without scratching. Baking soda has a fine abrasive quality that removes residue without heavy abrasion. Cooktop creams contain mild abrasives and polish for a smoother finish.
Razor scrapers remove fused deposits but must be used flat and with care.
When to skip a product
If the owner’s manual forbids a cleaner, follow that guidance. Using unapproved chemicals can void warranty coverage.
Step-by-step HOW-TOs (detailed workflows)
Follow the workflow that matches your spill. Each mini-procedure lists exact steps and safety notes.
Daily 5-minute routine
- Confirm the surface is cool.
- Remove loose crumbs with a dry microfiber.
- Wipe with a cloth dampened in warm soapy water. Rinse and buff dry.
Do this after major cooking sessions to prevent baked-on residue.
Medium clean, grease and baked-on food
- Ensure the cooktop is cool.
- Apply a small amount of cooktop cream or baking-soda paste. Use a pea to nickel-sized amount per zone.
- Rub gently with a damp non-scratch pad for 30 to 90 seconds. Rinse and buff.
Repeat once if residue remains. Avoid prolonged dwell times with strong acids.
Mineral-ring removal
- Soak a microfiber cloth in 1:1 white vinegar and water.
- Lay it over the deposit for 5 to 10 minutes.
- Rub gently, rinse with water, and dry.
Do not leave vinegar longer than 10 minutes on polished finishes.
Razor-scraper safe method for plastic and sugar
- Confirm the top is cool and wear gloves.
- Hold the single-edge blade at a low angle, 15 to 30 degrees, nearly flush with the surface.
- Use short controlled strokes away from you. Replace the blade if it drags.
- Finish with cooktop cream and buff dry.
If the deposit resists, replace the blade rather than increase force.
Deep-remediation workflow for stubborn carbonized burns
- Apply cooktop cream and let it sit up to 5 minutes.
- Briefly scrub with a non-scratch pad, rinse, and inspect.
- Alternate short scraper passes with cream, checking for pits after each pass.
- Stop if glazing loss appears, and contact an authorized technician.
Multiple short sessions reduce heat stress and let you monitor the surface.
Razor scraper and pad technique: safe angles, pressure, and blade maintenance
Use a razor scraper flat and low, with light pressure, to remove fused deposits safely.
Hold the scraper with both hands for control. The blade should be nearly flush, not tilted on an edge. Short 1 to 2 inch strokes work better than long pulls.
Keep the blade moving to avoid digging in.
Blade care
- Replace blades at the first sign of burrs or snags. Dull blades require more force and risk scratches.
- Swap blades in good light and dispose into a puncture-proof container. Do not toss loose blades.
- Store spare blades sealed away from children.
Pad selection and pressure
- Use only non-scratch nylon pads. Apply even, moderate pressure.
- Stop and switch pads if they feel rough. Finish every clean with a microfiber buff.
Mistakes that permanently damage cooktops (what to never do)
Never use steel wool or metal scouring pads. They create immediate, permanent scratches.
Never pour cold water on hot glass. Thermal shock can crack tempered panels. Never use oven cleaner or strong acids on glass-ceramic, they strip protective finishes and cause etching.
Never slide heavy cookware across the surface. Grit under a pan creates long scratches. If you find a large scratch, crack, or chip, stop cleaning and contact the manufacturer or an authorized technician.
Maintenance & long-term care to prevent stains, scratches, and etching
Routine care keeps the surface efficient and attractive.
Weekly habits
- Do a weekly polish with a dedicated cooktop cream to remove light residue and leave a thin protective film.
- Inspect and clean cookware bottoms monthly to remove grit.
- Wipe spills as soon as the surface cools to prevent baked-on residues.
Cookware and usage tips
- Use flat-bottomed pans that match burner size. Lift pans rather than slide them.
- Dry the surface after boiling in hard-water areas to reduce mineral rings.
Protective options
- Silicone or tempered glass protector mats catch spills but can trap heat and discolor. Use them only per manufacturer guidance for short-term tasks.
For storage guidance on keeping cleaners safe, consider a compact cabinet organizer.
When to stop and call a technician or consider replacement
Stop cleaning if you see cracks, chips, glass flaking, or surface flex. These are structural issues, not cosmetic problems.
Document damage with photos and dates, then contact the appliance manufacturer or an authorized service technician. Continuing to scrape or use harsh chemicals can worsen damage and void warranty coverage.
Time, cost, and effort estimates for common clean types
Plan your time and budget with these ranges.
| Clean type | Time | Cost estimate |
|---|---|---|
| Daily wipe | 5 minutes | $0 |
| Medium clean | 10 to 30 minutes | $0 to $10 |
| Melted plastic/sugar removal | 20 to 60 minutes | $5 to $15 |
| Professional repair/replacement | 1 to 3 hours | $100 to $600 |
Split heavy jobs across days to reduce strain on the surface and lower risk.
Safety, warranty, and disposal rules
Follow manufacturer care instructions to protect warranty terms. Manuals often list banned cleaners and tools.
Never clean a hot cooktop, and never pour cold water on a hot surface. Wear gloves with blades and solvents, and ventilate when using solvents. Dispose of used razor blades in a puncture-proof container, and follow local rules for chemical disposal.
Quick troubleshooting: cloudy finish, streaks, visible scratches, stubborn stains
Cloudy finish after cleaning usually means residue remains. Wipe with warm water and a clean microfiber, then buff dry.
Streaks occur when cleaner is not fully rinsed. Use a damp microfiber and finish with a dry buff. For sticky adhesive or greasy residue, a small amount of isopropyl alcohol on a microfiber removes it quickly.
Fine scratches are cosmetic and can be reduced with manufacturer-safe polish. Deep gouges or etching cannot be fully polished and may require replacement.
Expert tips and pro tricks that actually save time
Keep a ready kit of microfiber cloths, a fresh razor blade, and a small jar of cooktop cream. That prevents searching when a spill happens.
Clean cookware bottoms regularly to remove grit and carbon. Warped or damaged pans are a common cause of scratches.
Work in short sessions, use fresh blades, and finish with a microfiber buff to keep the top looking its best with minimal risk.
Frequently Asked Questions
How long should I wait after cooking before cleaning?
Wait until the cooktop is cool to the touch. Cooling time varies, but allow at least 20 to 30 minutes after heavy cooking. Confirm by feeling the surface before scraping.
Can I use vinegar and baking soda together on glass-ceramic?
No, do not mix them as a cleaning reaction. Use baking soda paste for abrasion and diluted vinegar separately for mineral rings. Rinse completely between steps.
Is a razor scraper safe for all stains?
A razor scraper is safe for cooled glass-ceramic when used flat and at a low angle. It is recommended for melted plastic and burnt sugar. Stop scraping if you see glazing loss or pits.
Will scratches and etching come out with polish?
Light scratches may be reduced with a manufacturer-safe cooktop polish. Etching, which looks cloudy from acid or burned sugar, cannot be fully reversed by household polish. Deep etching may require glass replacement.
How often should I deep-clean my cooktop?
Weekly polishing and immediate wipe-ups after cooking keep buildup minimal. Deep clean only when baking-on occurs, typically monthly for frequent cooks.
What should I do if I find a crack?
Document the crack with photos and date stamps. Contact the manufacturer or an authorized technician for assessment and repair options.
Final decision checklist: what to do now (step-by-step quick checklist)
- Let the surface cool completely, then inspect for cracks.
- Identify the spill type, and gather two tools for that branch.
- Start with the gentlest method, then escalate only if residue remains.
- Use a fresh razor blade for fused plastic, holding it flat and low.
- Rinse, buff dry, and inspect under good light. Stop if you see pits, flex, or flaking.

2 thoughts on “How to Clean a Flat-Top Stove: Easy Steps & Tips”