
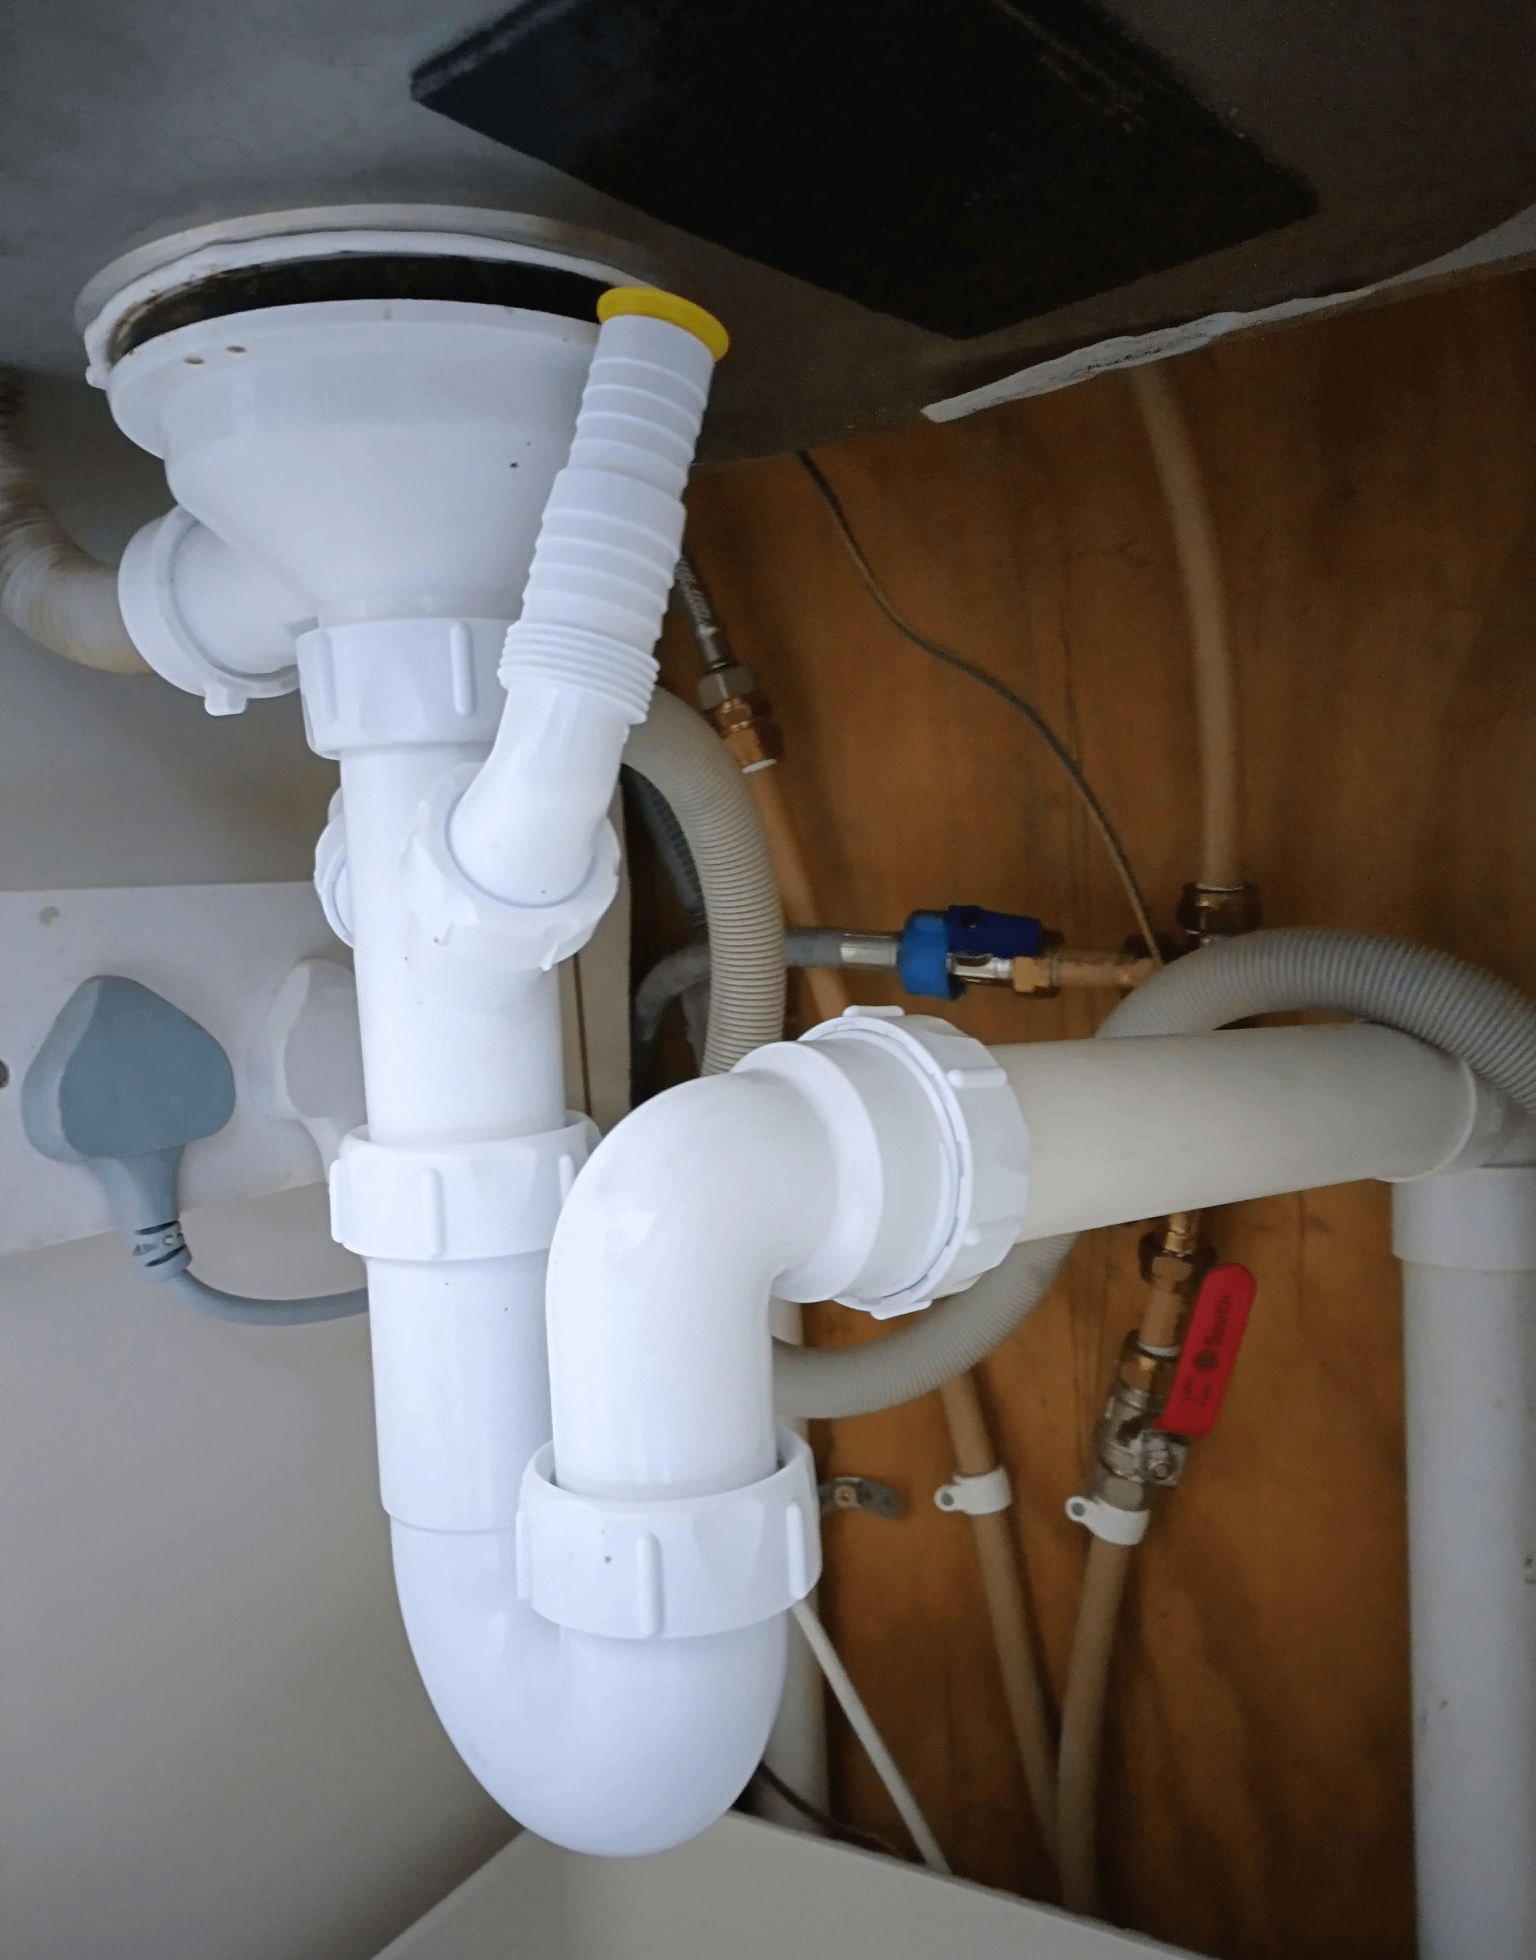
A leak beneath the kitchen sink can ruin cabinets, spawn mold, and inflate water bills within days. The good news: most under-sink pipe leaks trace to a handful of repeat offenders—loose fittings, worn washers, or aged trap sections—that a careful homeowner can isolate and fix. This guide walks through diagnosis, targeted repairs, replacement triggers, and prevention, with field-tested tips to avoid common mistakes.
 Leaks often start at loosely sealed joints under the basin.
Diagnosing the Leak: Where Water Comes From
Before touching a wrench, dry the cabinet floor and watch where moisture reappears. A review of a clear piping diagram helps you label each component—supply lines, shut-off valves, P-trap, tailpiece, and disposal flange—so you can pinpoint the source instead of guessing.
Loose or Damaged Joints and Fittings
Vibration from a garbage disposal, seasonal house settling, and repeated knob tightening gradually slacken compression nuts and threaded unions. In practice, a supply-line nut that turns more than a quarter-turn by hand is already suspect. Check:
- Compression fittings on faucet supplies: if water seeps at the valve top, the ferrule may not be compressed evenly.
- Threaded drain joints: old pipe dope or tape loses grip; plastic trap nuts crack if over-torqued.
- Cracked bodies: brittle PVC or corroded galvanized steel weeps from hairline splits invisible until pressure builds.
Worn-Out Washers and Seals
Rubber washers in supply stops and slip-joint gaskets in the P-trap harden with heat and chlorine exposure. A telltale sign is a leak that only appears during faucet use, not when static. Replace matching durometer and size; a mismatched washer invites a faster failure.
Leaky Faucet Components Mimicking Pipe Leaks
A dripping spout can run down the supply lines and pool at the base, faking a pipe leak. Inspect the faucet body separately by wiping lines dry and running water briefly. If the body itself sweats, the fault is cartridge or packing, not the drain pipe.
Condensation Versus True Leaks
Cold-water pipes in humid summer air sweat beads that drip onto the floor. This is not a pressure leak. Confirm by wrapping a dry rag around the pipe for ten minutes; if the rag stays dry but the floor wet, look higher. Foam pipe insulation stops most sweat without plumbing changes and costs only a few dollars per line.
Essential Tools and Materials for Quick Fixes
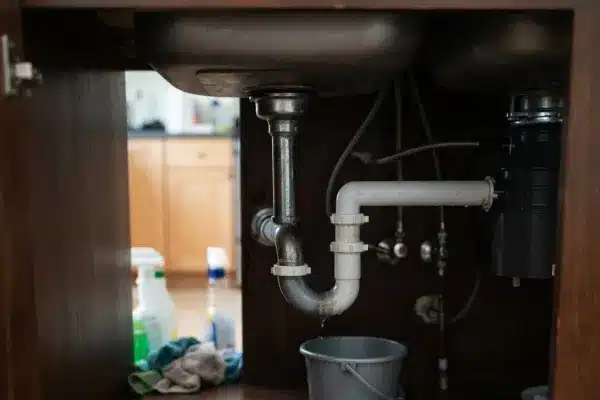 Basic toolkit needed before opening any fitting.
Gather gear before shutoff to avoid mid-job store runs.
| Tool / Material | Why It Matters |
|---|---|
| Two adjustable wrenches | One steadies the pipe while the other turns the nut, preventing twist damage. |
| Channel-lock pliers | Grippers for stubborn slip joints or disposal mounts. |
| Bucket & absorbent towels | Catches residual water; keeps cabinet dry for inspection. |
| LED flashlight | Reveals hairline cracks in dim corners. |
| Safety glasses & nitrile gloves | Shields from foul drain water and sharp edge cuts. |
| PTFE plumber’s tape | Refreshes threaded seal on metal-to-metal joints. |
| Putty or anaerobic sealant | Seats flange and stationary drain bodies. |
| Assorted washers & gaskets | Immediate swap for common ½-inch and 1¼-inch sizes. |
A small parts kit costs less than a service call and turns a two-hour emergency into a 20-minute fix.
Step-by-Step Quick Fixes for Common Leaks
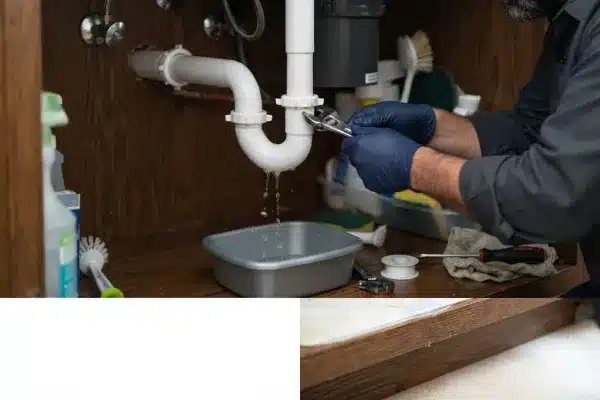 Careful torque prevents stripped threads on fragile plastic traps.
Always locate the twin shut-off valves under the sink and turn clockwise; if absent, close the home main. Open a faucet to relieve line pressure.
1. Tightening Loose Connections
Use a wrench to nudge the nut a fraction tighter. A common mistake is gorilla-tightening: plastic trap nuts strip at a quarter-turn past snug, spawning a bigger leak. If seepage continues, the seal—not the torque—is failed.
2. Replacing Worn Washers and Gaskets
Disconnect the joint, catch water in a bucket, and note the old part’s profile. Fit the identical replacement, lubricate with a drop of dish soap for even seating, reassemble, and slowly restore flow. If the section is cracked, follow full swap instructions rather than patching.
3. Applying Plumber’s Tape to Threaded Joints
Strip old tape, clean threads, then wrap PTFE clockwise three times with slight tension. Reconnect and test. This restores seal on supply unions for years, provided the male thread isn’t already galled.
4. Emergency Pipe Repair Tape or Clamps
For a split in a non-removable pipe, dry the area, wrap self-fusing silicone repair tape overlapping generously, or bolt a split-clamp over the breach. These are temporary; schedule proper replacement within weeks. Never rely on duct tape—it releases under constant moisture.
When to Replace Pipes Instead of Patching
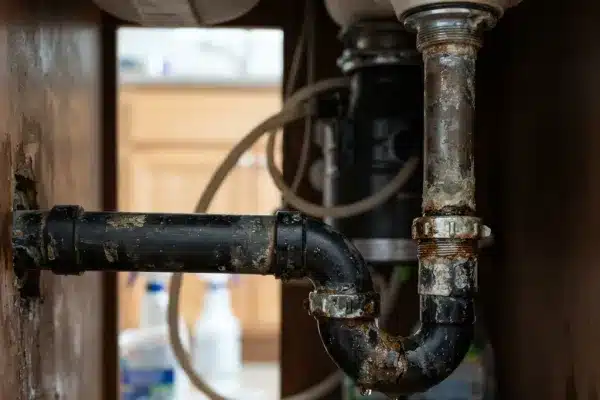 Severe corrosion means a patch will not hold.
Repeated leaks from the same spot signal material fatigue.
Warning Signs of Degradation
- Pitting or rust on steel, white chalk on brass.
- Pinholes weeping under pressure.
- Persistent dampness after three seal attempts.
- Musty cabinet odor indicating hidden mold behind the kickboard.
- Flow drop from internal scale narrowing the bore.
Material Lifespans
Understanding typical under-sink materials guides your choice of replacement.
| Material | Common Service Life | Leak Risk |
|---|---|---|
| Copper | Decades, often 50+ | Low, unless acidic water erodes |
| PVC / P-traps | Decades, often 50+ | Low, but heat can brittle |
| PEX supply | 40+ years | Very low, flexible |
| Galvanized steel | 20–50 years | High after long service |
A schematic of the trap clarifies how the new pieces align before you cut.
Preventing Future Leaks: Proactive Maintenance
Twice-yearly inspections catch most issues before damage. Feel for dampness at every union, listen for ticks during fill, and smell for sour air. Avoid caustic liquid drain openers; they attack gaskets and accelerate pinholes. Instead, use a hand auger or enzyme cleaner.
For regulatory context on materials, the U.S. Environmental Protection Agency publishes plumbing standards on its site. Pair that knowledge with replacing supply braided lines every 8–10 years—their bursting failure is sudden and flood-level.
Addressing leaks early also helps with eliminating trapped odors in the cabinet, protecting stored items.
 Copper resists corrosion but still needs periodic inspection.
When to Call a Professional Plumber
 Persistent hidden leaks require licensed expertise.
If water appears behind the drywall, the shut-off valve itself leaks, or you smell sewage from a failed trap seal, stop. Licensed plumbers have inspection cameras and torque-rated tools. A hidden leak feeding subfloor can rot joists within a season—far costlier than a diagnostic visit.
Frequently Asked Questions
Why does my pipe leak only when the faucet runs?
This pattern points to a drain or supply joint that opens under flow pressure. Check the P-trap slip nuts and supply washers first. If the leak stops when water is off, the fault is mechanical seal loss, not condensation. Replace the specific gasket rather than tightening blindly.
Can I use flex tape on a leaking sink pipe?
Self-fusing silicone repair tape can temporarily seal a small split on a dry pipe, but standard flex tape fails under constant water contact and pressure. It is a bridge to proper repair, not a cure. Replace the section within weeks to avoid sudden failure and cabinet damage.
How do I locate the shut-off valve under my sink?
Look behind the cabinet wall near the back corners: two oval or lever handles on the supply lines, one for hot (left) and cold (right). Turn clockwise to close. If missing or stuck, use the home’s main valve. Label them after repair for next time.
What pipe material is best for under-sink replacement?
Modern PEX supply lines and PVC traps resist corrosion and are DIY-friendly. Copper lasts longest but needs soldering skill. Avoid galvanized steel entirely. Match diameter to existing fittings—usually ½-inch supply, 1¼-inch drain—to keep trap seal depth correct and prevent siphoning.
Is a small leak under the sink an emergency?
Any active leak is urgent because wood cabinets and subfloors absorb water silently. Place a bucket, shut the local valve, and inspect within 24 hours. If you cannot isolate it or the floor is swollen, call a pro. Delayed action turns an inexpensive washer into mold remediation.
Conclusion
Most under-sink pipe leaks are mechanical—loose joints, tired washers, or cracked traps—and yield to a methodical shutoff, correct seal, and periodic inspection. The key takeaway: diagnose precisely, fix with matching parts, and replace rather than patch failing materials. Start today by mapping your connections using our home maintenance blog for broader kitchen repair guidance, then tighten or swap the first suspect fitting you find.
