
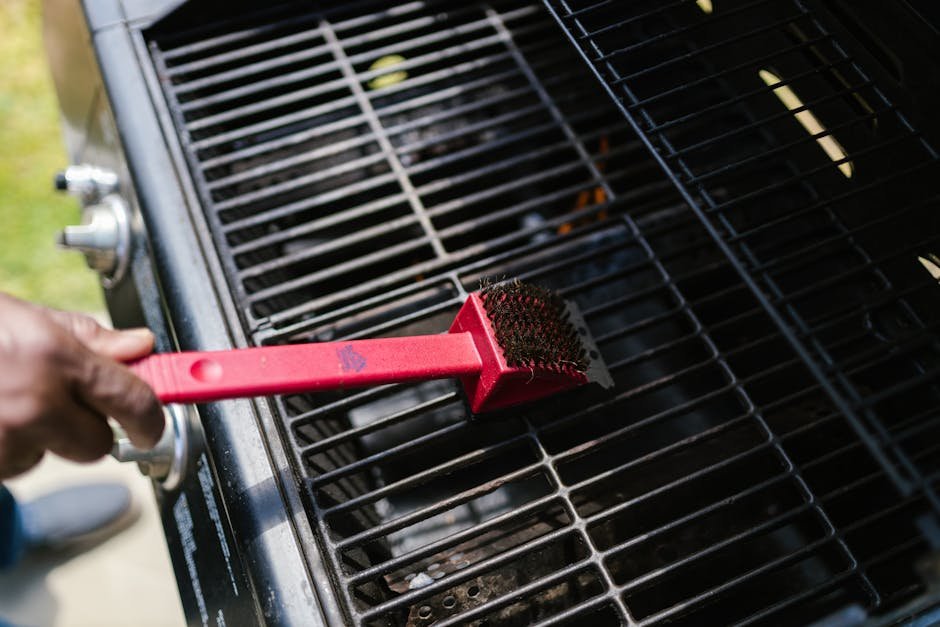
Grilling season means charred flavor, smoky aroma, and inevitably, caked-on residue that clings to your grates. The Scrub Daddy Grill Brush (often called the Barbeque Daddy) promises a safer, more effective clean without the hazards of traditional wire bristles. But getting the best results depends on technique, timing, and a few tricks most people miss.
This guide walks you through exactly how to use the Scrub Daddy Grill Brush, from preparation and cleaning methods to maintenance and troubleshooting. Whether you are tackling a quick post-dinner wipe-down or a deep clean after a long weekend cookout, these expert tips will keep your grates spotless and your cooking surface safe.
What Makes the Scrub Daddy Grill Brush Different
The Scrub Daddy Grill Brush stands apart from traditional wire-bristle brushes. Its patented FlexTexture™ material changes with water temperature — firm in cold water for scrubbing power, soft in warm water for gentle cleaning. The bristles are molded from a single piece of polymer, eliminating the risk of loose metal bristles that can break off and end up in your food.
The brush head features a smiling-face design with built-in scrapers in the "eyes" and "mouth" that target stuck-on debris without scratching porcelain or ceramic coatings. The ergonomic handle provides a secure grip even with wet hands, and the brush is dishwasher-safe for easy sanitation.
Preparing Your Grill for Cleaning
Proper preparationmakes a noticeable difference in how well the Scrub Daddy Grill Brush performs. A few minutes of upfront work means less elbow grease later and longer life for both your grill and your brush.
Let the Grill Cool Down
Wait until the grill is warm but not hot — around 120–150°F (about 5–10 minutes after turning off the burners). A hot grill can soften the Scrub Daddy material too much, reducing its scrubbing effectiveness. A fully cold grill, on the other hand, lets grease harden back onto the grates, making removal harder. Warm grates release residue more easily without the safety risk of working on a blazing surface.
Remove Loose Debris First
Use a stiff spatula or a bench scraper to knock off large chunks of burnt food and carbon deposits. This step prevents the brush from getting clogged with oversized debris and lets the Scrub Daddy focus on the stubborn film of grease and char that actually needs scrubbing.
Soak Grates When Possible
For grates that are heavily soiled, remove them and soak in hot water with a few drops of dish soap for 10–15 minutes. If you are cleaning a built-in grill where grates cannot be removed, spray them liberally with a 50/50 mixture of white vinegar and water and let it sit for five minutes. This pre-treatment loosens baked-on residue so the brush works faster.
Inspect the Brush Before Each Use
Check the Scrub Daddy Grill Brush for signs of wear — frayed edges, deep gouges, or bristles that have softened unevenly. A worn brush loses cleaning power and can harbor bacteria. If the brush looks tired, replace it. Keeping a spare on hand ensures you never start a cleaning session with a compromised tool.
Step-by-Step Cleaning Technique
Using the Scrub Daddy Grill Brush correctly comes down to water temperature, pressure, and motion. Follow this sequence for the most efficient clean.
Wet the Brush Properly
Run the brush under warm water (not hot) for about 10 seconds until the bristles are fully saturated. The warm water softens the FlexTexture material, which helps the bristles conform to the shape of the grates and reach into grooves. If you are dealing with greasy grates, add a drop of dish soap directly to the bristles and work it into a lather before scrubbing.
Scrub with the Grain of the Grates
Hold the brush at a 45-degree angle and scrub in the same direction as the bars of the grate, not across them. Following the grain removes residue from the top surface and the sides of each bar more effectively. Scrubbing across the grain tends to push debris into the gaps and misses the vertical surfaces where carbon builds up.
Use the Built-In Scrapers for Stubborn Spots
The two "eye" scrapers and the "mouth" scraper on the brush head are designed for caked-on residue. Press the scraper directly into the stuck spot and use short, firm back-and-forth motions. Do not dig in aggressively — the polymer scrapers are tough but can chip if you hammer them against a sharp edge. Let the scraper do the work; you just guide it.
Rinse and Repeat as Needed
After scrubbing the entire grate surface, rinse the brush under warm water and check your progress. If greasy film remains, apply another drop of soap and repeat. Most grills need two passes — a first pass to remove the bulk of residue and a second lighter pass to polish the surface.
Final Wipe-Down
Once the grates look clean, wipe them with a damp paper towel or a clean cloth to remove any soap residue or loosened carbon particles. This step prevents off-flavors in your next cook and gives you a clear view of any spots you missed.
Cleaning Different Types of Grill Grates
Not all grates are the same, and using the wrong technique can damage expensive cooking surfaces. The Scrub Daddy Grill Brush is safe for most materials, but adjust your approach based on what you own.
Porcelain-Coated Cast Iron
Porcelain-enameled grates are common on mid-range gas grills. They resist rust but can chip if struck hard. Use the soft-bristle side of the brush with warm water only — no abrasive cleaners or metal scrapers. Avoid the built-in scrapers on chip-prone edges. If stubborn residue persists, soak the grates in warm soapy water before scrubbing rather than forcing the brush.
Stainless Steel
Stainless steel grates are durable and respond well to the Scrub Daddy brush. Use warm water and a small amount of dish soap. The brush's polymer bristles will not scratch or dull the surface. For heavy carbon buildup, use the scraper features with moderate pressure. Rinse and dry thoroughly to prevent water spots, which can etch the finish over time.
Bare Cast Iron
Cast iron grates need a gentle touch to preserve their seasoning. Use the brush with cold water (which keeps the bristles firm) and scrub lightly. Avoid soap — it strips seasoning. After cleaning, dry the grates immediately and apply a thin coat of vegetable oil to prevent rust. The Scrub Daddy's non-metallic bristles are ideal for cast iron because they clean without removing the seasoned layer.
Chrome-Plated Grates
Chrome-plated grates are found on many budget-friendly grills. The plating can flake if scratched, so use only the softest setting — warm water with minimal pressure. Never use the scrapers on chrome surfaces. If chrome is already peeling, consider replacing the grates, as exposed base metal can rust quickly.
Maintaining the Scrub Daddy Grill Brush
A clean brush works better and lasts longer. Proper maintenance also prevents cross-contamination between cleaning sessions.
Rinse Immediately After Use
Rinse the brush under hot running water for 15–20 seconds, working the bristles with your fingers to dislodge trapped grease and food particles. Pay special attention to the scraper cavities, where debris tends to collect. Give a final rinse, then shake off excess water.
Dishwasher Cleaning
The Scrub Daddy Grill Brush is top-rack dishwasher-safe. Run it through a cycle once a week if you grill frequently, or after every heavy cleaning session. Place it facing downward so water drains from the bristles. Skip the heated dry cycle — air drying preserves the polymer material longer.
Air Dry Properly
Store the brush in a well-ventilated area, bristles facing down or sideways. A hook or a magnetic strip works well. Avoid leaving it sitting in a puddle of water on the counter or in a closed drawer, where moisture encourages bacterial growth and material breakdown.
Replace When Worn
The Scrub Daddy Grill Brush typically lasts 3–6 months with regular weekend use. Signs it is time to replace include: bristles that have flattened and no longer spring back, scrapers that have rounded off, a persistent odor that does not wash out, or visible cracks in the polymer head. Using a worn brush reduces cleaning efficiency and can scratch grates as the softened material drags grit across the surface.
Common Mistakes and How to Avoid Them
Even a great tool produces poor results when used incorrectly. Here are the most frequent errors people make with the Scrub Daddy Grill Brush and how to fix them.
Scrubbing a Cold Grill
Cold grates hold onto carbon like a vice. Always clean while the grill is still warm. If you have let it cool completely, reheat it for a few minutes on medium heat before scrubbing.
Using Too Much Pressure
The brush's design does the hard work. Pressing excessively hard flattens the bristles and reduces their ability to reach into grooves. Let the texture and motion clean the surface. If you find yourself pushing hard, your brush likely needs replacing.
Neglecting the Sides of the Grates
Most people scrub only the top surface and miss the sides where grease drips and chars. Run the brush along both vertical faces of each bar to get a full clean. This takes an extra minute but eliminates the source of most smoke flare-ups.
Storing the Brush Wet
Trapping moisture inside the bristle head leads to mildew and a musty odor. Always dry the brush before putting it away. If you store it in a grill-side caddy, shake it out first and keep the caddy lid open when not in use.
Using the Brush on a Non-Stick Surface
The Scrub Daddy Grill Brush is not designed for non-stick grill mats or non-stick coated grates. The bristles can scratch the coating. Stick to silicone or soft sponge tools for those surfaces.
Safety Considerations
Wire-bristle brushes have been linked to serious injuries when bristles break off and are ingested. The Scrub Daddy Grill Brush eliminates that risk entirely because the bristles are molded from a single piece of material — no loose wires to shed. However, standard safety practices still apply.
Always clean on a stable, level surface. Wear a pair of grill gloves if you are cleaning a warm grate to avoid accidental burns. Keep the brush out of reach of children, as the scrapers are sharp enough to cause a cut. If you use cleaning chemicals (like commercial grill degreasers), rinse the grates thoroughly with water before cooking to avoid chemical residue transferring to food.
Frequently Asked Questions
Can you use the Scrub Daddy Grill Brush on a hot grill?
No. The polymer material softens and deforms at high temperatures. Let the grill cool to warm (around 120–150°F) before cleaning. A hot grill can also cause the brush to melt or release odors.
How do you clean the Scrub Daddy Grill Brush itself?
Rinse under hot water after each use. Run it through the top rack of the dishwasher once a week. For deep sanitizing, soak in a mixture of hot water and a tablespoon of baking soda for 15 minutes, then rinse thoroughly.
Does the Scrub Daddy Grill Brush scratch stainless steel?
No. The polymer bristles are softer than stainless steel and will not scratch the surface. The brush is also safe for porcelain, ceramic, and cast iron grates when used with the correct technique.
How long does one Scrub Daddy Grill Brush last?
With regular weekend grilling and proper maintenance, expect 3–6 months of effective use. Replace it when the bristles flatten, the scrapers round off, or the brush no longer feels firm when wet.
Can you use soap with the Scrub Daddy Grill Brush?
Yes, a small amount of dish soap helps cut grease. For cast iron grates, skip the soap and use only water and friction to preserve the seasoning.
Is the Scrub Daddy Grill Brush dishwasher safe?
Yes, place it on the top rack. Avoid the heated dry cycle — let it air dry instead to extend the lifespan of the material.
Conclusion
The Scrub Daddy Grill Brush offers a safer and more effective way to keep your grill grates clean, without the worry of stray wire bristles. Success comes down to a few simple practices: clean while the grill is still warm, use the right water temperature for your grate material, scrub with the grain, and rinse the brush after every session.
Regular maintenance of both your grill and your brush pays off in better-tasting food and longer equipment life. A clean grate sears properly, reduces flare-ups, and makes every cook more enjoyable. Give the Scrub Daddy Grill Brush a fair try — apply these techniques through a full grilling season, and you will likely wonder how you managed with anything else.
