
You're staring at three wires poking out of a metal box. The range hood is on your counter. The old one is gone.
And now you need to figure out how to connect the electrical wires broan btx1 series 30 range hood wiring connection without guessing. The good news is this is one of the simpler appliance wiring jobs. The bad news is one mistake can mean a tripped breaker, a dead fan, or a fire risk.
Per the National Electrical Code (NEC) Article 422, all kitchen exhaust appliances must be properly grounded and connected to a dedicated or shared 15 amp circuit. The BTX1 series uses a standard three-wire configuration that matches modern residential wiring. Let's walk through exactly what you need to do.
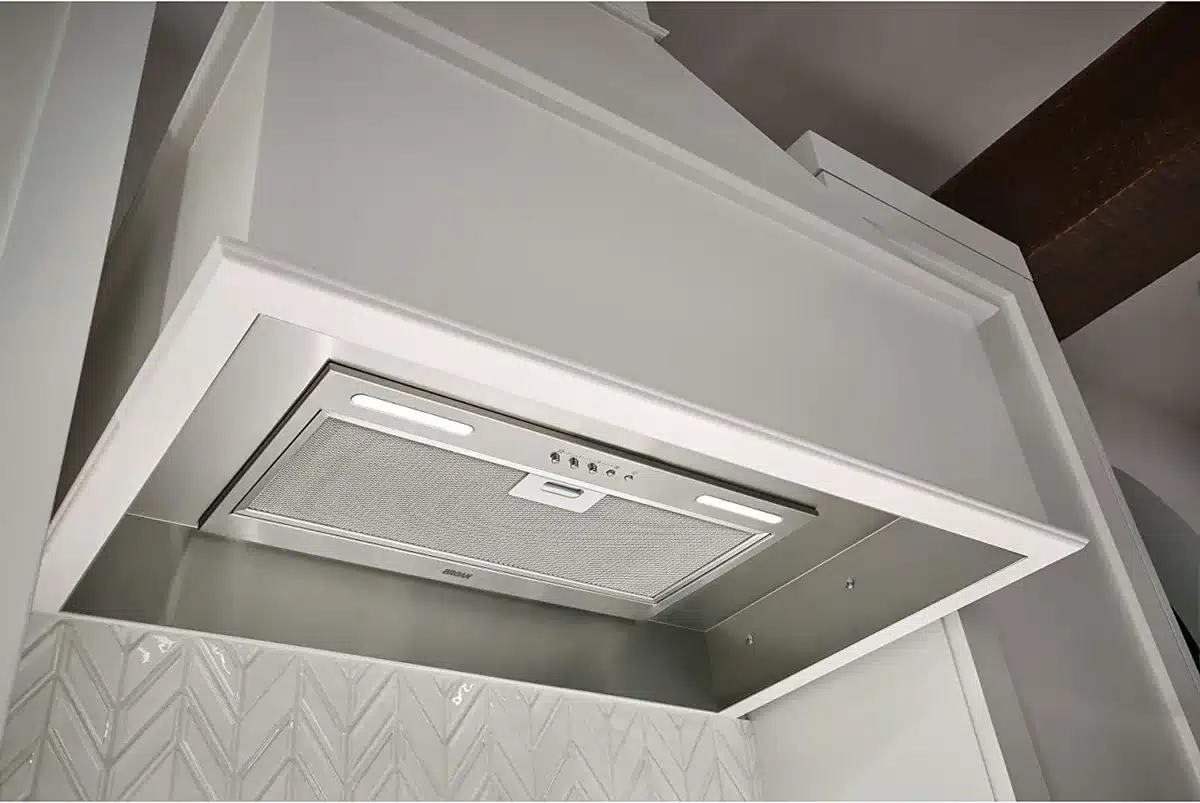
Image source: Bing (Web (fair-use with source credit))
Quick Answer
Connect the black house wire to the black hood wire. Connect the white to the white. Connect the green or bare copper ground to the green hood wire.
Secure each with a wire nut. Tuck the wires into the junction box. Replace the cover.
Test the fan and light before mounting the hood.
Why Getting This Wiring Right Matters
Range hoods sit directly above your cooking surface. Grease, heat, and moisture collect in that space. A loose connection or reversed polarity can create arcing inside the junction box.
That is a fire hazard you do not want above your stove.
The Broan BTX1 series is a hardwired appliance. It does not come with a plug. You connect it directly to your home's electrical system.
That means the wiring must be code compliant and mechanically secure.
Manufacturer specifications indicate the BTX1 draws less than 5 amps under full load. That is well within the capacity of a standard 15 amp kitchen circuit. But the circuit itself must be properly grounded.
The connections must be tight enough to handle vibration from the fan motor.
A bad connection can also cause the fan to run intermittently. Or the light might flicker. Or both might stop working entirely.
Getting it right the first time saves you from crawling back under the hood later.
What's Inside the BTX1 Junction Box
The junction box on the BTX1 series is built into the hood. It is located near the top back. You will find it under a small metal cover plate.
Remove the screws and lift the plate off.
Inside you will see three factory wires. They are already connected to the fan motor and light switch. You do not need to touch those internal connections.
The wires are:
- Black wire connected to the fan motor and light controls
- White wire serving as the neutral
- Green wire bonded to the metal chassis
These wires are pre stripped and ready to connect. They are typically 14 gauge copper. The factory wires are about 6 to 8 inches long.
That gives you enough slack to work comfortably inside the box.

Image source: Web (Bing) / automationforum.co (Web image (fair-use with source credit))
Your house wiring will have matching colors. Black, white, and green or bare copper. If your house wiring has a bare copper ground wire, that connects to the green wire on the hood.
If your house wiring has a green wire, connect it directly to the green wire on the hood.
The junction box has a 1/2 inch knockout on the side or back. That is where your house cable enters. You will need a strain relief connector to secure the cable at that point.
Tools and Materials You'll Need
You do not need a lot of gear for this job. But you need the right things. Here is what you should have on hand before you start.
| Tool or Material | Purpose |
|---|---|
| Wire strippers | Strip 1/2 inch of insulation from house wires |
| Wire nuts (two sizes) | Secure connections, 14 to 12 gauge |
| Non contact voltage tester | Confirm power is off |
| Phillips head screwdriver | Remove junction box cover, tighten strain relief |
| 1/2 inch strain relief connector | Secure house cable at knockout |
| Flashlight or work light | See inside the junction box |
| Safety glasses | Protect eyes from wire clippings |
| Electrical tape (optional) | Wrap around wire nuts for extra security |
Get wire nuts that are rated for the wire gauge you are using. Most house wiring is 14 gauge or 12 gauge. A standard orange or yellow wire nut works for both.
If you have aluminum wiring in your house, you need special CO/ALR rated connectors. Do not use standard wire nuts with aluminum wire.
A non contact voltage tester is cheap and essential. You can find one for under 20 dollars. It will tell you if the wire is live before you touch it.
That is the only way to be sure the breaker is off.
Step by Step Wiring Process
This is the part you came for. Follow these steps in order. Do not skip any of them.
Prepare the Circuit and Test for Power
Go to your breaker panel. Find the breaker that controls the circuit. Flip it to the off position.
If you are not sure which breaker it is, flip off the main breaker. That kills power to the whole house.
Take your non contact voltage tester. Touch it to the black wire in the junction box. If it beeps or lights up, the power is still on.
Double check the breaker. Test again. Do not proceed until the tester shows no voltage.
Install the Strain Relief Connector
Remove the knockout plug from the junction box. Insert the strain relief connector into the hole. Tighten the lock nut from the inside.
Feed your house cable through the connector. Leave about 6 to 8 inches of cable inside the box. Tighten the screw on the connector to clamp the cable in place.
This step is not optional. The strain relief keeps the cable from pulling out. It also prevents the wire insulation from rubbing against the sharp edge of the knockout.
Strip and Connect the Wires
Strip about 1/2 inch of insulation from the ends of your house wires. If you have a bare copper ground wire, it is already stripped. Twist the strands of each wire together with your fingers to keep them neat.
Hold the black house wire next to the black hood wire. Twist a wire nut onto both wires clockwise. Pull gently to make sure it is secure.
Do the same for the white wires. Then connect the ground wire.
For the ground connection, twist the green hood wire together with the green or bare copper house wire. Use a wire nut. If the ground wire is bare copper, you can also wrap it around the green screw inside the junction box.
Tighten the screw. Then secure it with a wire nut as well.
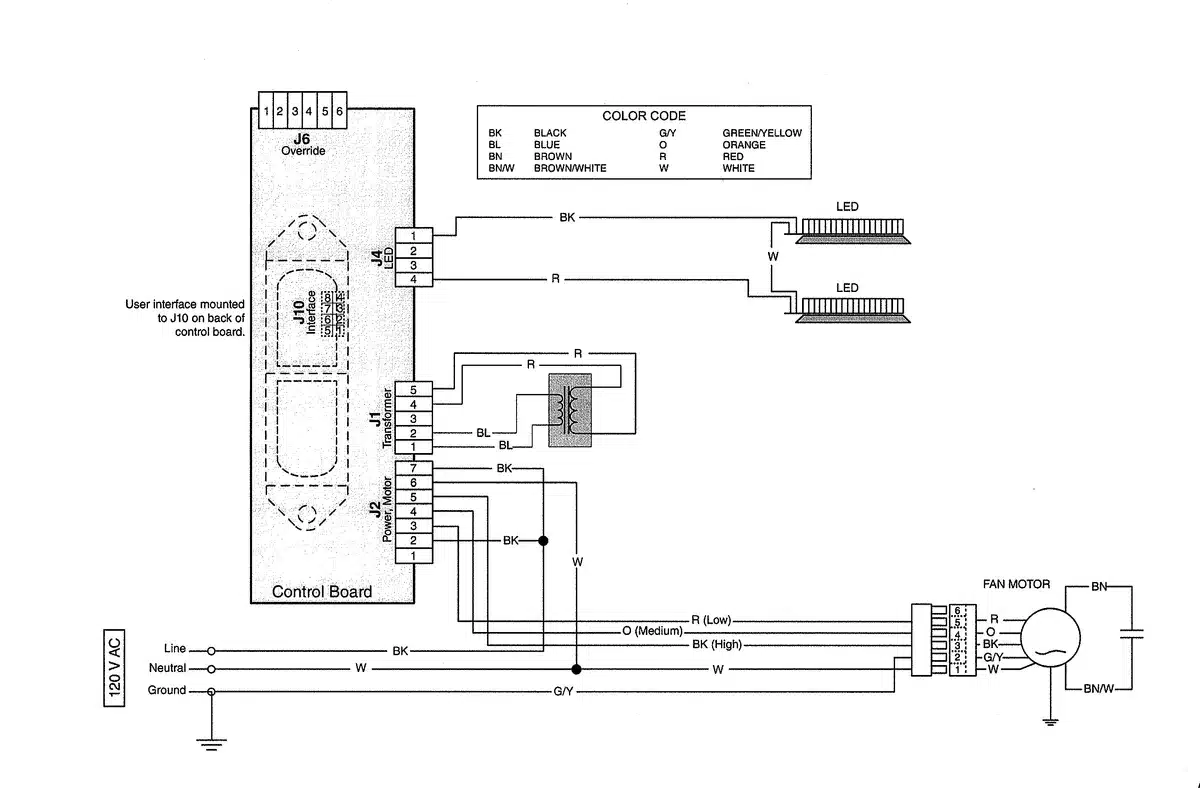
Image source: Web (Bing) / uploadium19.blogspot.com (Web image (fair-use with source credit))
Tuck, Cover, and Secure
Fold the wires carefully into the junction box. Arrange them so the wire nuts are not pressing against the metal edges. You want the wires to lie flat without bending sharply.
Replace the metal cover plate. Tighten the screws. Make sure the plate sits flush against the box.
If it bulges, you have too many wires or the wire nuts are in the way. Adjust and try again.
Test Before Mounting
Turn the breaker back on. Test the fan on all speeds. Test the light.
If everything works, turn the breaker off again. Mount the hood to the cabinet. Then turn the breaker back on for good.
Testing before mounting saves you a lot of frustration. It is much easier to fix a wiring issue on the counter than after the hood is screwed into place.
Common Wiring Mistakes and How to Avoid Them
Even experienced DIYers make errors on range hood wiring. The good news is most mistakes are easy to spot and fix. Here are the ones that show up most often.
Reversing the hot and neutral wires. This is the most common error. You connect the black house wire to the white hood wire or vice versa. The fan might still run.
But the light fixture is now energized even when switched off. That creates a shock hazard. Always double check before twisting the wire nut.
Loose wire nuts. A wire nut that feels tight can still be loose. The vibration from the fan motor can shake it off over time. That causes arcing inside the junction box.
Give each connection a firm tug after you twist it. If the wire pulls out, start over with a larger wire nut.
Skipping the strain relief. The house cable needs to be clamped where it enters the junction box. Without a strain relief connector, any pull on the cable transfers directly to the wire connections. A hard tug can yank the wires apart.
Install the strain relief before you make any connections.
Forgetting the ground. A missing ground connection means the metal chassis of the hood is not bonded to the earth. If a hot wire comes loose inside the hood, the entire metal surface becomes energized. That is a serious shock risk.
Never skip the ground wire.
Overstuffing the junction box. Too many wires or oversized wire nuts can prevent the cover plate from sitting flat. If the plate bulges, the wires are compressed. That can damage insulation over time.
Remove the wires and rearrange them. Or use smaller wire nuts if possible.
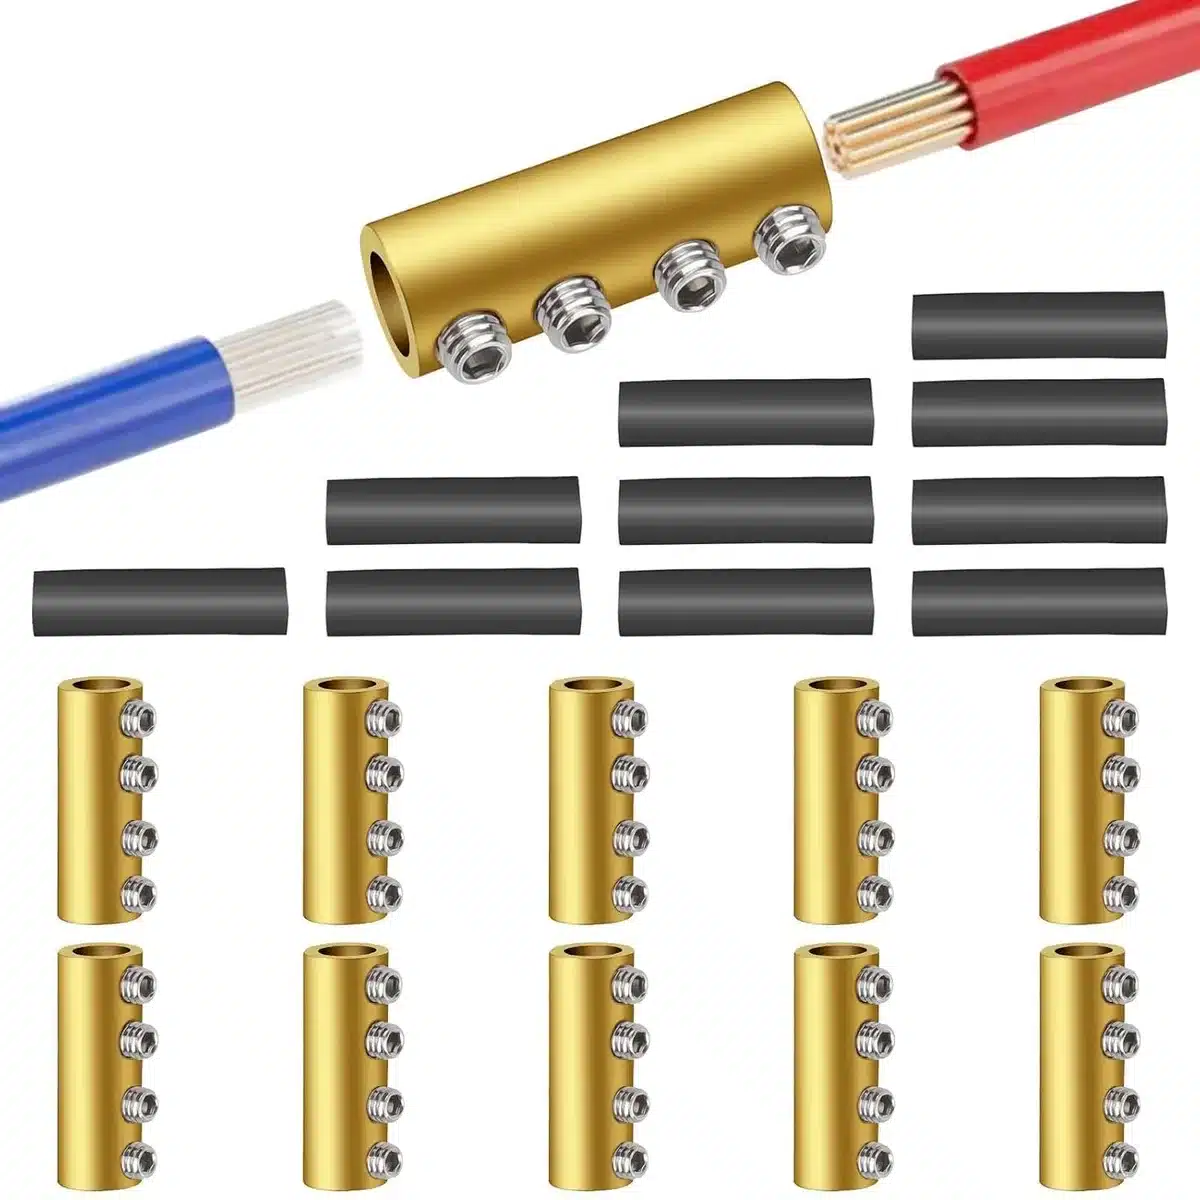
Image source: Web (Bing) / amazon.ca (Web image (fair-use with source credit))
Using the wrong wire nuts for aluminum wiring. If your house was built before 1970, you might have aluminum branch circuits. Standard wire nuts are not rated for aluminum to copper connections. You need CO/ALR rated connectors.
If you are unsure, inspect the cable sheathing for the word ALUMINUM or check with a voltage tester.
Testing only the fan. The light and the fan are on separate internal circuits. A bad connection can cause one to work while the other does not. Test both functions before you mount the hood.
If only one works, check the wiring at the switch or the internal connections.
Safety, Code Compliance, and When to Call an Electrician
This is not a job where you want to guess. Electricity is unforgiving. A mistake in range hood wiring can cause a fire, an electrical shock, or damage to the appliance.
The NEC sets clear standards for appliance installations. Follow them.
Your local building department may require a permit for hardwiring a new appliance. Some jurisdictions allow homeowners to do their own electrical work. Others require a licensed electrician.
Check with your local code enforcement office before you start.
When to call a professional. If you open the junction box and see more than three wires, call an electrician. If your house wiring uses aluminum, call an electrician. If you turn the breaker off and the voltage tester still shows power, call an electrician.
If you are unsure about any step in the process, call an electrician.
The cost of a service call is far less than the cost of repairing fire damage. And it is certainly less than the cost of a hospital visit for an electrical burn.
GFCI and AFCI requirements. Kitchens in the US require GFCI protection for all countertop receptacles. Range hoods are typically hardwired, not plugged in. The NEC does not require GFCI protection for a hardwired range hood on a dedicated circuit.
But if the hood is plugged into a receptacle, that receptacle must be GFCI protected. AFCI protection is required for all 15 and 20 amp branch circuits in kitchens. Check your local code for specifics.
Proper grounding methods. The green wire from the hood must connect to the equipment grounding conductor from your house. If your house wiring uses metal conduit, the conduit itself can serve as the ground path. But you still need to connect the hood's green wire to the metal box.
A self grounding screw or a grounding clip can serve this purpose.
The National Electrical Code provides the legal standard for safe installations. Following it is not optional. It is the law in most jurisdictions.
Frequently Asked Questions
What happens if I connect the black wire to the white wire?
The fan might still run. But the polarity is reversed. The light socket and switch become energized even in the off position.
That creates a shock hazard. If you notice the fan running but the light behaving oddly, check your connections.
Can I use electrical tape instead of wire nuts?
No. Electrical tape is not rated for structural connections. It can dry out, loosen, and fail over time.
Wire nuts provide a mechanical grip and a secure electrical connection. Use the correct size wire nut for the wire gauge you are connecting.
How do I know if my house has aluminum wiring?
Check the cable sheathing where it enters the junction box. Look for markings like ALUMINUM, AL, or AA. If the wire itself is silver colored instead of copper colored, it is aluminum.
If you are unsure, call an electrician.
Do I need a separate junction box for the wiring?
No. The BTX1 series has a built in junction box. You do not need an external box.
The house cable enters directly into the hood's junction box. Just install a strain relief connector at the knockout.
The fan works but the light does not. What should I check?
First, check the bulb. Then check the wiring at the light switch on the hood. If both are fine, the issue is likely internal.
The light circuit may share a loose connection with the neutral wire. Check the white wire connection at the junction box. If that is tight, the problem may be inside the hood's control board.
Can I wire the hood to a switch on the wall?
Yes. You can connect the hood to a wall switch. The switch controls all power to the hood.
The hood's own switches still control the fan speed and light. This is common in new construction. Wire the switch in line with the black hot wire.
Final Checklist Before You Button It Up
Run through this list before you mount the hood to the cabinet.
- Power is off at the breaker
- Voltage tester confirms no power at the wires
- Strain relief is installed and tight
- All three wires are connected (black, white, green)
- Each wire nut is secure (tug test passed)
- Junction box is not overstuffed
- Cover plate sits flush and screws are tight
- Fan runs on all speeds
- Light turns on and off
- No flickering or buzzing sounds
- No bare copper or exposed wire outside the wire nuts
If everything checks out, turn the breaker off again. Mount the hood. Secure it to the cabinet.
Restore power. Then clean up and enjoy your quiet kitchen.
If you run into issues during the wiring process, take a step back and double check each connection. The Broan BTX1 series is a solid appliance. The wiring is straightforward.
Take your time and get it right. Your kitchen will thank you.

1 thought on “Broan BTX1 Range Hood Wiring: Connect Electrical Wires”