
Your Beko dishwasher not filling with water is a common fault that rarely requires a complex diagnosis. In most cases, the culprit is a blocked inlet filter, a stuck float switch, or a failed inlet valve. These issues are straightforward to identify and fix with basic tools.
The fill system relies on specific pressure thresholds. Beko appliances operate best between 10 and 120 psi. If the water pressure is outside this range, the valve may not open correctly.
This guide walks you through a logical workflow to isolate the cause and restore function.
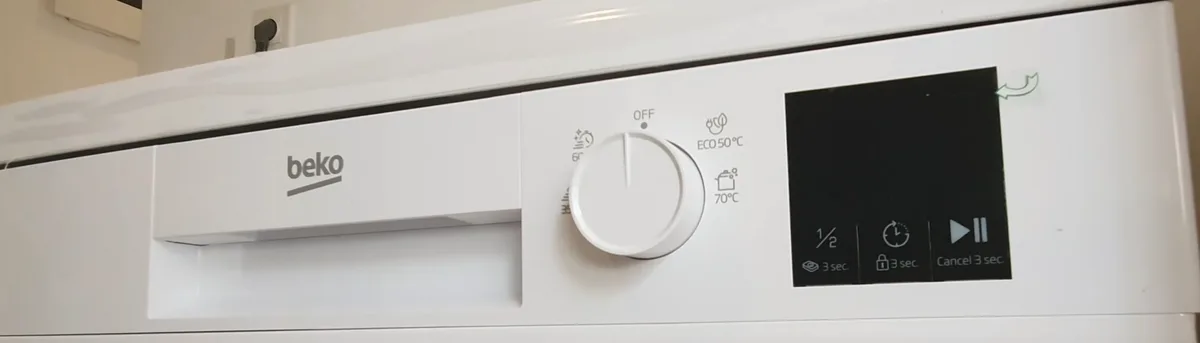
Quick Answer
A Beko dishwasher not filling with water usually points to four causes. A clogged inlet filter is the most frequent. A stuck float switch also stops the flow.
A tripped Aquastop cuts power to prevent leaks. A dead inlet valve requires replacement. Check the filter first.
Look for error code E15. Always cut power before opening panels.
When Your Beko Dishwasher Won't Fill: How to Tell What's Actually Wrong
Three distinct symptoms point to different root causes. Identifying which one you have saves time and money.
| Symptom | Likely Cause | Diagnosis Time |
|---|---|---|
| No water enters tub | Clogged filter, dead valve, low pressure | 5–15 mins |
| Water fills partially then stops | Stuck float, control board fault | 10–20 mins |
| Water leaks then cycle stops | Tripped Aquastop, hose damage | 5–10 mins |
If no water enters at all, check the inlet filter and valve. If water stops halfway, the float switch may be jammed. If water leaks out, the Aquastop system has likely triggered a safety shutdown.
Each scenario requires a different fix. Start with the simplest checks first. Consult our guide on routine maintenance tasks to refresh your knowledge of basic upkeep.
Inside the Fill System: The Four Components That Matter Most
Understanding these parts simplifies the diagnostic process. They are the only moving pieces in the fill sequence.
The inlet valve acts as the gatekeeper. When the control board sends a signal, the solenoid opens the valve. If the coil burns out, water cannot flow.
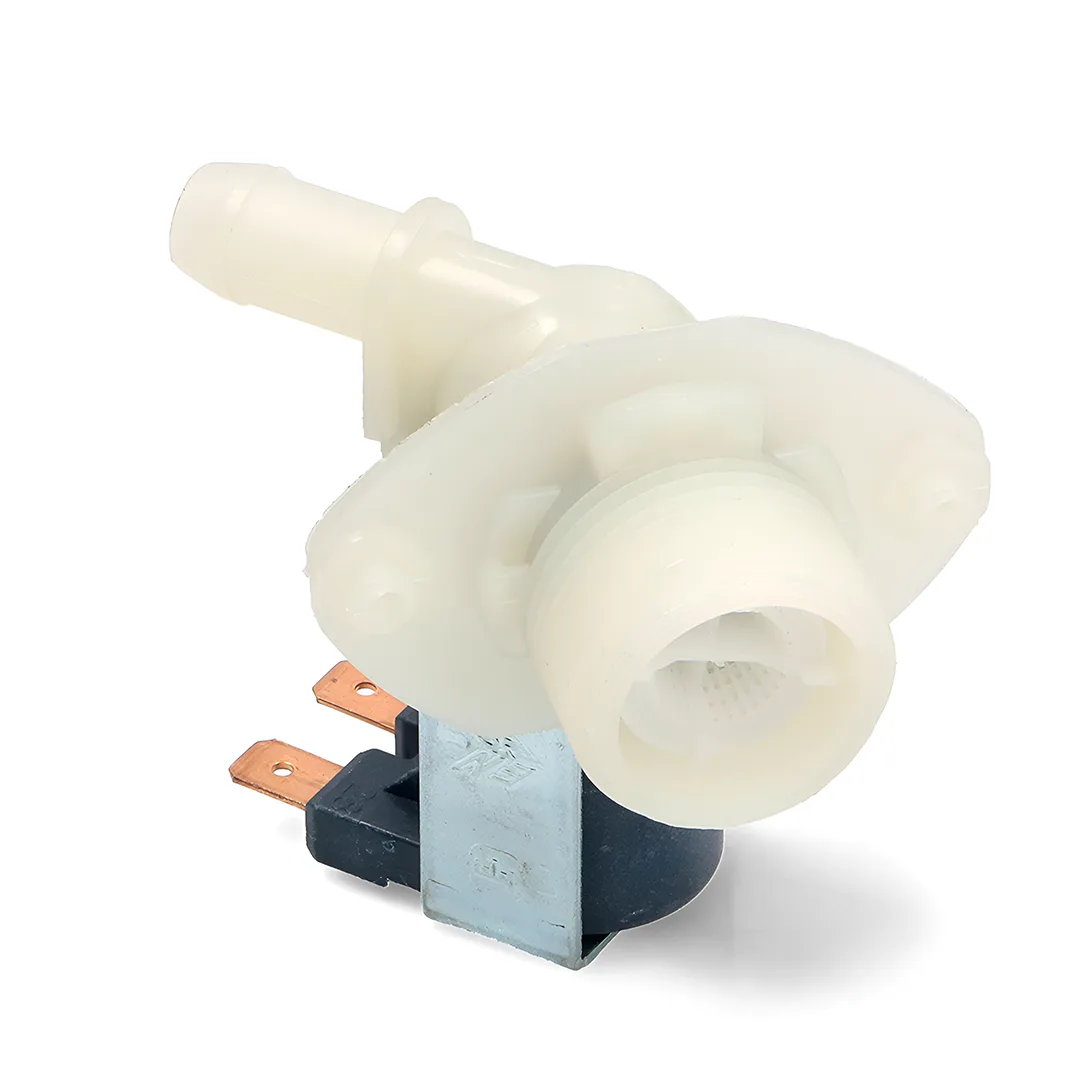
The float switch monitors water levels. It sits low in the tub. As water rises, the float pushes the switch up.
This tells the system to stop filling. If it gets stuck, the dishwasher thinks it is full.
The Aquastop is the safety net. It uses a water-sensitive lever. If water leaks into the base, the lever trips and cuts power.
This prevents major flooding. Resetting it is easy, but you must fix the leak first.
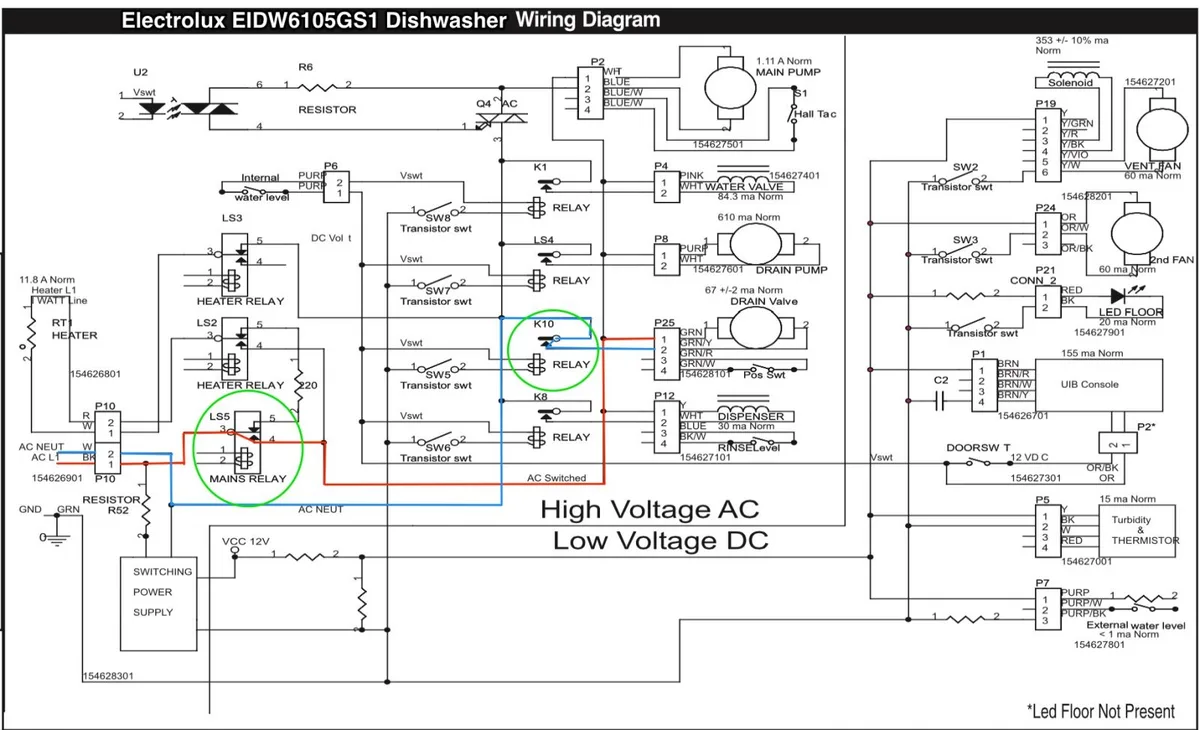
The control board processes all inputs. It reads data from the float, latch, and timer. It then commands the valve to open or close.
If voltage does not reach the valve, the board or wiring is at fault. If these components fail, early warning signs appear. Our guide to common appliance failures lists these red flags.
Step-by-Step Diagnostic Workflow for Beko Dishwasher No-Fill Issues
Run through these steps in order. Stop when the issue resolves. If not, move to the next step.
Step 1: Cut power and water. Flip the circuit breaker. Turn off the supply tap under the sink. This is mandatory before opening any panels.
Step 2: Check the door latch. Ensure the door is firmly closed. A weak latch prevents the cycle from starting. Listen for a solid click when pressing the door.
Step 3: Inspect the inlet hose. Look for kinks or crushes. A bent hose restricts flow to nearly zero. Straighten it and test the fill again.
Step 4: Clean the inlet filter. Unscrew the hose from the back of the tub. Remove the mesh screen behind the solenoid. Rinse it under running water.
Limescale builds up here quickly in hard water areas.
Step 5: Reset the Aquastop. Find the lever near the rear base. If it is lifted, push it down. If it stays up, water is leaking into the sensor.
Step 6: Verify mains pressure. Open another tap in the house. Flow should be strong. Below 10 psi, the dishwasher cannot fill.
If pressure is low, the issue is external.
Step 7: Test the float switch. Locate the float in the tub. Move it up and down. It should glide freely.
Clean any debris keeping it stuck.
Step 8: Test the solenoid. Use a multimeter to measure resistance. Set it to ohms. Probe the solenoid terminals.
A good coil reads 10 to 25 ohms. An open circuit means replacement is needed.
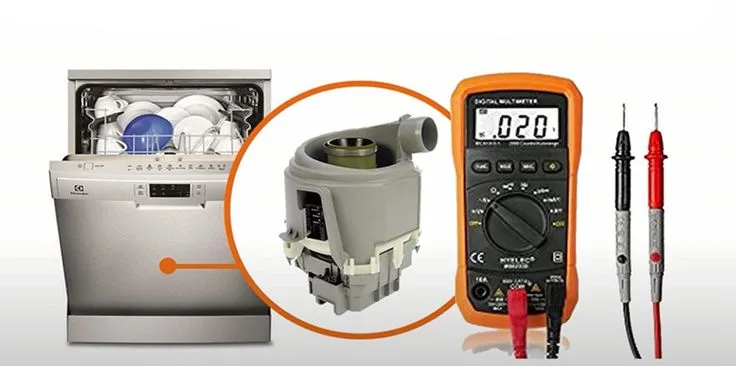
Step 9: Check voltage at the valve. During a fill attempt, measure AC voltage. You should see 220V. No voltage indicates a wiring or board fault.
Step 10: Reassemble and test. Refit hoses snugly. Restore power. Run an empty cycle.
Listen for the fill sound within the first 30 seconds.
Interpreting Beko Error Codes (E15, E16, F15, E01)
Error codes speed up diagnosis. Knowing these five saves significant time.
| Code | Meaning | Likely Fix |
|---|---|---|
| E15 | No water inlet | Check valve or filter |
| E16 | Water leak detected | Reset Aquastop, check hose |
| F15 | Heater fault | Check heater element |
| E01 | Door latch issue | Align latch or switch |
| E35 | Drain blockage | Clear sump or filter |
If E15 appears, the board does not detect water. Focus on the inlet system. If E16 shows up, water is reaching the Aquastop.
Trace the hose and float. If F15 appears with a fill issue, the heater may be interfering. Reset codes by holding cancel for five seconds or unplugging for 60 seconds.
If the code returns, the fault is real.
What It Actually Costs to Fix: Parts, Labour, and DIY vs. Call-Out
Most fixes cost less than a single service visit. Understanding the numbers helps you decide.
| Fault | Part Cost (UK, 2026) | Part Cost (US, 2026) | DIY Time |
|---|---|---|---|
| Clogged filter | £0 | $0 | 5 mins |
| Stuck float | £5–£12 | $6–$15 | 10 mins |
| Failed valve | £8–£18 | $10–$25 | 20 mins |
| Kinked hose | £10–£20 | $12–$25 | 10 mins |
| Control board | £25–£60 | $30–$70 | 45 mins |
| Technician call | £50–£120 | $60–$150 | 1 hr visit |
Cleaning the filter is free. Replacing a valve costs under £20. Even a new board is cheaper than many call-outs.
The DIY route wins on cost in almost every scenario. The trade-off is skill. If you are comfortable with a multimeter, DIY is the best option.
If not, a technician is safer. Our guide to kitchen appliance care explains when to use pros. Buy manufacturer-branded parts.
Third-party copies often fail quickly. Prices reflect typical retail rates as of 2026.
Common Mistakes That Make the Problem Worse
Bad habits during repair often create new problems. Avoid these five errors.
- Skipping power isolation. This is the biggest safety risk. Live voltage is dangerous. Always trip the breaker first.
- Buying parts before checking the filter. Half of "no fill" cases are just clogged screens. Spend five minutes cleaning before spending money.
- Cross-threading hoses. If threads do not align, fittings crack. Hand-tighten first, then use a wrench for a quarter turn.
- Blaming the board too early. The board is expensive and hard to fix. Test the solenoid and wiring first.
- Ignoring a tripped Aquastop. Resetting it without fixing the leak delays the problem. Find the water source first.
- Ordering wrong parts. Beko models use different valve sizes. Match your exact model number from the door sticker.
If you need to replace hoses, check our guide to kitchen hardware for durable options. A Beko no-fill issue is usually mechanical. Work through the steps logically.
You will likely fix it within an hour.
Safety Rules to Follow Before You Open the Panel
Electric shock is the main risk here. Mains voltage combined with water is dangerous.
Always isolate mains power. Switch off the circuit breaker. Do not rely on the appliance switch. Capacitors can hold a charge.
Shut off the water supply. Turn the isolation tap clockwise until it stops. Run the tap to drain pressure. This prevents flooding if you disturb the inlet hose.
Let the unit cool. Steam inside a hot dishwasher can burn. Open the door and wait five minutes before reaching in.
Wear insulated gloves. Use rubber gloves rated for electrical work. They protect against accidental contact. Never touch two wires at once.
If you are unsure whether power is off, use a non-contact voltage tester. Beeping means live voltage is present. Wait until the reading is clear.
For more on safe handling, read our advice on kitchen safety standards.
FAQs: Beko Dishwasher No Fill
Why does my Beko fill halfway then stop?
This usually indicates a stuck float switch or blocked sump. The dishwasher thinks it is full and shuts off the valve. Clean the float assembly and clear debris from the drain pump before running another cycle.
How do I reset a tripped Aquastop?
Find the red lever near the rear base. Push it back into the locked position. If it springs back up, there is an active leak.
Fix the source of the water before resetting, or it will trip again.
What error code means no water?
E15 is the standard code for inlet failure. It means the board does not detect flow. Start by cleaning the inlet filter.
If that fails, test the solenoid coil for continuity with a multimeter.
Can low water pressure cause this?
Yes. Most models need a minimum of 10 psi. If your municipal pressure is low, the valve may not open.
Check other taps in the home to verify your baseline pressure levels.
Is it worth repairing an old dishwasher?
Repair cost matters. If the unit is under seven years old, fixing the valve is usually worth it. Older models may have corroded seals.
A service call often costs more than a new machine.
Why is the water cold during filling?
Cold water during fill is normal. The solenoid mixes cold water initially. The heater element warms it later.
If no heat arrives at all, the heater or thermistor may be failing. The fill process itself should still work normally.
When to DIY vs. When to Call a Technician: Decision Guide
Most users can handle the first five diagnostic steps. These are low-risk, visible checks. If the issue is a kinked hose or clogged filter, fix it yourself.
You save the cost of a service call, which ranges from £50 to £120 in the UK.
Call a professional if you reach electrical testing. Measuring live voltage requires training. Mistakes can damage the board or cause injury.
If the solenoid reads zero ohms, buy the part and replace it. This is a simple twenty-minute swap.
Call a technician if the control board is faulty. Swapping boards is tricky due to connector alignment. It also carries a risk of short-circuiting the new unit.
If you do not have a multimeter, skip the electrical tests. Let a certified engineer handle it.
For complex issues, a professional audit helps. They can check internal seals and pressure regulators too. Our expert repair tips help you prepare the right questions.
Trust your comfort level. Safety always comes first.
