
LG dishwasher not filling with water is a common complaint that stops a cycle before it begins. Most often the issue traces to the inlet valve, water supply, float switch, or control board rather than a major failure.
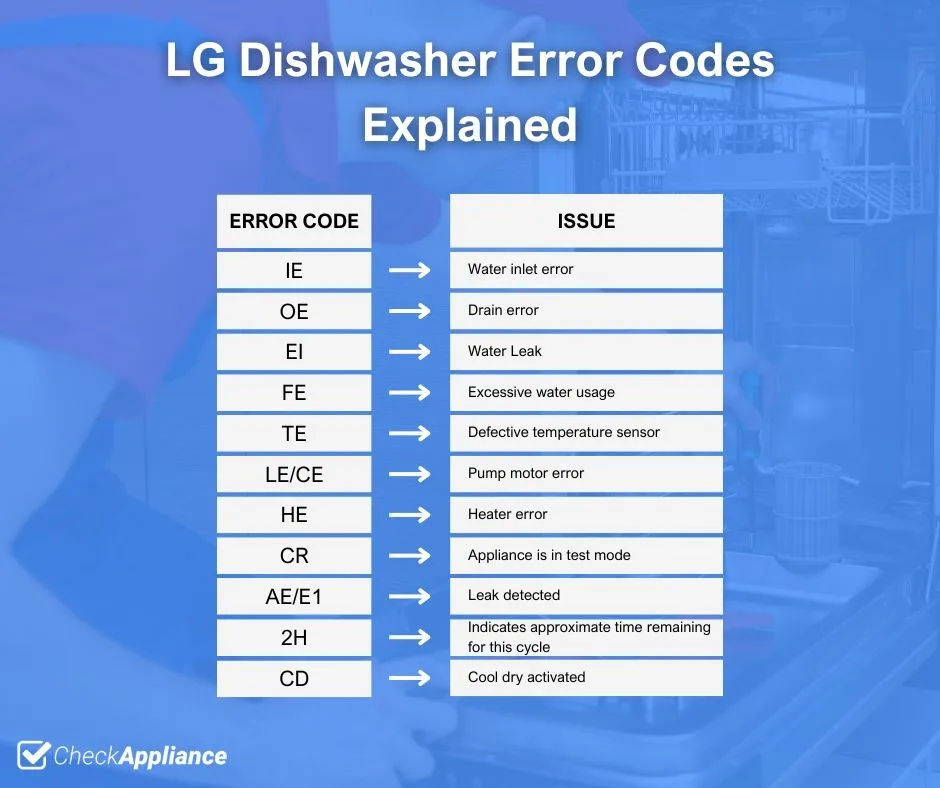
LG’s service manual specifies that a proper fill should reach the required level within 90 seconds, triggering an IE error if it fails. Let’s start with the quick answer to get you oriented.
Quick Answer
First check that the household water supply valves are fully open.
Next inspect the inlet hose filter for debris or kinks.
If water flows test the inlet valve for 120V during the fill cycle.
Replace the valve only if it shows no voltage or humming.
Why Your LG Dishwasher Isn't Filling: The 5 Likely Culprits
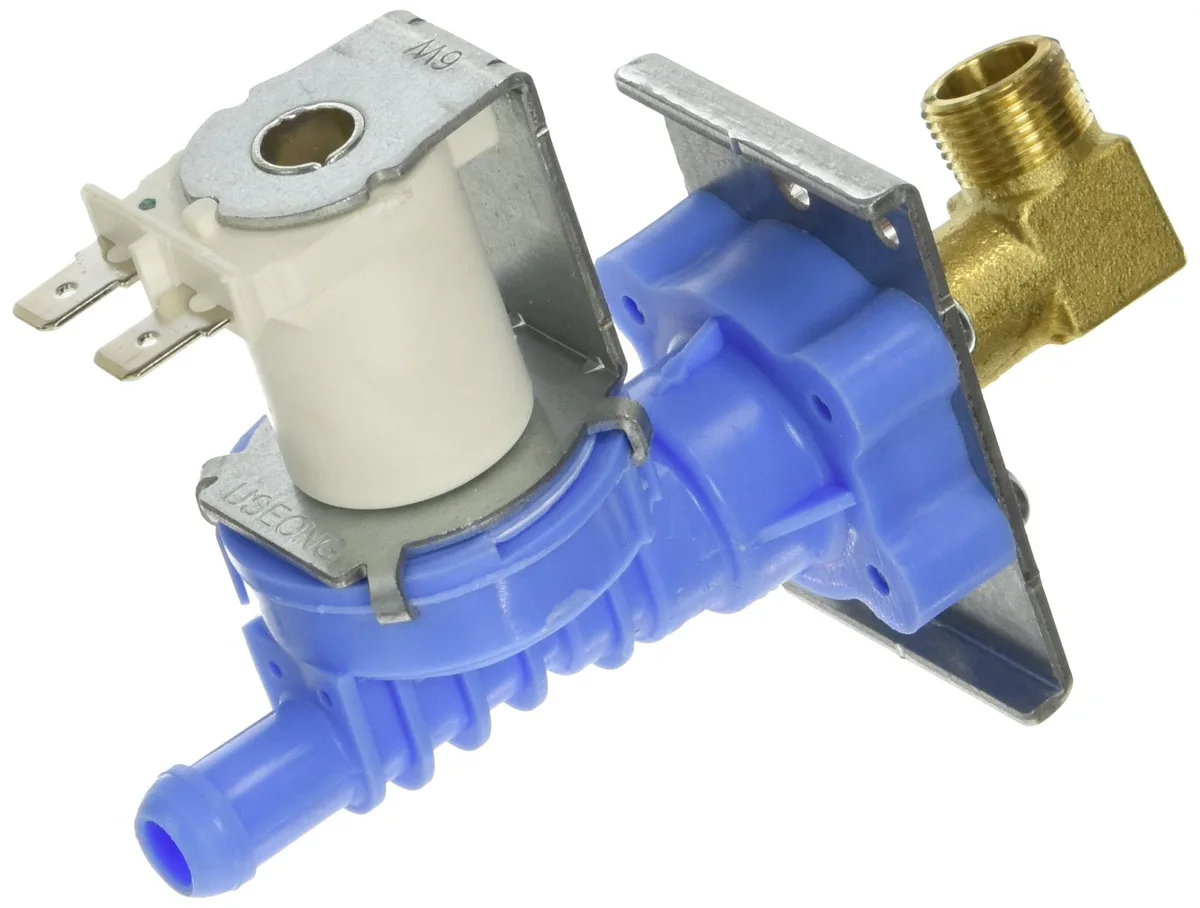
When an LG dishwasher refuses to fill the problem usually falls into one of five categories. The most frequent culprit is a blocked or failed inlet valve that stops water from entering the tub. Next a stuck float switch can signal the control board that the tub is already full.
Third household supply issues like a closed shutoff valve or kinked hose mimic a valve failure.
Fourth a faulty pressure switch or disconnected pressure tube prevents the system from sensing correct water level. Finally a defective door latch or control board may never initiate the fill cycle at all.
Inlet valve problems often stem from sediment clogging the internal filter or a torn diaphragm. Float switch faults usually involve detergent residue or food particles jamming the lever. Supply line checks are fast: verify shutoff valves feel for hose kinks and clean the filter screen.
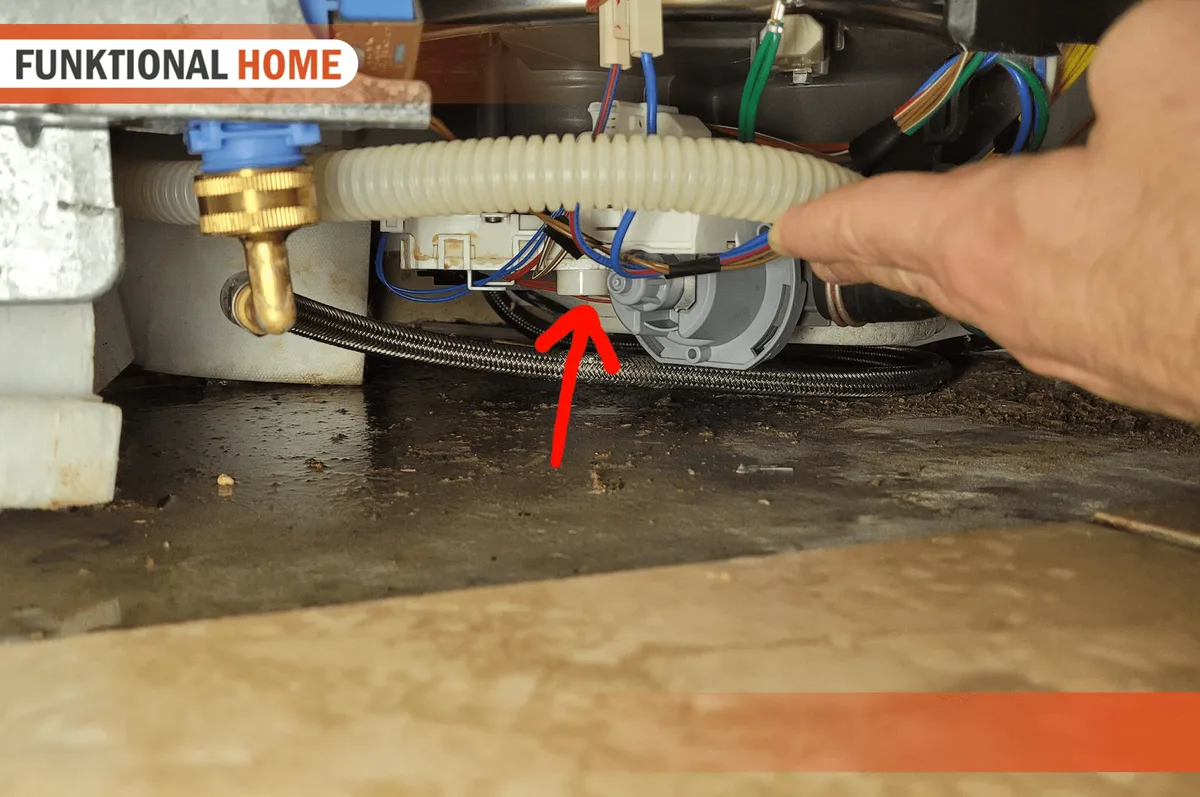
Pressure switch issues arise when the rubber tube cracks or fills with water blocking pressure changes. Control board faults are rarer but can be confirmed by checking for 120V at the valve terminals during fill. Door latch micro‑switch failure produces the same symptom because the board never gets the start signal.
For more on checking supply lines see our kitchen problem troubleshooting guide: kitchen problem help
Quick Check: Is It the Valve The Water or The Brain?
Start by listening for a humming sound when the dishwasher should be filling. If you hear a hum but no water enters the valve is getting power but may be blocked or failed. If there is silence the valve is not receiving power or the control board is not calling for fill.
Next verify that the household shutoff valves under the sink are turned fully counterclockwise. A partially closed valve reduces pressure and can prevent the inlet valve from opening. Disconnect the inlet hose at the valve end and place the free end in a bucket turn the supply on briefly to confirm strong flow.
If flow is good reconnect the hose and run a test cycle while measuring voltage at the inlet valve terminals with a multimeter. You should see 120V AC during the fill attempt. No voltage points to the control board door latch or a broken wire.
Voltage present with no flow means the valve itself is at fault.
Finally lift the float assembly inside the tub it should move freely up and down. If it is stuck in the raised position the control board believes the tub is full and will not open the valve. Clean any debris around the float pivot.
For detailed voltage testing steps refer to our how-to guide on appliance electrical checks: appliance electrical tips
The Logical Troubleshooting Sequence (Don't Guess)
Begin with the simplest checks before replacing parts. First confirm that the dishwasher is level an uneven tub can cause the float to read incorrectly. Use a bubble level on the rack rails and adjust the feet if needed.
Second run a short rinse cycle and listen for the inlet valve hum. If you hear it proceed to voltage testing if not skip to checking the door latch and control board. Third shut off the water supply and disconnect the inlet hose.
Remove the filter screen from the hose end and rinse it under running water a quick back‑flush often restores flow if sediment is the issue.
Fourth reconnect the hose and open the supply. Set the multimeter to AC volts probe the two terminals on the inlet valve and start a normal wash cycle. Note the reading when the timer indicates fill should occur.
A steady 120V confirms the board is attempting to activate the valve.
Fifth if voltage is present but no water enters the valve is likely mechanically failed. If voltage is absent trace the circuit back to the door latch switch test its continuity with the door closed and latched. A broken latch will prevent the board from sending the fill signal.
See our kitchen tools gadgets article for recommended multimeter models that work well on appliance voltages: multimeter advice
The 'Humming vs. Silent' Branch Point
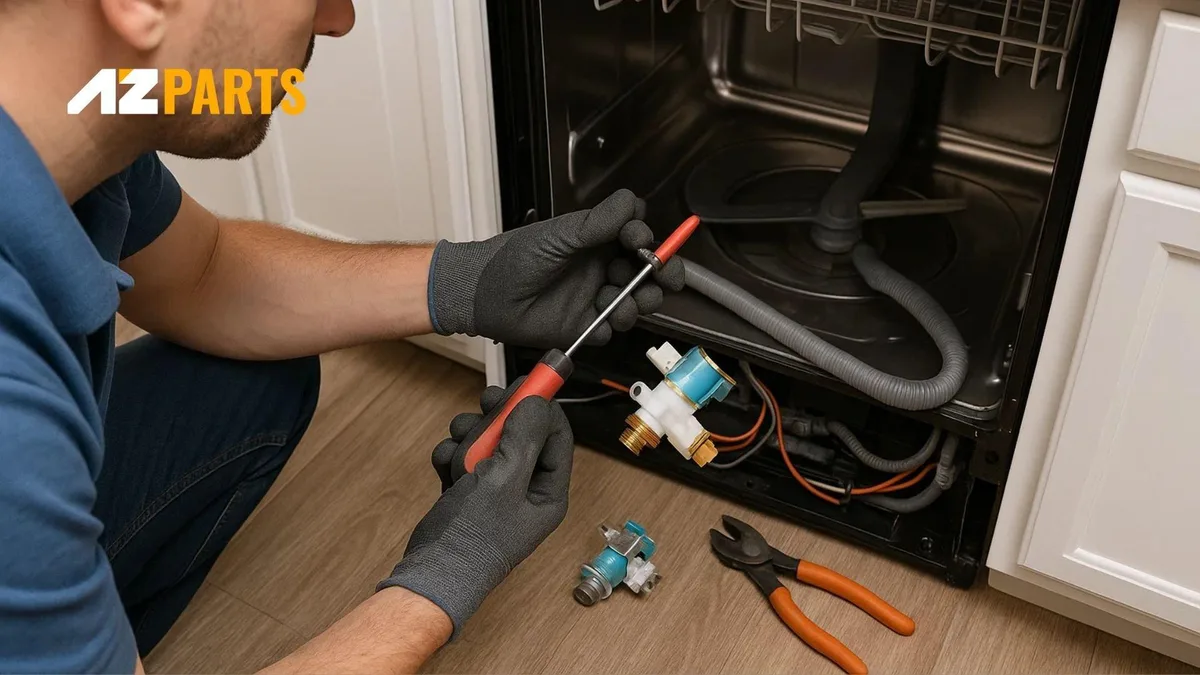
When you hear a humming noise from the inlet valve area but the tub stays dry the problem is almost always with the valve itself or its water path. Sediment buildup inside the valve diaphragm or a clogged filter screen are the usual suspects in hard water areas. To test shut off the water remove the valve and gently blow through the outlet port air should pass freely.
If resistance is high replace the valve.
If the valve is silent the issue lies upstream in the control circuit. Start by checking the door latch a faulty micro‑switch will never close the circuit to the board. With the door shut and latched measure resistance across the latch terminals you should see near zero ohms.
Infinite ohms means the switch is open.
Next inspect the wire harness connecting the latch to the control board for loose connectors or damaged insulation. A quick visual check can reveal chewed or pinched wires especially if rodents have accessed the cabinet.
If the latch and wiring check out focus on the control board. Locate the fill relay on the board often labeled “FILL” or “INLET”. With the door closed and a cycle started measure voltage at the relay output you should see 120V.
No voltage here indicates a failed relay or a faulty board.
Always unplug the dishwasher before touching internal components to avoid shock.
For safety guidelines on appliance repair consult the UL Standard 749 resource: UL 749 standard
Mistakes to Avoid Before You Buy a New Part
Many users replace the inlet valve only to find the problem persists because they skipped basic checks. Never assume the valve is bad without verifying water supply pressure first a closed shutoff valve or kinked hose will mimic valve failure and waste both time and money.
Avoid forcing the float switch upward to “trick” the dishwasher into filling this can damage the lever and create a flood risk if the switch fails to reset. Likewise do not bypass the pressure tube by leaving it disconnected the control board will overfill the tub potentially causing leaks or electrical hazards.
Do not overlook the drain hose height if the hose loops too low siphoning can pull water out as fast as it enters making it seem like the valve isn’t working. The hose should rise to at least 20 inches above the floor before connecting to the drain or disposal.
Refrain from using petroleum‑based lubricants on valve seals or float pivots these chemicals degrade EPDM and nitrile rubber leading to premature failure. Use only silicone‑based grease if lubrication is truly needed.
Finally never skip the power‑off step before testing voltage working on live 120V circuits risks shock and can damage the control board if probes slip.
For a full list of common installation errors see our buying guides info section: buying guides
When to Call a Tech (and When to Just Go Home)
You should stop troubleshooting and call for professional service if the control board shows no voltage output despite a confirmed 120V input. This indicates a failed relay or internal short that risks electrical damage. Similarly call a technician if water leaks from the inlet valve housing while under pressure internal seal failure is rare but requires specialized sealing tools to replace safely.
If you have successfully isolated the fault to a specific part like the inlet valve or float switch you can handle it yourself. These components are accessible and require no specialized diagnostic software. Manufacturer specifications confirm that OEM parts are readily available online for most LG models produced since 2015.
Verify your model number on the door frame before ordering to ensure compatibility.
Avoid DIY repairs if the issue involves the main power board assembly. These units are sensitive to static discharge and complex reprogramming. A misaligned solder joint can permanently brick the dishwasher.
In these cases professional service is the safer and more cost-effective route in the long run. Always check your warranty status first. Labor costs for minor part swaps are often covered if the machine is less than three years old.
For more details on warranty coverage and service options visit our about us page: about us
Frequently Asked Questions
How long should a LG dishwasher fill take?
Manufacturer standards specify a fill time of 90 seconds for standard cycles. If it takes longer than 105 seconds the machine triggers an IE error. Delays often indicate low household water pressure or a partially clogged inlet filter.
Check your shutoff valves to ensure they are fully open.
What does the IE error code mean on LG dishwashers?
IE stands for "Inlet Error" and signals a fill timeout. It appears when the water does not reach the required level within 90 seconds. Common causes include a blocked inlet valve closed supply shutoff or a stuck float switch.
Clearing the blockage usually resolves the code.
Can I run a forced fill test on my LG model?
Yes most LG digital models support a forced fill sequence. Press and hold the “Options” and “Sanitize” buttons simultaneously for three seconds. This initiates a diagnostic fill cycle.
Watch the pressure tube for movement to verify the valve is opening. This test helps isolate mechanical faults from electrical ones.
Why does my LG dishwasher fill then immediately drain?
This siphoning effect usually happens if the drain hose loop is too low. The hose must rise to at least 20 inches above the floor. If the high loop is sagging water drains out as fast as it fills.
Secure the hose to the underside of the sink counter to prevent siphoning.
What voltage does the inlet valve require to operate?
Standard LG inlet valves require 120V AC to activate the solenoid. If you measure significantly less voltage the control board relay is likely failing. You should also check for loose wire connections at the valve terminals.
Low voltage prevents the solenoid from opening the valve fully.
