
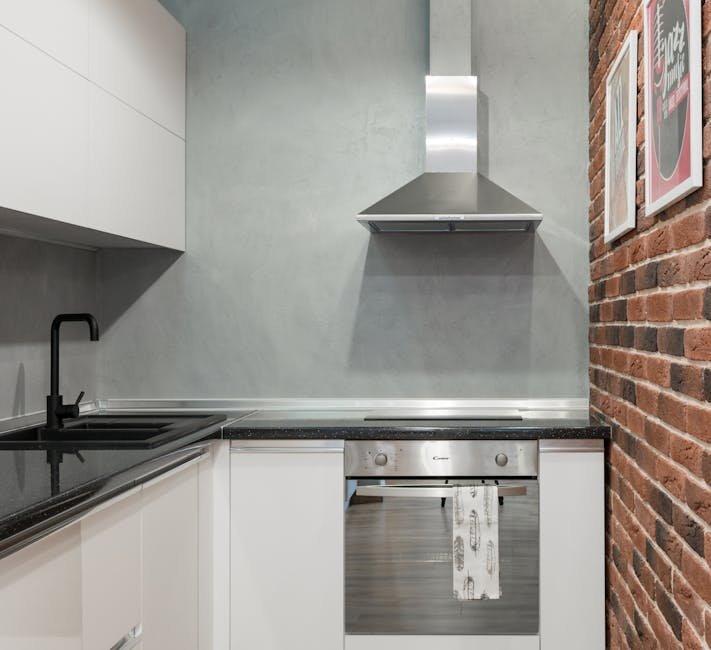
Cooking smoke, lingering grease, and trapped humidity don't belong in your kitchen. A properly installed range hood exhaust vent removes them at the source, improving indoor air quality and protecting your cabinets from sticky residue. While the task demands precision, it's a weekend project most homeowners with basic tools can complete.
This guide walks through every phase—planning, cutting, ducting, mounting, and testing—so you get reliable performance without callbacks. Let's get your kitchen breathing properly.
Why Proper Venting Matters
A range hood that vents to the outside does far more than clear cooking odors. According to the U.S. Environmental Protection Agency, cooking can generate indoor air pollutants including carbon monoxide and nitrogen dioxide. Exterior venting pushes these contaminants outdoors rather than recirculating them through a filter.
Beyond health, you're protecting your kitchen investment. Unvented moisture accelerates paint peeling, warps cabinet doors near the stove, and feeds mold growth behind appliances. A well-installed exhaust vent prevents all of that.
Tools and Materials You Will Need
Gather everything before you start. Nothing kills momentum like hunting for a missing screw mid-installation.
Required Tools
| Tool | Purpose |
|---|---|
| Cordless drill with bits | Pilot holes, fasteners |
| Jigsaw or reciprocating saw | Cutting the vent hole |
| Tape measure | Accurate layout |
| Level | Straight alignment |
| Stud finder | Locating wall framing |
| Screwdriver set | Securing the hood and clamps |
| Adjustable wrench | Duct clamps and fasteners |
| Safety goggles and work gloves | Personal protection |
| Dust mask | When cutting drywall or wood |
Required Materials
- Range hood (verify CFM rating matches your cooktop size)
- Metal ductwork (rigid smooth-wall is best; flexible only for short, straight runs)
- Duct connectors and clamps
- Sheet-metal screws (not drywall screws)
- Aluminum foil duct tape (UL-recognized for HVAC use)
- Exterior vent cap with backdraft damper
- Caulk (silicone-based, exterior grade)
- Mounting screws or toggle bolts (wall-type dependent)
A Note on Duct Type
Rigid metal duct maximizes airflow and is easier to keep clean. Flexible aluminum duct is acceptable for short, straight connections but reduces efficiency. Never use plastic duct—it's a fire hazard.
Choosing the Right Location
Proximity to the Cooktop
Position the hood centered over your cooking surface. The standard mounting height is 24–30 inches above gas burners and 20–24 inches above electric cooktops. Measure from the cooktop surface to the bottom of the hood.
Direct Outdoor Path
The shortest, straightest duct run delivers the best performance. Each 90-degree turn reduces airflow by roughly 25–30 percent. Plan a route that exits through an exterior wall or the roof with minimal bends.
Avoiding Obstructions
Check above the ceiling for joists, pipes, and electrical wires. Use a stud finder to locate wall studs—the hood must attach to solid framing, not drywall alone. If your duct path hits a joist, you may need to reroute or use a transition fitting.
Building Codes and Permits
Most local codes require exhaust ducts to terminate outside (not into an attic or crawlspace). Duct size must match the hood outlet—typically 6 or 7 inches round. The International Residential Code (IRC) mandates duct material be approved for grease-laden air. Check with your local building department; some jurisdictions require a permit for exterior wall cuts.
Preparing the Area
Clearing the Workspace
Move small appliances and anything combustible away from the work area. Cover the cooktop with cardboard or a drop cloth to catch debris. Turn off power to the cooktop and any nearby circuits at the breaker.
Removing Existing Fixtures
If you're replacing an old hood, disconnect wiring at the junction box (label wires) and remove the old unit. For a fresh install, you'll need to cut a power receptacle in the wall or ceiling—this step requires running a dedicated circuit if none exists. When in doubt, hire a licensed electrician for the electrical rough-in.
Marking the Vent Path
Measure from the stove centerline outward. Transfer the hood's outlet location to the wall or ceiling using a level. Mark the center point, then trace the duct diameter. Cut a small access hole first to confirm no obstructions lie behind the surface before cutting the full opening.
Cutting the Vent Hole
Safety First
Before cutting, verify there are no electrical lines or plumbing inside the wall using a cable or pipe detector. If your home was built before 1980, test for lead paint and consider asbestos in old drywall compound. Wear your goggles and mask throughout.
Cutting Through Exterior Wall
From inside, drill a pilot hole through the center of your marked circle. Go outside and confirm the exit point clears siding, trim, or brick. Cut from the inside using a jigsaw with a fine-tooth blade for drywall or a reciprocating saw if you encounter sheathing. For masonry exteriors, you'll need a core drill and a carbide bit—this is generally best left to pros.
Cutting Through Roof (if applicable)
Roof venting requires cutting through the sheathing and shingles. Slide the vent boot under the shingles above the hole, flashing the top edges. Use roofing cement under the flange. This method is more weather-exposure sensitive than wall venting.
Installing the Ductwork
Assembling the Duct Run
Start at the hood. Attach the duct adapter to the hood's outlet using sheet-metal screws and seal every joint with UL-rated foil tape. Work section by section toward the exit point, snapping together or screwing duct sections so the interior seam faces upward (prevents grease drips). Support horizontal duct runs every 4 feet with hanger straps or plumber's tape.
Connecting to the Exterior
Where the duct meets the exterior vent cap, slide the cap's collar inside the duct or over it (read the cap's instructions). Secure with a sheet-metal screw and clamp. This connection must be airtight to prevent warm interior air from condensing inside the wall cavity during cold weather.
Avoiding Common Mistakes
- Never compress flexible duct—it restricts airflow severely
- Avoid sharp 90-degree elbows; use two 45s for a gentler turn
- Do not tape the duct to the hood with standard duct tape alone—use mechanical fasteners plus foil tape
- Ensure the duct slopes slightly downward toward the exterior to drain any condensation
Mounting the Range Hood
Aligning the Hood
Position the hood over the cooktop using the manufacturer's recommended height. Place a level on top of the hood and adjust until perfectly horizontal. Mark screw locations through the hood's mounting brackets onto the wall.
Securing the Hood
Drill pilot holes into studs. Insert supplied screws or toggle bolts (if your mounting points miss studs). Tighten gradually—overtightening can warp the mounting brackets. Once the hood is secure, connect the duct from the hood to your installed ductwork. Seal this final connection with foil tape and a clamp.
Electrical Connection
If you're comfortable with wiring, connect the hood's power leads (black to black, white to white, green or bare to ground) inside the junction box. Cap each with wire nuts and tuck neatly into the box. Replace the cover plate. If you have any doubt about wiring, bring in an electrician.
Connecting the Exhaust Vent
Attaching the Exterior Vent Cap
From outside, position the vent cap over the hole you cut earlier. Apply a bead of exterior silicone caulk around the perimeter of the cap's flange. Secure with corrosion-resistant screws into siding or masonry anchors. The backdraft damper should swing freely—test it by gently pushing it open.
Sealing the Interior Connection
From inside, apply caulk around the duct opening where it meets the interior wall or ceiling. This prevents air leaks and keeps insects out. Install a decorative vent cover (trim ring) if desired, securing it with caulk or small screws.
Double-Checking the Seal
Run your hand around every joint and seam. Feel for drafts. A smoke pencil or lit incense stick will show leaks as the smoke wavers near gaps. Seal any you find.
Testing the Installation
Checking Airflow
Turn the hood fan to its highest speed. Hold a sheet of paper against the vent grille—it should stay pulled in by suction. If it flutters or drops, airflow is compromised. Check for crimped duct, excess length, or damper blades that didn't fully open.
Listening for Issues
Rattling, whining, or excessive vibration suggests a loose duct connection or a fan blade striking the housing. Tighten all screws and ensure the duct is fully supported.
Smoke Test
Light a stick of incense near the cooktop and watch smoke travel into the hood. The smoke should be pulled straight up into the vent without swirling or spilling outward. Test each fan speed.
Maintenance for Long-Term Performance
Your range hood exhaust vent stays efficient only if you maintain it.
Cleaning the Filters
Grease-laden filters catch fire if neglected. Clean metal mesh or baffle filters monthly with warm water and degreasing dish soap, or run them through the dishwasher on a hot cycle. Charcoal filters (used in ductless setups) must be replaced every 3–6 months. For thorough instructions on keeping your kitchen fresh, read how to clean a range hood filter properly.
Inspecting the Ductwork
Once a year, disconnect the duct from the hood and shine a flashlight inside. Grease buildup creates a fire hazard. If you see thick residue, consider hiring a professional duct cleaning. Also check the exterior vent cap—leaves, bird nests, or ice can block the damper.
Checking the Fan and Lights
Listen for bearing noise from the motor. Wipe down fan blades with a damp cloth (power off). Replace bulbs when they dim or flicker.
Frequently Asked Questions
How long does it take to install a range hood exhaust vent?
A straightforward wall-vent installation takes 3–5 hours for a confident DIYer. Roof venting or cutting through masonry can double that.
Can I install a range hood vent through a soffit?
Yes, but soffit vents are less effective than wall or roof vents because rising heat must turn horizontally, slowing airflow. Only use a soffit if the duct run is short and straight.
What happens if the duct is too long?
Excess duct length reduces fan performance. Keep runs under 25 feet if possible, counting two duct diameters of equivalent length for each 90-degree bend.
Do I need a damper with my range hood?
Yes. A backdraft damper prevents outside air from blowing back into your kitchen when the fan is off. Most exterior vent caps include one.
Should I hire a pro for the electrical work?
If you cannot wire a junction box safely, hire an electrician. Faulty wiring is the leading cause of range-hood-related fires.
Conclusion
Installing a range hood exhaust vent is one of the best investments you can make for your kitchen's air quality and longevity. The process is straightforward when you plan the path, cut carefully, seal every joint, and verify airflow before calling the job done.
Your reward is a kitchen that stays fresh even after searing steaks, cabinets that resist sticky grease film, and the peace of mind that comes from knowing your ventilation is code-compliant and safe. Keep those filters clean, check the duct once a year, and your system will serve you reliably for years.
If you want to explore other ways to improve your kitchen's ventilation and cleanliness, check out how to install a ductless range hood for homes where exterior venting isn't an option.
