
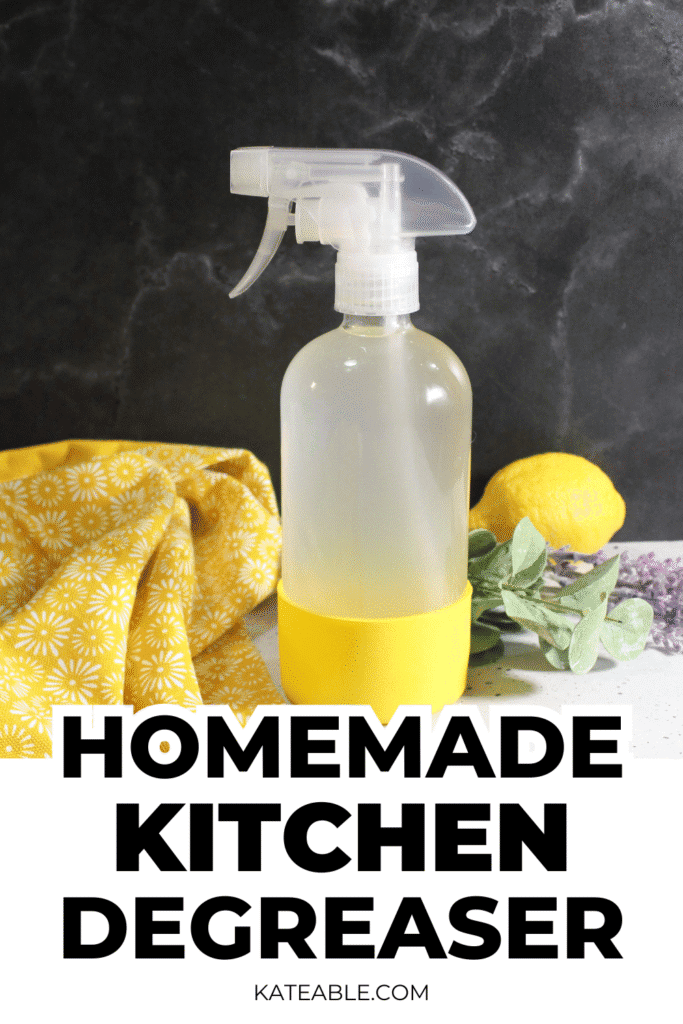
Stubborn grease and grime can be a constant battle in kitchens, garages, and workshops, leaving surfaces looking dull and feeling sticky. While commercial degreasers offer a quick fix, they can be packed with harsh chemicals and carry a hefty price tag. Imagine creating a powerful, effective degreaser using common household ingredients you likely already have. Not only can this save you money, but it also gives you control over the cleaning agents you bring into your home.
This comprehensive guide will walk you through creating your own potent degreaser. We’ll cover the best ingredients, safety precautions, and application techniques to tackle even the toughest grease challenges. Get ready to achieve sparkling clean surfaces with a solution you made yourself.
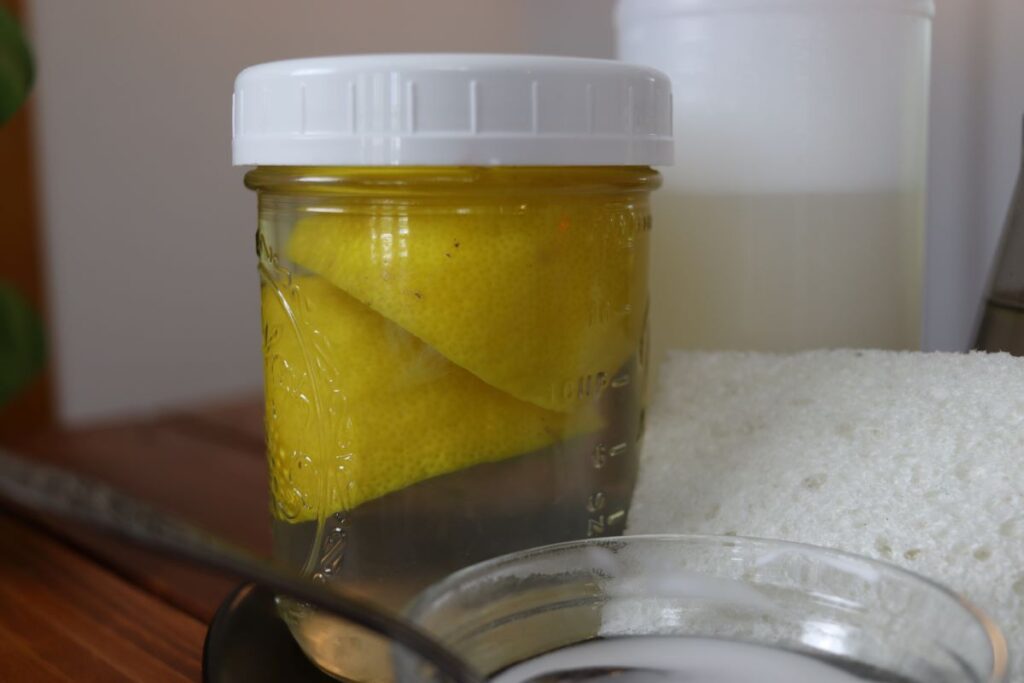 Harness the power of simple ingredients to create effective DIY degreasers.
Essential Ingredients for Your DIY Degreaser
The effectiveness of your homemade degreaser hinges on the quality and properties of its components. By understanding what each ingredient does, you can tailor your cleaner to meet specific needs.
The Powerhouses: Vinegar and Baking Soda
- White Vinegar: This pantry staple is a champion at breaking down grease thanks to its acetic acid. It's also a natural disinfectant and deodorizer, making it a versatile cleaning agent. In practice, its mild acidity means it's safe for most non-porous surfaces common in homes and workshops.
- Baking Soda (Sodium Bicarbonate): Baking soda acts as a gentle abrasive, helping to scrub away stuck-on grime without scratching surfaces. It also neutralizes odors and can react with acidic ingredients like vinegar to create a powerful, albeit temporary, cleaning boost through effervescence.
Supporting Actors: Citrus and Dish Soap
- Lemon Juice: Like vinegar, lemon juice contains citric acid, which is excellent for cutting through grease and leaving a fresh, pleasant scent. It can also help to brighten surfaces.
- Liquid Dish Soap: A small amount of mild liquid dish soap can dramatically enhance your degreaser's ability to lift and emulsify grease, making it easier to wipe away. Opt for an eco-friendly or plant-based formula to keep your cleaner as natural as possible.
Optional Enhancements
- Essential Oils: For added fragrance and potential antimicrobial benefits, consider a few drops of essential oils like tea tree, lavender, or eucalyptus. Always ensure proper ventilation when using essential oils, and mix them thoroughly.
- Water: Plain tap water is often used to dilute ingredients to the desired consistency and prevent the degreaser from being too harsh.
Safety First: Precautions When Making and Using Degreasers
While DIY degreasers are generally safer than many commercial alternatives, it's crucial to handle ingredients with care and follow basic safety protocols.
Personal Protective Equipment (PPE)
- ** Gloves: Wear rubber or nitrile gloves to protect your skin from potential irritation, especially if you have sensitive skin.
- Eye Protection: Safety glasses or goggles are recommended to prevent splashes from entering your eyes.
- Ventilation: Always work in a well-ventilated area. Open windows or use a fan, particularly when using vinegar or if adding essential oils, to disperse fumes and prevent inhalation.
Handling and Storage
- Keep Out of Reach: Store your homemade degreaser securely away from children and pets. A dedicated cleaning cupboard is ideal.
- Label Clearly: Always label your spray bottle clearly with the contents and the date it was made. This helps prevent accidental misuse.
- Test First: Before applying your degreaser to a large or visible area, test it on an inconspicuous spot to ensure it doesn't damage or discolor the surface.
- Proper Disposal: While most ingredients are household safe, avoid pouring large quantities of undiluted cleaning solutions down the drain. Researchlocal regulations for proper disposal of cleaning waste if large amounts are left over or if you are working with commercial products in conjunction with your DIY solution.
Crafting Your All-Purpose DIY Degreaser
Thisrecipe offers a balanced approach, combining effective grease-cutting power with agreeable scents. It's an excellent starting point for most household cleaning tasks.
Recipe: The Balanced Degreaser
Yields: Approximately 2 cups (16 oz) Prep time: 5 minutes
Ingredients:
- 1 cup white vinegar (5% acidity)
- 1 cupwarm water
- 1 tablespoon liquid dish soap (mild, biodegradable)
- Optional: 10-15 drops of essential oil (e.g., lemon, orange, tea tree, or lavender)
Equipment:
- Measuring cups and spoons
- Funnel
- Clean 16 oz spray bottle
Instructions:
- Combine Liquids: In your clean spray bottle, pour in the white vinegar and warm water. Using warm water can help the ingredients mix more readily and boost solubility, making the soap more effective at emulsifying grease.
- Add Dish Soap: Gently add the liquid dish soap. Adding it after the vinegar and water helps prevent excessive foaming within the bottle itself. A small amount is sufficient, as too much can lead to too many suds.
- Incorporate Essential Oil (Optional): If you're using essential oils for fragrance, add them now. Popular choices like lemon or orange oil can enhance the degreasing action due to their natural citrus components.
- Secure and Shake: Close the spray bottle tightly with its lid, ensuring it's secure. Gently swirl or shake the bottle to combine all the ingredients thoroughly. Avoid vigorous shaking if you've added dish soap, as this can create excessive foam.
- Label and Store: Label your bottle clearly with "All-Purpose Degreaser" and the date. Store in a cool, dark place.
Advanced Degreaser Formulations
While the all-purpose recipe is effective for many tasks, you might encounter situations that call for a more potent solution or one tailored to specific types of grime.
For Tough, Baked-On Grease: The Baking Soda Paste
This formulation uses baking soda's abrasive power as a scrub.
Yields: Enough for multiple applications Prep time: 2 minutes
Ingredients:
- 1/2 cup baking soda
- Water or a small amount of your all-purpose degreaser solution (enough to form a paste)
Instructions:
- In a small bowl, combine the baking soda with a small amount of water or your all-purpose degreaser.
- Mix until you achieve a thick, spreadable paste consistency.
- Apply the paste directly to the greasy area. Let it sit for 10-30 minutes, depending on the severity of the grease.
- Scrub gently with a non-abrasive sponge or brush.
- Wipe away the residue with a damp cloth, rinsing the cloth frequently. For stubborn residue, you may need to follow up with your all-purpose spray. The abrasive nature of this paste is particularly good for cleaning oven interiors or burnt-on pans.
For Mildew and Soap Scum: Vinegar and Dish Soap Powerhouse
This variation focuses on the acidic and surfactant properties for bathroom and kitchen buildup.
Yields: Approximately 1 cup Prep time: 2 minutes
Ingredients:
- 1/2 cup white vinegar
- 1/4 cup warm water
- 1 tablespoon liquid dish soap
Instructions:
- Combine the ingredients in a spray bottle.
- Shake gently to mix.
- Spray onto affected areas like shower walls, tile grout, or around sink fixtures.
- Allow to sit for 5-10 minutes.
- Scrub with a brush or sponge and rinse thoroughly. This combination is particularly effective for tackling soap scum buildup, which can be a persistent challenge in bathrooms.
Applying Your DIY Degreaser Effectively
The best homemade degreaser won't perform optimally if not applied correctly. Understanding the right techniques for different surfaces ensures both safety and superior cleaning results.
General Application Steps
- Spray and Wait: Generously spray the degreaser onto the greasy surface. For vertical surfaces, spray from bottom to top to avoid drips running over clean areas.
- Let It Dwell: Allow the degreaser to sit for a few minutes – anywhere from 30 seconds to 5 minutes, depending on how tough the grease is. This waiting period is crucial as it gives the active ingredients time to break down the grease.
- Wipe or Scrub: Use a clean cloth, sponge, or non-abras
