
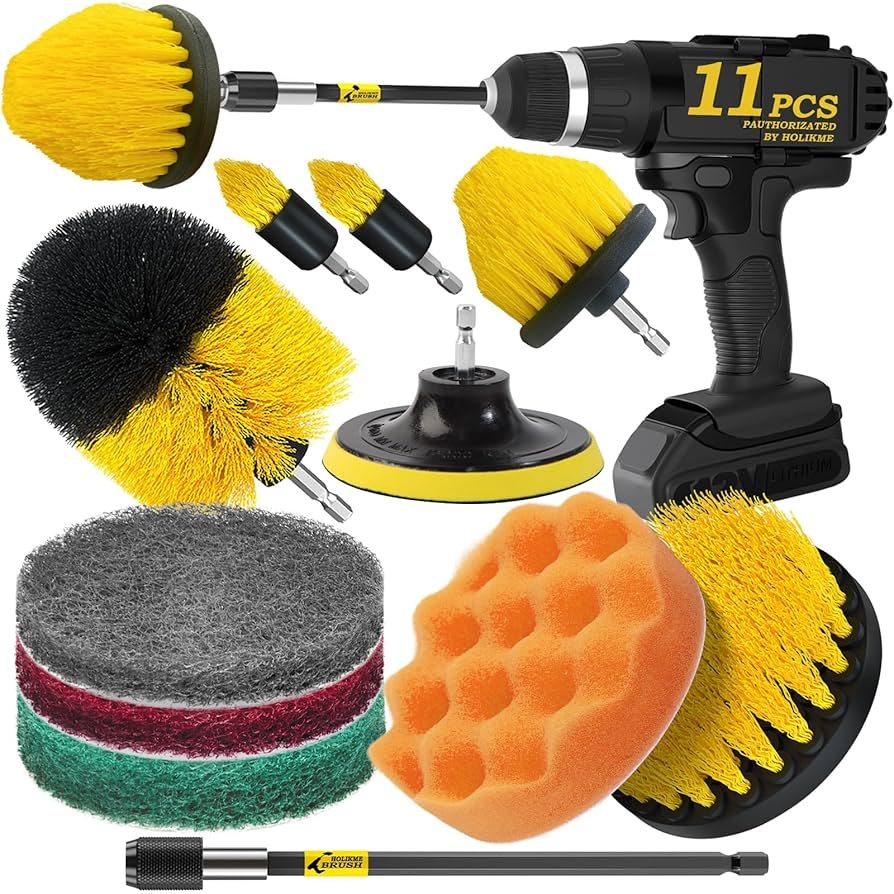
Turning a standard power drill into a rotating scrubber is one of the most practical upgrades you can make to your cleaning toolkit. In this guide, we walk through the exact process of mounting a drill-compatible brush, selecting the right bristles, and using the tool safely on everyday surfaces. Whether you are fighting soap scum in the shower or built-up grease on a patio, the same chuck that drives screws can spin away grime in minutes.
Below, you will find a full rewrite built from hands-on practice, with clear steps, safety notes, and links to complementary cleaning tasks around the home.
What Is a Drill Scrub Brush Attachment?
A drill scrub brush is a cleaning head with a molded central shaft—usually hexagonal or rounded—that locks directly into your drill’s chuck. Unlike a manual brush that relies on elbow grease, the attachment uses the drill’s rotational torque to agitate dirt, soap scum, and stuck-on food.
In practice, most modern cordless drills accept these brushes without extra hardware. The shaft diameter typically matches a 1/4-inch, 3/8-inch, or 1/2-inch chuck, which covers nearly all consumer drills sold in 2026. A common mistake is assuming the brush must be a specific brand; generic attachments with the same shank geometry work just as well if the chuck closes firmly around them.
Why a Drill-Powered Scrubber Beats Manual Cleaning
A drill-powered scrubber changes the physics of cleaning. Instead of your arm supplying repeated motion, the motor delivers consistent revolutions per minute (RPM) that keep bristles working even when you ease off pressure. This brings several tangible benefits:
- Faster results on stubborn grime: A manual brush might take five minutes of scrubbing on a shower floor; a drill brush often clears the same area in under 60 seconds at low speed.
- Less physical strain: The tool bears the load, reducing wrist and shoulder fatigue—valuable if you clean large tiled areas or have limited grip strength.
- More uniform pressure: Because the drill spins the head, you avoid the uneven streaks that come from hand fatigue.
- Lower chemical reliance: Strong mechanical action means you can often skip harsh solvents. A mild detergent and warm water are enough for many jobs, an approach echoed by federal equipment safety standards for indoor air quality when you reduce aerosol chemicals (OSHA's equipment safety standards).
- Cost efficiency: You reuse a drill you already own. There is no need for a dedicated electric scrubber machine.
The honest trade-off is control: a drill can damage delicate surfaces if the speed or bristle stiffness is wrong. That is why the steps below emphasize testing and adjustment.
Choose the Right Scrub Brush for Your Drill
Picking the correct brush is the difference between a sparkling surface and a scratched one. Focus on three variables: bristle stiffness, connection type, and head shape.
Match Bristle Stiffness to the Surface
| Bristle type | Best for | Avoid using on |
|---|---|---|
| Soft nylon (white/light) | Glass shower doors, painted walls, stove tops | Heavy rust, cement |
| Medium nylon (green/blue) | Tile, grout, fiberglass tubs | Delicate plastics |
| Stiff/nylon or polypropylene (black) | Concrete, garage floors, tools | Any coated or glossy surface |
A frequent error we see is grabbing the stiffest brush for every job. In practice, start softer; you can always switch heads if the grime resists.
Connection Type and Chuck Size
Most drill brushes ship with a 1/4-inch hex shaft that clicks into impact drivers and standard drills alike. If your chuck is smaller than 3/8 inch, check the packaging—some ultra-compact drills need an adapter collar. Always confirm the shaft is round or hex to match your chuck jaws.
Shape for the Job
- Round brushes cover flat expanses like floors and countertops.
- Cone or pointed brushes reach corner grout and around faucet bases.
- Flat padded heads work on broad, slightly curved surfaces such as car hoods.
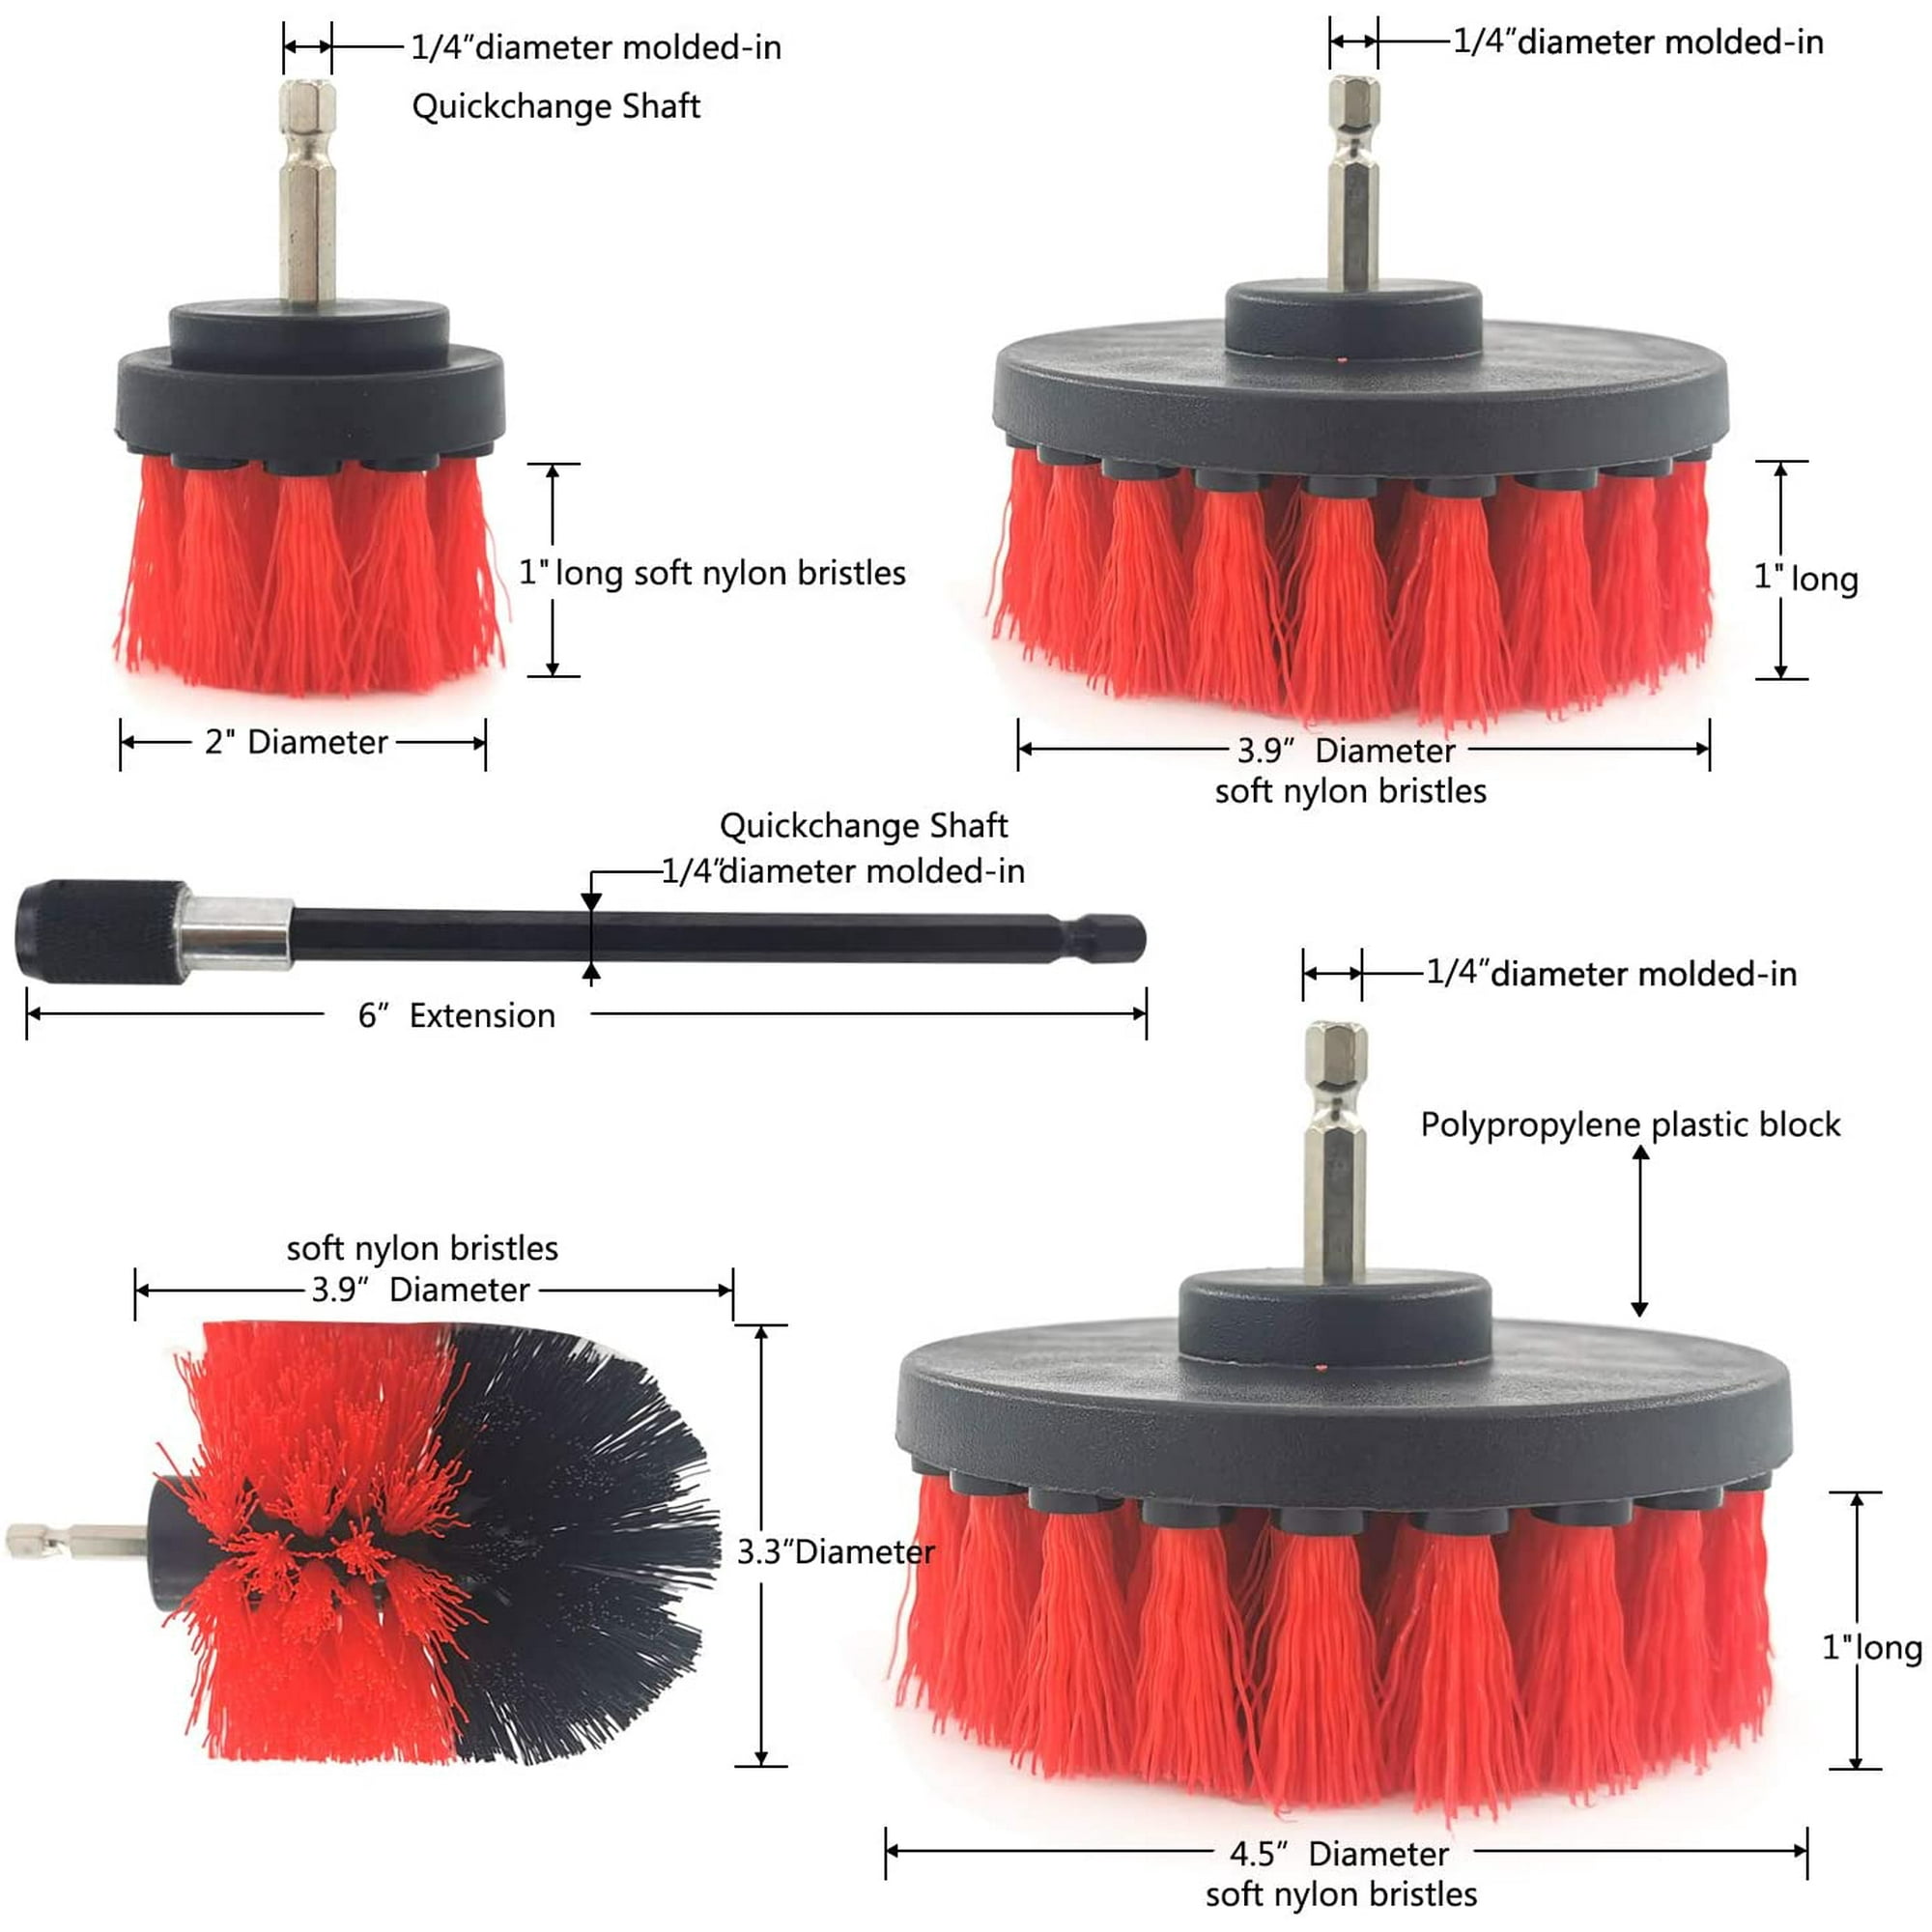
- A standard cordless drill paired with a circular cleaning brush.*
Image source: www.walmart.ca
Tools and Materials You'll Need
Before you start, gather:
- A cordless or corded drill with variable speed control
- A drill-compatible scrub brush (matched to surface as above)
- A chuck key (if your drill uses a keyed chuck) or simply the keyless collar
- Protective goggles with side shields
- Nitrile or work gloves for grip and skin protection
- Optional ear plugs if using a corded drill for extended periods
- A bucket of warm water and a mild cleaner
If you plan to clean near a sink cabinet, first address musty damp spaces to prevent mold exposure while you work. That step keeps the area safe before you introduce water and rotating bristles.
Prepare Your Drill and Work Area Safely
Preparation prevents most accidents. Begin by inspecting the drill’s chuck for cracks or debris. A dirty chuck will not grip the brush shaft evenly, causing wobble.
Set the drill’s torque adjustment to a low number (typically 1–3 on a 10+ setting dial) and the speed selector to “1” (slow). High RPM throws cleaner and can etched surfaces. For cordless models, ensure the battery is charged enough to hold steady pressure; a dying battery lags and jerks.
If you are working indoors, lay towels to catch runoff. When cleaning near electrical outlets or under sinks, shut off nearby power if water could splash. These habits align with general power-tool guidance from OSHA's equipment safety standards, which stresses eye protection and controlled speed for rotating accessories.
Step-by-Step: Attach the Scrub Brush to Your Drill
Correct Attachment Method
- Unlock the chuck: For keyless models, rotate the collar counterclockwise until the jaws open.
- Insert the shaft: Push the brush’s hex or round shaft fully into the chuck, seating it against the back.
- Tighten firmly: Turn the collar clockwise by hand, then give a final twist with your hand or a chuck key. The jaws should clamp the shaft with no visible gap.
- Check orientation: The brush should sit straight; a crooked insertion means the head will vibrate.
Ensure a Stable, Wobble-Free Fit
With the brush attached, run the drill at the lowest speed for two seconds. Watch the head: any side-to-side play means the chuck is loose. Stop and retighten. In practice, a quick “tug test” (pulling the brush gently away) confirms it will not fly off mid-clean.

- The hexagonal shaft seated firmly inside the drill chuck.*
Image source: www.amazon.com
Using the Drill Scrub Brush Effectively
Proper Technique for Controlled Cleaning
Hold the drill with both hands—one on the handle, one on the body—for stability. Apply only light forward pressure; let the bristles do the work. Move in slow, overlapping passes rather than staying in one spot. Increase speed only after you confirm the surface tolerates it.
Best Surfaces and Worst Surfaces
Great candidates: ceramic tile, grout lines, concrete patios, bathtub surrounds, oven exterior enamel (with soft brush).
Avoid or use extreme caution: polished wood, uncoated nonstick pans, glossy car paint, and antique mirrors. A drill brush can permanently mar these, much like the care needed for cooktop scorch repair on fragile glass.
Common Mistakes That Damage Surfaces
- Using maximum RPM on a new surface
- Letting the brush dwell in one area (creates heat scars)
- Forgetting to re-tighten the chuck after the first minute
- Skipping a test patch behind a door or under a cabinet
A common mistake is assuming more pressure cleans faster. It instead pushes bristles flat, reducing agitation and risking scratches.
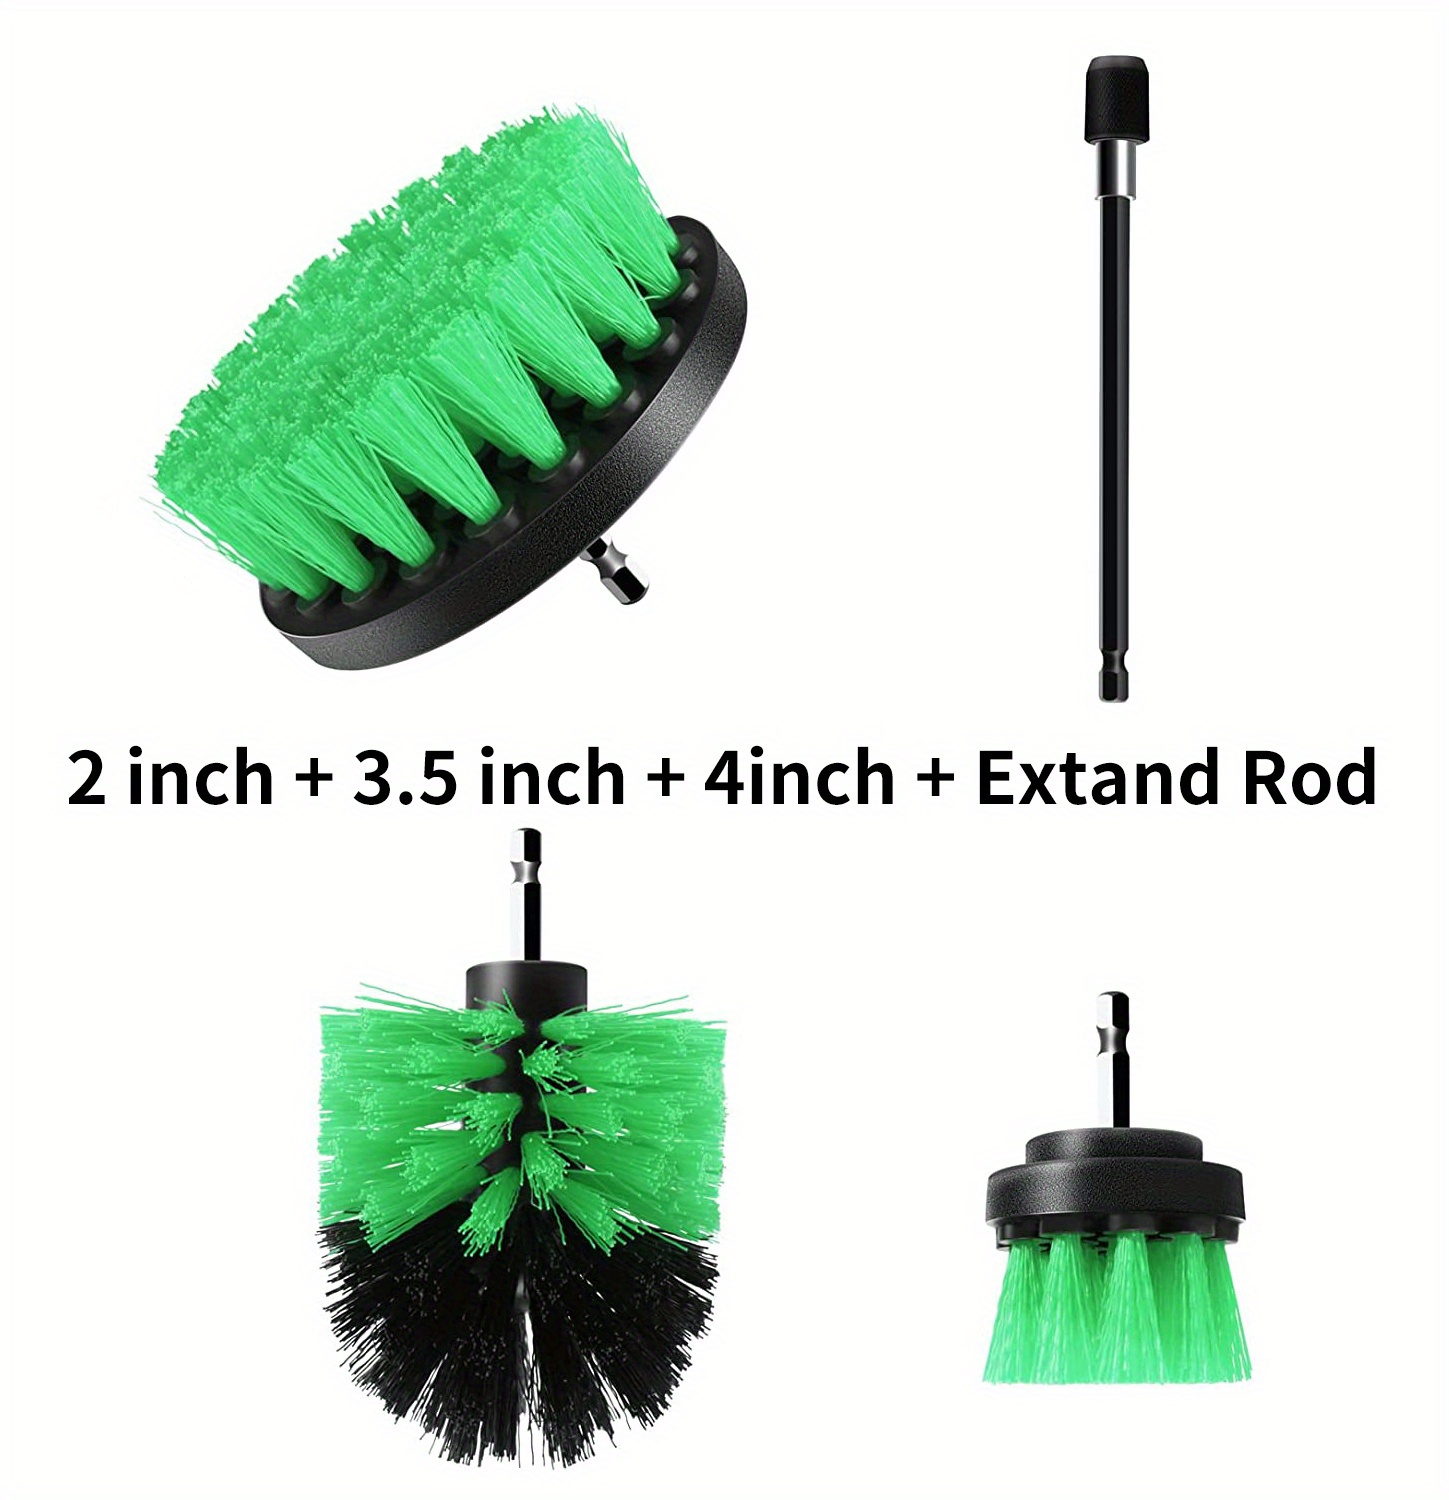
- Applying light pressure while the brush spins at low speed.*
Image source: bawaruba.com
Maintenance and Care for Long-Lasting Performance
After each session, detach the brush and rinse it under warm running water. Just like grill tool sanitation, any leftover cleaner or debris hardens and shortens bristle life. Use a mild soap and a second soft brush to lift embedded grit.
Dry the head completely before storage—standing it bristle-up prevents mildew. Store the drill separately in a dry cabinet; avoid damp basements where metal parts corrode. For comparison, pastry tool cleaning follows the same “rinse, dry, store upright” rule for soft bristles.
Every few months, check the shaft for cracks. A fractured shank can seize in the chuck. Replace the attachment if the plastic near the base shows stress marks.
Other Kitchen and Bath Cleaning Tasks to Tackle Next
Once your drill scrubber has refreshed the tile, you may spot related chores. For a full appliance deep clean, our guide to stainless steel dishwashers shows how to pair mechanical agitation with safe detergents. If the stovetop still shows rings, follow our cooktop scorch repair steps using non-abrasive methods.
Browse our cleaning article archive for more room-by-room strategies that build on the same drill-and-brush method.
Frequently Asked Questions
How do I attach attachments to a drill? Switch the drill off and open the chuck. Insert the attachment’s shaft fully, then tighten the chuck clockwise until it grips. Give the shaft a gentle pull to confirm it is locked. Always start at low speed for the first test run.
Can you put a Drillbrush on any drill? Most standard drills with a 3/8-inch or larger chuck accept them. Check that your model uses a keyless or keyed chuck that matches the brush shaft shape. Ultra-compact 1/4-inch drivers may need an adapter.
Can you put a wire brush on a drill? Yes, but wire brushes remove rust and paint, not bathroom grime. They throw sparks and fragments, so wear a full face shield and use them only on metal or concrete, never on surfaces you want to preserve.
What kind of drill is best for a drill scrub brush? A variable-speed cordless drill with a 3/8-inch or 1/2-inch chuck is ideal. The cordless freedom matters near water, and the adjustable trigger gives fine control. Keep the clutch setting low to avoid sudden torque jumps.
Do I need to use water with the brush? For most indoor cleaning, a lightly dampened surface works best. Submerging the drill or running it near standing water is unsafe; keep the motor body away from spray.
Conclusion
Attaching a scrub brush to your drill is a five-minute job that pays off for years. Choose the right bristle stiffness, seat the shaft tightly in the chuck, and let the motor do the scrubbing at a controlled speed. You will protect your joints and reclaim time on tedious chores.
Put this method to work today—start with your grimiest grout line and feel the difference. For more home maintenance write-ups, the cleaning article archive is a smart next stop.
