
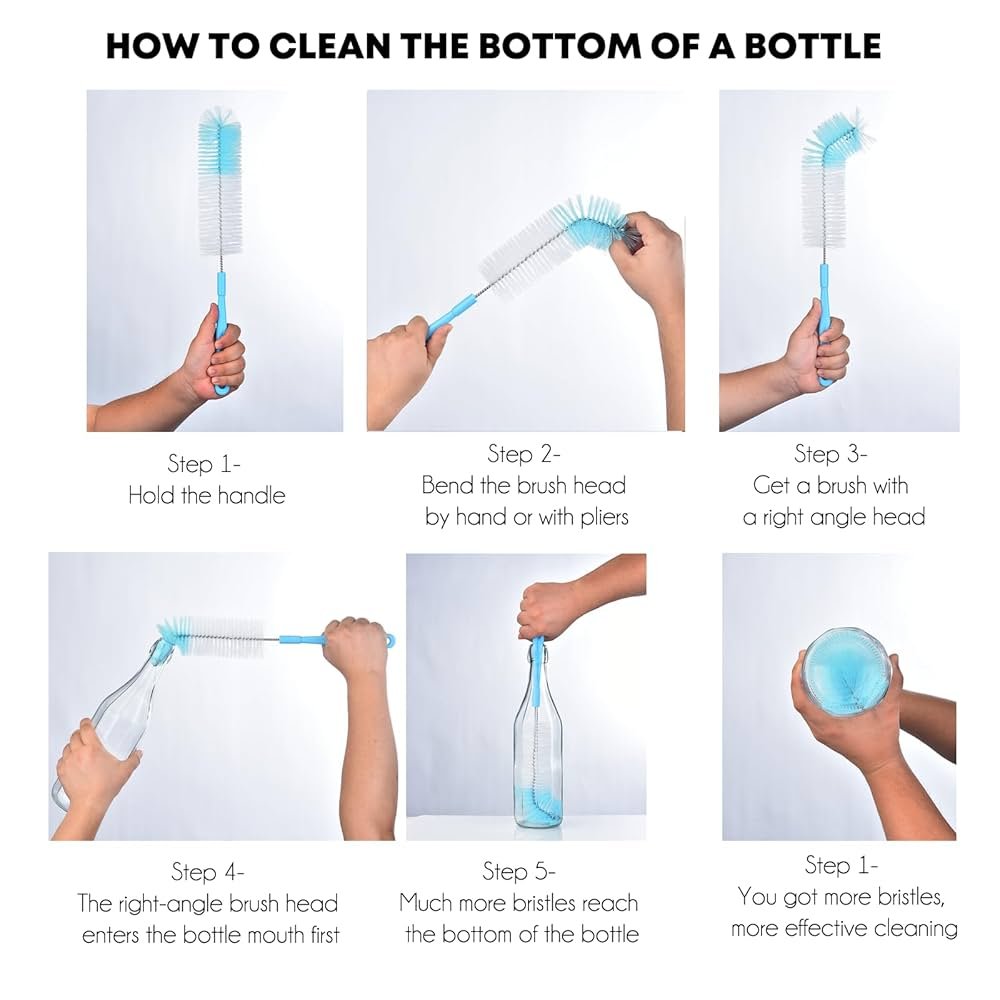
A bottle brush is one of the most used—and most neglected—tools in the kitchen. After scrubbing out smoothie residue, coffee stains, or baby formula, the brush itself collects old food particles, soap scum, and moisture. If you don’t clean it properly, you’re basically spreading bacteria back onto the next bottle you wash. The good news? With the right routine, you can keep your bottle brush fresh, effective, and long-lasting. This guide covers everything from daily rinsing to deep sanitizing, so you get truly sparkling results every time.
Why a Clean Bottle Brush Matters
A bottle brush that looks clean often isn’t. Bristles trap milk residue, oils, and tiny bits of food that become breeding grounds for bacteria and mold. Using a dirty brush defeats the purpose of cleaning your bottles—you’re just moving microbes around. Regular cleaning also prevents the bristles from stiffening with mineral deposits (common in hard water areas) and extends the brush’s life. In short: a clean brush means cleaner bottles and better hygiene for your family.
Tools and Materials You’ll Need
Before diving into the cleaning steps, gather these items:
- Mild dish soap (preferably fragrance-free for baby bottles)
- White vinegar – a natural disinfectant and deodorizer
- Baking soda – for stubborn stains
- Small bowl or container for soaking
- Clean dish towel or drying rack (with good airflow)
- Toothpick or small brush (for dislodging debris between bristles)
Having these on hand makes the process quick and easy.
How to Clean Your Bottle Brush: Step by Step
1. Rinse Immediately After Use
Right after scrubbing bottles, hold the brush under warm running water for 10–15 seconds. Use your fingers to rub the bristles and loosen any trapped food particles. This removes the bulk of residue before it dries and hardens.
2. Wash with Soap and Warm Water
- Squirt a small amount of mild dish soap onto the bristles.
- Work the soap in by squeezing and twisting the bristles with your hands (wear gloves if you prefer).
- Rinse thoroughly until no suds remain. Soap left behind can cause a funny taste in the next bottle.
3. Disinfect with a Vinegar Soak (Weekly)
Once a week, give your brush a deeper clean:
- Mix equal parts white vinegar and warm water in a bowl or cup.
- Submerge the brush (bristles down) for 30 minutes.
- Rinse well with warm water. Vinegar kills most bacteria and neutralizes odors without harsh chemicals.
For tougher mold or mildew, increase the soak to 1 hour. If you have hard water, a vinegar soak also helps dissolve mineral buildup.
4. Tackle Stubborn Stains with Baking Soda
For dried-on stains or discoloration:
- Make a paste of 3 parts baking soda to 1 part water.
- Apply it to the bristles and scrub gently with your fingers or a soft toothbrush.
- Let it sit for 5 minutes, then rinse thoroughly. Baking soda is abrasive enough to lift stains but gentle on nylon and silicone bristles.
5. Sanitize for Baby Bottles (Optional but Recommended)
If you use the brush for baby bottles, sterilize it weekly:
- Boil water in a pot, remove from heat, and submerge the brush for 5 minutes.
- Or use a microwave steam sterilizer bag (check the brush’s material first—some plastic handles may warp).
- Let it cool completely before handling.
This step is especially important for infants under 6 months, as recommended by the U.S. Food and Drug Administration for feeding equipment sanitation.
Drying and Storing Your Brush
Moisture is the enemy of a clean bottle brush. Even after a thorough wash, a damp brush stored in a drawer or closed cabinet can grow mold within 24 hours.
- Shake off excess water after rinsing.
- Place it upright on a drying rack or in a cup with the bristles facing up. Make sure the bristles don’t touch the sides of the cup, which can trap moisture.
- Air-dry in a well-ventilated area – near a window or under a cabinet with airflow is ideal.
- Never store the brush in a sealed container or with the bristles touching a wet surface.
If you notice a musty smell, it’s a sign of hidden mold. Soak the brush in vinegar again and dry it thoroughly before reuse.
Maintenance and When to Replace
Even with perfect care, bottle brushes wear out. Here’s how to tell when it’s time for a new one:
| Sign | Action |
|---|---|
| Bristles are bent, frayed, or falling out | Replace immediately – they won’t clean effectively and can scratch bottles. |
| Handle is cracked or loose | Replace – the brush may break during use, and cracks harbor bacteria. |
| Persistent odor after cleaning | Replace – odor can indicate deep-set mold or bacterial growth. |
| You use it daily | Replace every 3–4 months. With light use, every 6 months. |
Keeping a spare brush on hand ensures you never have to use a worn-out one. Regularly inspect the brush while cleaning it – a quick visual check takes seconds.
Common Mistakes to Avoid
- Skipping the rinse – Dried milk or juice residue is much harder to remove later.
- Using bleach undiluted – Harsh chemicals can damage the bristles and leave harmful residues. If you want to bleach, use a 1:9 bleach-to-water solution and rinse extremely well.
- Storing it in a bathroom cabinet – Humidity is high; the brush will never dry fully.
- Ignoring the handle – The handle can collect grime, especially if it has a textured grip. Wipe it down with a soapy cloth regularly.
Frequently Asked Questions
How often should I clean my bottle brush?
Rinse after every use, wash with soap once a week, and do a deep sanitizing soak (vinegar or boiling) every 2–4 weeks depending on usage.
Can I put a bottle brush in the dishwasher?
Most bottle brushes are not dishwasher-safe. The high heat can warp plastic handles and damage nylon bristles. Hand washing is safer and more effective.
How do I clean a bottle brush with a sponge on the tip?
Sponge-tipped brushes are especially prone to trapping moisture. After use, squeeze the sponge dry, then soak it in a vinegar solution for 30 minutes. Rinse thoroughly and air-dry with the sponge facing up.
Is it safe to use the same brush for baby bottles and regular cups?
It’s best to have separate brushes. Baby bottles require stricter sanitation, and cross-contamination from regular cups (which may have traces of juice, oils, or even raw egg) is not worth the risk.
Conclusion
Keeping your bottle brush clean is a small habit that pays off in better hygiene, longer brush life, and peace of mind. By rinsing after each use, washing with soap, soaking in vinegar weekly, and drying properly, you ensure every bottle you clean is truly spotless. Pay attention to signs of wear and replace the brush every few months. For more kitchen maintenance tips—like keeping your stovetop spotless or maintaining a dishwasher’s filter—browse our other guides. Your brushes (and your family’s health) will thank you.
