
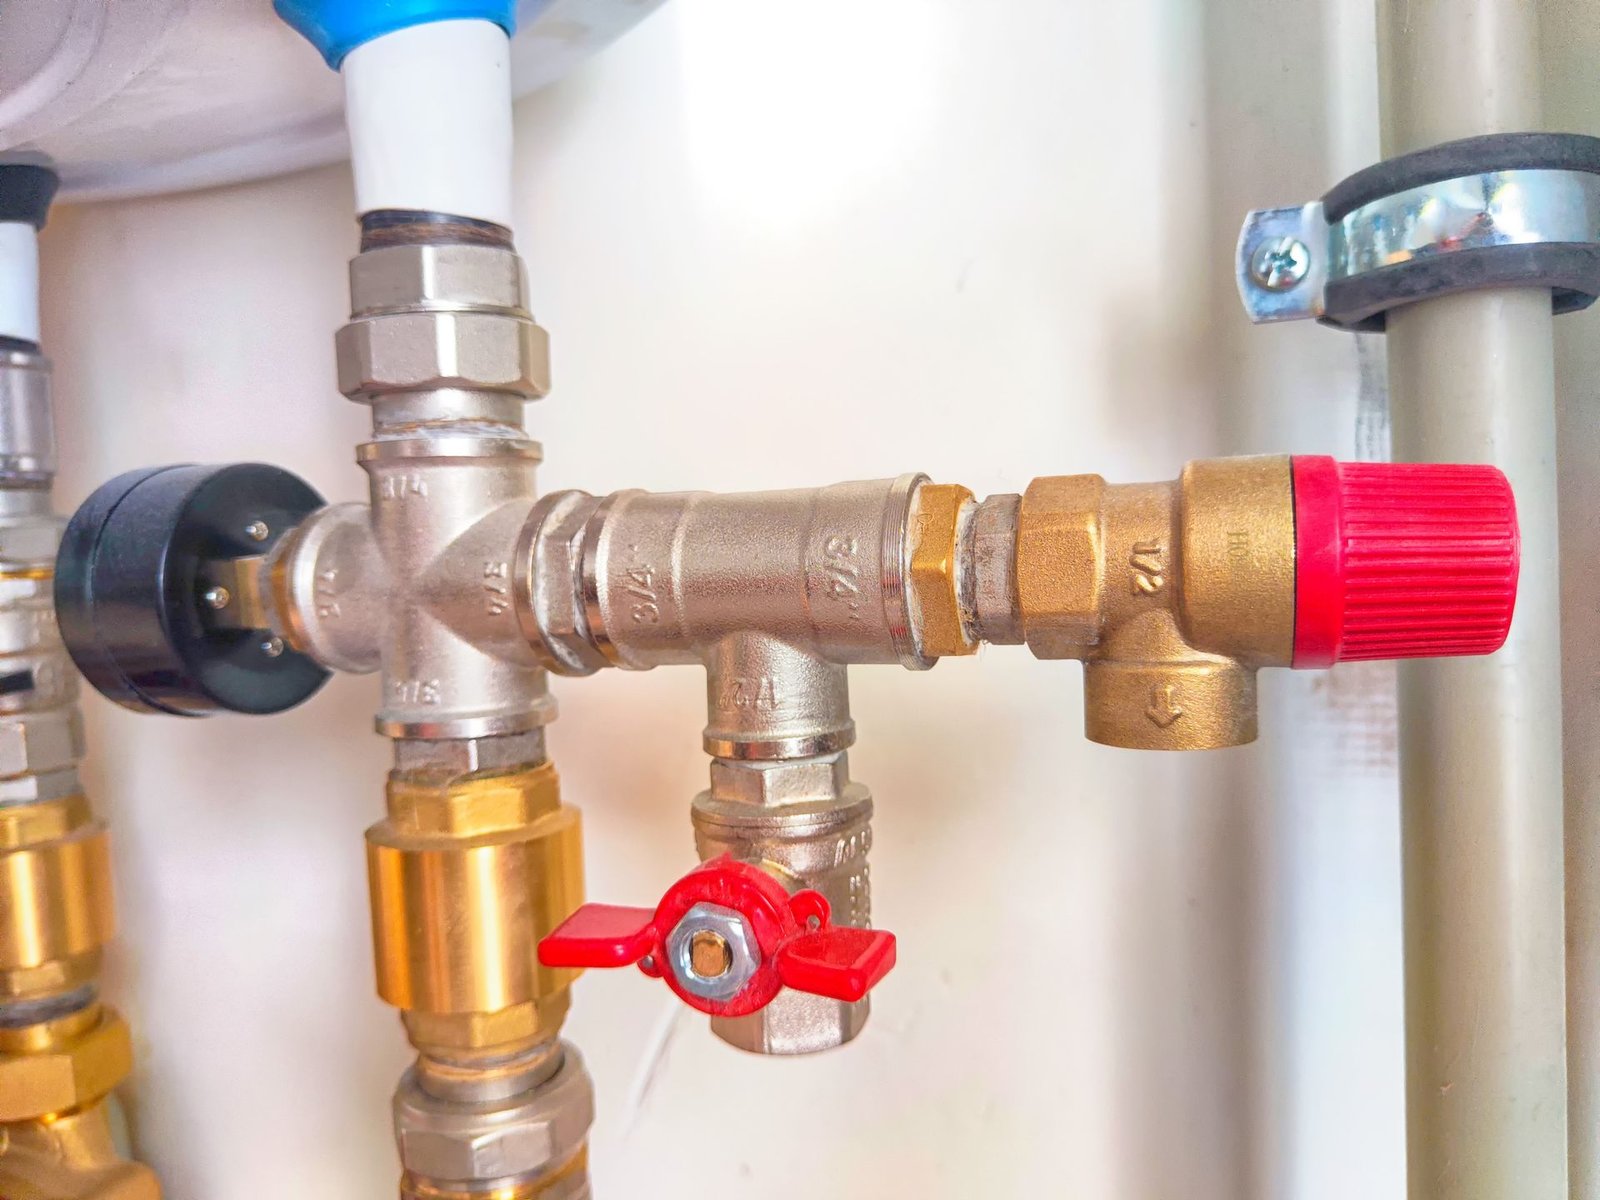
A burst supply line or a dripping faucet can turn a quiet evening into a rush for the main water valve. Knowing exactly where the water shut off valve under your kitchen sink is can save you time, stress, and hundreds of dollars in water damage. Most kitchen sinks have dedicated shutoff valves that let you stop the flow to just that faucet without cutting water to the whole house. This guide walks you through finding, identifying, and operating those valves—plus what to do if they’re stuck, leaking, or missing.
Understanding the Types of Shutoff Valves
The valve type affects how you turn it and how reliable it will be years from now. Under a kitchen sink you’ll typically find one of three designs.
| Valve Type | Handle Shape | How It Works | Best For |
|---|---|---|---|
| Compression valve | Round knob (multiple turns) | A rubber washer presses against a seat to stop flow | Older homes; easy to repair but can wear out |
| Ball valve | Lever handle (quarter-turn) | A metal ball with a hole rotates to block or allow flow | Quick shutoff; very durable; less prone to leaks |
| Gate valve | Wheel handle (multiple turns) | A metal gate lowers to block water | Rare under modern sinks; slow to close; prone to seizing |
Ball valves are the gold standard for new installations because they need only a 90-degree turn. Compression valves are still common and can be rebuilt if they begin to drip. Gate valves, found in many pre‑1990s homes, should be exercised carefully—they often get stuck after years of disuse.
Step-by-Step Guide to Locating Your Valve
Most valves live within arm’s reach once you clear the cabinet. Follow these steps in order.
Tools You May Need
- Flashlight (the under‑sink area is notoriously dark)
- Pair of pliers (for stubborn handles)
- Old towel or bucket (to catch drips)
- Phone or camera (to snap a reference photo for future)
1. Clear Everything Out
Remove cleaning supplies, trash bins, and any stored items. Piles of bottles and rags hide valves and can knock them accidentally if you’re reaching in a hurry. A clean space also lets you see corrosion or moisture early.
2. Feel Along the Supply Lines
From the faucet, two flexible braided hoses or copper tubes run downward. Follow each line. The valve sits where the hose meets the rigid stub-out coming from the wall or floor. You’ll feel a small handle—either a quarter‑turn lever or a knurled knob.
3. Check Common Positions
- Behind the cabinet door: Often mounted on the wall at the back of the cabinet, about 4–6 inches above the cabinet floor.
- Under the sink basin: Can be close to the drain, sometimes angled sideways.
- Inside the wall (less common): In some homes the valve is recessed. Look for a small access panel or a metal escutcheon plate.
- Beneath the floor: Mobile homes and some slab‑foundation houses have valves in the crawlspace. If you see pipe going through the cabinet base, that valve may be below.
Image: 
Common positions: valves may be mounted on the wall or on vertical pipes near the back of the cabinet.
4. Use a Flashlight at Different Angles
Shine the light parallel to the back wall—this casts shadows that make small handles pop out. Check behind the trap (the curved drain pipe) and under the sink’s basin edge.
How to Identify Hot vs. Cold Water Valves
Under a standard kitchen sink you always have two valves: one for hot (left side, typically) and one for cold (right side). But if yours are unlabeled, here’s how to tell which is which without guessing.
- Feel the pipes: Turn on the hot water for 30 seconds, then carefully touch each copper supply line. The warm one is the hot water line.
- Check the handle color: Many manufacturers use red for hot and blue for cold. If the handles are brass or chrome, look for tiny raised letters near the valve body.
- Test by closing one at a time: Turn a valve clockwise until it stops, then run the faucet. If the water temperature stays the same but the flow drops, you closed that valve. Do the same with the other valve. Take note of which handle corresponds to which side.
Image: 
Color-coded handles help you identify hot (red) and cold (blue) shutoff valves quickly.
Turning Off the Water
Once you’ve located the right valve, turning it off is straightforward—but technique matters.
Standard Procedure
- Turn clockwise (right) until it stops. For compression and gate valves, this may require several full rotations. For ball valves, a quarter turn puts the lever perpendicular to the pipe.
- Do not overtighten. Once the flow stops, extra force can crush the washer or break the stem. If it still drips after a gentle final twist, the valve may need repair, not more force.
- Confirm the water is off. Open the faucet to check. If only a trickle comes out, the valve is closed.
- Leave the faucet open to relieve pressure and drain the line a bit before you work on the faucet or supply hose.
If the Valve Is Stuck
Many valves seize up after years of disuse. Try these steps in order:
- Spray a penetrating oil (like WD‑40) on the stem where it enters the valve body. Wait 5 minutes.
- Grip the handle with pliers—but use a cloth to avoid marring the metal. Turn gently back and forth a few degrees before attempting a full turn.
- If it still won’t budge, do not force it. You risk snapping the stem or cracking the pipe. Instead, shut off the main water supply for your whole house and replace the valve (see below).
Troubleshooting Valve Issues
Even with a properly located valve, problems can arise. Here is a quick decision table.
| Problem | Likely Cause | Immediate Action | Permanent Fix |
|---|---|---|---|
| Valve not closing fully | Worn rubber washer (compression) | Turn off main water | Replace washer or whole valve |
| Handle feels loose | Set screw missing or stripped | Tighten handle screw | Replace handle or valve |
| Dripping from valve stem | Worn packing nut | Tighten packing nut 1/8 turn | Replace packing or valve |
| Valve body corroded | Age / moisture | Dry area, apply plumber’s grease | Replace valve as soon as possible |
| Cannot find valve | Buried in wall or floor | Check other rooms, closest bathroom | Install a new accessible shutoff |
When You Cannot Find the Valve
If your search comes up empty, the shutoff may be on a different floor or in a utility closet. In some older homes, each kitchen faucet was fed from a main line with no local shutoff. Your next step is to find the house main shutoff—usually near the water meter, in the basement, or outside by the foundation. Turning that off will stop all water flow. Then consider having a professional install an inline shutoff under your sink for future convenience.
Preventive Maintenance Tips
A valve that works smoothly when you need it is worth the two minutes of care every six months.
- Exercise the valve twice a year. Turn it fully off and then fully on. This keeps the stem from seizing and flushes sediment off the seat.
- Keep the area dry. Wipe up any condensation or drips under the sink. Moisture promotes corrosion and can ruin the valve’s stem seal. For high‑humidity kitchens, place a small silica‑gel packet or a moisture‑absorbing mat in the cabinet.
- Inspect for signs of leaks. Look for tiny white crusts (mineral deposits) around the valve body or at the compression nut. A slow weep can cause mold or rot inside the cabinet. Following EPA WaterSense guidelines for regular leak checks can help you catch issues early.
- Replace worn valves proactively. If a compression valve is more than 10 years old, consider swapping it for a quarter‑turn ball valve. The upgrade gives you faster shutoff and better long‑term reliability.
When to Call a Professional
Some situations are best left to a licensed plumber:
- The valve is embedded in a wall or behind tile.
- You attempt a valve replacement and the pipe breaks or the threads strip.
- The valve is a gate valve that won’t turn, and you don’t have a main shutoff backup.
- You notice water staining on the cabinet bottom or warped wood—signs of a persistent hidden leak.
A pro can weld or solder a new stub‑out and install a modern ball valve in under an hour, saving you from a flood later.
Frequently Asked Questions
Q: Why can’t I see any valve under my sink?
Some cheap builder‑grade faucets do not have dedicated shutoffs. Look for a small access panel in the back of the cabinet or check near the water heater / main meter. If still nothing, plan to install one.
Q: How do I turn off the water if the valve handle breaks?
Use a pair of pliers to grip the valve stem directly and turn it clockwise. If the stem breaks, shut off the main water supply immediately and call a plumber.
Q: Do I need to close both hot and cold valves?
Only if you are working on the faucet itself or replacing supply lines. For a leak in just one line, close only the affected valve.
Conclusion
Knowing where the water shut off valve under your kitchen sink is gives you control over a plumbing emergency before it escalates. Start by clearing the cabinet, feeling along the supply lines, and identifying the valve type. Test it twice a year, keep the area dry, and swap old compression valves for quarter‑turn ball valves when possible. For deeper kitchen plumbing projects—from understanding the P‑trap layout to replacing corroded pipes—browse our comprehensive guides on the plumbing layout under your sink and how to install a P‑trap correctly. A few minutes of preparation today can save you an expensive callout tomorrow.
