
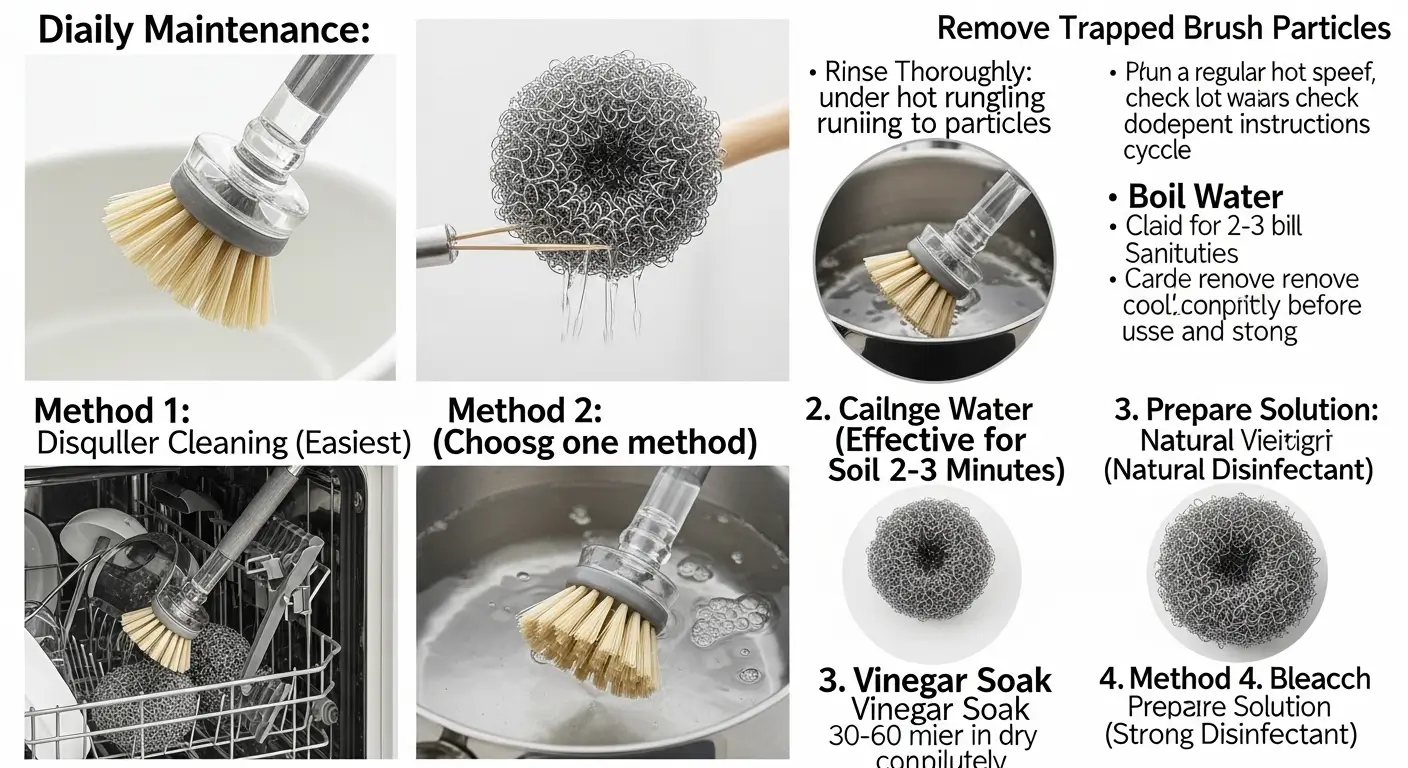
That dish scrub brush hanging by your sink works harder than almost any other tool in your kitchen. Every day it scrapes off stuck-on food, sloshes through greasy pans, and sits in a damp environment where bacteria thrive. Most people never think about cleaning the brush itself—until it starts to smell. By then, you're already spreading bacteria back onto your "clean" dishes.
The good news: cleaning a dish scrub brush takes just a few minutes with household staples you already own. This guide covers everything from a quick daily rinse to deep sanitizing methods, plus how to know when it's time to toss the brush and buy a fresh one.
Why Your Dish Scrub Brush Needs Regular Cleaning
A dish scrub brush is a perfect breeding ground for bacteria. Food particles get trapped deep between the bristles, moisture lingers in the base, and the warm environment near the sink encourages microbial growth. Research from NSF International has shown that kitchen scrub brushes can harbor coliform bacteria—including E. coli—if not cleaned regularly.
When you scrub a plate with a contaminated brush, you're not cleaning it—you're transferring germs. Regular maintenance prevents this cycle and keeps your kitchen truly hygienic.
Materials Needed for Cleaning
Gather these supplies before you start. Most are already in your kitchen.
Basic Supplies
- Hot water
- Liquid dish soap
- White vinegar
- Clean dish towel or paper towels
For Deep Cleaning
- Baking soda
- Hydrogen peroxide (3% solution)
- Small bowl or container for soaking
- Old toothbrush for scrubbing between bristles
- Dishwasher (if brush is dishwasher-safe)
How Often to Clean Your Dish Scrub Brush
| Cleaning Type | Frequency |
|---|---|
| Quick rinse after each use | Every time you do dishes |
| Soap and hot water wash | Weekly |
| Deep sanitizing | Every 2–4 weeks |
| Full replacement | Every 4–8 weeks, or when bristles fray |
Quick Daily Cleaning
A simple rinse after every use prevents food debris from drying and hardening between the bristles.
Step-By-Step
- Rinse under hot running water immediately after finishing your dishes. Angle the brush so water flows through the bristles from base to tip.
- Squeeze the bristles with your fingers while rinsing to dislodge trapped particles.
- Shake off excess water vigorously.
- Place bristle-side up in a well-ventilated holder or hang it on a hook. Never let it sit flat in a puddle.
This 30-second habit dramatically reduces bacterial growth between deeper cleanings.
Weekly Deep Clean: Soap and Hot Water
Once a week, give your brush a more thorough wash.
- Fill a small bowl or the sink basin with very hot water—as hot as your tap will go.
- Add a generous squirt of dish soap and swish to dissolve.
- Submerge the brush completely, bristles down. Let it soak for 10–15 minutes.
- Work the bristles against your palm to loosen any remaining debris.
- Rinse thoroughly under running water.
- Shake dry and store upright.
If your brush smells musty after this wash, move on to a sanitizing method.
Sanitizing Methods
Boiling Water Method
Boiling kills most bacteria and viruses without chemicals.
- Bring a pot of water to a rolling boil.
- Carefully submerge only the brush head—not the handle if it's plastic or has rubber grips that could melt.
- Boil for 5 minutes.
- Use tongs to remove the brush. Let it cool completely before handling.
- Shake dry and air dry bristle-side up.
Caution: Do not boil brushes with wooden handles. The heat and moisture will crack the wood and loosen the bristles.
Vinegar Soak
White vinegar is a natural disinfectant that removes odors and mineral buildup.
- Mix equal parts white vinegar and warm water in a bowl—enough to fully submerge the brush head.
- Soak for 30–60 minutes.
- Rinse thoroughly with hot water.
- Squeeze and shake dry.
This method is gentle on all brush types and leaves no chemical residue.
Hydrogen Peroxide Soak
For a stronger sanitizing effect without bleach, hydrogen peroxide works well.
- Pour enough 3% hydrogen peroxide into a bowl to cover the bristles.
- Soak for 10–15 minutes—you may see slight fizzing as it breaks down organic matter.
- Rinse thoroughly with hot water.
- Dry completely.
Dishwasher Method
Many modern dish scrub brushes are labeled dishwasher-safe. This is the most hands-off approach.
- Check the brush for a dishwasher-safe symbol or read the packaging.
- Place the brush on the top rack, bristles facing down.
- Run a normal cycle with heated drying.
- Remove immediately after the cycle ends and let it finish air drying.
Avoid this method for brushes with wooden handles, natural bristles, or metal parts that may rust.
Bleach Solution (Last Resort)
Bleach is effective but harsh. Use it only for brushes that have been exposed to raw meat juices or show persistent mold.
- Mix 1 tablespoon of unscented bleach with 1 quart of water.
- Submerge the brush head for no more than 5 minutes.
- Rinse extremely thoroughly under running water for at least 30 seconds.
- Wash again with dish soap and hot water to remove any bleach residue.
Never use bleach on silicone brushes—it can degrade the material over time.
How to Remove Stubborn Odors
Musty smells mean bacteria are still active. If your brush smells after washing:
- Sprinkle baking soda generously over the damp bristles.
- Add a few drops of water to form a paste.
- Work the paste into the bristles with your fingers or an old toothbrush.
- Let it sit for 15 minutes.
- Rinse with hot water, then soak in vinegar solution for 30 minutes.
- Rinse again and dry thoroughly.
Drying and Storage Tips
How you store your brush is just as important as how you clean it. Bacteria thrive in moisture.
- Always store bristle-side up. Gravity pulls moisture away from the base.
- Use a ventilated holder. Solid-bottomed holders trap water. Look for ones with drainage holes or slots.
- Hang it if possible. A hook near the sink allows maximum airflow.
- Keep it away from the sink basin. The area directly around the faucet stays damp longer.
- Never store a wet brush in a drawer or closed cabinet. Stagnant air encourages mold growth.
In practice, the best setup I've found is a small suction-cup hook on the wall beside the sink. The brush hangs freely, dries completely in a few hours, and stays out of standing water.
When to Replace Your Dish Scrub Brush
No amount of cleaning can fix a brush that's physically worn out. Replace yours when you notice any of these signs:
- Frayed or bent bristles that no longer stand upright
- Loose bristles falling out during use
- Cracks in the handle where bacteria can hide
- Persistent odor that returns within a day of cleaning
- Visible mold at the base of the bristles (black or green spots)
- It's been more than 8 weeks—even with perfect maintenance, bristles degrade over time
A common mistake is waiting until the brush looks dirty. By that point, bacteria have already colonized the inner base where you can't see. Replacing brushes regularly is cheap insurance for your family's health.
Special Considerations for Different Brush Types
Nylon Bristle Brushes
Most common and easiest to clean. They tolerate boiling, vinegar, and dishwasher cycles well. Replace when bristles start bending sideways.
Silicone Bristle Brushes
Silicone doesn't absorb water or odors the way nylon does. A quick wash with soap and hot water is usually sufficient. Avoid boiling—high heat can warp silicone over time. Replace when bristles develop tears or cracks.
Wooden Handle Brushes
Beautiful but high-maintenance. Never soak the handle—only the bristle head. Wash quickly and dry immediately. Apply mineral oil to the handle monthly to prevent cracking. Replace if the wood develops splits or the bristles loosen.
Brushes with Built-in Soap Reservoirs
These require extra care. Remove the soap reservoir and clean it separately. Bacteria love the dark, moist interior. Rinse the reservoir weekly and let it dry completely before refilling.
Common Mistakes to Avoid
- Skipping the rinse after use. Dried food particles create a biofilm that protects bacteria from cleaning.
- Storing upside down. Water drips into the handle and never dries, leading to hidden mold.
- Using too much soap. Residue builds up between bristles and traps debris.
- Soaking for hours. Extended soaking in water (especially with vinegar) can damage the bristle base and loosen glue.
- Ignoring the smell. If it smells, bacteria are present—don't assume it's normal.
Frequently Asked Questions
Can I clean my dish scrub brush in the microwave?
Only if the brush is entirely silicone and labeled microwave-safe. Nylon bristles can melt, and any metal in the handle will cause sparks. When microwaving, wet the brush thoroughly first and microwave for 60 seconds max. Let it cool before handling.
Does boiling damage the bristles?
Boiling for 5 minutes is safe for nylon and silicone brushes. Longer boiling can soften nylon bristles and shorten their lifespan. Wooden handles should never be boiled.
How do I clean a brush that's been used on raw meat?
Immediately wash with hot soapy water, then sanitize using the boiling method or a hydrogen peroxide soak. Do not use that brush for other dishes until it has been fully sanitized.
Can I use the same brush for pots and for produce?
No. Keep separate brushes for general dishwashing and for scrubbing produce. Cross-contamination between raw meat residues and fruits or vegetables is a real risk.
Is it better to use a sponge or a brush from a hygiene standpoint?
Brushes are generally more hygienic than sponges. They dry faster, have fewer crevices for bacteria to hide, and can be more thoroughly cleaned. Sponges should be replaced weekly; brushes last longer with proper care.
Final Thoughts
Cleaning your dish scrub brush is a small habit that makes a big difference. Rinse it after every use, deep clean it weekly, and replace it when the bristles start to show wear. Your dishes will come out cleaner, your kitchen will smell fresher, and you'll avoid the unpleasant surprise of discovering a moldy brush mid-scrub.
For more kitchen cleaning guidance, check out our detailed guide on cleaning inside your dishwasher to keep the whole cleaning system running smoothly. And if you're dealing with stubborn odor issues elsewhere, our article on musty smells under the kitchen sink offers practical solutions that work.
