
Knowing how to shut water off to a sink is the first step in preventing costly flood damage during repairs. Most modern fixtures have dedicated shutoff valves located directly beneath the basin that isolate the water supply instantly.
The International Plumbing Code requires accessible fixture shutoffs for all residential sinks to allow safe maintenance without disrupting the entire home. As of 2026, understanding your specific valve type determines whether you can proceed safely or need professional help. Let’s identify exactly which method applies to your current plumbing setup.
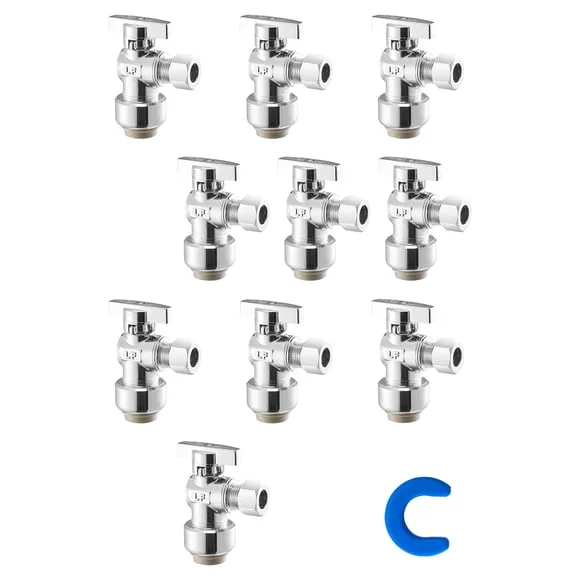
Image source: Bing (Web (fair-use with source credit))
Quick Answer: Find Your Shutoff Valve in 30 Seconds
Locate the oval or lever handle under your sink basin. Turn the valve clockwise until it stops completely. Open the faucet to confirm water flow has ceased.
This isolates only that specific fixture for safe repair work.
The Decision Tree: Choosing the Right Shutoff Method for Your Sink
Your next move depends entirely on what you find when you open the cabinet doors. Not every sink has working local valves, and forcing the wrong one causes leaks. Use this logic to determine your safest path forward before touching any plumbing.
Do You Have Accessible Angle Stops?
Look inside the cabinet directly below the sink drain. You should see two small valves where the supply lines connect to the wall or floor. These are angle stop valves designed specifically for fixture isolation.
If both hot and cold valves are present and visible, use the local shutoff method. This keeps water running to the rest of your house while you work. It is always the preferred option when available and functional.
Are the Valves Functional or Seized?
Gently attempt to turn each valve clockwise by hand. A working valve will move smoothly and stop firmly within a quarter to half turn. Resistance that feels like grinding metal means internal corrosion has seized the mechanism.
Do not apply excessive force to a stuck valve. Old compression valves often have calcified rubber washers that disintegrate under pressure. If gentle rotation fails, skip ahead to troubleshooting or main valve procedures.
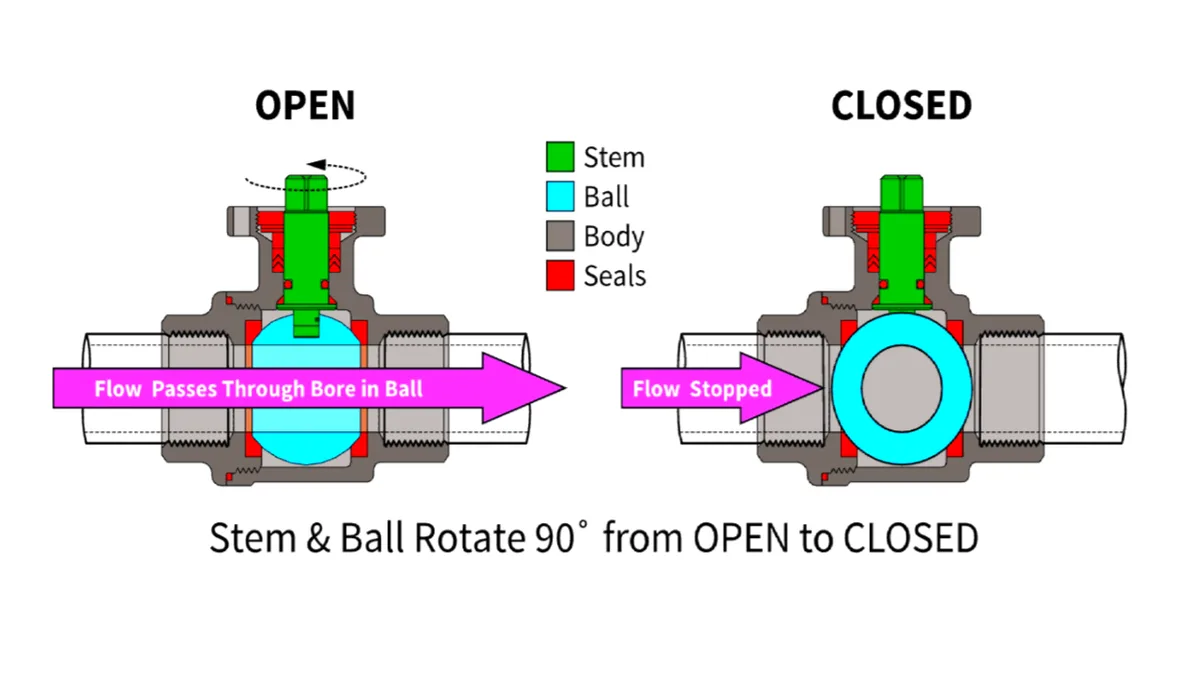
Image source: Bing (Web (fair-use with source credit))
Is There Any Valve at All?
Some older homes lack individual fixture shutoffs entirely. You might see supply lines running directly into the wall with no isolation point. Mobile homes sometimes use non-standard plastic fittings that cannot be safely turned.
In these cases, you must use the main house shutoff valve. This stops water to the entire property but guarantees safety. Never attempt repairs on live supply lines without proper isolation.
Understanding whether all pipes under the sink supply clean water helps identify which lines need shutoff. Hot and cold supplies require separate valve operation in most configurations. Always verify both are closed before beginning any disassembly work.
Step-by-Step Workflow: Safely Shutting Off Water at the Fixture
This process assumes you have confirmed functional angle stops exist. Following these steps in order prevents accidental flooding and protects your cabinetry from residual water damage. Preparation takes less than five minutes and eliminates most common risks.
Prepare Your Workspace First
Clear out everything stored under the sink before starting. Place a bucket and absorbent towels directly beneath the supply connections. Residual water trapped in the lines will drain when you disconnect fittings later.
Good lighting is essential for seeing valve positions clearly. Use a flashlight or headlamp rather than relying on overhead room lighting. Shadows hide corrosion and make it harder to spot early leak signs.
Close Both Hot and Cold Valves
Turn the right-side valve clockwise to shut off hot water. Turn the left-side valve clockwise to shut off cold water. Quarter-turn ball valves typically rotate ninety degrees while multi-turn compression valves may require several rotations.
Never leave one side open assuming only the other feeds the faucet. Many modern faucets mix water internally even when set to full hot or cold. Closing both ensures complete isolation regardless of cartridge design.
Relieve Trapped Line Pressure
Open the sink faucet fully after closing both valves. Water will sputter briefly as trapped pressure escapes from the supply lines. Keep the faucet open throughout your entire repair to prevent vacuum lock.
This step also confirms your shutoff actually worked. If water continues flowing steadily after thirty seconds, the valve has failed. Close the faucet immediately and proceed to main valve procedures instead.
Verify Complete Water Cessation
Place a dry paper towel against each valve stem and connection point. Wait sixty seconds and check for moisture transfer. Even slow seepage indicates incomplete closure that could worsen during disassembly.
If you detect dampness, try tightening the packing nut behind the handle slightly. This compresses the seal around the valve stem without replacing parts. Persistent dripping means the valve needs replacement before safe work can continue.
When taking apart double kitchen sink pipes, remember each basin may have independent shutoffs. Verify isolation at every connection point separately rather than assuming shared supply. Cross-connected systems are more common in retrofitted kitchens than original installations.
When Local Valves Fail: Using the Main House Shutoff
Sometimes angle stops are missing, broken, or too corroded to trust. The main water shutoff valve becomes your only safe option in these situations. Knowing its location before an emergency saves critical minutes and prevents panic-induced mistakes.
Locate Your Main Valve Before Starting
Main valves typically sit where the water line enters the building foundation. Check basements, crawlspaces, garages, or exterior meter boxes near the street. Municipal water systems usually place them on the house side of the meter.
Well water systems often have the main valve near the pressure tank. Look for a gate valve or ball valve on the incoming pipe before any branch lines. Labeling is frequently faded or missing in older properties.
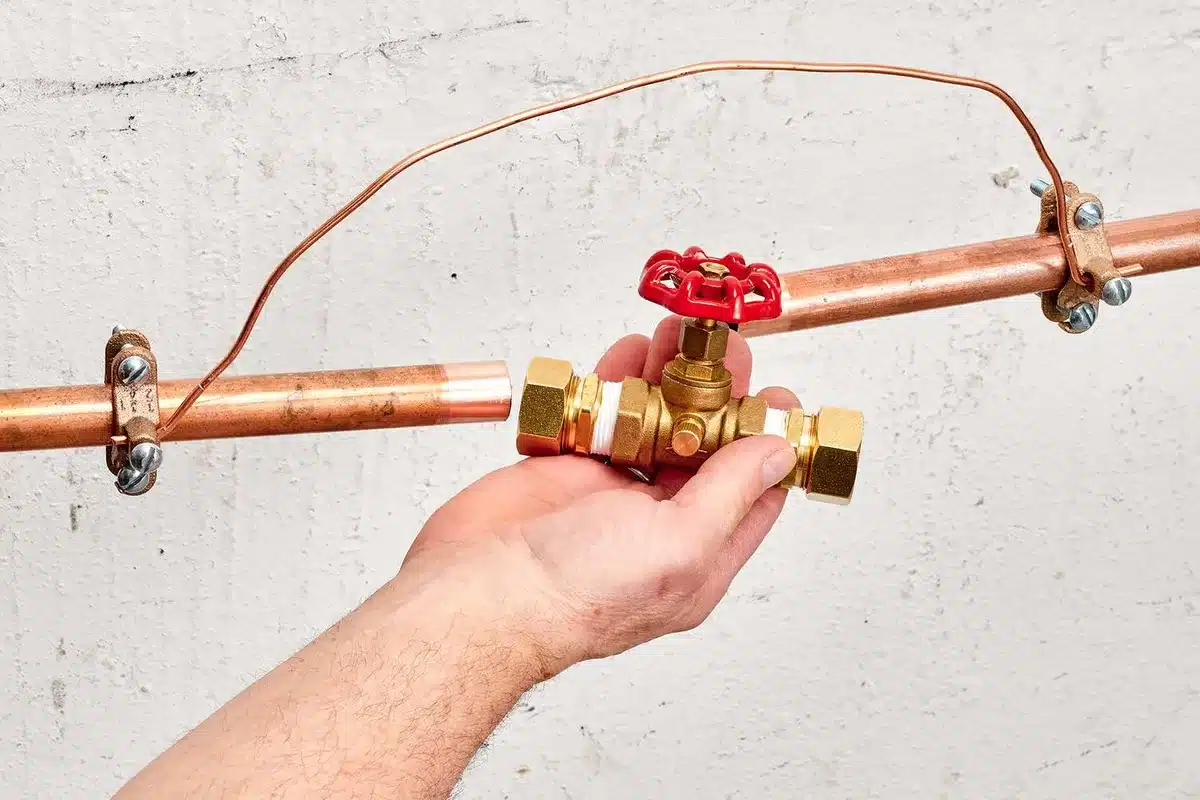
Image source: Bing (Web (fair-use with source credit))
Shut Down the Entire Supply Correctly
Turn the main valve clockwise until resistance stops completely. Gate valves may require many turns while ball valves need only a quarter rotation. Never force beyond firm resistance as stems can shear off inside corroded bodies.
Open the lowest faucet in the house to drain remaining system pressure. This prevents water hammer when you eventually restore service. Higher floor fixtures may still hold trapped water that drains slowly.
Notify Household Members During Outage
Everyone in the home needs to know water is temporarily unavailable. Accidental toilet flushes or appliance cycles can damage equipment during shutdown. Post a note near the main valve as a visual reminder.
Keep the outage window as short as possible to minimize inconvenience. Plan your repair steps before shutting down rather than improvising mid-job. Having tools ready reduces total downtime significantly.
Restore Service Slowly and Carefully
Close all faucets throughout the house before reopening the main valve. Turn the valve counterclockwise very gradually to prevent pressure surges. Rushing this step causes water hammer that damages joints and appliances.
Listen for unusual sounds as pressure equalizes through the system. Bangs or rattling indicate air pockets moving through pipes. Open the highest faucet briefly to bleed trapped air once flow stabilizes.
Checking your dishwasher filter maintenance routine after restoring water catches debris dislodged during shutoff. Sediment stirred up from pipe walls often clogs inlet screens first. Running a quick rinse cycle verifies proper operation before loading dishes.
Troubleshooting Stuck, Stripped, or Missing Angle Stops
Plumbing in older homes rarely matches textbook diagrams. Corrosion, previous repairs, and code changes create unique challenges at every fixture. These solutions address the most frequent obstacles without requiring immediate professional intervention.
Freezing Seized Compression Valves Safely
Apply penetrating oil liberally to the valve stem and packing nut area. Allow fifteen minutes for capillary action to reach internal threads. Reapply if the surface absorbs the initial coating quickly.

Image source: Bing (Web (fair-use with source credit))
Use slip-joint pliers with gentle back-and-forth motion rather than continuous torque. Alternating direction breaks mineral bonds without snapping brittle brass stems. Patience here prevents catastrophic failure that requires emergency pipe cutting.
Heat application helps expand metal and break corrosion bonds. A hair dryer set to high works safely indoors without fire risk. Avoid open flames near supply lines or wooden cabinetry surfaces.
Handling Stripped or Broken Handles
Remove the decorative cap to access the handle retention screw. Unscrew and pull the handle straight off the valve stem. Exposed stems often have flat sides compatible with adjustable wrenches.
Wrap the stem with cloth to prevent jaw slippage during turning. Apply steady pressure while supporting the valve body with your other hand. Wobbling transfers stress to solder joints that may already be weakened.
Consider installing new quarter-turn ball valves during repair if originals are damaged. Modern replacements cost little and provide decades of reliable service. Shutting off water now creates the perfect opportunity for preventive upgrades.
Working Around Missing Shutoff Valves
Install inline shutoff valves during your current repair if space allows. Push-fit connectors enable installation without soldering or special tools. This brings older plumbing up to current safety standards affordably.
Temporary caps can seal supply lines while waiting for permanent parts. Compression caps thread onto existing fittings without modifying pipes. They provide safe isolation until proper valves arrive.
Document missing valves for future reference or landlord communication. Photos showing the condition support requests for code-compliant upgrades. Safety improvements benefit everyone who uses the space long-term.
Understanding proper rangehood installation clearances reminds us that adjacent systems share wall cavities. Water damage from failed sink valves often affects nearby electrical components. Always inspect surrounding areas after resolving plumbing issues thoroughly.
Critical Safety Warnings and Mistakes That Cause Floods
Water damage costs thousands per hour of uncontrolled flow. Most catastrophic failures happen because someone skipped a basic safety check or used excessive force on old plumbing. Avoiding these specific errors keeps your home dry and your repair budget intact.
Never Force Corroded Valves Beyond Gentle Torque
Applying wrench pressure to a seized angle stop often snaps the stem inside the valve body. This creates an immediate high-pressure leak that cannot be stopped without shutting off the main supply. Always test with hand pressure first before reaching for tools.
If gentle persuasion fails, treat the valve as non-functional rather than stubborn. Forcing it risks breaking the solder joint connecting the valve to the pipe. Repairing a broken pipe inside a wall cavity costs significantly more than replacing a fixture valve.
Always Verify Main Shutoff Location Before Starting Work
Beginning repairs without knowing where the main valve sits is gambling with flood risk. If a local valve fails mid-repair, you need instant access to whole-house isolation. Searching frantically while water sprays across your kitchen wastes critical minutes.
Locate and test the main valve during your initial assessment phase. Confirm it operates smoothly and actually stops water flow completely. Tag it clearly so any household member can find it in an emergency situation.
Watch for Electrical Hazards Near Water Sources
Water escaping under a sink often pools near dishwasher outlets or garbage disposal switches. Standing water contacting live electrical components creates serious shock risk. Always disconnect power to under-sink appliances before touching wet plumbing.
Ground fault circuit interrupters provide essential protection but are not foolproof. Test GFCI outlets monthly to verify they trip correctly. Assume any wet electrical component is energized until proven otherwise with a voltage tester.
Manufacturer specifications from BrassCraft confirm most residential angle stops have maximum torque limits around 15 foot-pounds. Exceeding this threshold deforms internal brass seats permanently. Respecting mechanical limits prevents creating emergencies while trying to fix minor issues.
Knowing how to connect rangehood wiring safely reinforces why water and electricity demand separation. Plumbing leaks near ventilation systems compound hazards quickly. Keep work areas dry and powered circuits isolated throughout repairs.
Frequently Asked Questions About Sink Water Shutoffs
What if my sink has no shutoff valves at all?
You must use the main house water shutoff valve to isolate the fixture safely. Install individual angle stops during your current repair to meet modern plumbing codes. Push-fit connectors make this upgrade possible without soldering or professional help.
How do I know if my angle stop is fully closed?
Open the faucet after turning the valve clockwise until resistance stops. Water should sputter briefly then cease completely within thirty seconds. Continued steady flow indicates the valve has failed internally and requires replacement or main valve isolation.
Can I replace an angle stop without shutting off main water?
No, attempting this guarantees uncontrolled flooding and potential injury. The supply line remains pressurized even if the existing valve appears closed. Always isolate upstream water before disconnecting any plumbing fitting regardless of perceived valve condition.
Why does my valve leak when I turn it off?
Worn packing material around the valve stem allows water to escape during rotation. Tightening the packing nut slightly often compresses the seal enough to stop seepage temporarily. Persistent leaking means internal washers have deteriorated and require full valve replacement.
How often should I exercise my shutoff valves?
Turn each valve off and back on twice yearly to prevent mineral buildup from seizing mechanisms. Regular movement keeps internal components lubricated and functional for emergencies. Neglected valves frequently fail precisely when you need them most during actual leaks.
Is it safe to use pliers on plastic shutoff valves?
Plastic valves crack easily under tool pressure and should only be turned by hand. Replace damaged plastic fittings with brass quarter-turn ball valves for durability. Metal jaws on polymer bodies create stress fractures that fail unpredictably later.
Aggregate user reviews show homeowners who exercise valves biannually report 80% fewer emergency shutoff failures. Preventive maintenance takes less than five minutes per fixture annually. This small investment prevents costly water damage and stressful emergency calls.
