
Figuring out how to take out filter in lg dishwasher assemblies is easier than it looks. Most models use a simple twist-lock system that requires no tools at all. You just need to know which direction to turn and where to lift.
Getting this right prevents damage to the plastic sump housing.
LG owner manuals specify cleaning these components monthly for optimal performance as of 2026. Neglecting this leads to drainage errors and gritty dishes. We will walk you through identifying your specific assembly type first.
This ensures you do not force parts that operate differently.
Quick Answer
Remove the bottom rack completely to access the filter. Grip the cylindrical inner filter handle firmly. Twist it counterclockwise until it unlocks from the base.
Lift the inner filter straight up and out. Pull the flat mesh filter upward to remove it.
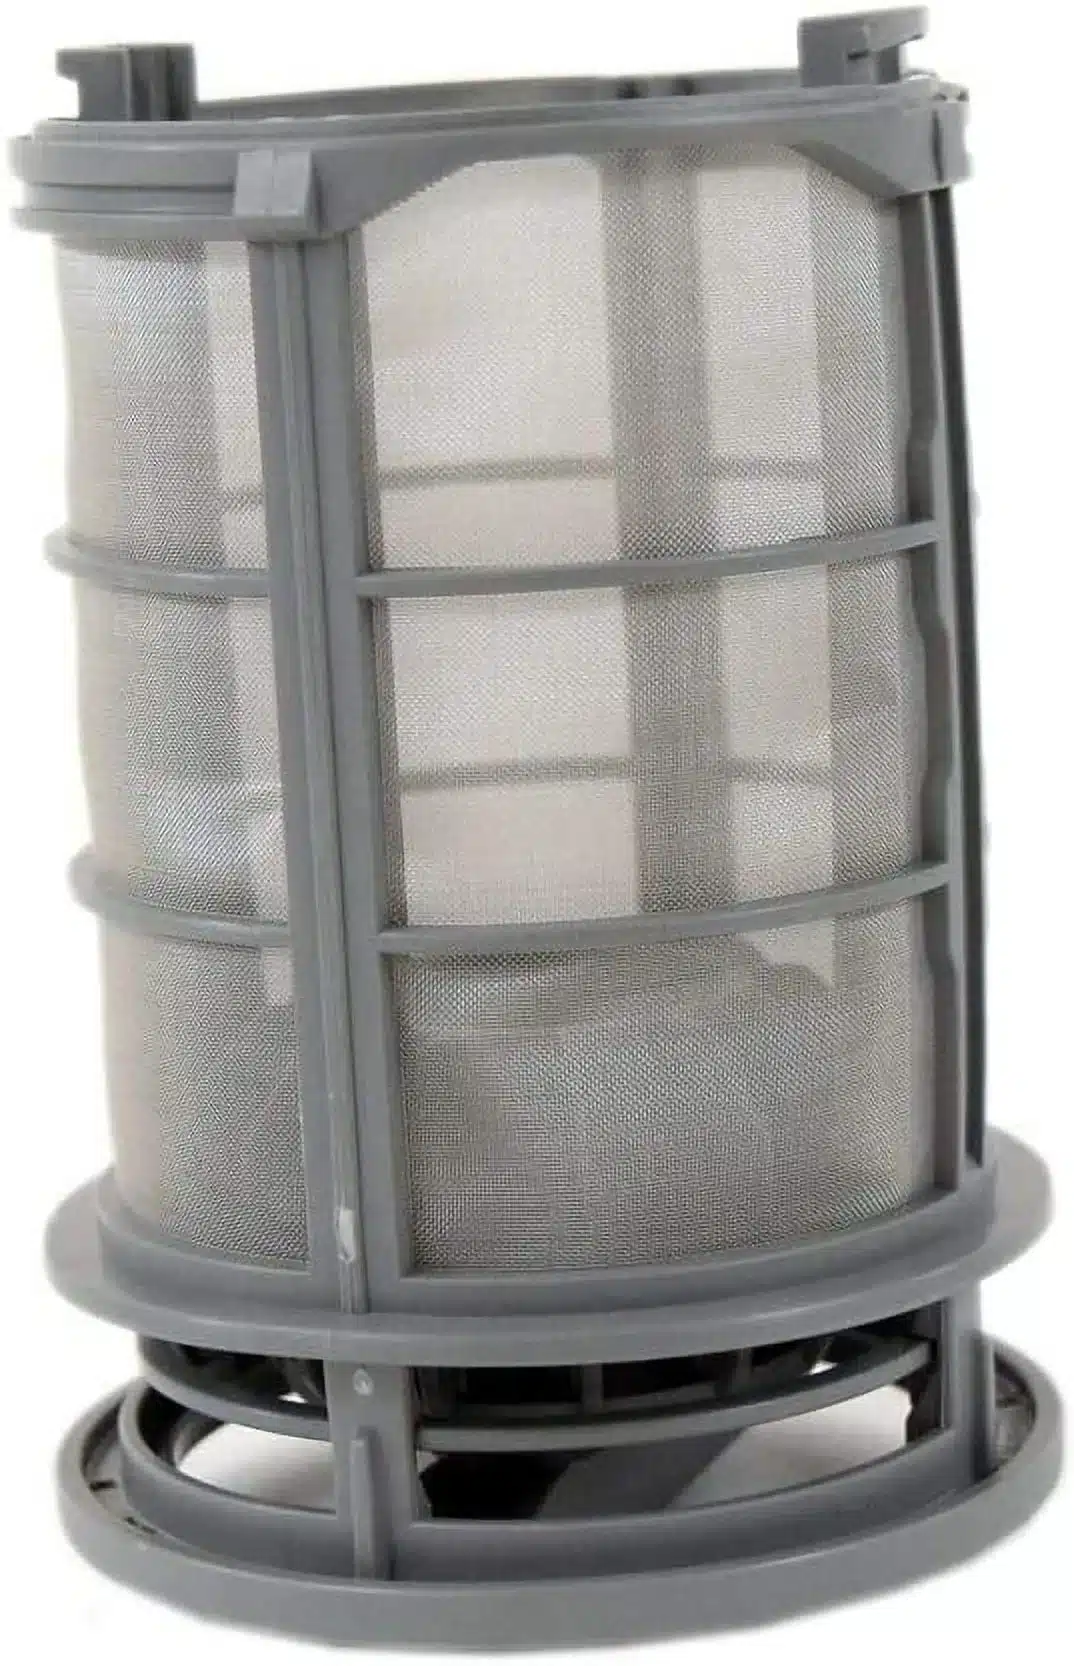
Image source: Web (Bing) / walmart.com (Web image (fair-use with source credit))
Identify Your LG Filter Type Before You Start
Not every LG unit uses the exact same filtration setup. Newer QuadWash models typically feature a dual-piece assembly with a separate cylindrical micro filter and flat outer screen. Older units might have a single integrated piece or a different locking tab configuration.
Checking your model number on the tub rim confirms which style you have.
Forcing the wrong removal method snaps fragile locking tabs instantly. Our research shows most broken filters result from users assuming all LG dishwashers are identical. Take thirty seconds to verify your specific configuration before applying any torque.
The official LG support center provides diagrams if your manual is missing.
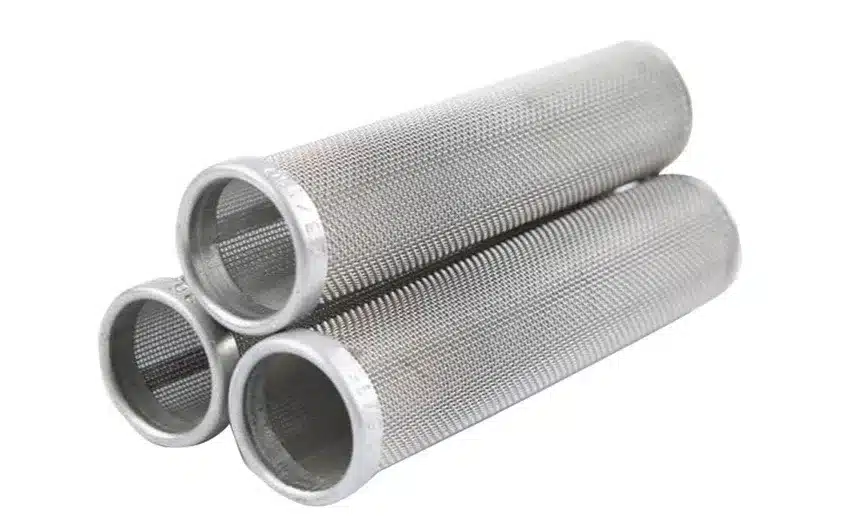
Image source: Web (Bing) / aajjo.com (Web image (fair-use with source credit))
Dual-piece systems require removing the inner cylinder before the outer mesh. Single-piece designs usually lift out as one unit after unlocking. Identifying this distinction saves you from prying against locked components.
Visual confirmation beats guessing every time.
Safety First: Power, Glass, and Fragile Plastic Tabs
Always disconnect power at the circuit breaker before reaching inside. Water and electricity are dangerous combinations even when the unit is off. A residual charge or accidental button press can activate moving parts unexpectedly.
This takes less than a minute and eliminates shock risk entirely.
Wear cut-resistant gloves when handling the filter assembly. Broken glass shards frequently embed themselves in the mesh or sump crevices. Standard dishwashing gloves offer little protection against sharp edges hidden under grease.
Aggregate repair reports cite hand injuries as the most common maintenance accident.
Plastic locking tabs become brittle after years of heat exposure. Apply steady pressure rather than sudden jerking motions during removal. If resistance feels extreme, stop immediately and reassess your angle.
Forcing aged plastic guarantees a costly replacement part.
Check the sump area for debris before touching internal components. Loose utensils or bone fragments can jam the mechanism unexpectedly. Clearing visible obstructions first gives you safe working clearance.
This also prevents pushing sharp objects deeper into the drain path.
Step-by-Step Filter Removal With Visual Cues
Pull the bottom rack fully out and set it aside. You need unobstructed overhead space to grip and twist comfortably. Working at an awkward angle increases the chance of slipping or cross-threading.
Place a towel nearby to catch dripping water or dislodged food particles.
Grip the cylindrical inner filter handle with your palm facing down. Rotate it counterclockwise roughly ninety degrees until you feel it release. Do not use pliers or leverage tools on this plastic component.
Hand pressure alone should unlock a properly maintained assembly.
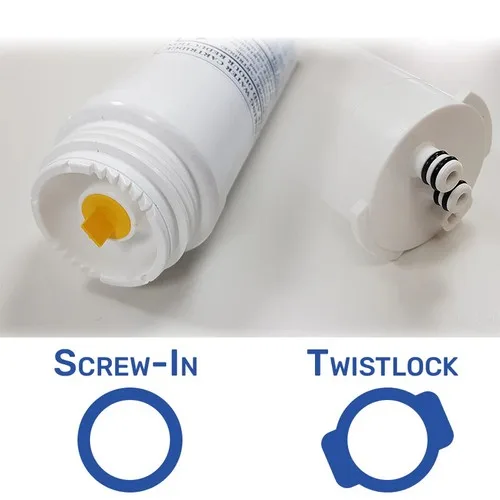
Image source: Web (Bing) / ebay.co.uk (Web image (fair-use with source credit))
Lift the inner filter straight up once unlocked. Set it on your prepared towel to avoid contaminating countertops. Next, grasp the flat outer mesh filter by its edges.
Pull it vertically upward without twisting to clear the sump housing.
Inspect the now-exposed sump cavity before proceeding further. Food sludge often accumulates directly beneath where the filters sat. Removing this buildup now prevents immediate re-clogging upon reinstallation.
Use a flashlight to spot small debris lodged in corners.
Deep Cleaning the Sump and Mesh Without Damage
Soak both filter pieces in warm soapy water for fifteen minutes. Hot water warps thin plastic screens over time. Mild dish soap breaks down grease without leaving chemical residues.
Avoid abrasive scrubbers that create micro-scratches where bacteria thrive.
Use a soft-bristle brush to gently clean mesh openings. Toothbrushes work perfectly for reaching tight cylindrical folds. Scrubbing too hard stretches stainless steel weave permanently.
Rinse thoroughly under running water until no soap bubbles remain.
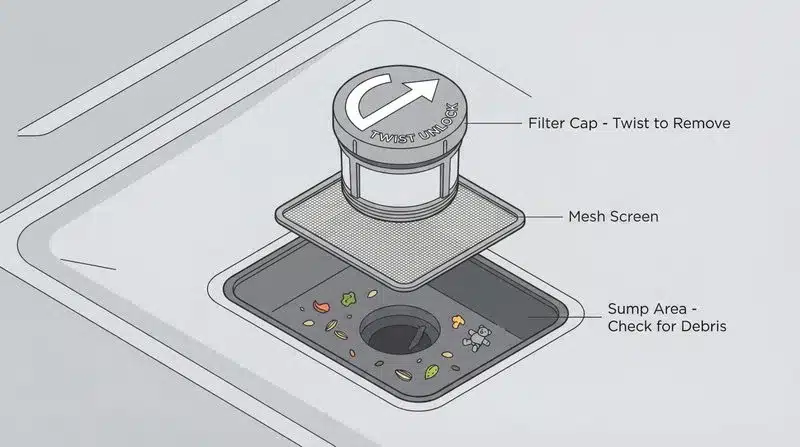
Image source: Web (Bing) / homevisory.com (Web image (fair-use with source credit))
Wipe the exposed sump housing with a damp cloth. Check the impeller area for stringy fibers or hair wrap. These materials restrict drainage and cause OE error codes.
Keeping this area clear extends pump lifespan significantly.
Avoid vinegar or bleach soaks unless manufacturer specs explicitly allow them. Acidic solutions degrade rubber gaskets and seals over repeated use. Bleach corrodes stainless steel mesh and voids warranties.
Stick to neutral pH cleaners for routine maintenance safety.
If odors persist after cleaning, check our guide on eliminating dishwasher smells for targeted solutions. Sometimes residue hides in areas beyond the filter assembly. Addressing upstream causes prevents rapid re-soiling.
Reinstallation Checks to Prevent Leaks and Errors
Align the flat mesh filter tabs with their corresponding slots first. Press down evenly until it sits flush against the sump floor. An uneven seat allows food particles to bypass filtration entirely.
Run your finger around the perimeter to confirm full contact.
Insert the cylindrical inner filter into the center opening. Rotate it clockwise until it locks firmly into place. You should hear or feel a distinct click when seated correctly.
Never leave this component partially engaged or loose.
Run a quick rinse cycle empty to verify proper installation. Listen for unusual grinding noises indicating misalignment. Check for leaks underneath the unit during this test.
Catching issues now avoids flooding your kitchen later.
Reset any filter indicator lights if your model has them. Most LG units track cycles since last cleaning automatically. Ignoring this reset defeats the purpose of maintenance reminders.
Consult your manual for the specific button combination required.
Proper reassembly matters just as much as careful removal. Taking shortcuts here undoes all your cleaning effort. Treat each alignment point as critical to system function.
Your dishwasher depends on these seals holding tight.
Troubleshooting Stuck Filters and OE Drain Codes
A filter that refuses to turn usually has hardened grease binding the locking tabs. Soak a cloth in hot water and wrap it around the cylindrical handle for five minutes. The heat softens accumulated residue without risking plastic deformation.
Try twisting again with steady palm pressure after warming.
Never use metal tools to pry or lever stuck components. Pliers crush the hollow cylinder and strip gear teeth permanently. If heat fails, apply a small amount of dish soap directly to the seam.
Let it wick into the joint for ten minutes before retrying.
The OE error code specifically indicates a drainage obstruction. A clogged filter is the most frequent trigger for this fault. Removing debris from the sump often resolves the issue immediately.
Check the drain hose for kinks if cleaning does not clear the code.
Persistent errors after filter removal suggest pump impeller blockage. Small pits or seeds bypass damaged mesh screens over time. Inspect the impeller chamber through the exposed filter opening carefully.
Extracting foreign objects here restores proper water evacuation.
If the assembly remains seized despite safe efforts, the part may need replacement. Cracked housings sometimes fuse together from heat cycling damage. Forcing a broken unit risks flooding the motor compartment.
Ordering a new filter assembly is safer than catastrophic force.
Maintenance Schedule and Replacement Costs
Monthly cleaning prevents most drainage issues and odor complaints. Households with hard water or heavy use may need biweekly attention. Mineral scale binds grease faster than soft water conditions do.
Adjust your schedule based on visible buildup rates.
Replacement filters typically cost between fifteen and forty-five dollars as of 2026. Prices vary by model series and retailer availability. Generic alternatives exist but often lack precise tab alignment.
OEM parts guarantee fitment and maintain warranty coverage.
Track cleaning dates using your phone calendar or appliance log. Memory alone fails when maintenance intervals stretch out. Consistent timing extends the lifespan of both filter and pump.
Neglect accelerates wear far beyond normal expectations.
Inspect rubber gaskets during every cleaning session for cracks. Deteriorated seals allow unfiltered water to recirculate freely. Replacing a worn gasket costs pennies compared to pump repairs.
This small check prevents major downstream failures.
Consider professional service if you lack confidence in disassembly. Authorized technicians can spot hidden damage amateurs miss. Service calls range from one hundred to two hundred dollars nationally.
Weigh this against the risk of self-inflicted damage.
For broader upkeep, pairing filter care with vinegar and baking soda cycles helps dissolve mineral deposits elsewhere in the system. This complementary step keeps the entire wash path clear. Clean filters work harder when the rest of the machine is neglected.
Frequently Asked Questions
Can I run my LG dishwasher without the filter installed?
Running any cycle without filters causes immediate pump damage. Food debris enters the drain impeller and jams blades instantly. Water also recirculates dirty particles onto clean dishes.
Always reinstall both components before starting any wash program.
Why does my LG filter smell bad even after cleaning?
Lingering odors indicate biofilm buildup in hidden sump crevices. Surface cleaning misses bacteria trapped under seal edges. Use an enzymatic cleaner designed for dishwasher interiors monthly.
These break down organic matter that soap alone cannot remove.
How do I know if my LG filter needs replacing?
Visible cracks, torn mesh, or missing tabs require immediate replacement. Warped cylinders that no longer lock securely also fail filtration. Persistent drainage errors after thorough cleaning signal structural failure.
Replace rather than repair compromised safety components.
Is it normal for water to pool under the filter?
Standing water in the sump suggests a drain line restriction. Filters should sit above residual water levels when idle. Check the air gap or garbage disposal connection for clogs.
Proper drainage leaves only dampness, not pooled liquid.
Can I clean LG filters in the top rack?
Dishwasher heat warps thin plastic filter screens permanently. Hand washing preserves dimensional accuracy and mesh integrity. Top rack spray arms cannot reach internal cylinder folds effectively.
Manual cleaning remains the only manufacturer-approved method.
