
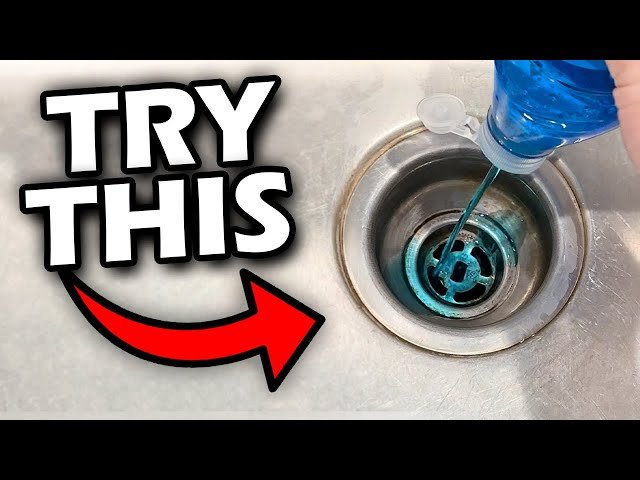
A lingering, unpleasant odor radiating from beneath your kitchen sink can be a genuine nuisance, impacting the overall atmosphere of your home and even causing embarrassment. While air fresheners offer a temporary mask, they rarely solve the underlying problem. Understanding the common culprits and employing effective, lasting solutions is key to restoring freshness to this often-neglected area. This guide will walk you through identifying the source of those bad smells, implementing quick fixes, and establishing preventative maintenance to keep your under-sink area smelling great for good.
 Regular cleaning of the under-sink area is crucial for odor prevention.
Decoding the Source: Why Your Under-Sink Area Smells
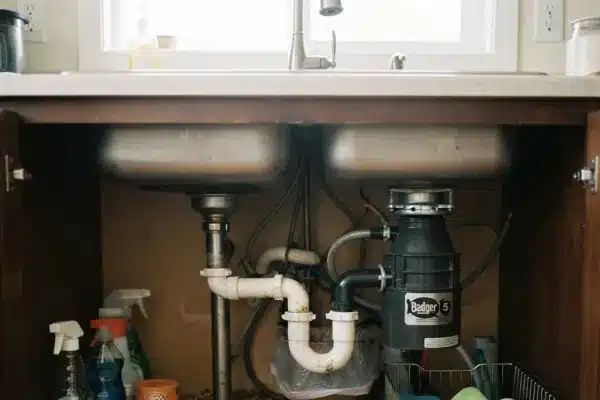
Before you can banish the odor, you need to understand its origin. The dark, often damp environment under a kitchen sink is a prime breeding ground for various odor-producing culprits. Pinpointing the exact cause is the most effective way to tackle the problem at its root, rather than just masking the smell.
Common Culprits Lurking Under the Sink
- Food Debris and Grease Buildup: Even with a garbage disposal, small food particles and grease can accumulate in pipes, traps, and the disposal itself, leading to decomposition and foul odors.
- Clogged or Dry P-Trap: The P-trap is a U-shaped pipe designed to hold a small amount of water, creating a seal that prevents sewer gases from entering your home. If it's clogged or the water evaporates (due to infrequent use or a dry spell), sewer gas can escape.
- Leaking Pipes or Fixtures: Persistent moisture from even minor drips can lead to mold and mildew growth, which are significant sources of musty, unpleasant smells.
- Garbage Disposal Issues: A malfunctioning or uncleaned garbage disposal can harbor remnants of food, creating a strong, lingering odor.
- Improper Plumbing Venting: A blocked or improperly installed plumbing vent can allow unpleasant sewer gases to back up into your sink drains.
Recognizing Mold and Mildew
Mold and mildew are notorious for their musty odor, especially in damp, enclosed spaces like under your sink. Look for:
- Visible growth: Black, green, or white fuzzy patches on cabinet walls, pipes, or the floor.
- ** Deterioration of materials: Peeling paint, warped wood, or discolored surfaces.
- Lingering dampness: A constant feeling of humidity or a wet smell even when no visible leak is present.
- Health symptoms: Some individuals may experience mild headaches, nasal irritation, or allergy-like symptoms when exposed to mold.
Swift Cleaning Strategies to Banish Odors
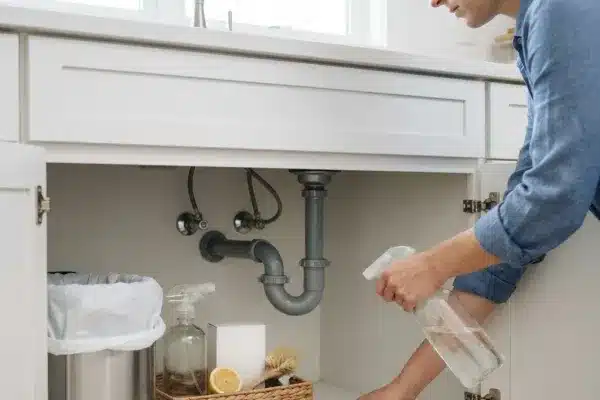
Once you've identified the source, it's time for action. These rapid cleaning solutions tackle immediate odor issues, restoring freshness to your under-sink area. They utilize common household items and require minimal effort.
The Power Duo: Baking Soda and Vinegar
This classic natural cleaning combination is remarkably effective at deodorizing and tackling grime.
- Empty the Space: Remove all items from the cabinet to gain full access.
- Baking Soda Application: Sprinkle a generous amount of baking soda liberally across the sink base, cabinet floor, and any accessible pipes. Baking soda is a natural absorbent and deodorizer.
- Vinegar Rinse: Slowly pour undiluted white vinegar over the baking soda. You'll notice a fizzing reaction, which helps to lift dirt and loosen buildup.
- Soak and Scrub: Let the mixture bubble and work for 10-15 minutes. Then, use a stiff brush or sponge to scrub away any grime or stains. Pay attention to corners and pipe connections.
- Wipe Down: Rinse the area thoroughly with a damp cloth, ensuring all baking soda and vinegar residue is removed. Allow the cabinet to air dry completely.
This method also provides a gentle way to clean slow drains, breaking down minor blockages. For more stubborn drain issues, consider our tips for effective drain maintenance.
Utilizing Disinfectant Sprays
Antimicrobial sprays can quickly kill odor-causing bacteria and leave a pleasant scent.
- Prepare the Area: Ensure the cabinet is cleared out and any visible debris has been removed.
- Apply Thoroughly: Select a disinfectant spray that is safe for kitchen use and specifically designed for surface cleaning. Spray all surfaces under the sink, including the cabinet walls, floor, and around pipe fittings, ensuring good coverage.
- Allow Dwell Time: Follow the product's instructions regarding how long the spray should remain on the surfaces to effectively kill germs.
- Wipe Clean: After the recommended dwell time, wipe down all sprayed surfaces with a clean, damp cloth to remove any lingering residue and the disinfectant cleaner.
- Ventilate: Leave the cabinet door open for a while to allow air circulation and ensure the area dries completely.
Regular use of disinfectant sprays can prevent odor-causing bacteria from establishing themselves.
Natural Deodorizing Solutions for Lasting Freshness
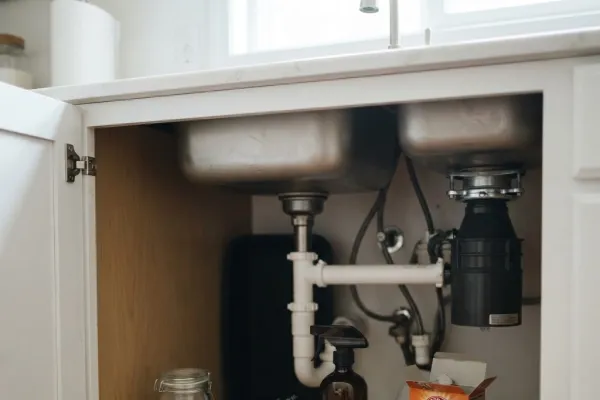
Beyond immediate cleaning, several natural methods can maintain a fresh-smelling under-sink environment without resorting to harsh chemicals. These options are safe for homes with children and pets and contribute to a healthier living space.
Essential Oils to the Rescue
Certain essential oils possess natural antimicrobial properties and refreshing scents that can combat unpleasant odors effectively.
- Cotton Ball Method: Add 5-10 drops of essential oil such as lemon, tea tree, eucalyptus, or peppermint onto a few cotton balls. Place these cotton balls in an inconspicuous spot under the sink. The scent will gradually diffuse, neutralizing odors.
- Baking Soda Blend: For a longer-lasting effect, mix a few drops of essential oil into a small bowl of baking soda. Place this open container under the sink. The baking soda will absorb moisture and odors, while the essential oil provides a continuous fresh aroma.
The power of essential oils lies in their ability to tackle odor at a microscopic level and replace it with a natural fragrance.
The Odor-Absorbing Power of Activated Charcoal
Activated charcoal is a highly porous material renowned for its exceptional ability to trap and absorb impurities, including odor molecules and excess moisture.
- Placement: Simply place an open bag, bowl, or a specialized activated charcoal filter under your kitchen sink.
- Mechanism: The vast surface area of the charcoal acts like a sponge, drawing in odor-causing compounds from the air.
- Maintenance: Depending on the product and environmental humidity, the charcoal will need to be replaced or "recharged" (often by placing it in sunlight) every few months to maintain its effectiveness.
Activated charcoal is odorless itself, meaning it won't add any competing scents to your kitchen space, simply removing the bad ones.
Proactive Maintenance for an Odor-Free Zone
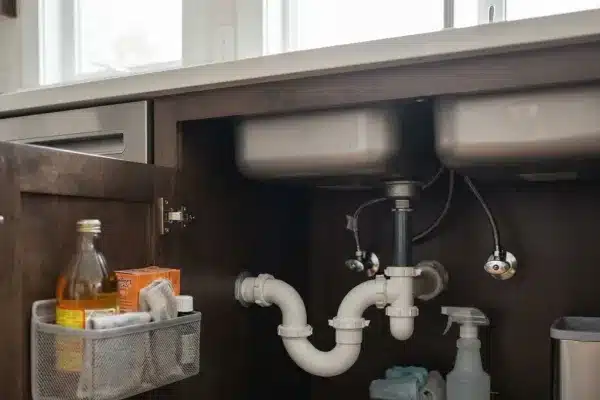
Preventing bad smells from returning is an ongoing process that involves simple, regular habits. Addressing potential issues before they escalate is key to maintaining a consistently fresh under-sink environment.
Keep Your Drains Flowing Freely
Regular drain cleaning is paramount in preventing the buildup of food particles and grease that lead to odors.
- Weekly Flush: Once a week, pour about half a cup of baking soda down the drain, followed by half a cup of white vinegar. Let it fizz for 15-20 minutes, then flush with hot water.
- P-Trap Check: Periodically, check the P-trap for clogs. You can usually unscrew it (place a bucket underneath to catch water and debris), rinse it thoroughly, and reassemble it.
- Hot Water Rinse: After washing greasy dishes, running hot water for a minute can help clear residual grease from pipes.
A clean and clear drain system is fundamental to an odor-free kitchen. Consider exploring options for the best non-toxic liquid dishwasher detergent to minimize chemical buildup in your plumbing.
Mastering Waste Disposal Habits
How you handle kitchen waste significantly impacts under-sink odors.
- Grease and Oil: Never pour grease, cooking oil, or fats down the drain. Instead, let them cool and solidify, then scrape them into a sealable container for disposal in the trash. This is a critical step to prevent pipe blockages and associated smells.
- Scrape Dishes: Always scrape food scraps from plates and dishes into the trash or compost bin before rinsing.
- Garbage Disposal Use: Avoid putting fibrous materials (like celery stalks or corn husks), starchy foods (like pasta or rice), or coffee grounds down the garbage disposal, as these can create sludge and odors.
- Sink Strainers: Use sink strainers to catch small food particles. Empty them regularly into the trash to prevent anything from decomposing in the drain.
Proper waste management extends the life of your plumbing and dramatically reduces the potential for foul odors. For those with dishwashers, using the right detergent is also key; explore the best nonstick dishwasher safe pans if you're looking for easier kitchen cleanup.
Preventative Measures for Long-Term Freshness
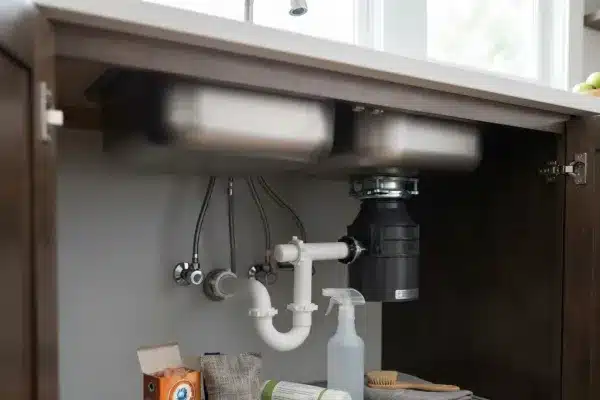
Establishing proactive habits can ensure your under-sink area remains fresh and free from unpleasant smells indefinitely. These measures go beyond simple cleaning to create a more resilient and odor-resistant environment.
Investing in Odor-Controlling Filters
Advanced solutions like dedicated odor filters can significantly enhance air quality under your sink.
- How They Work: These filters are designed to capture and neutralize various odor-causing gases and airborne particles that might escape from plumbing. Some utilize activated carbon, while others employ specialized absorbent materials.
- Installation: They are typically easy to install, often attaching to the vent pipe or a specific drain component.
- Replacement: Like any filter, they have a lifespan and will need to be replaced periodically to maintain their effectiveness. Consult the manufacturer's guidelines for recommended replacement schedules.
Implementing these filters can act as an additional layer of defense against pervasive smells.
Routine Inspections and Prompt Repairs
A consistent maintenance schedule with thorough checks can catch issues before they become odor problems.
- Leak Detection: Regularly inspect all pipes, connections, and seals under the sink for any signs of moisture or drips. Even small leaks can create damp conditions conducive to mold and mildew. A flashlight can be invaluable for spotting hidden moisture
